|
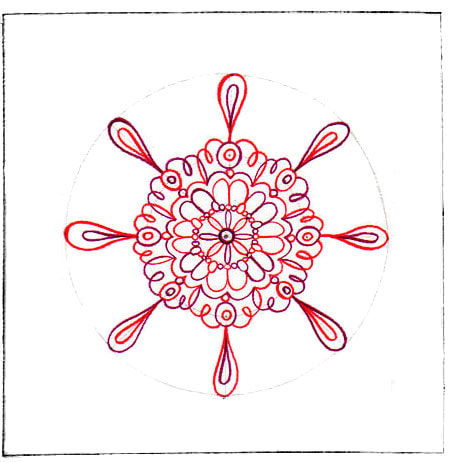
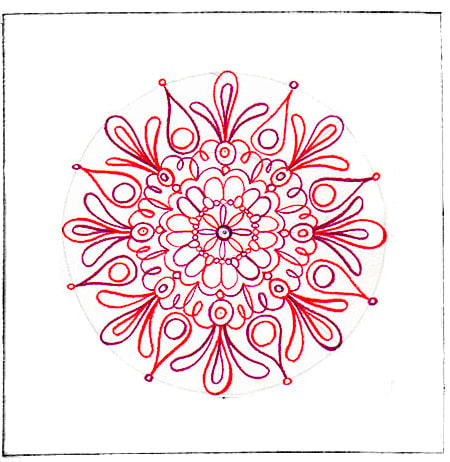
I hope you had fun with the two Zentangle projects that you just have finished. This week we are going to do something different but similar in a way. Have you heard about Mandalas? What is a mandala? A mandala is a complex abstract design that is usually circular in form. In fact, "mandala" is a Sanskrit word that means "circle". Mandalas generally have one identifiable center point, from which emanates an array of symbols, shapes and forms. Mandalas can contain both geometric and organic forms. They can also contain recognizable images that carry meaning for the person who is creating it. In essence, mandalas represent the connection between our inner worlds and outer reality. Designing your own mandalas can be both inspirational and therapeutic. There are many different types of mandalas, different shapes, sizes, colors, so each mandala is unique in its own way. In Tibet the monks make Sand Mandalas. It is a tradition involving the creation and destruction of mandalas made from coloured sand. Check the video below to get to know a bit more about it. 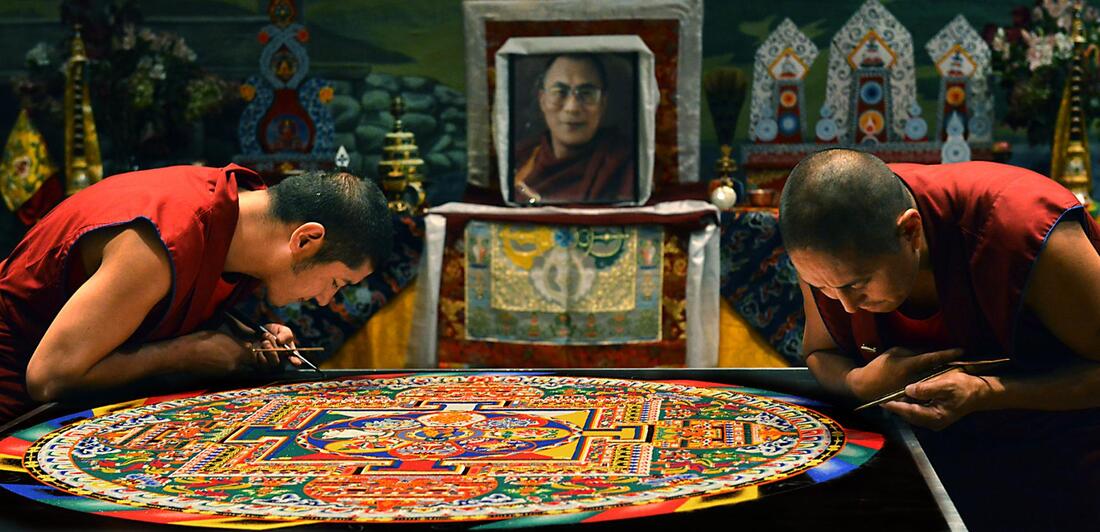  Down below you can see other different type of mandalas, check them out and then follow the instructions to make your very own! 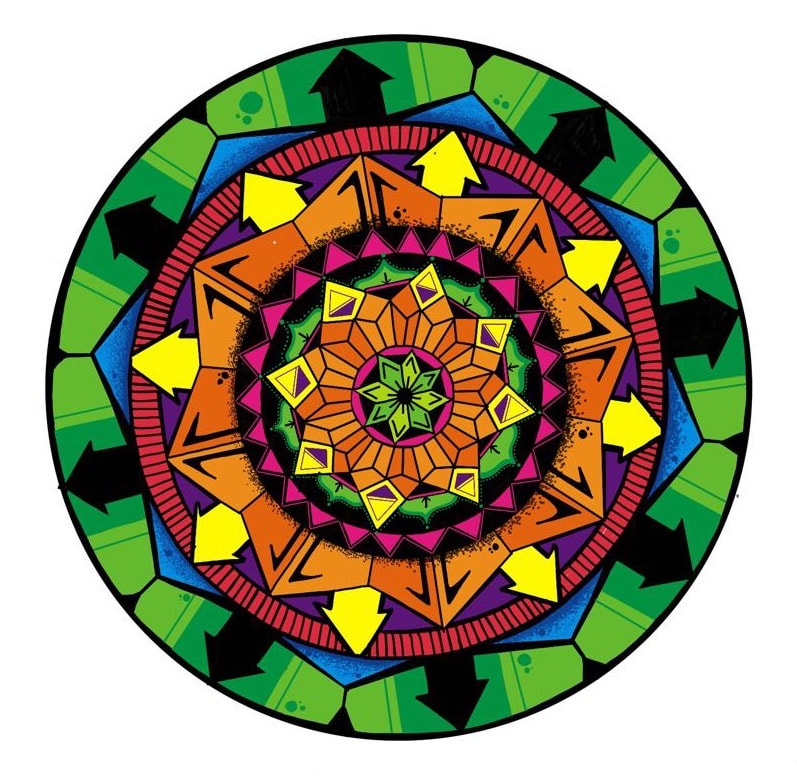 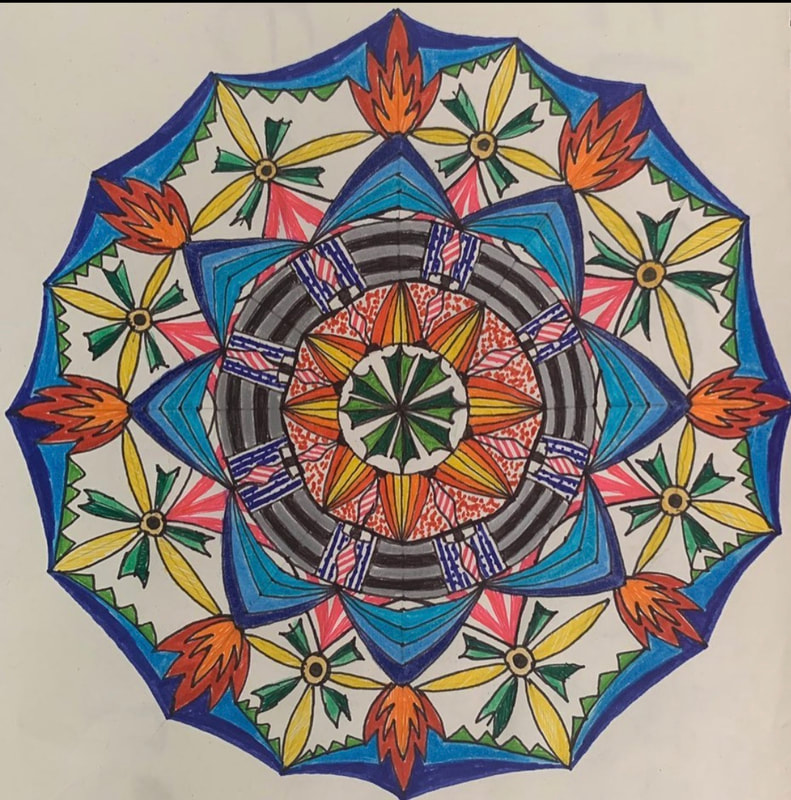 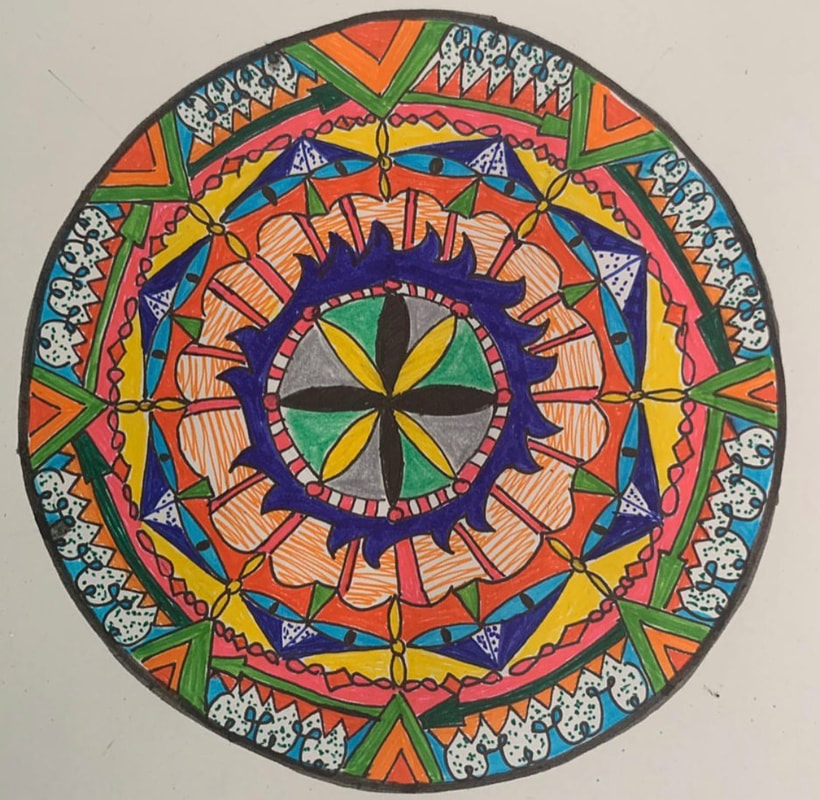 We are going to create our very own mandala, although it looks complicated, it's actually quite easy, once you know the steps! The best thing about designing your own mandalas is that you have the freedom to choose whatever shapes, patterns and colors that you feel express your sense of self and your view of reality. Your mandala is yours, and you have the freedom to use your creativity to create a mandala drawing that is uniquely you. Once you know the basic steps of how to draw a mandala, you can try now new designs and new colors each time you draw a new mandala. Materials needed: You don't need many materials to learn how to draw a mandala. All you need is paper, a pencil, a ruler, a protractor (optional), a compass (optional) and an eraser. STEPS The first step in how to draw a mandala is to measure out your paper into a square shape. The square can be as big or as small as you like. The bigger the square, the more room you will have for putting in lots of detail and color. I made my square 20cm x 20cm. Next, use your ruler and a pencil to draw a dot in the very center of the square, as shown below. 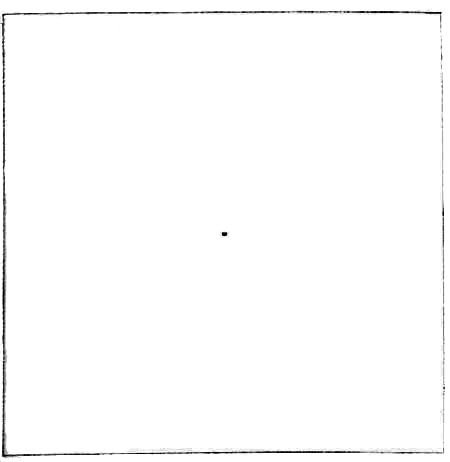 The next step is to draw a series of circles around this dot. Once you've drawn the dot in the center of your square, one easy way to draw circles is to use a compass. If you don't have a compass, you can find round shapes around you to retrace them around the dot, like a bottle top, or a plate, a bowl, be creative! Start from the biggest circle and then keep drawing the smaller and so on. 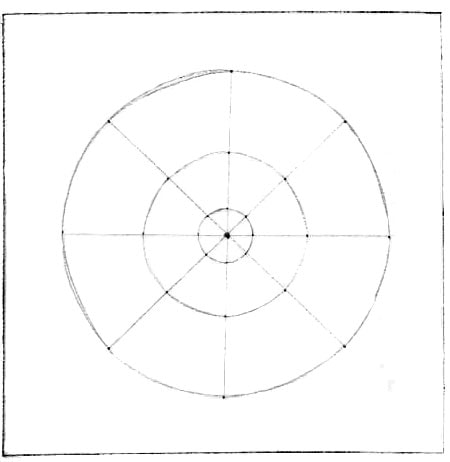 Now that you've drawn the basic outline for your mandala, you can begin drawing designs in your mandala! You can use a pencil, colored pencils, crayons, or whatever you choose. Using the lines and circles you drew as guidelines, you can draw shapes like circles, triangles, raindrops, loops, etc. 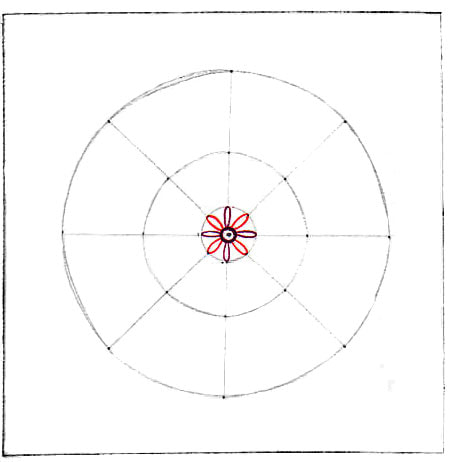 The important thing is to repeat your pattern. For example, if you draw a circle on one of the lines, be sure to draw it in the same spot on the other lines. 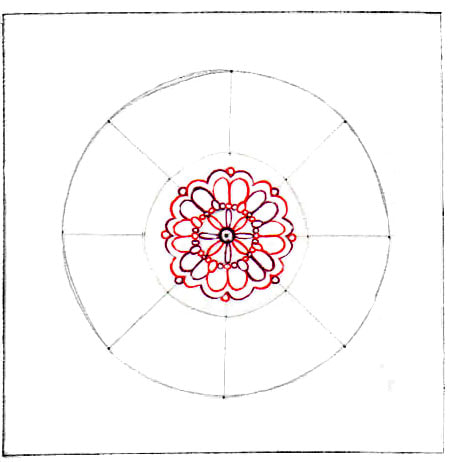 This creates repetition, which is a key element in creating a mandala. As you draw more and more designs, your mandala will start to look more complex. The key is to take it slowly, drawing one shape at a time and going around the whole circle drawing that one shape in the right place. Then you build on that shape by drawing other shapes around the circle in the same manner. 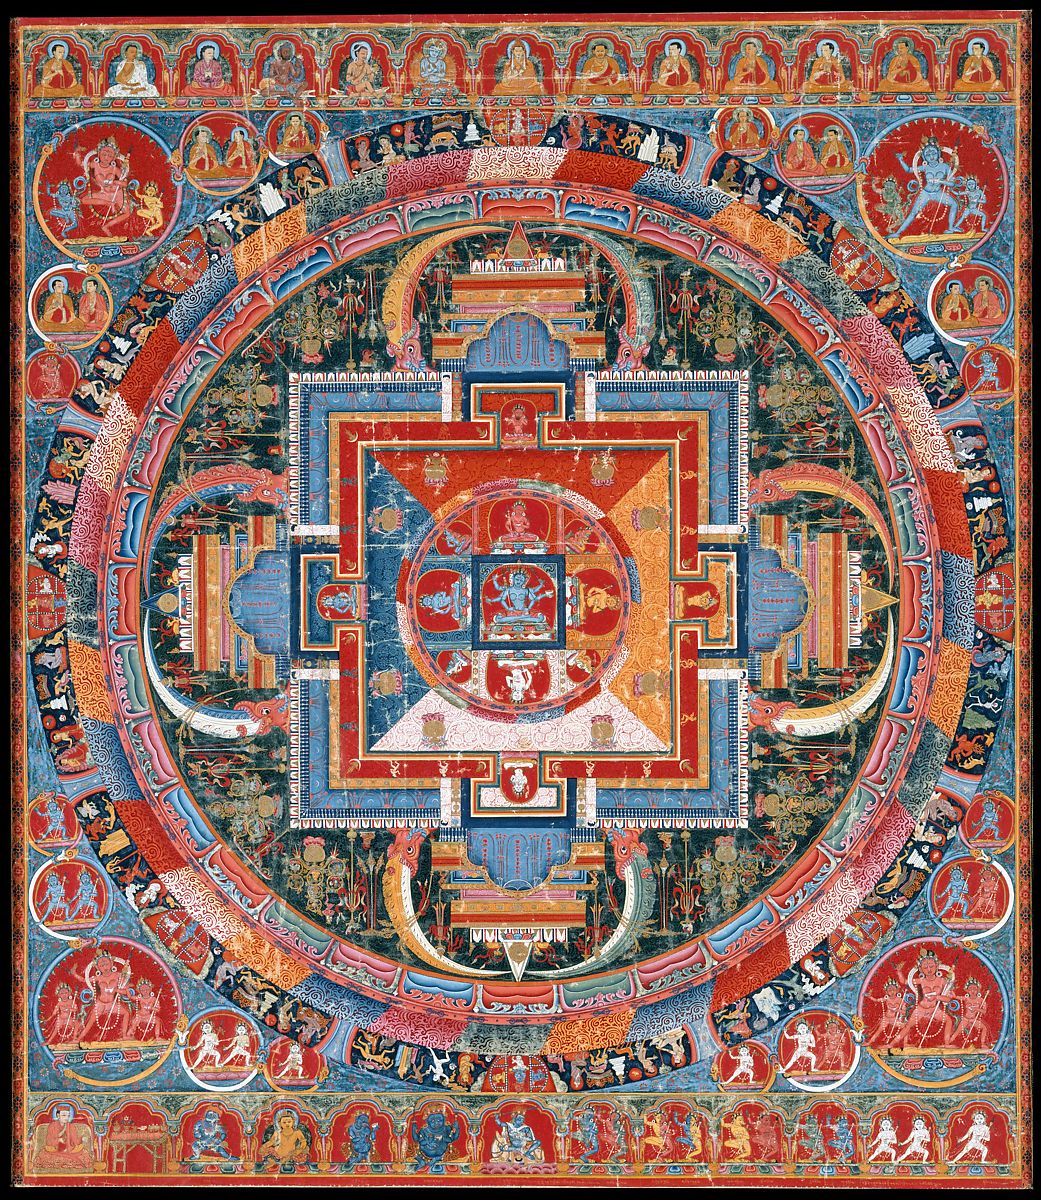 Once you have finished your mandala design, use as many colors you want. You can use color pencils, color markers, watercolor, etc... My personal recommendation is to use color markers but if you don’t have color markers then you can use color pencils. If you don’t have color pencils maybe you could use a regular pencil and play with shades. 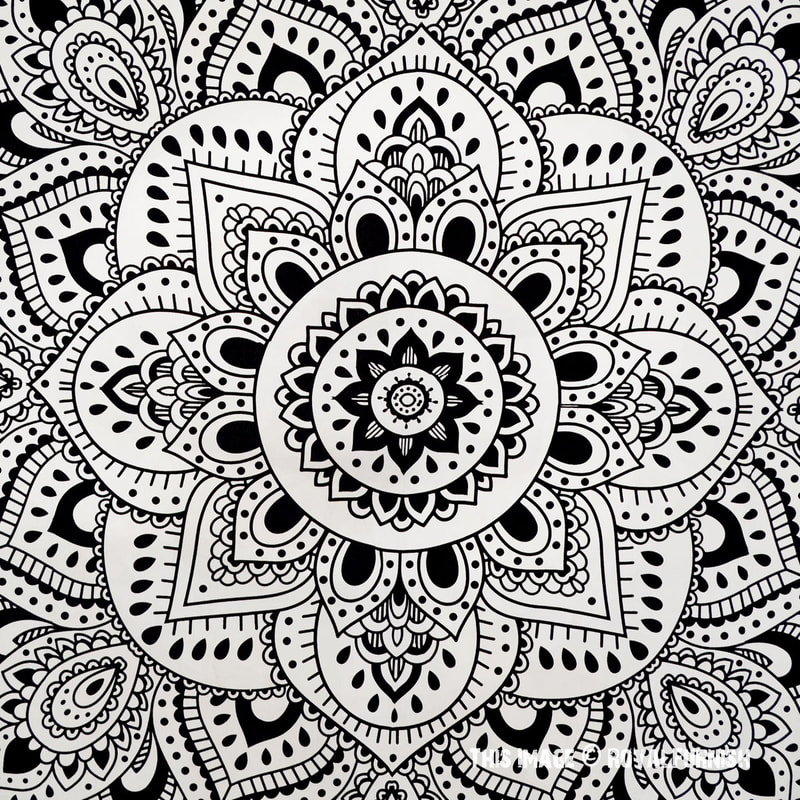 I would like to show you one video of an artist creating a really big mandala on a wall, we are not going to do it like the size that he is doing it or on a wall, but I encourage you to find the right moment and play the video, you might find it inspiring. (The Youku link is only if you are in China) http://v.youku.com/v_show/id_XNDU2MTIxMDE0OA==.html?x&sharefrom=android&sharekey=05a9a80a960986dbc4f3a510c5934 4f80 Once you have finished your mandala you can play around with one App called Amaziograph. With this App, you have the perfect tool to draw and color mandalas. 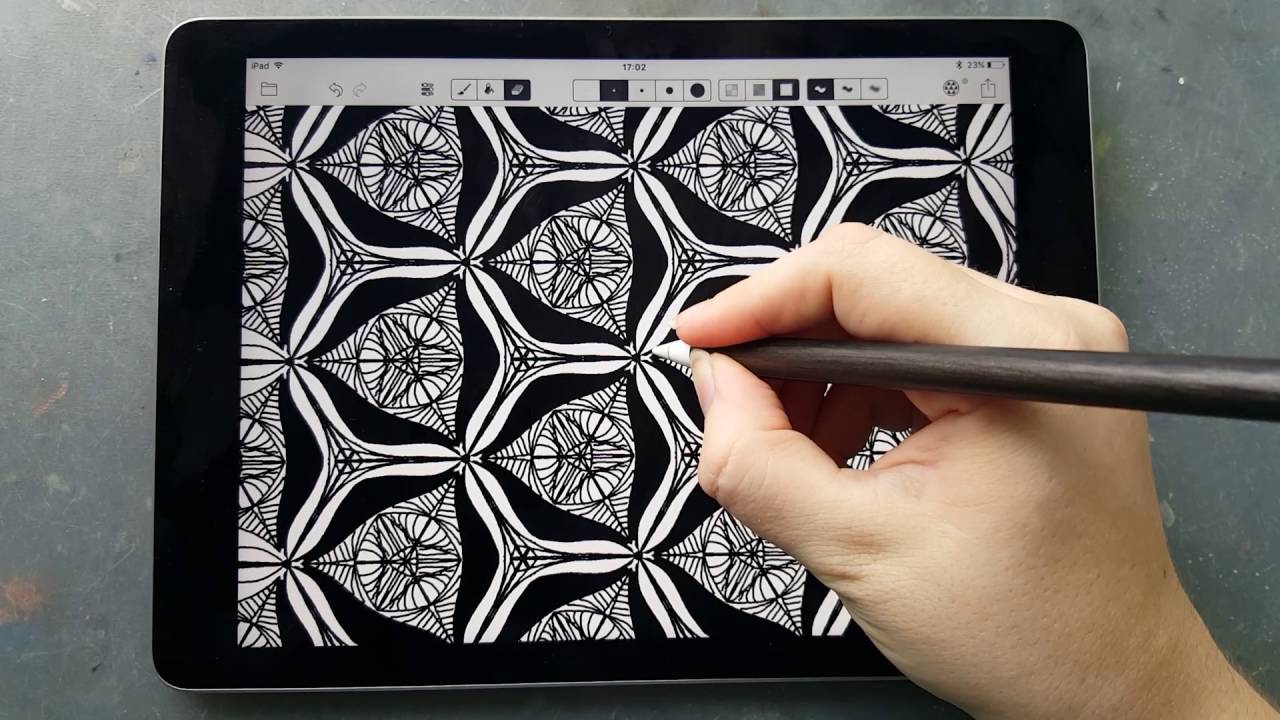 This art assignment is meant to be done in two weeks, so please take your time thinking about the design, take your time for coloring and try your very best! You don’t have to finish it in one day, it’s a project that can take a very long time that’s why I am giving you an extra week with this assignment. If you finish earlier and you want some extra work you can make a second mandala or also you can write to me and I will give you an extra assignment.
I hope you enjoy it!
0 Comments
Leave a Reply. |
Positive, Creative Space.
Archives
December 2023
|
 RSS Feed
