|
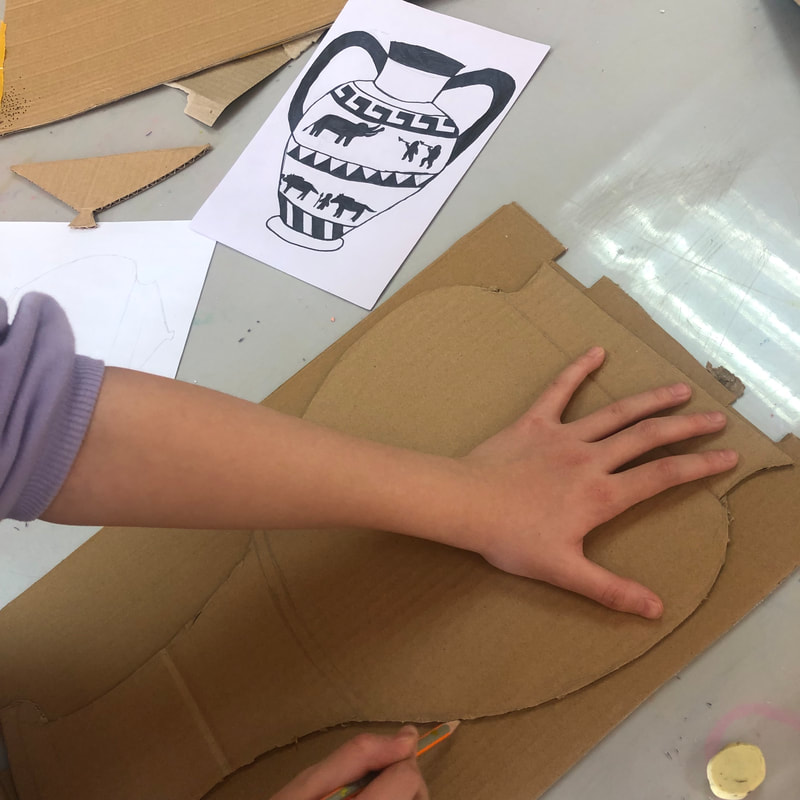
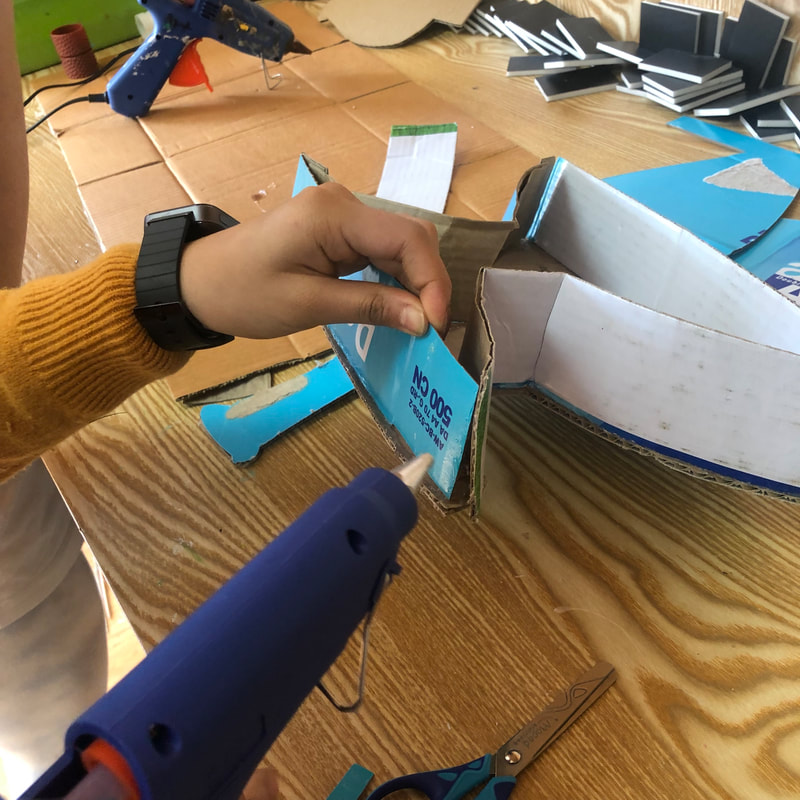
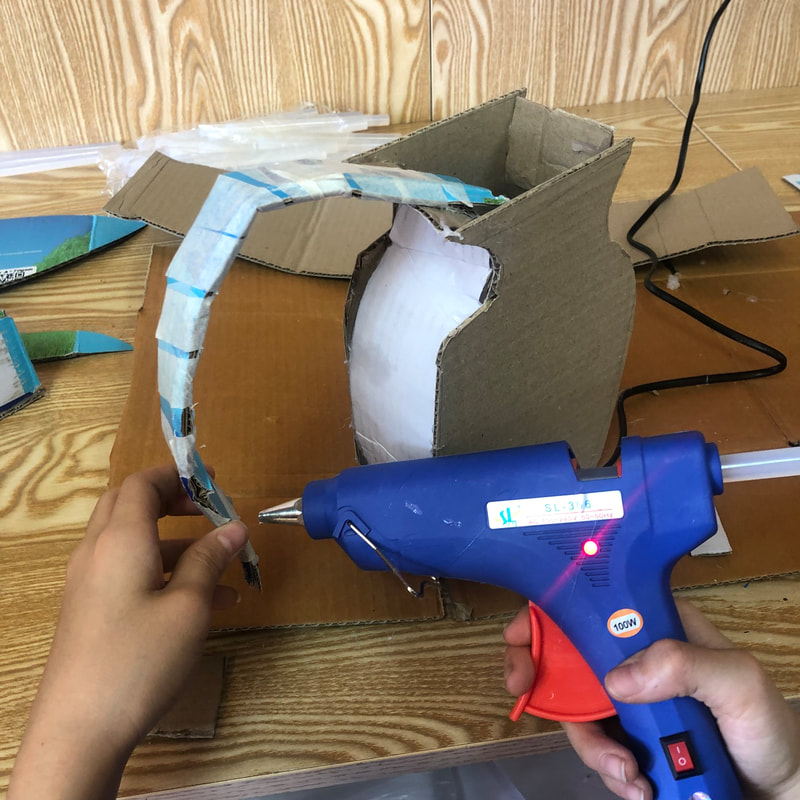
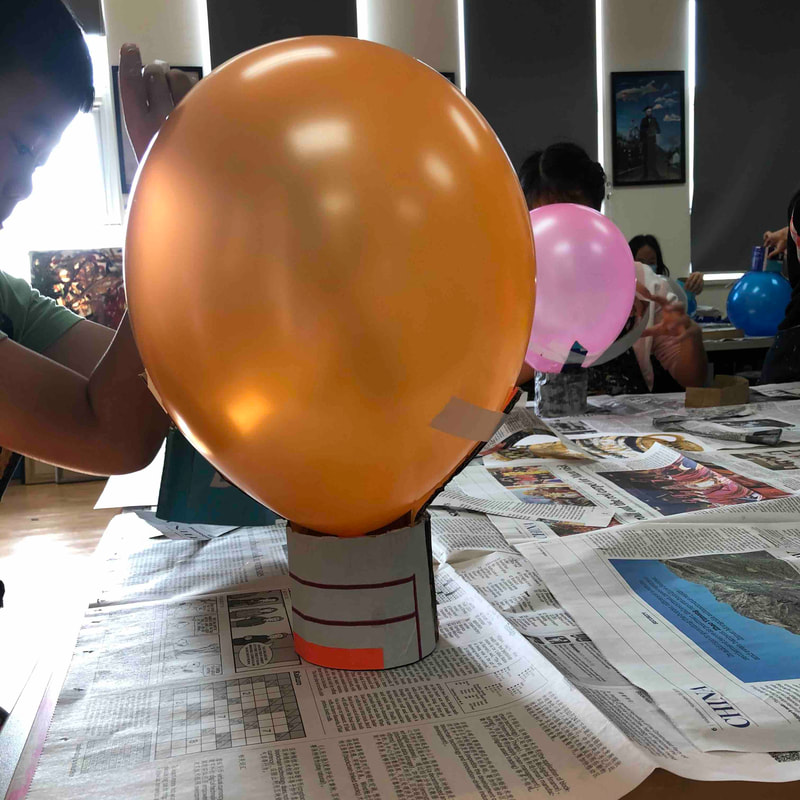
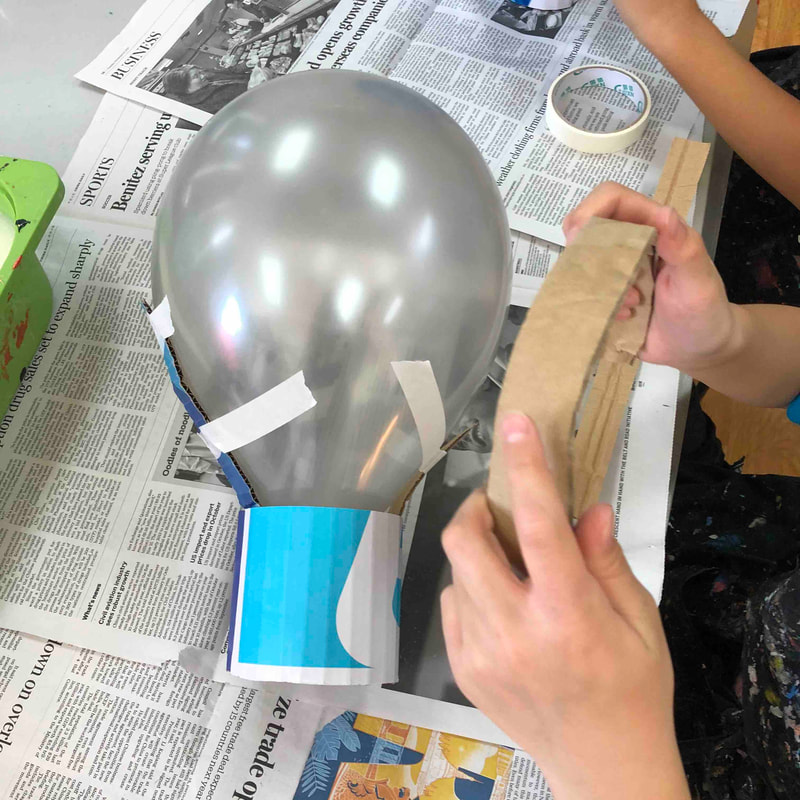
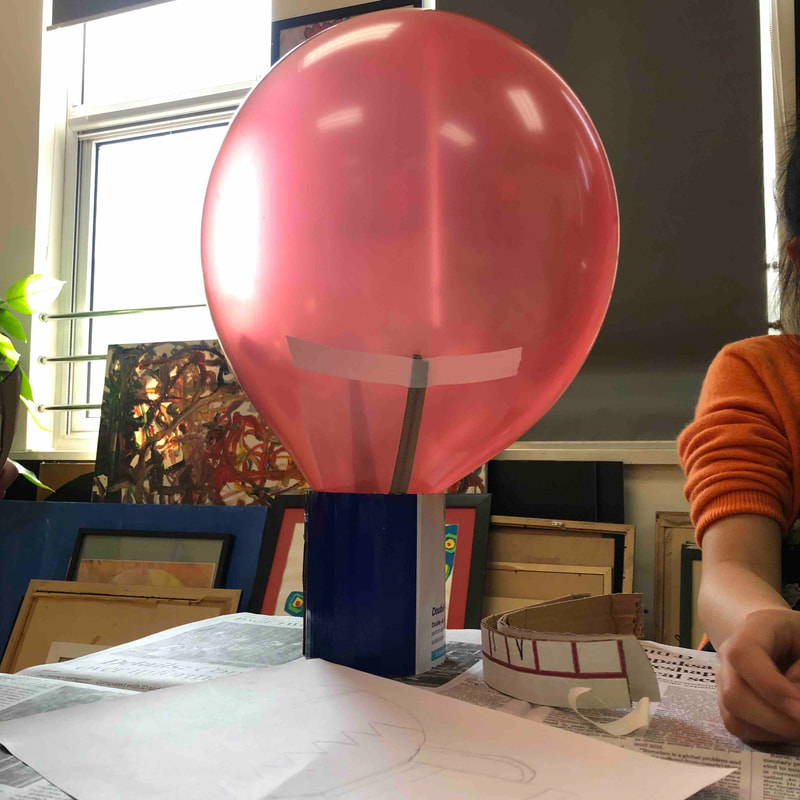
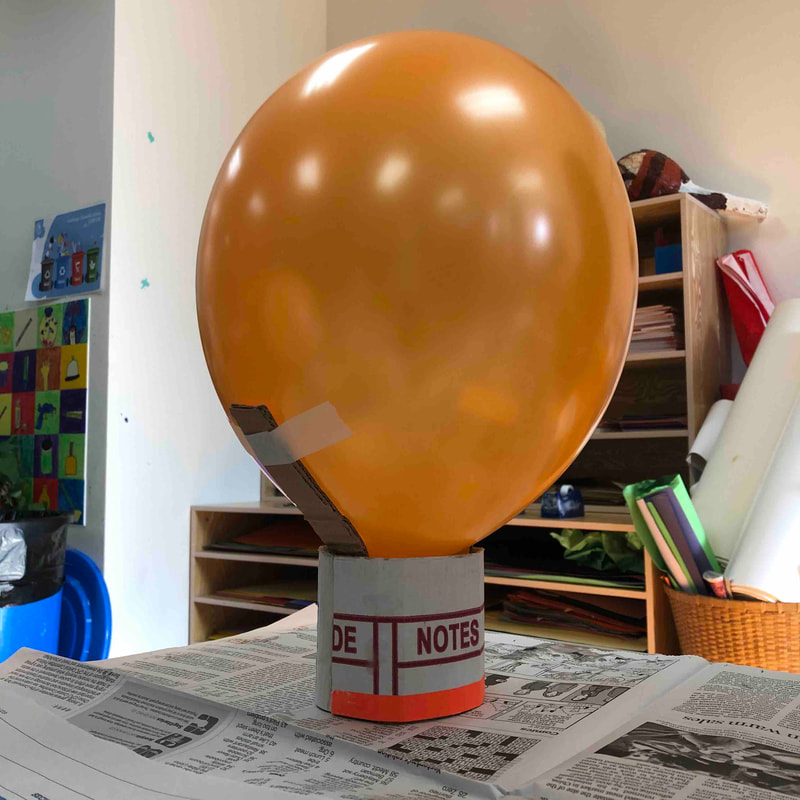
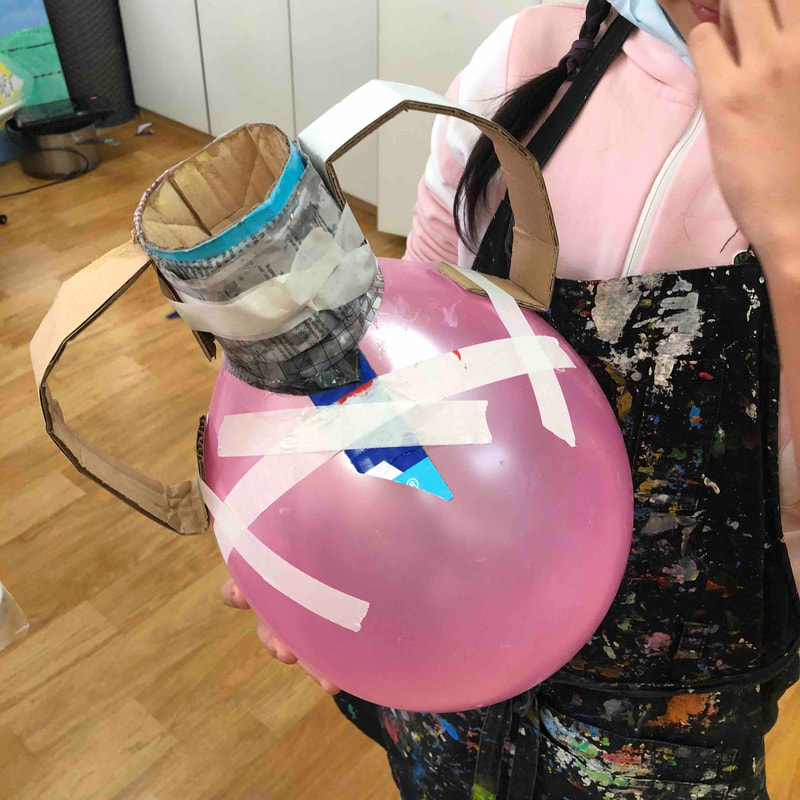
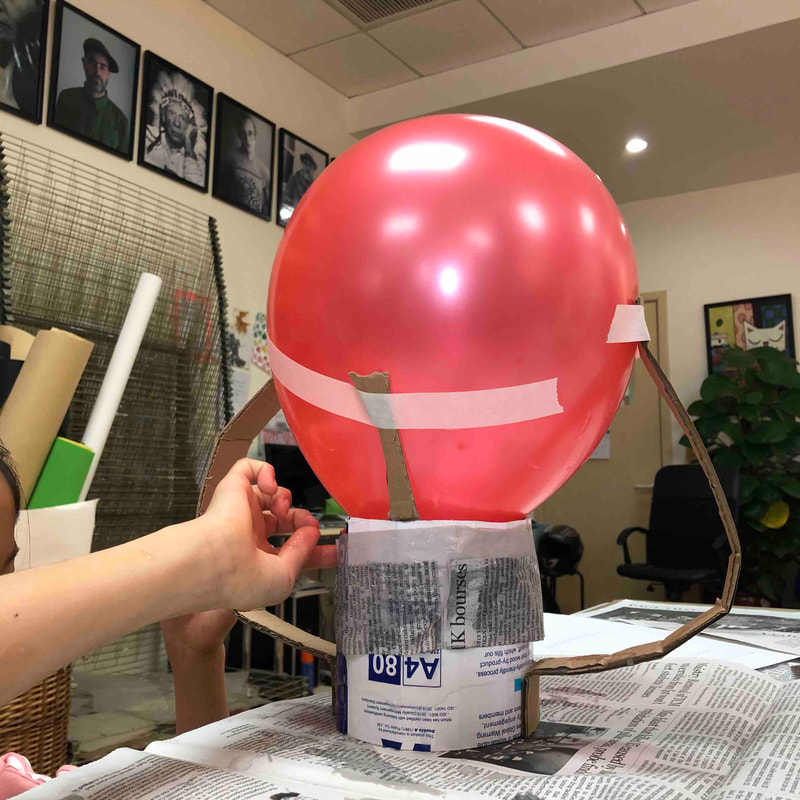
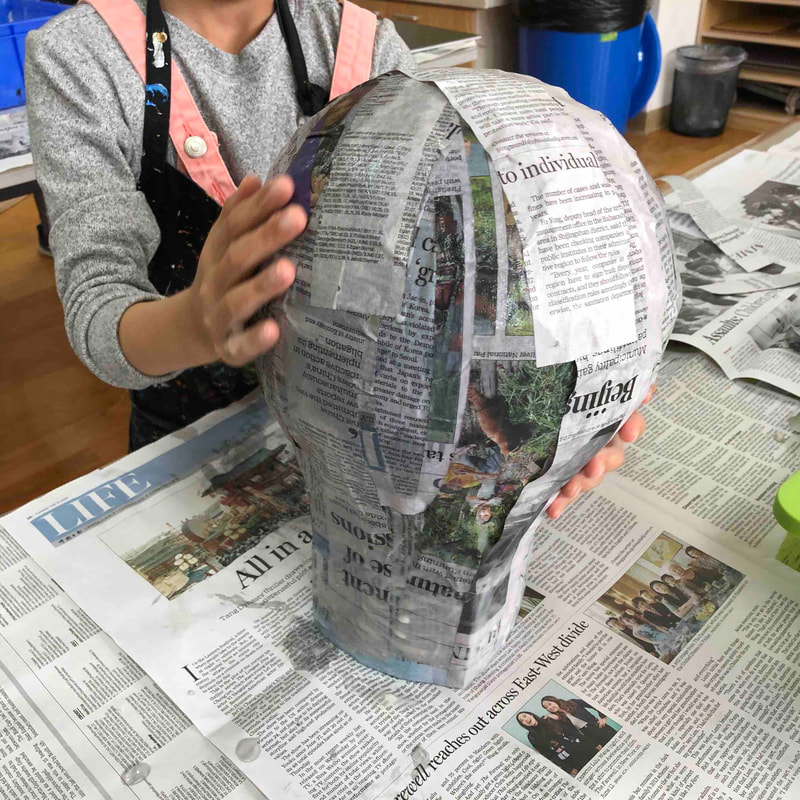
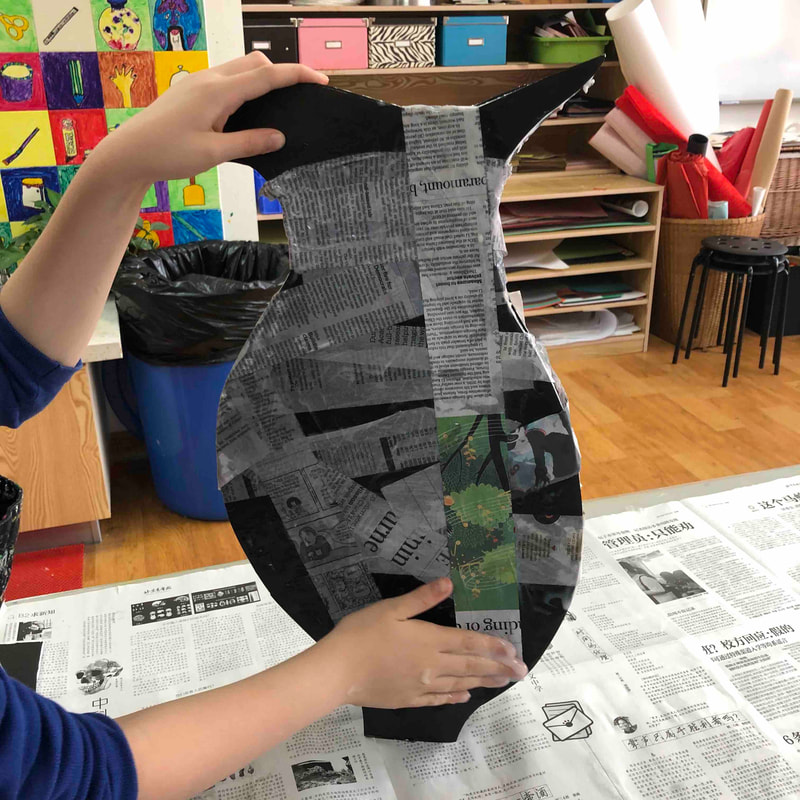
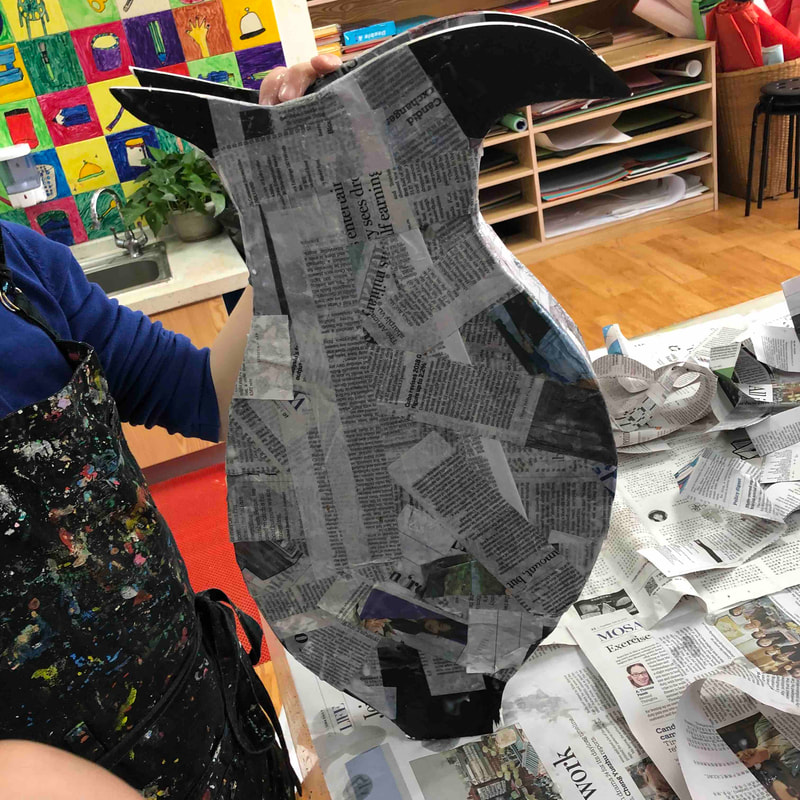
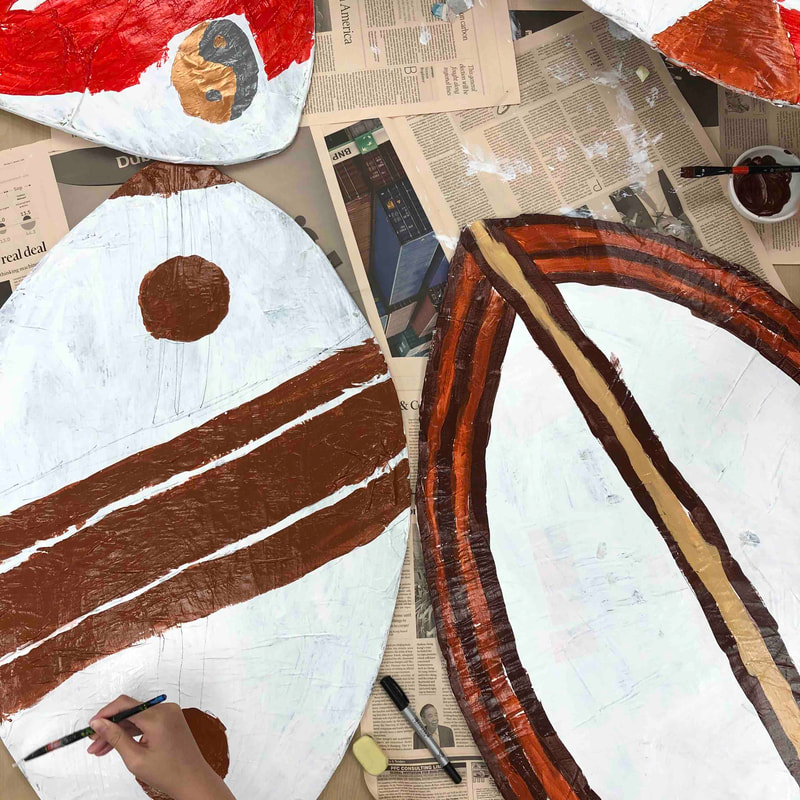
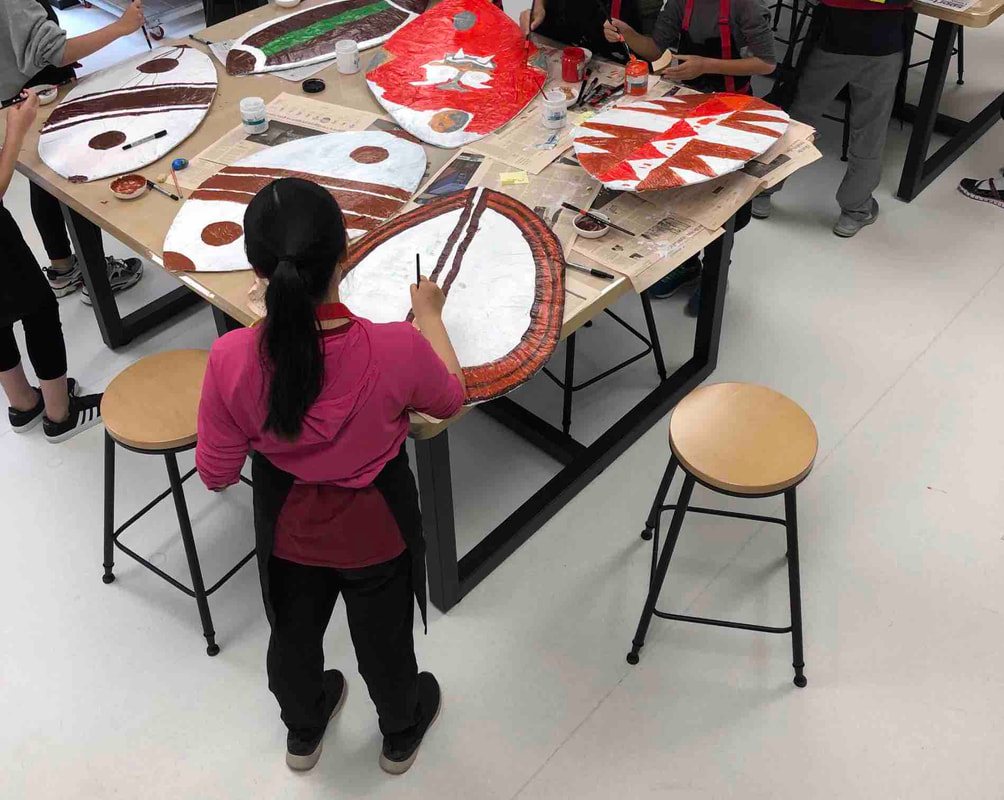
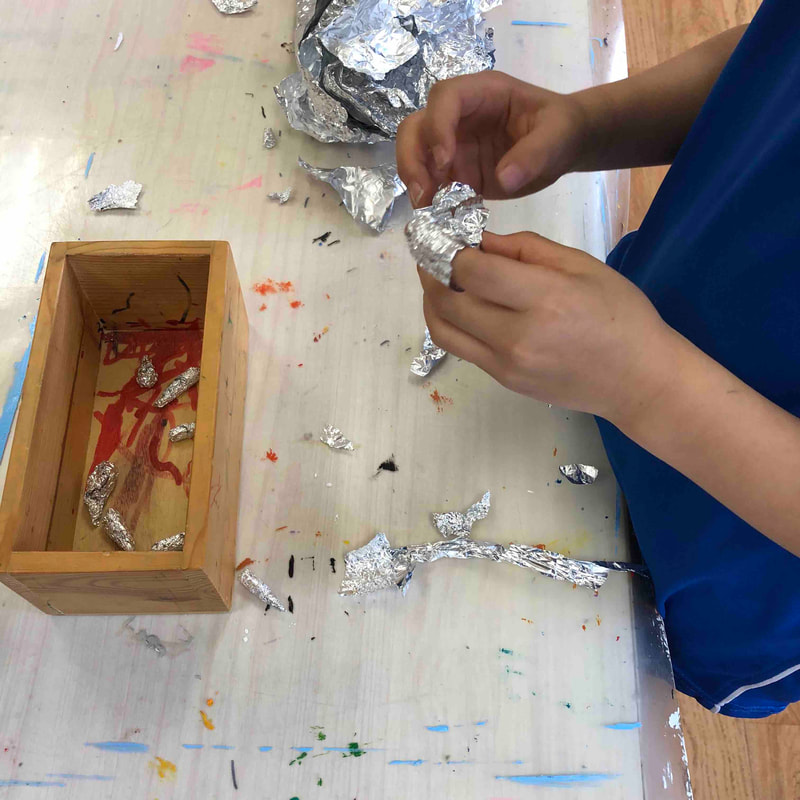
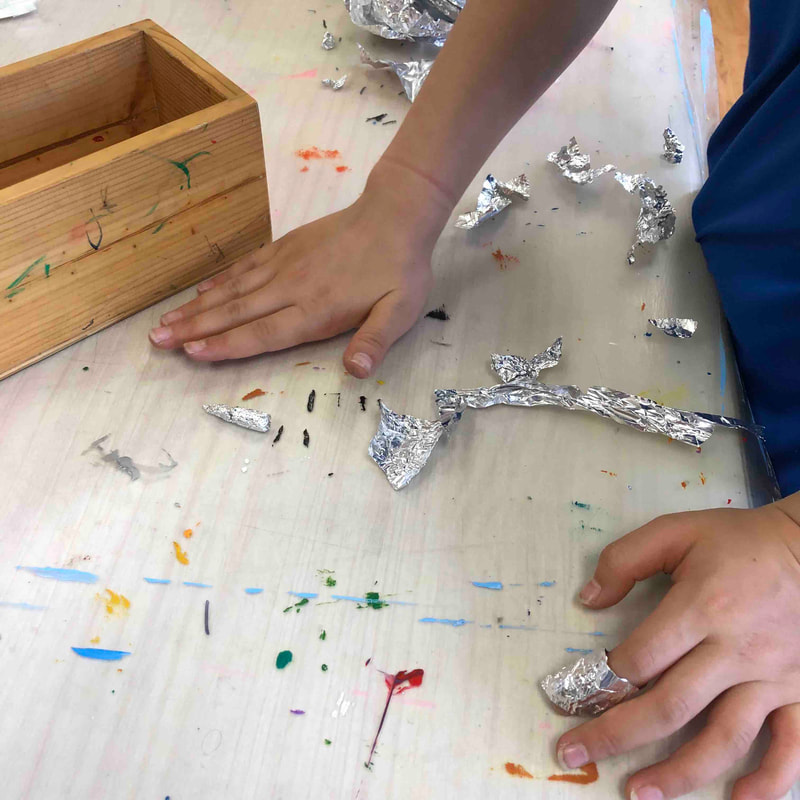
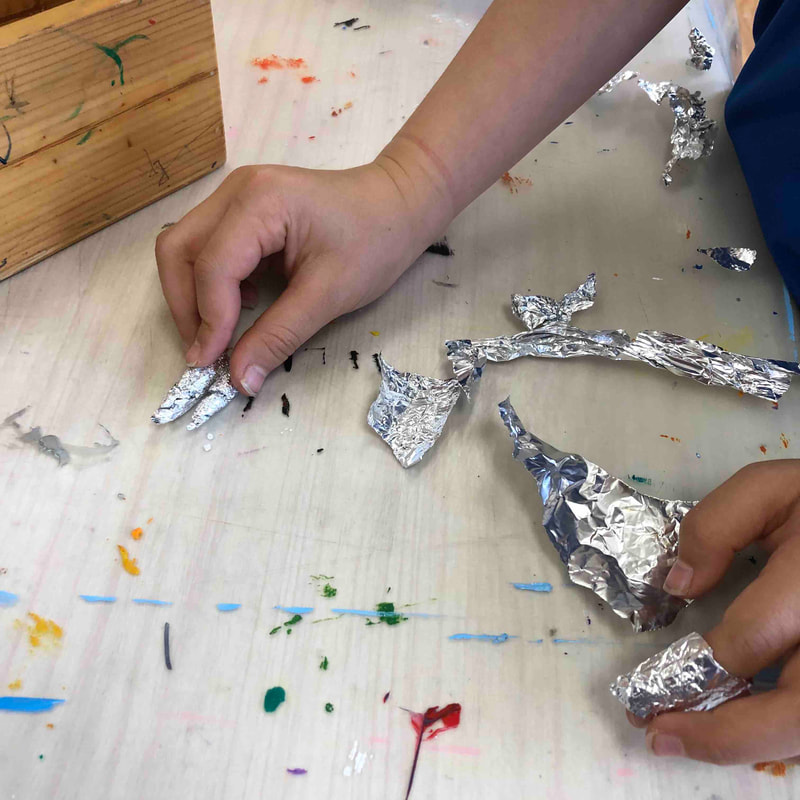
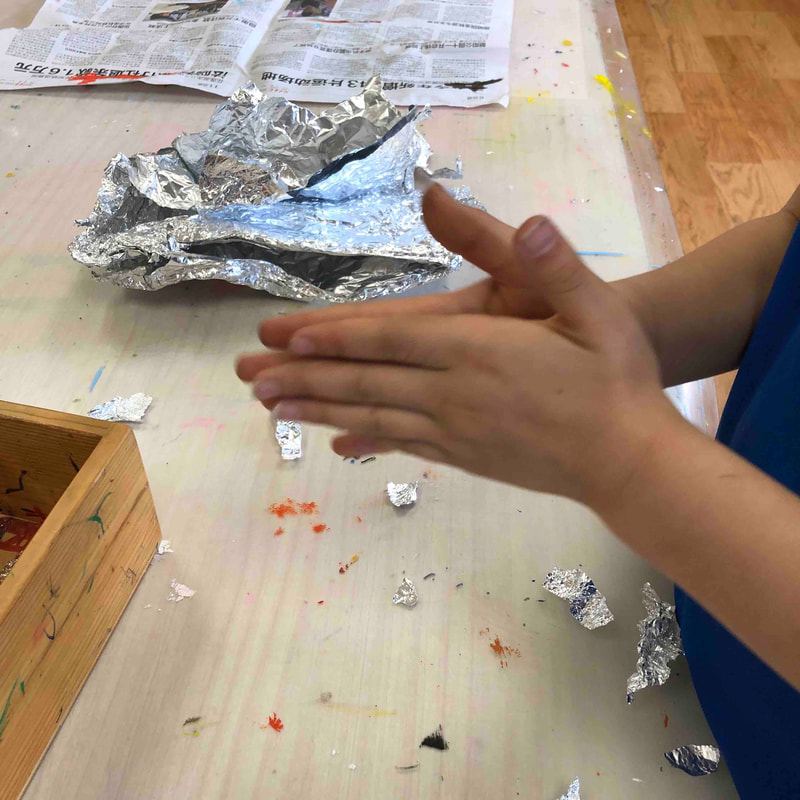
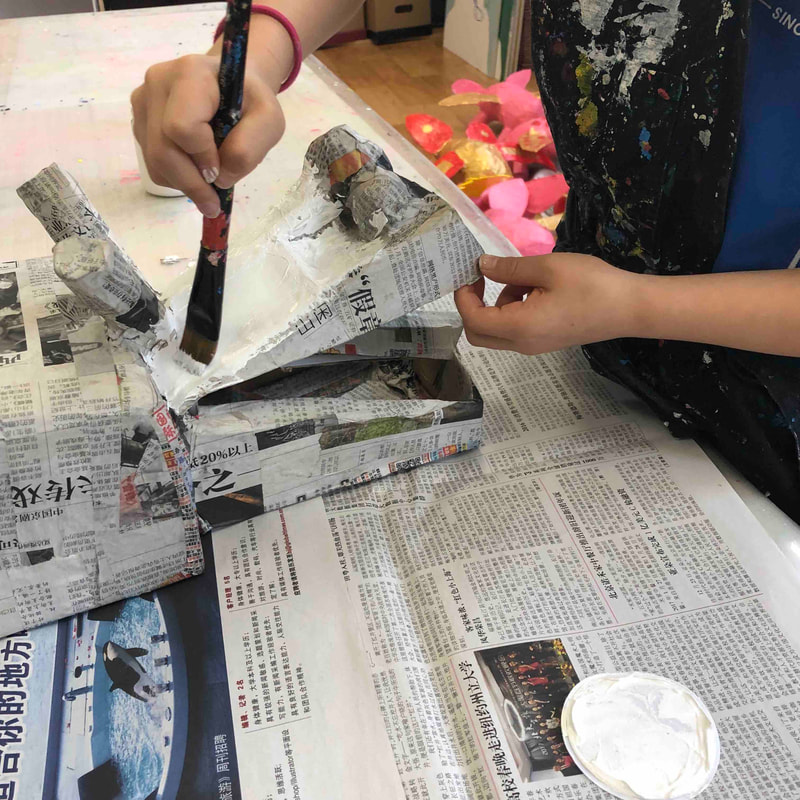
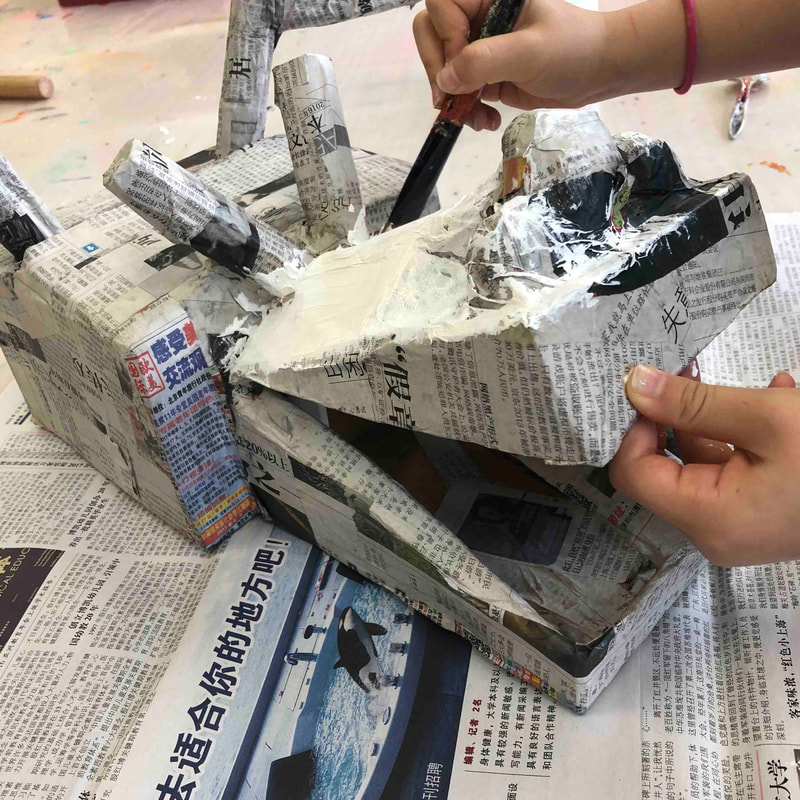
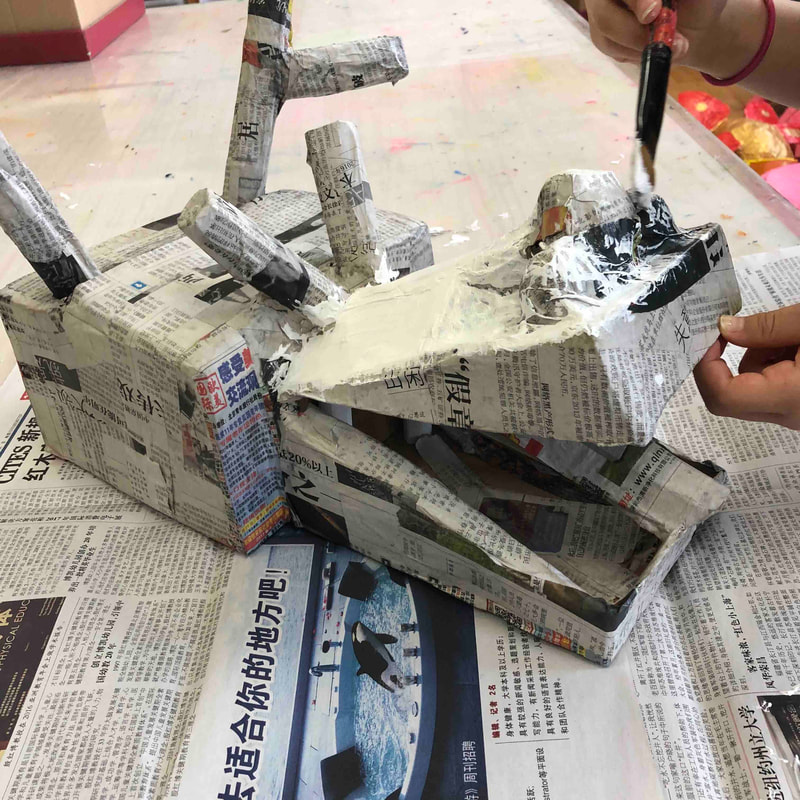
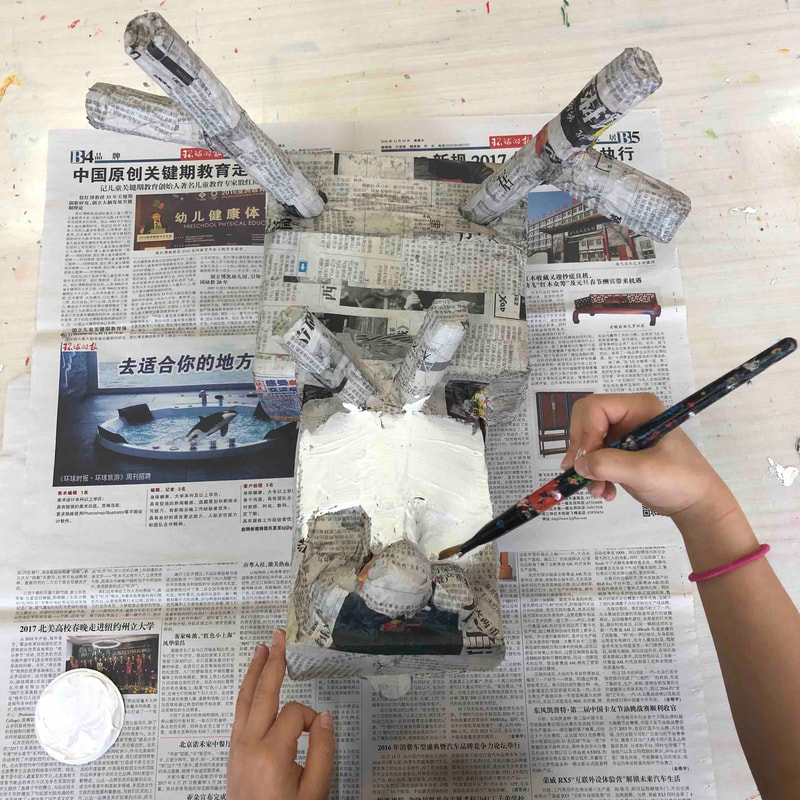
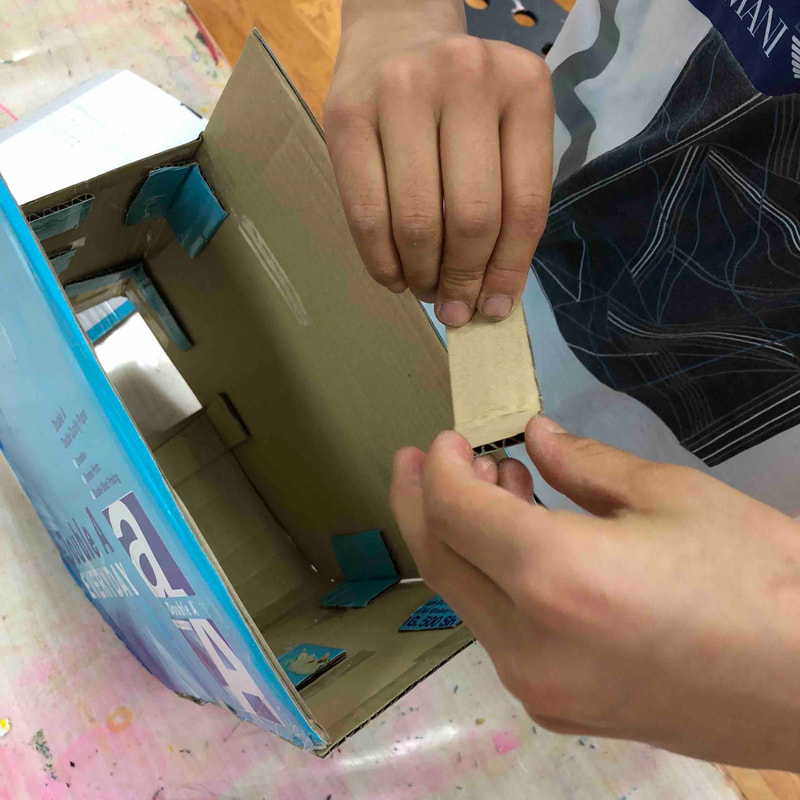
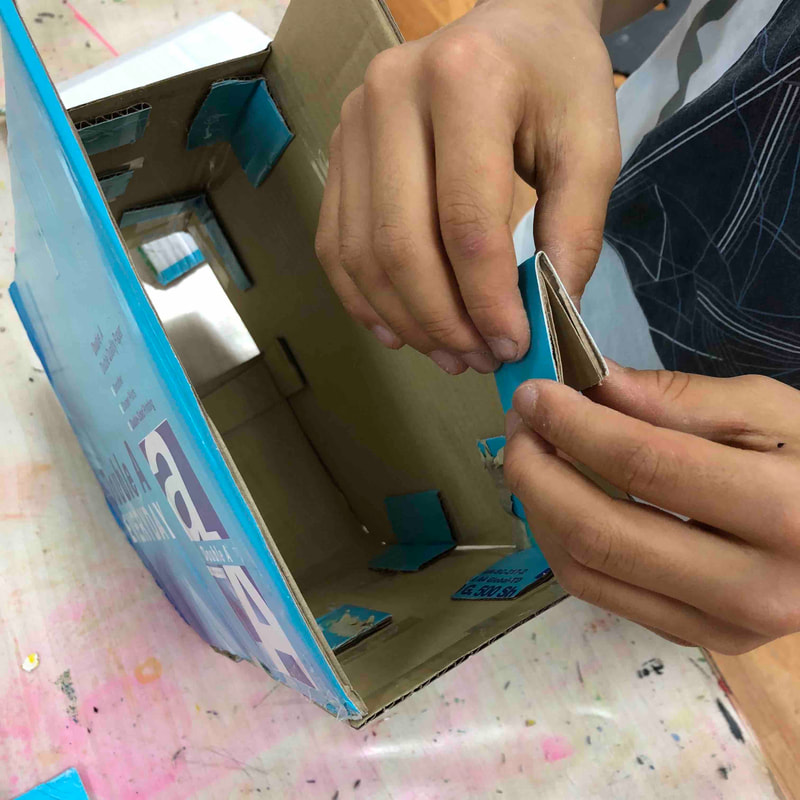
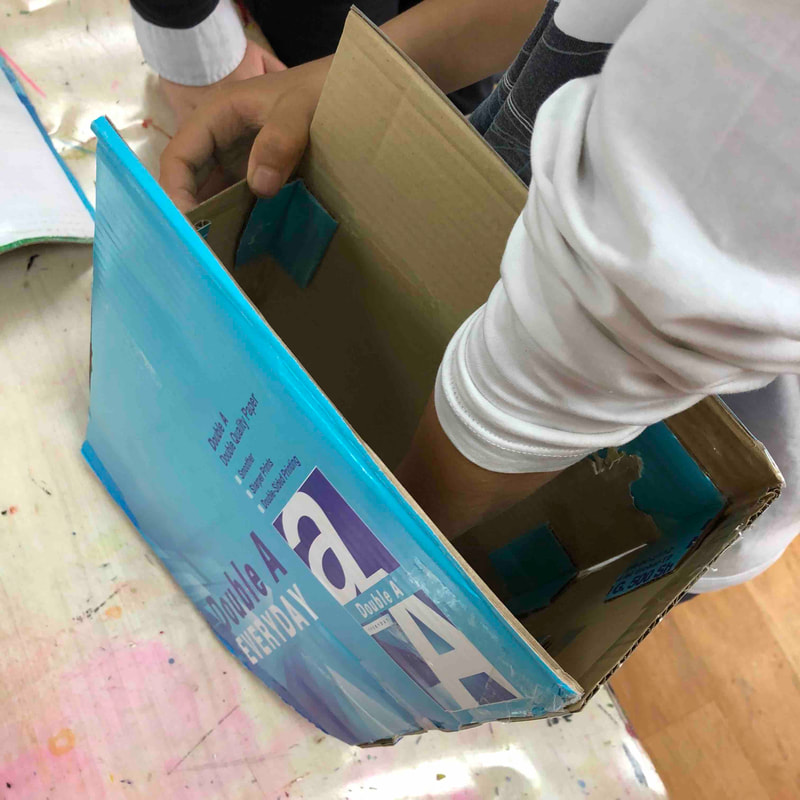
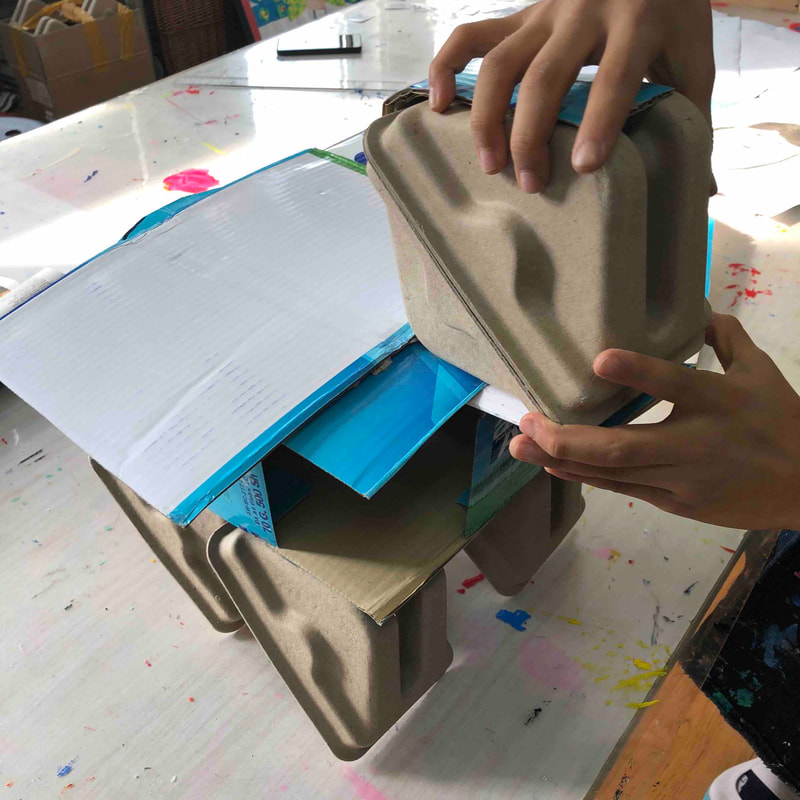
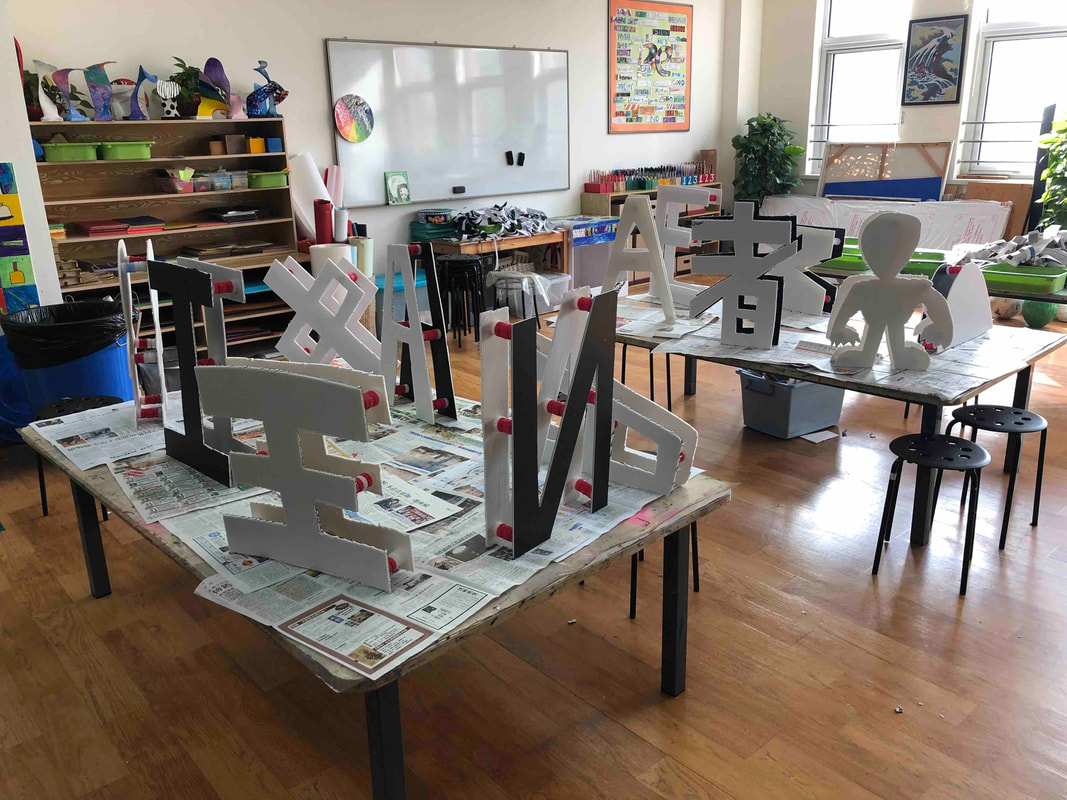
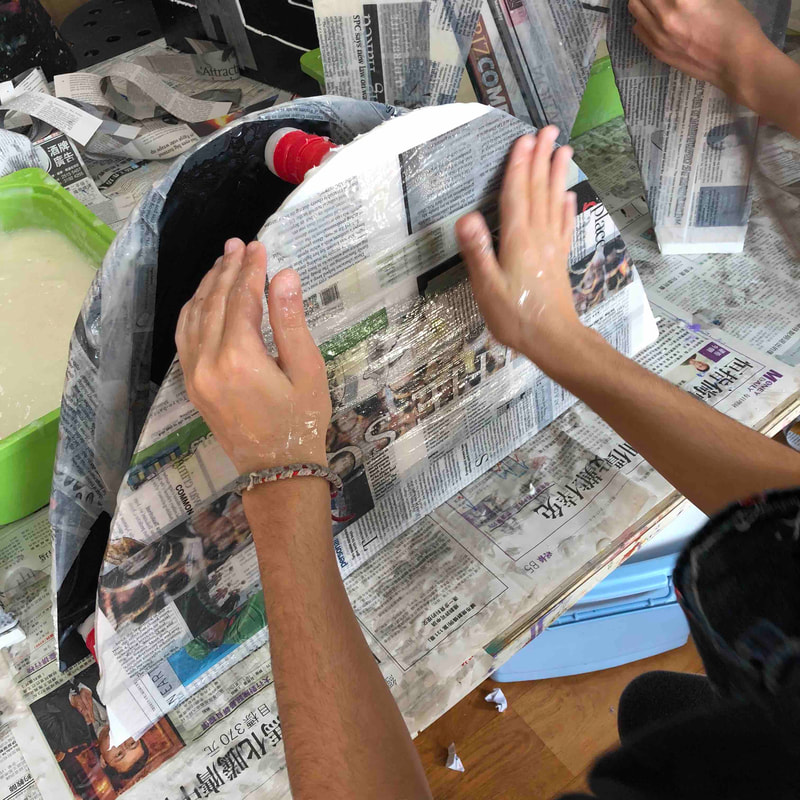
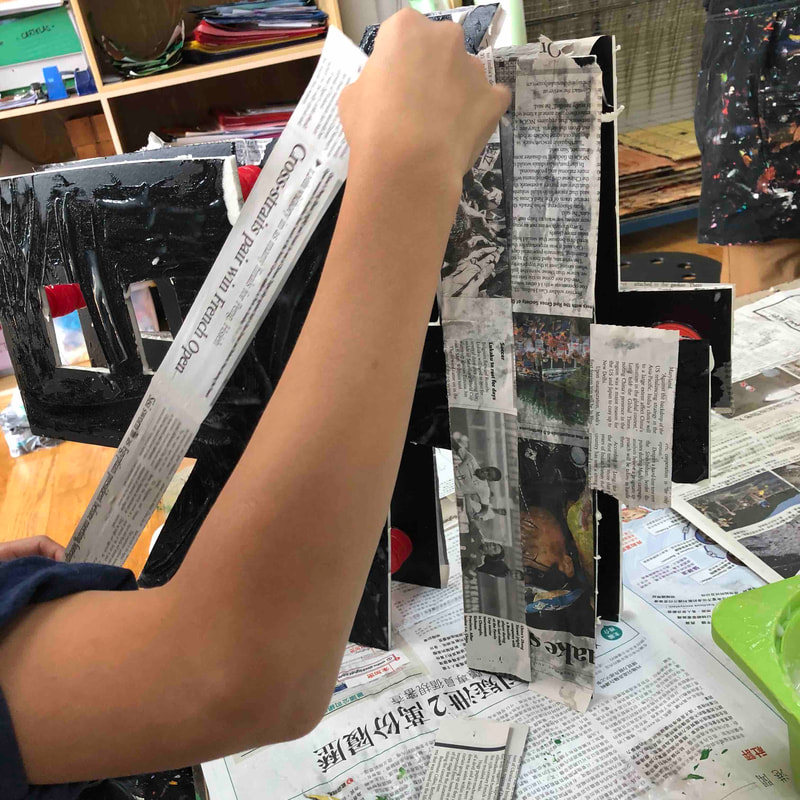
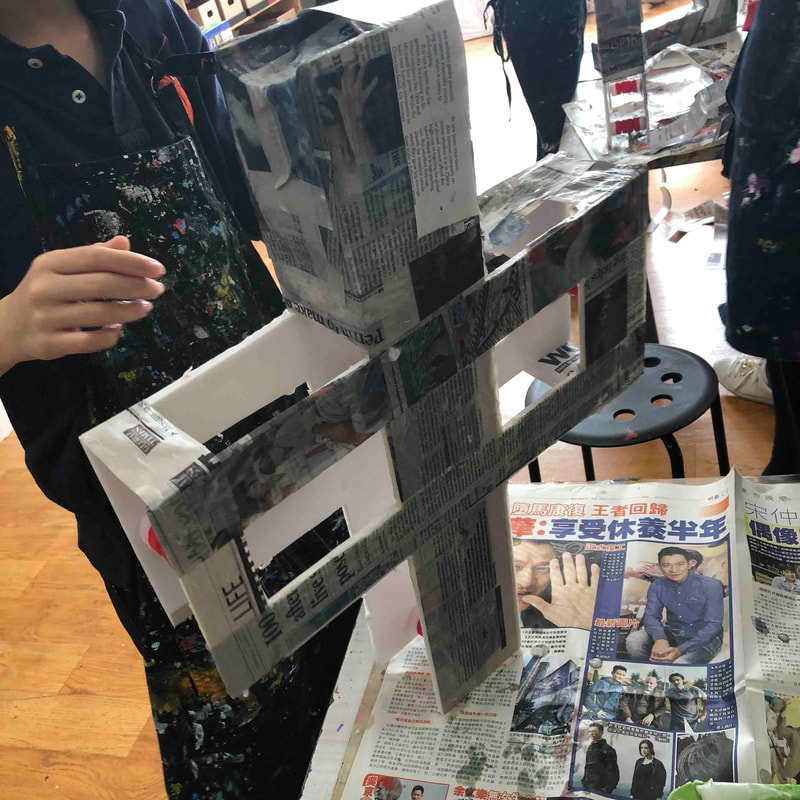
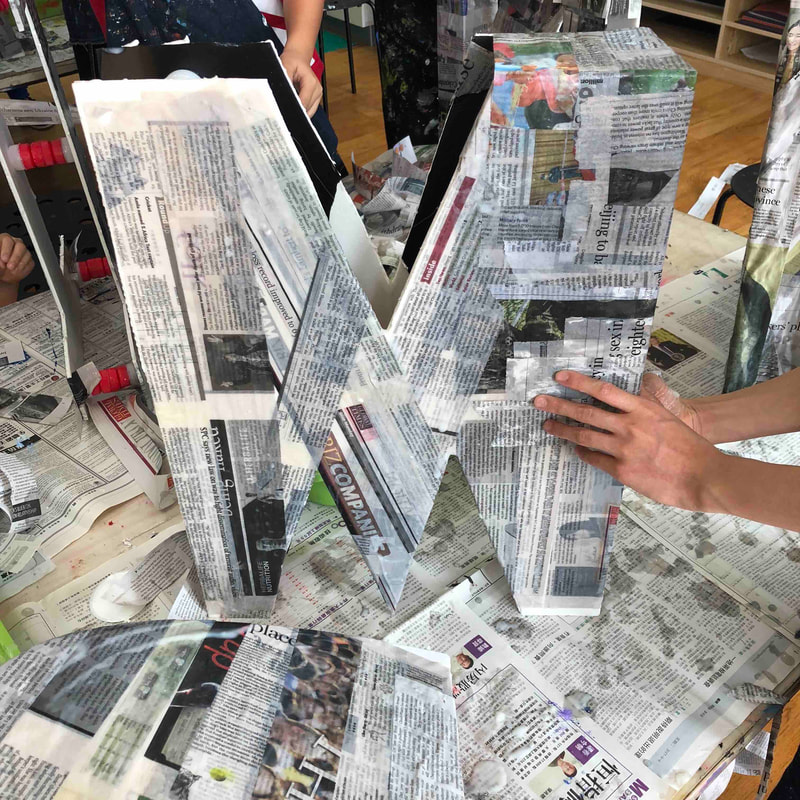
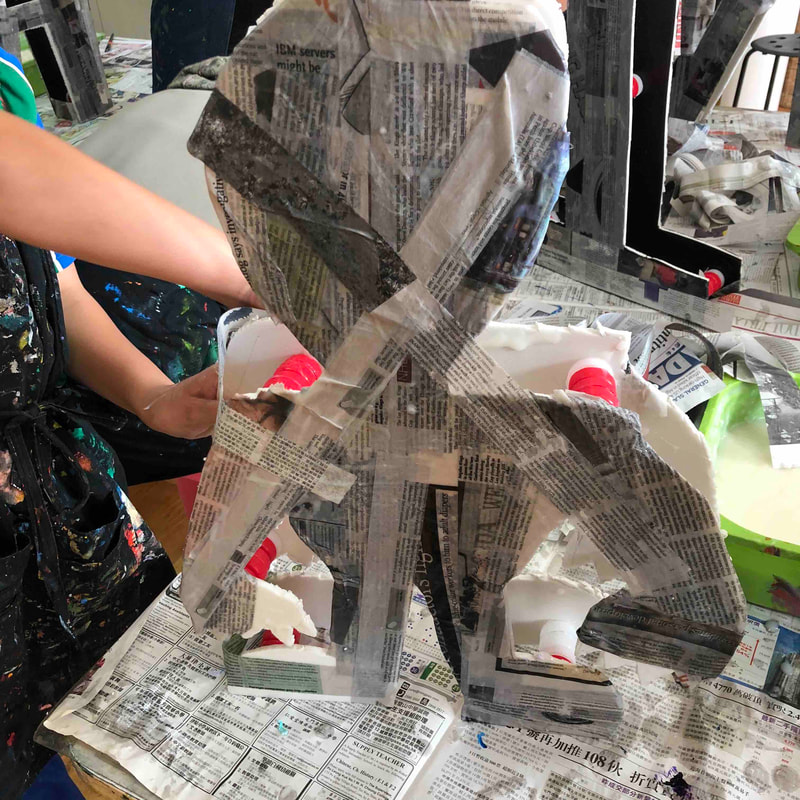
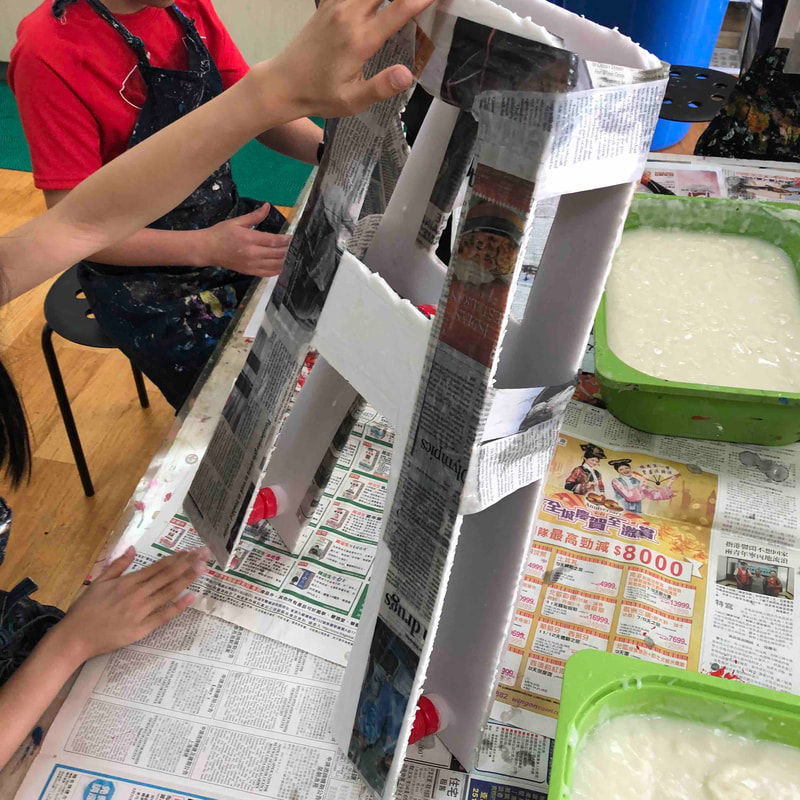
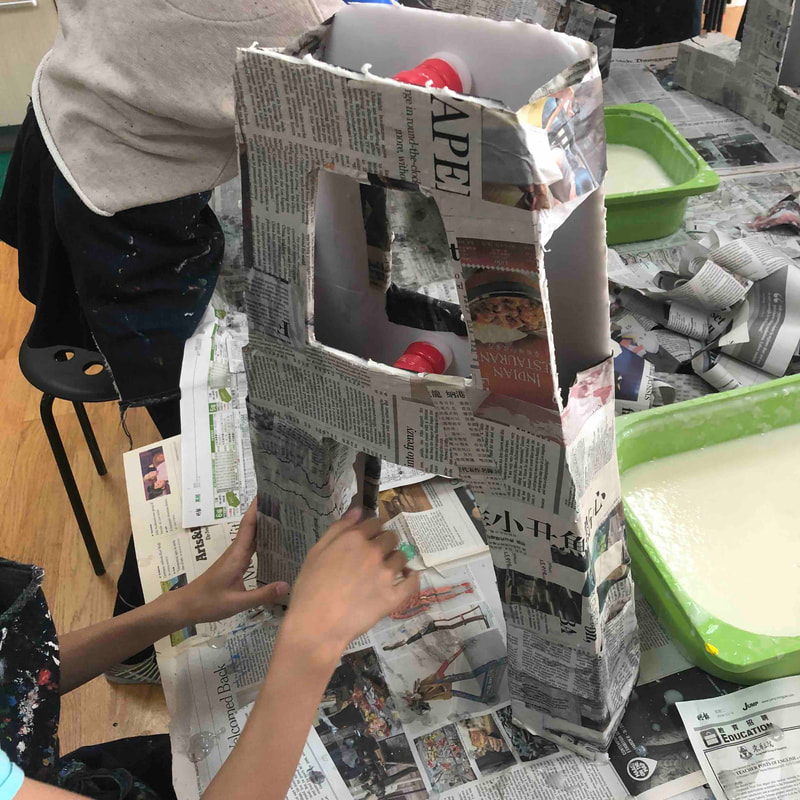
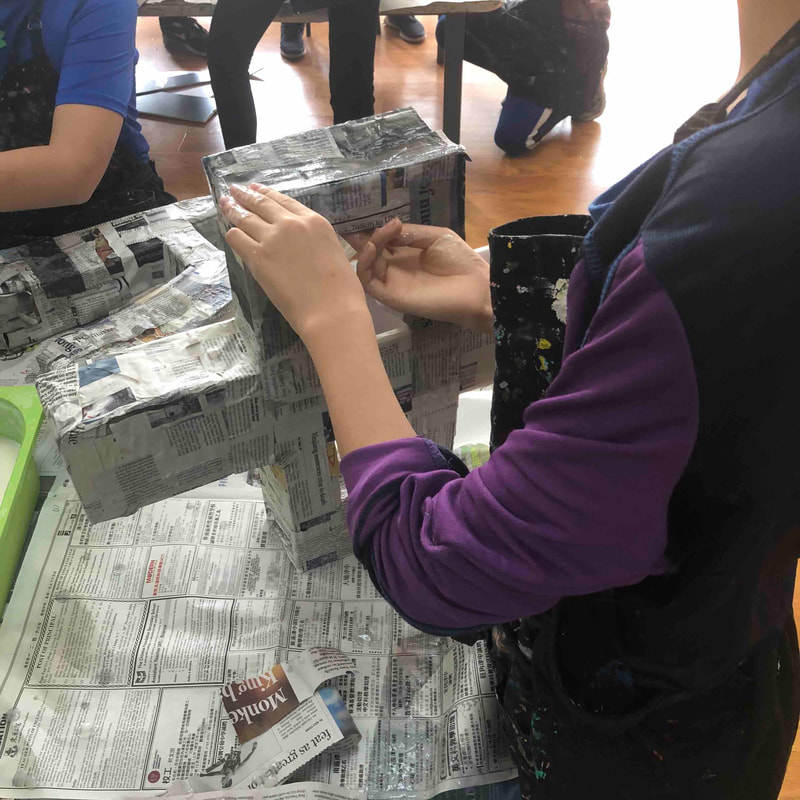
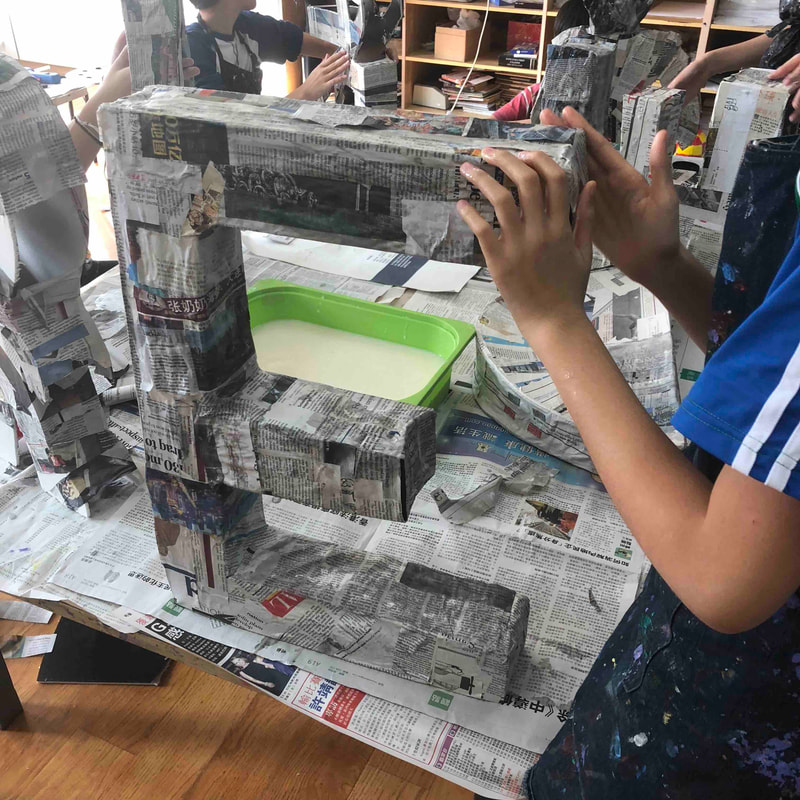
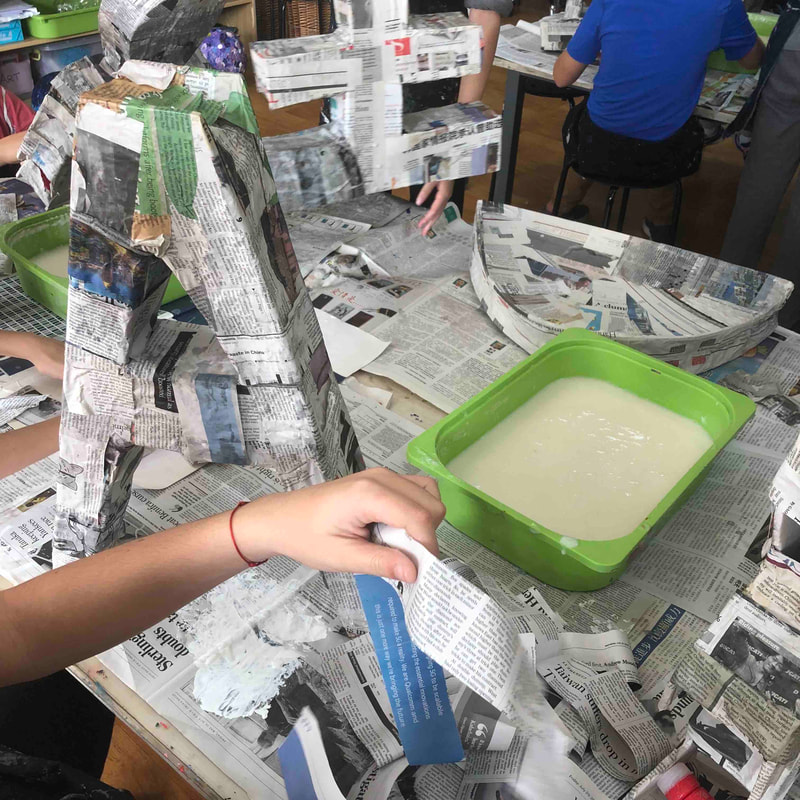
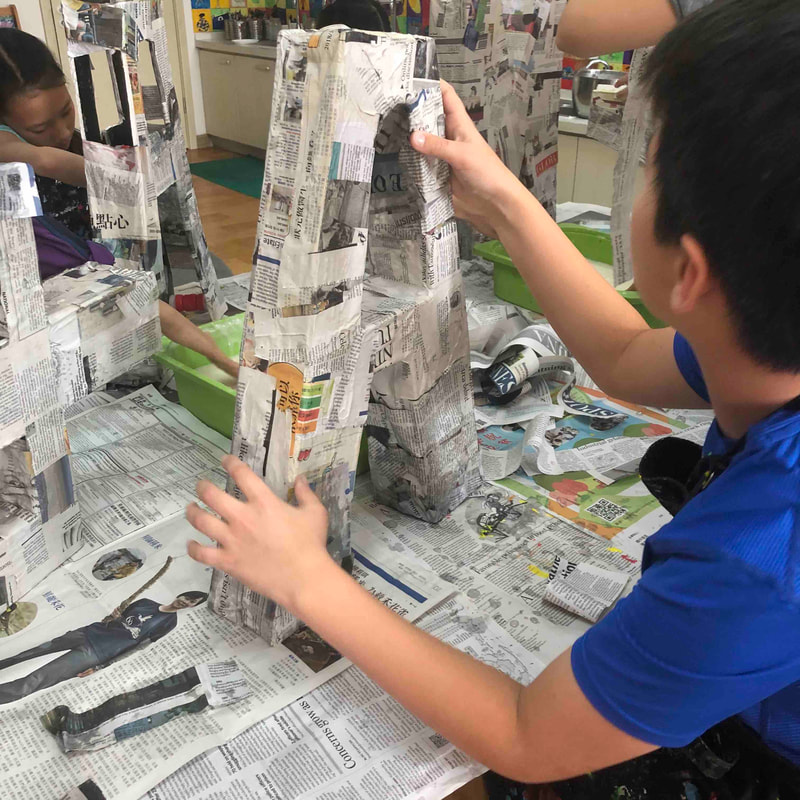
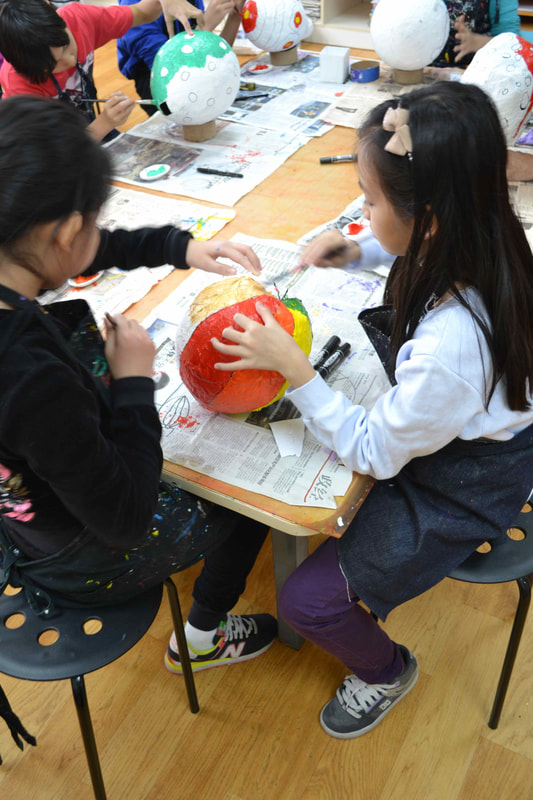
After the home classroom lesson of Ancient Greece, we got inspired to embark on a creative adventure in the Art room. We discussed Ancient Greek pottery techniques, styles, and historical context. Then, each student let their imagination run wild, designing their own unique pots. Instead of the usual clay, we decided to switch things up and use recycled cardboard and the magical technique of paper mache. Some opted for pure cardboard creativity, while others went for a round shape using balloons and a layer of paper mache. Here you can see a glimpse of the first two lessons.
0 Comments
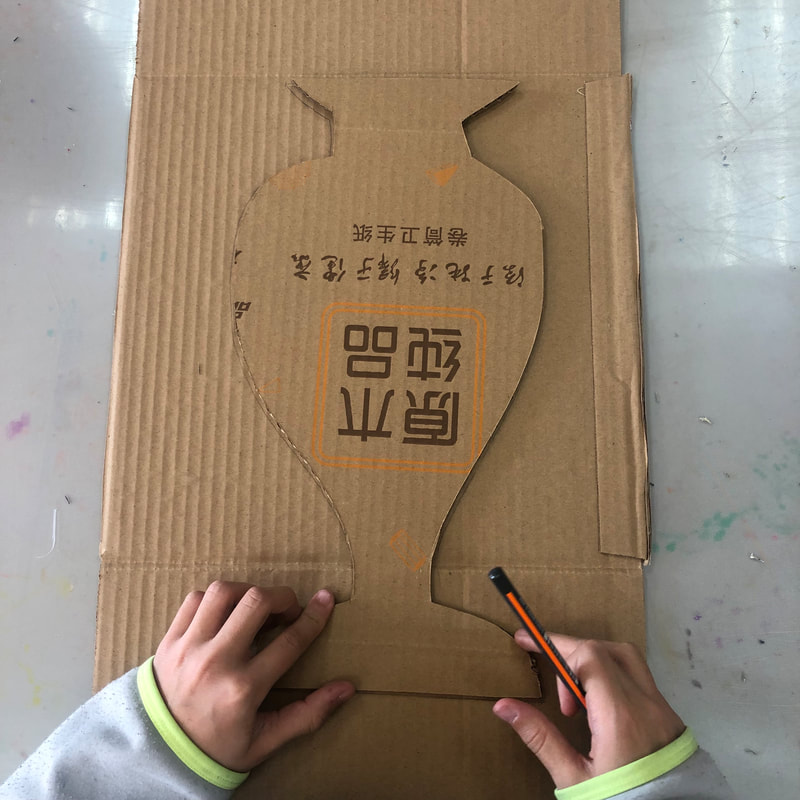
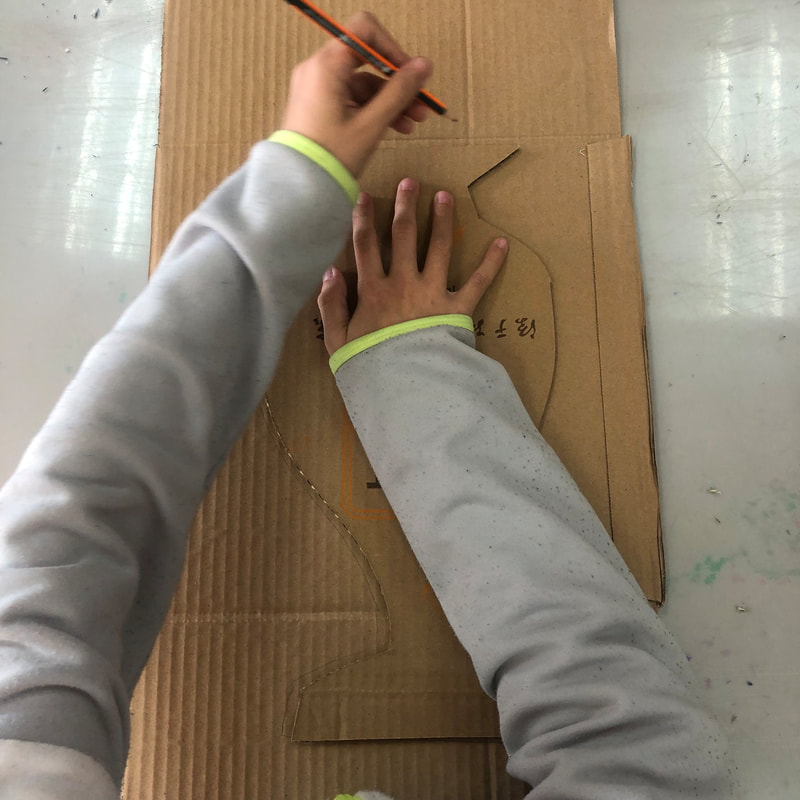
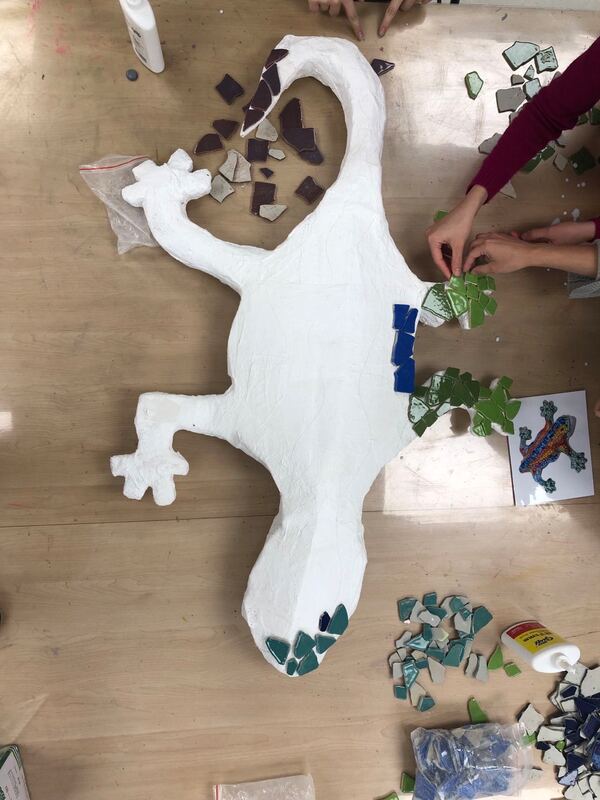
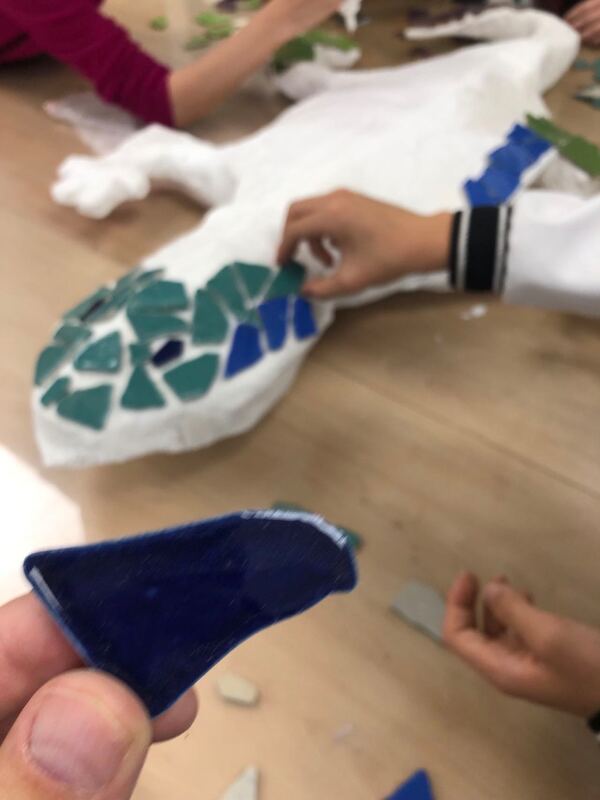
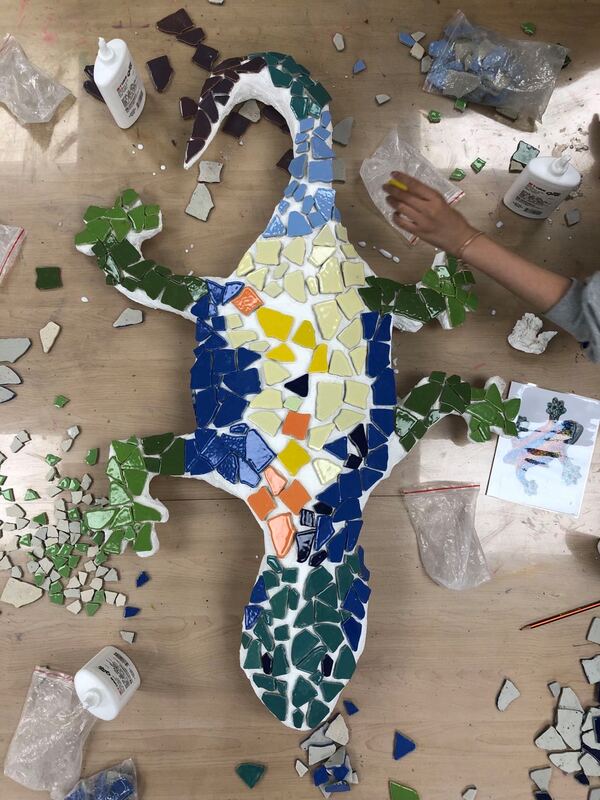
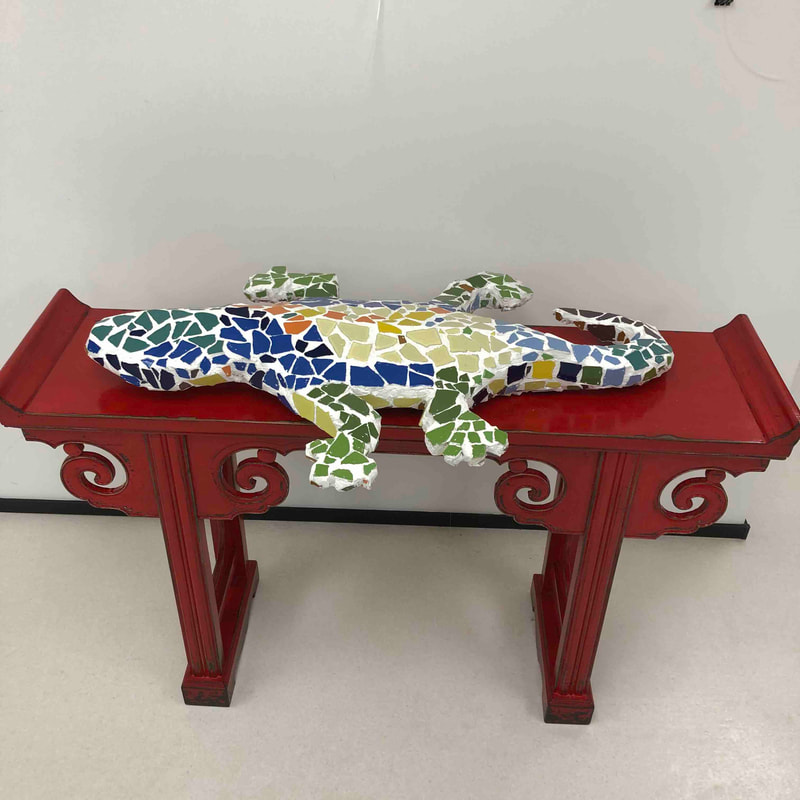
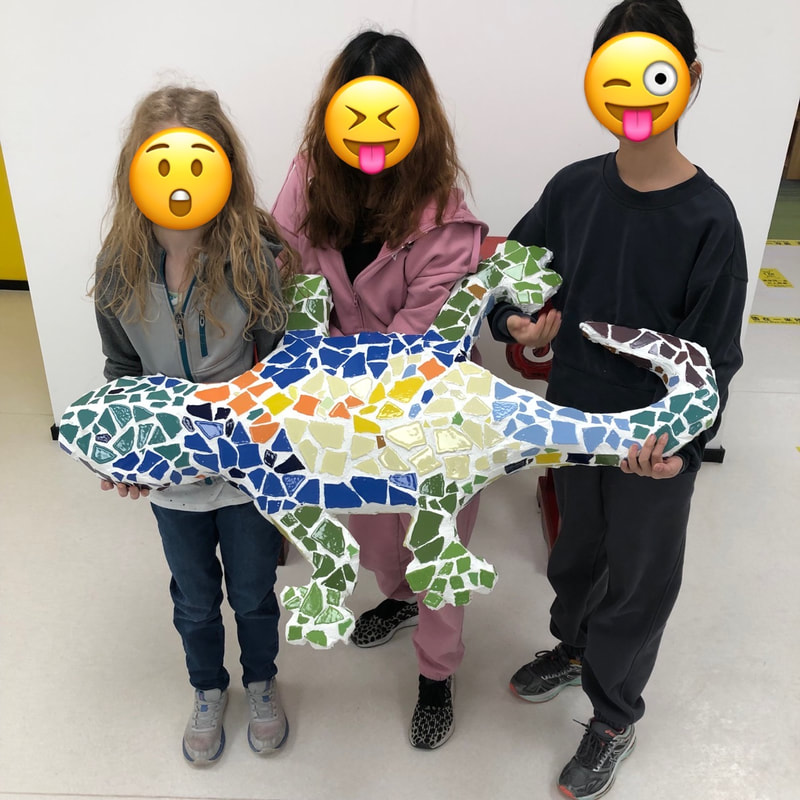
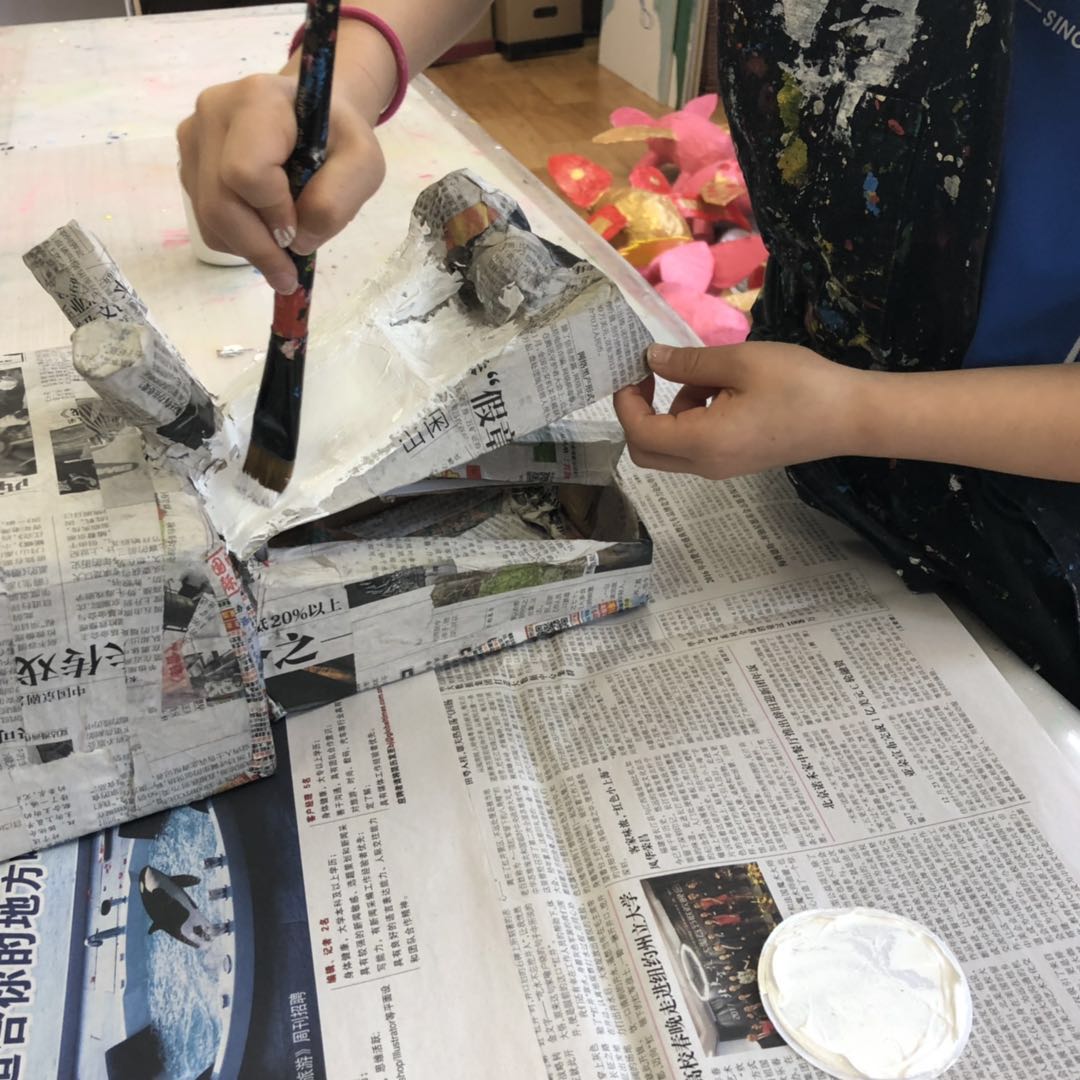
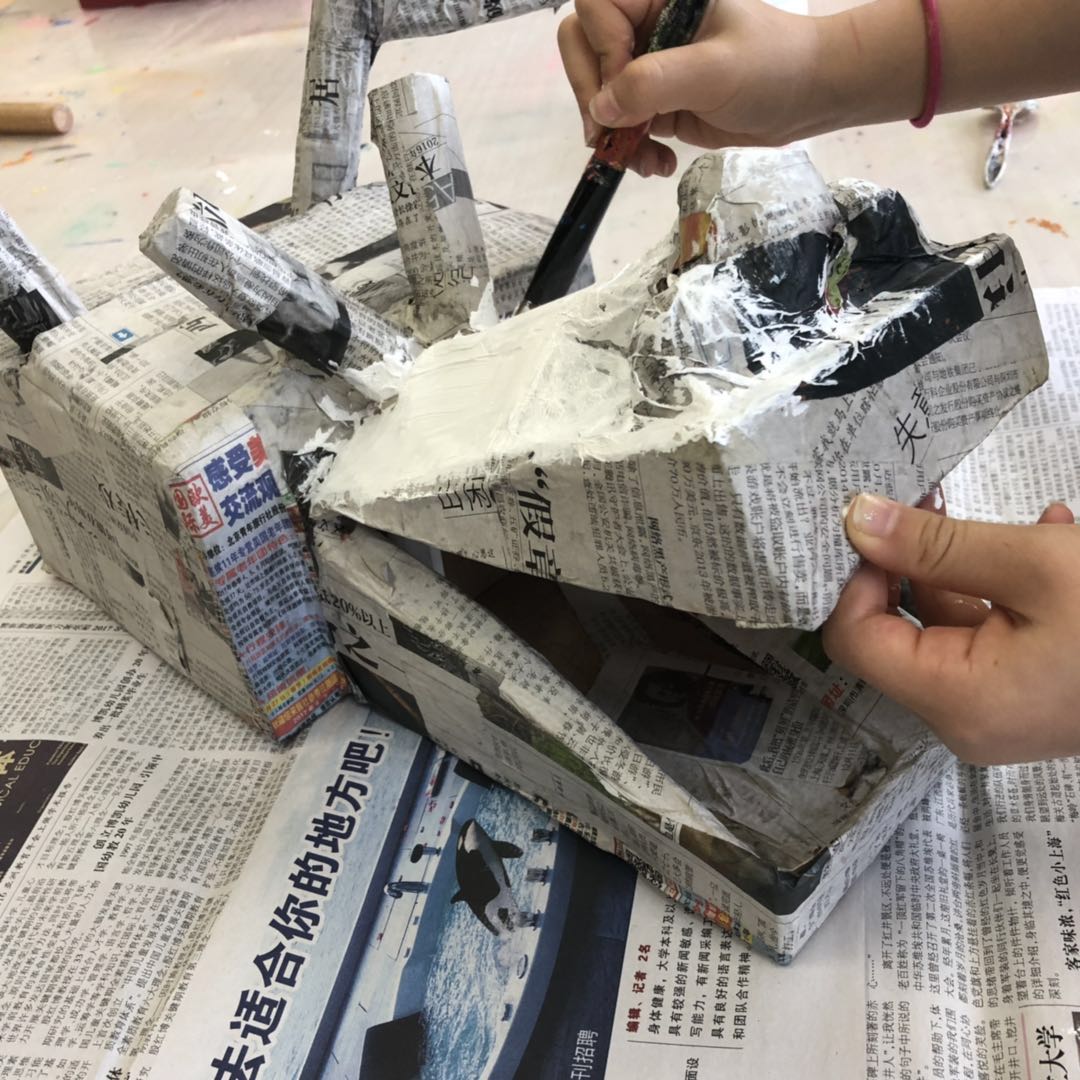
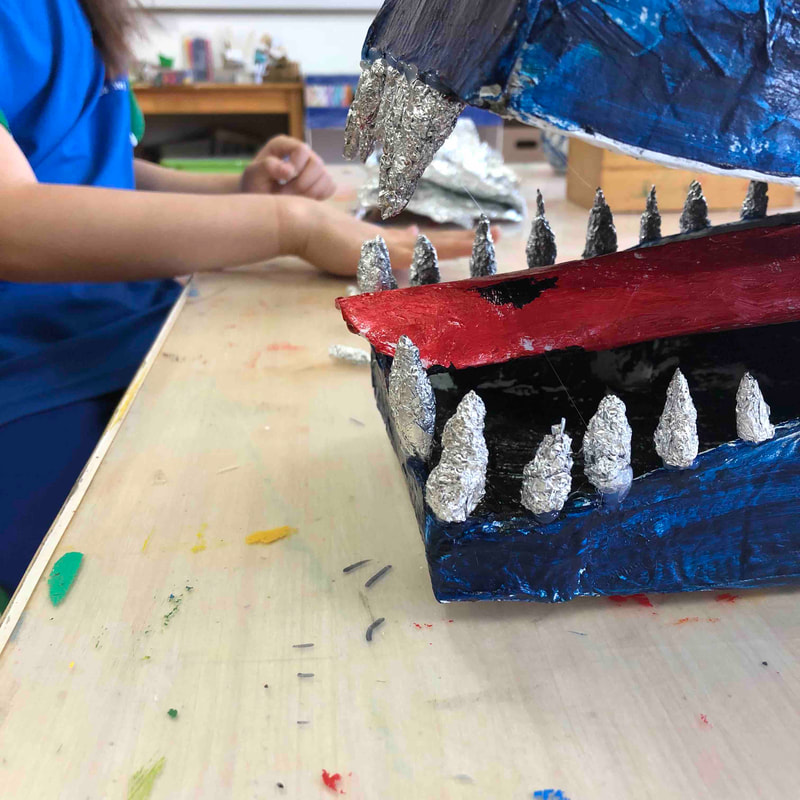
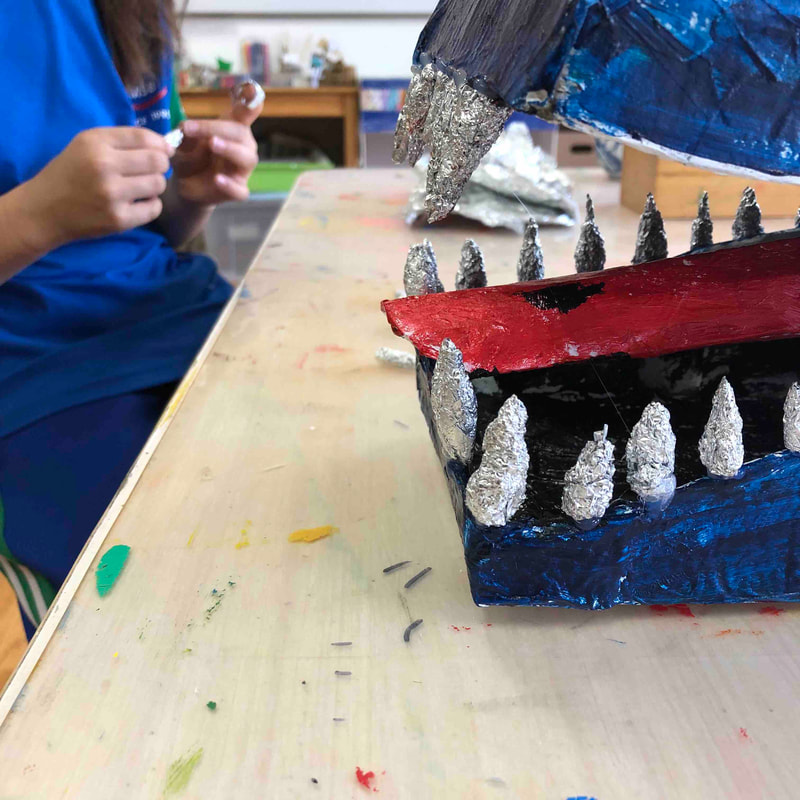
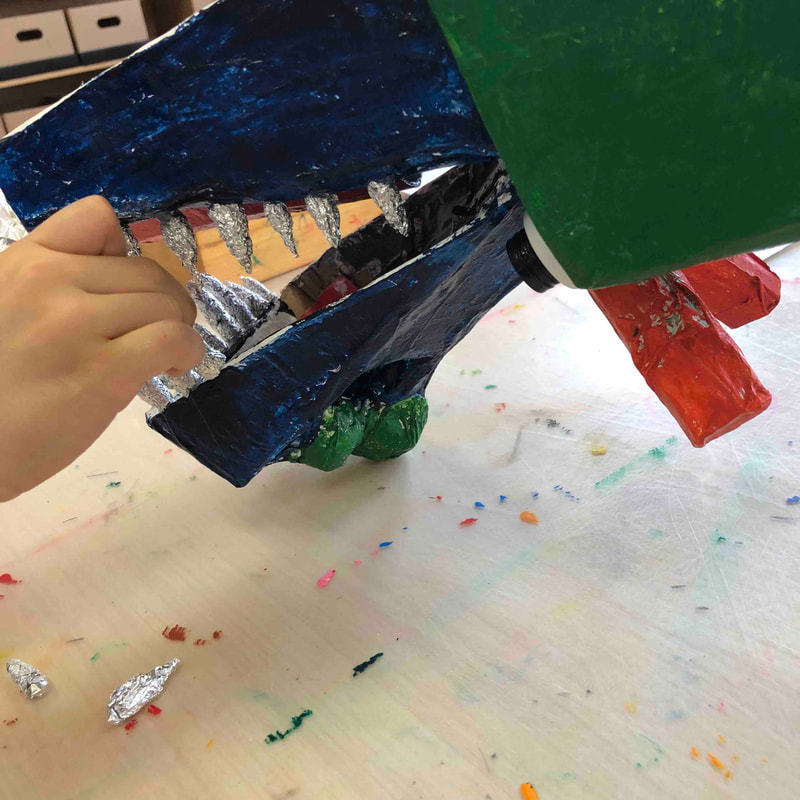
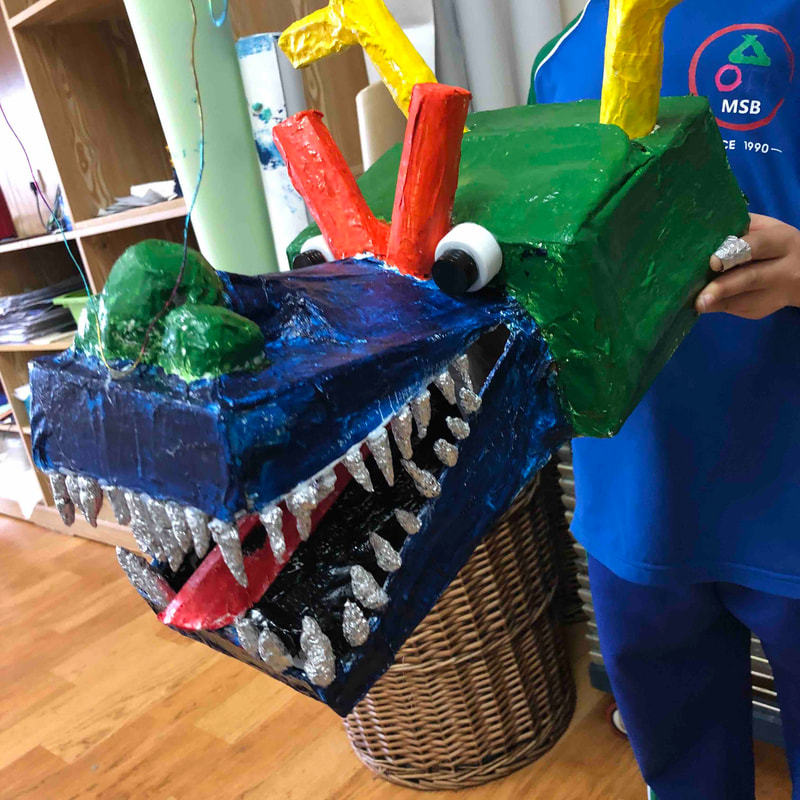
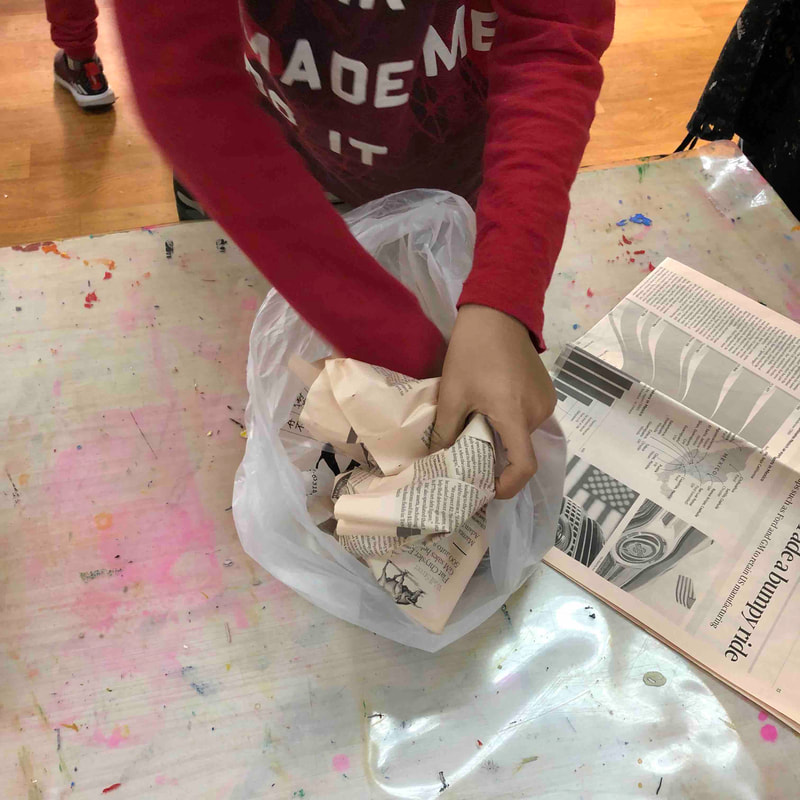
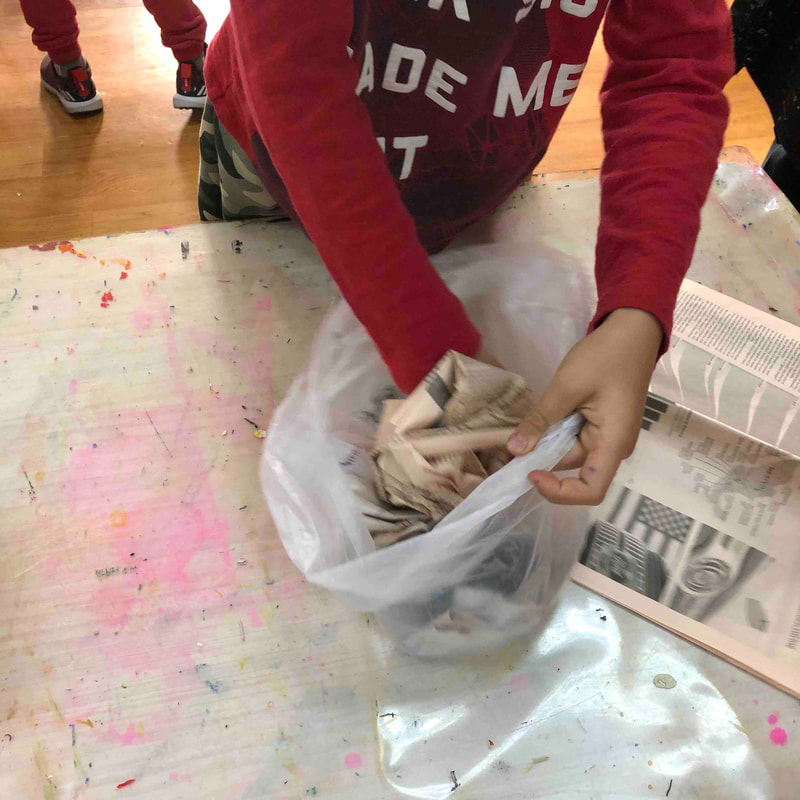
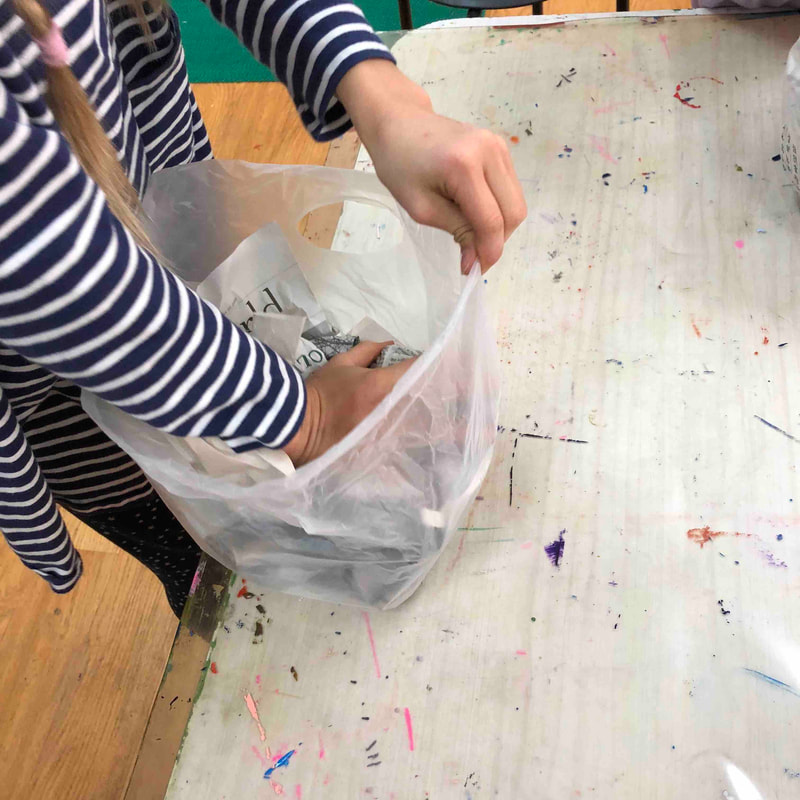
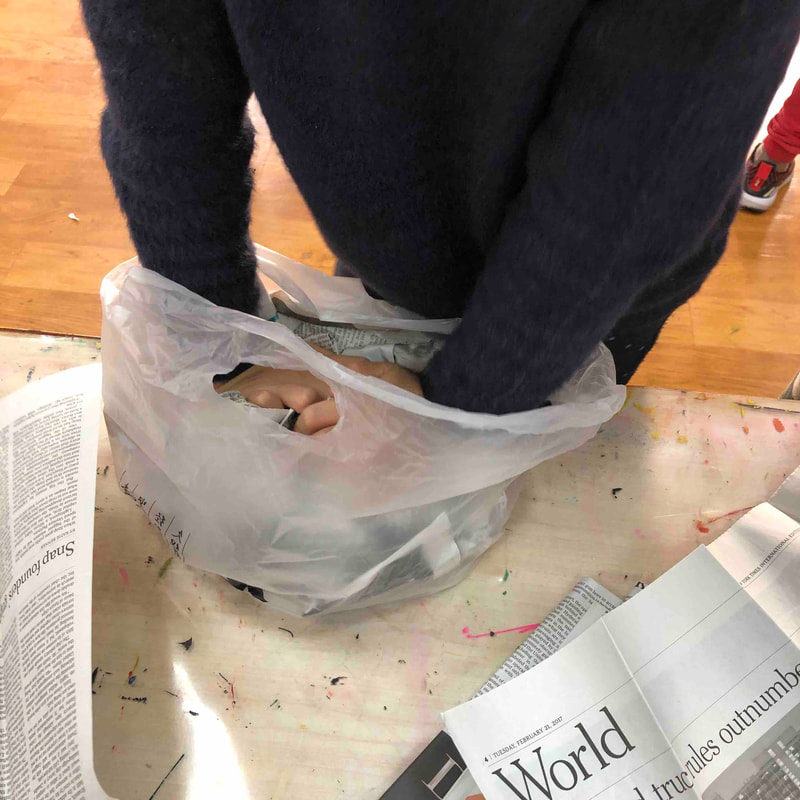
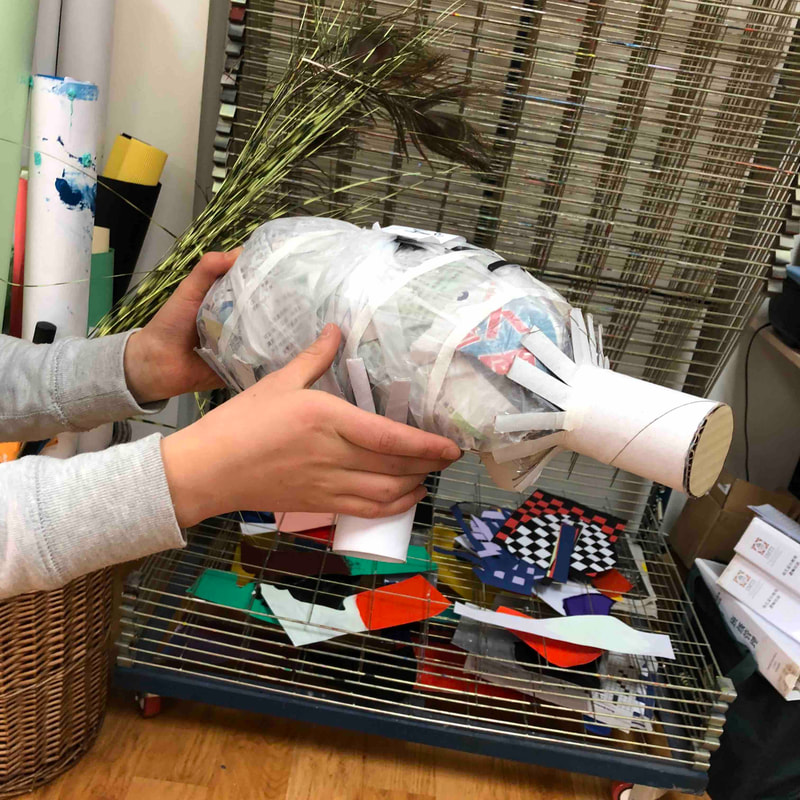
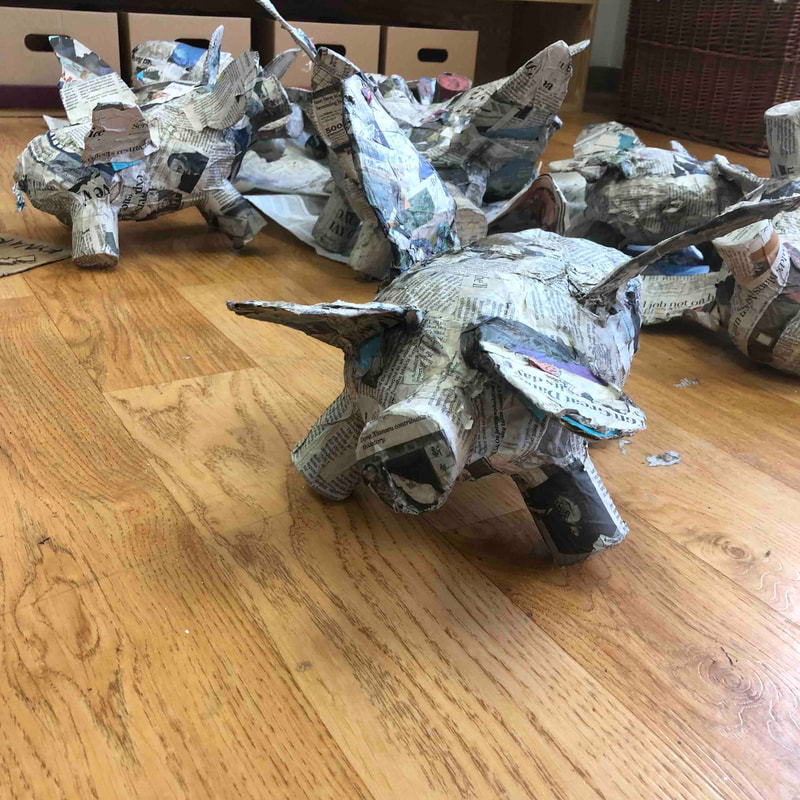
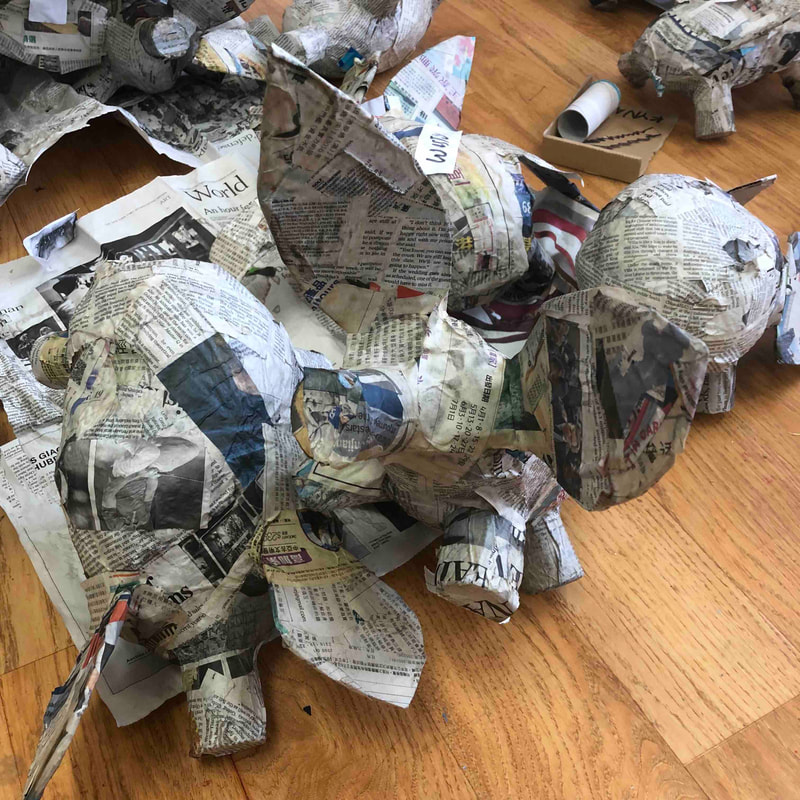
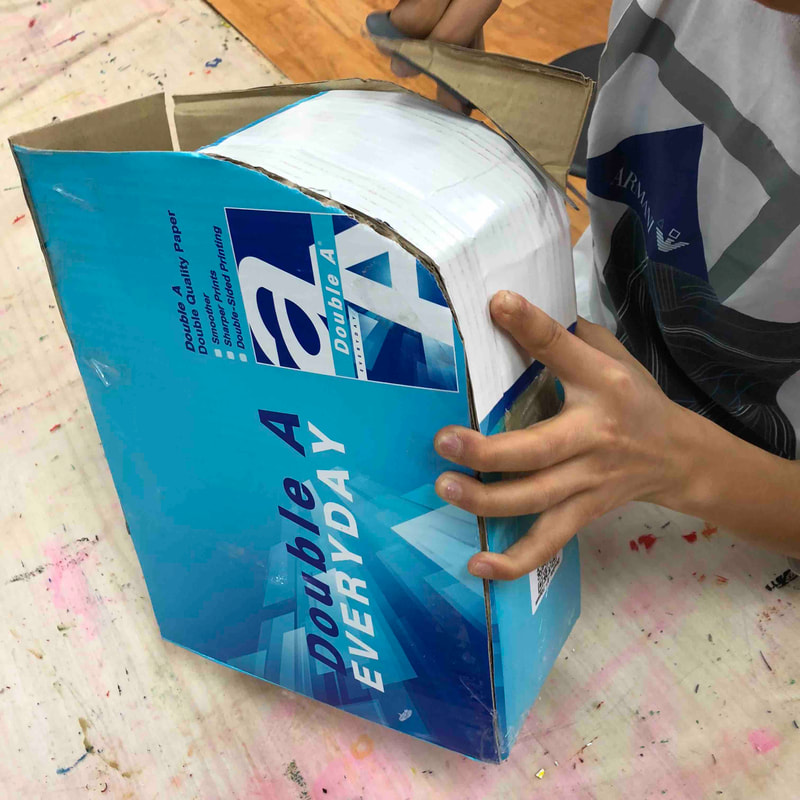
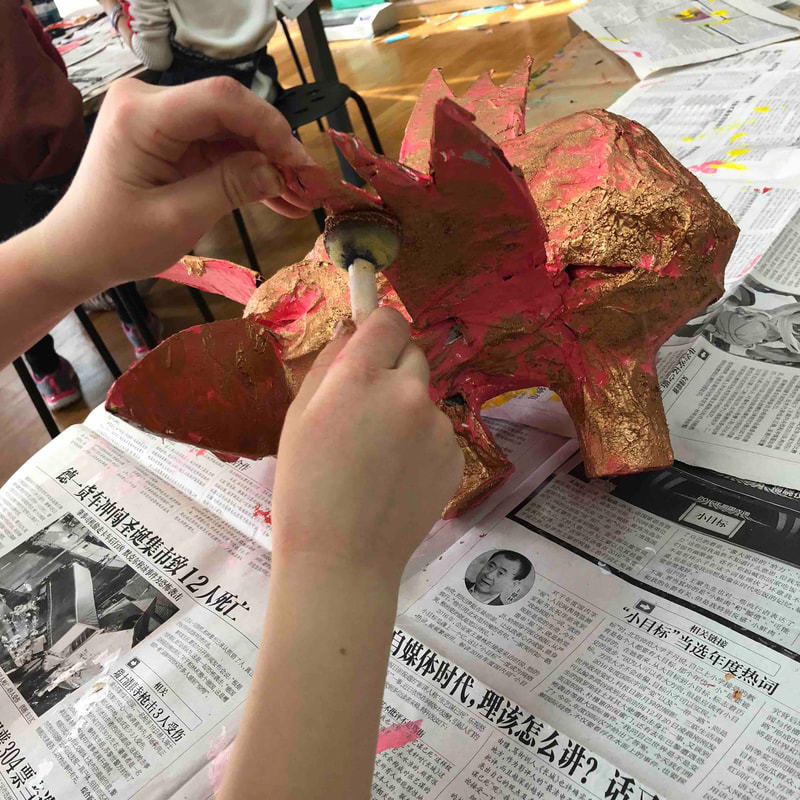
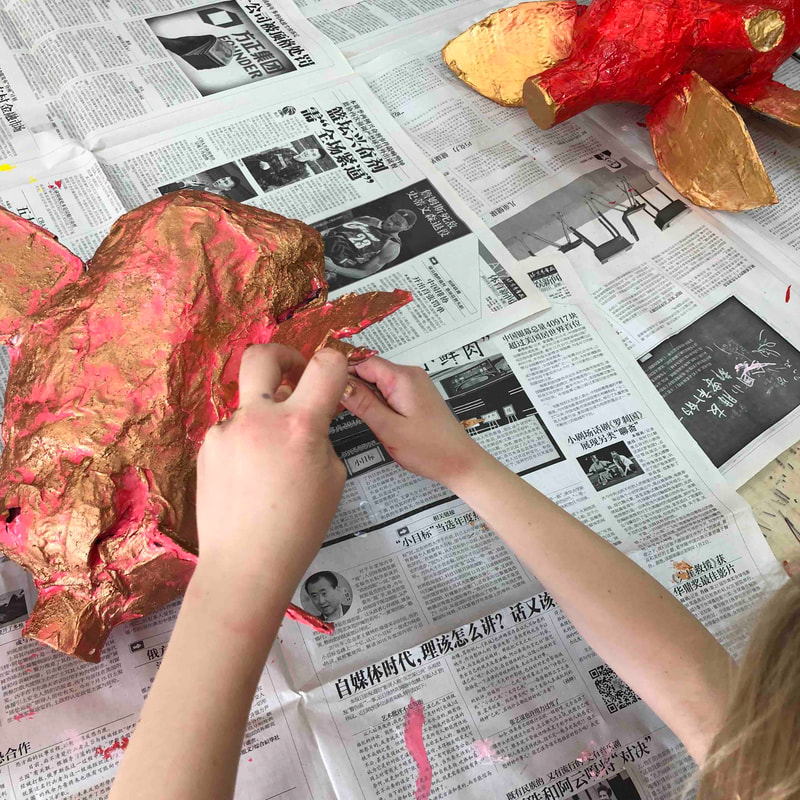
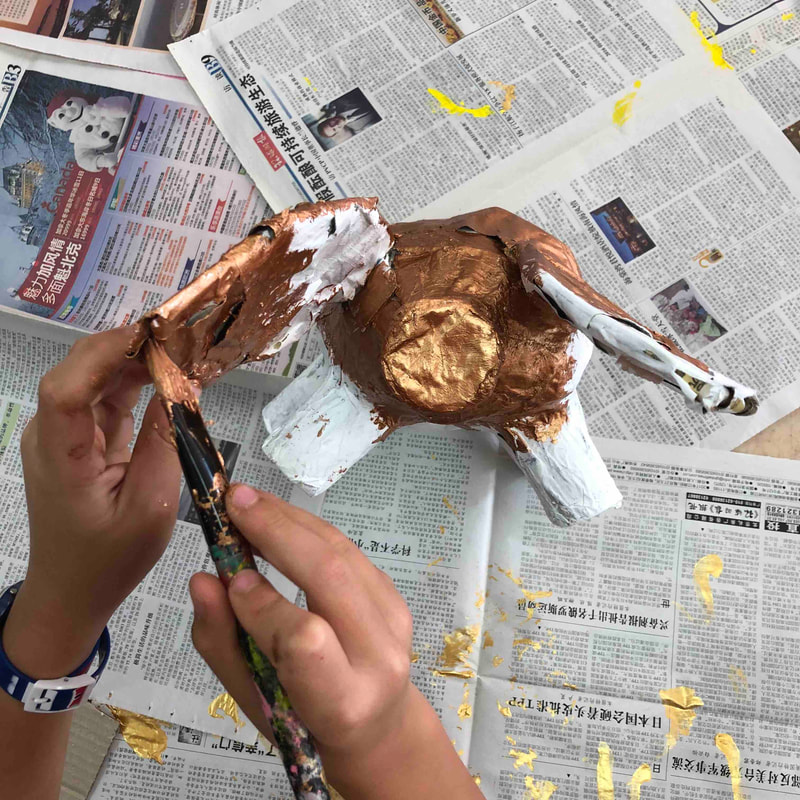
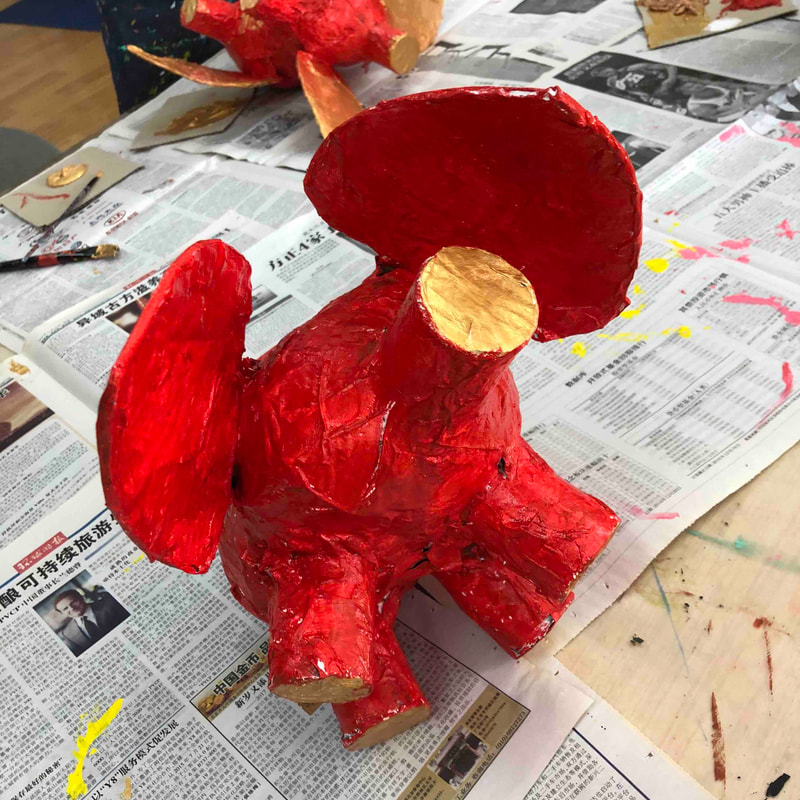
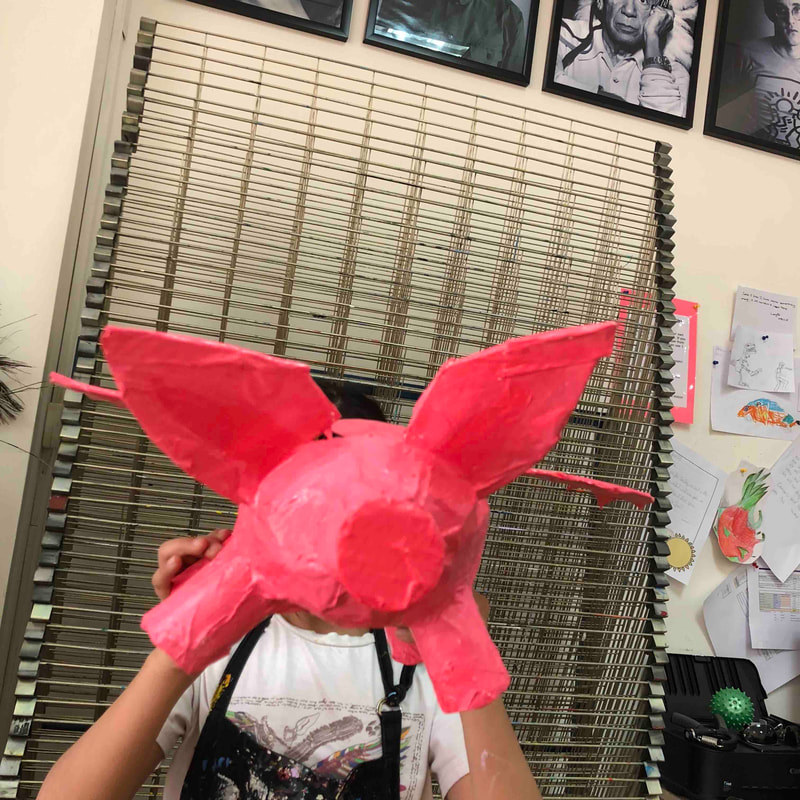
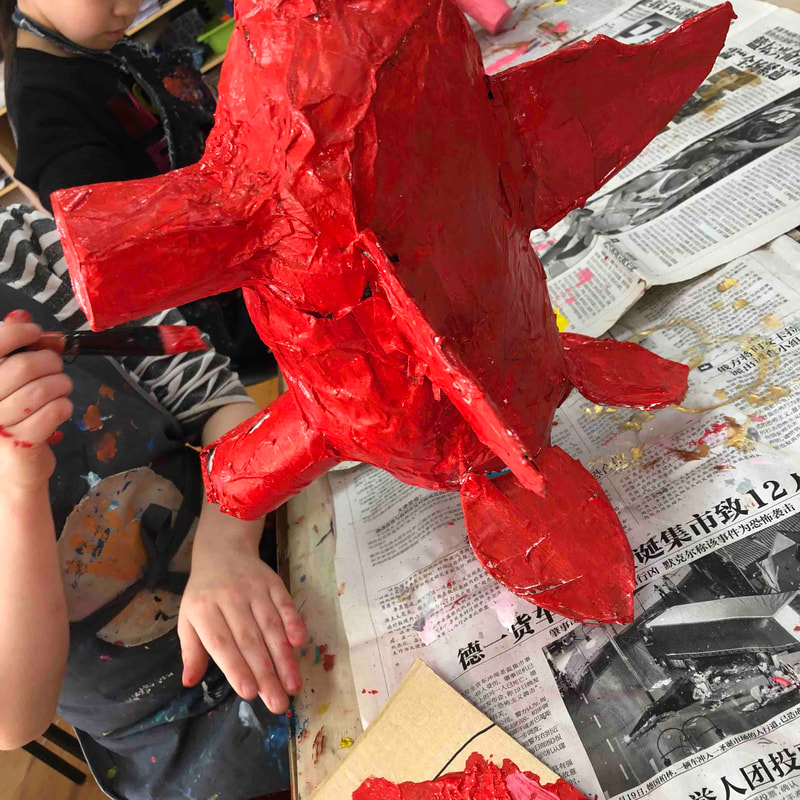
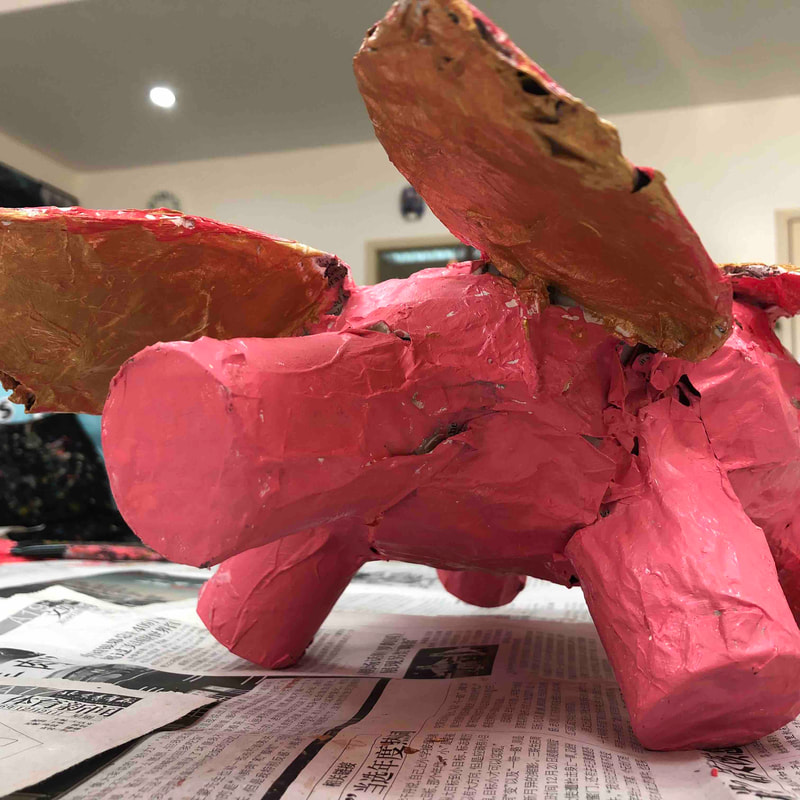
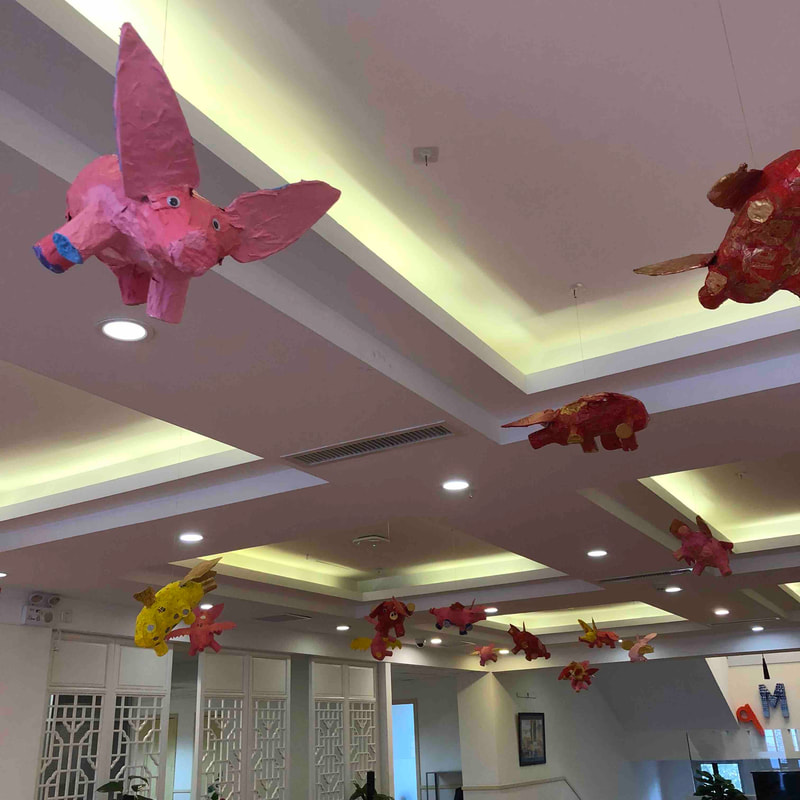
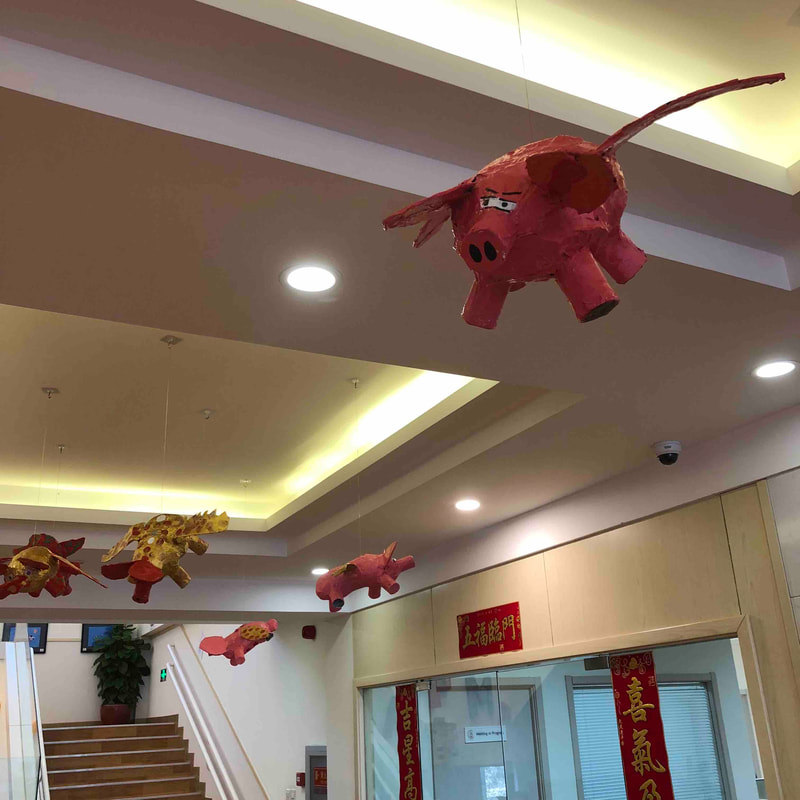
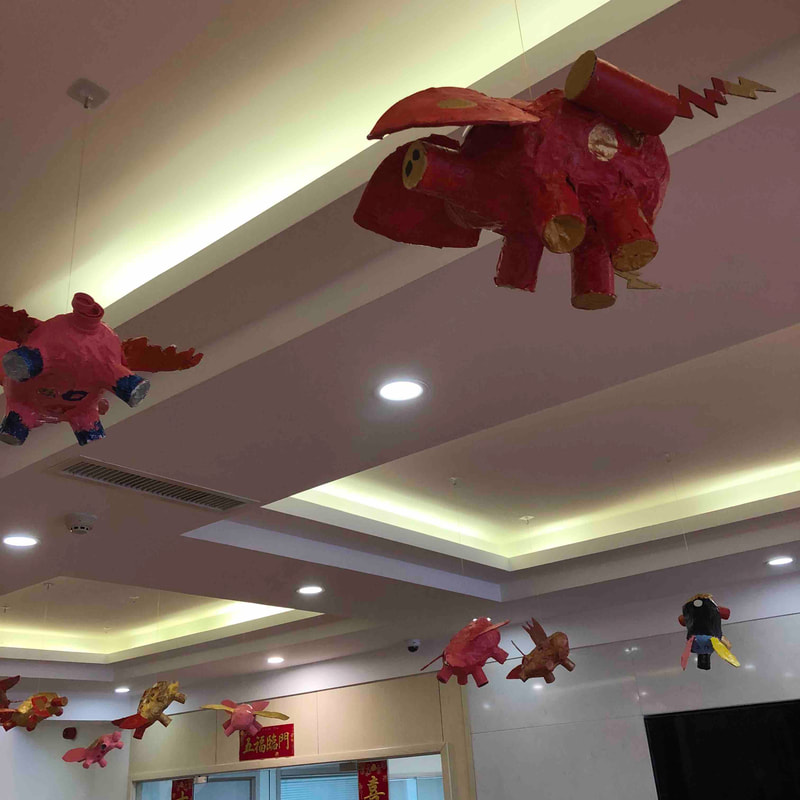
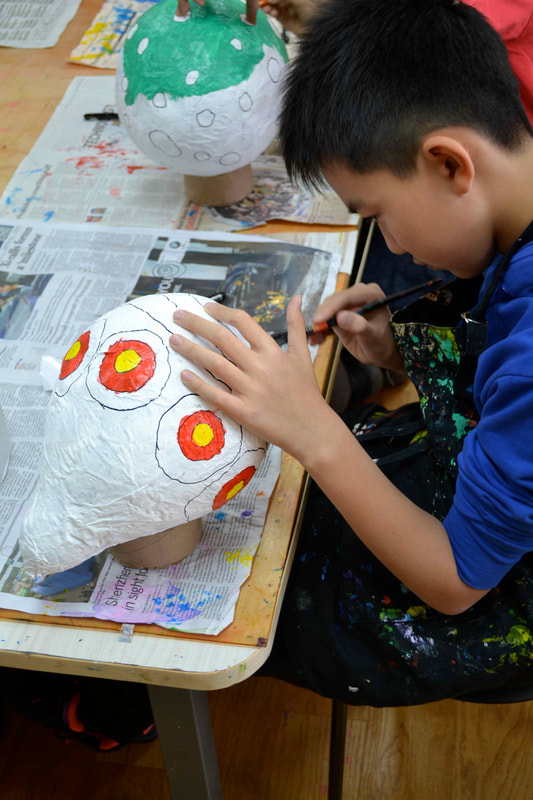
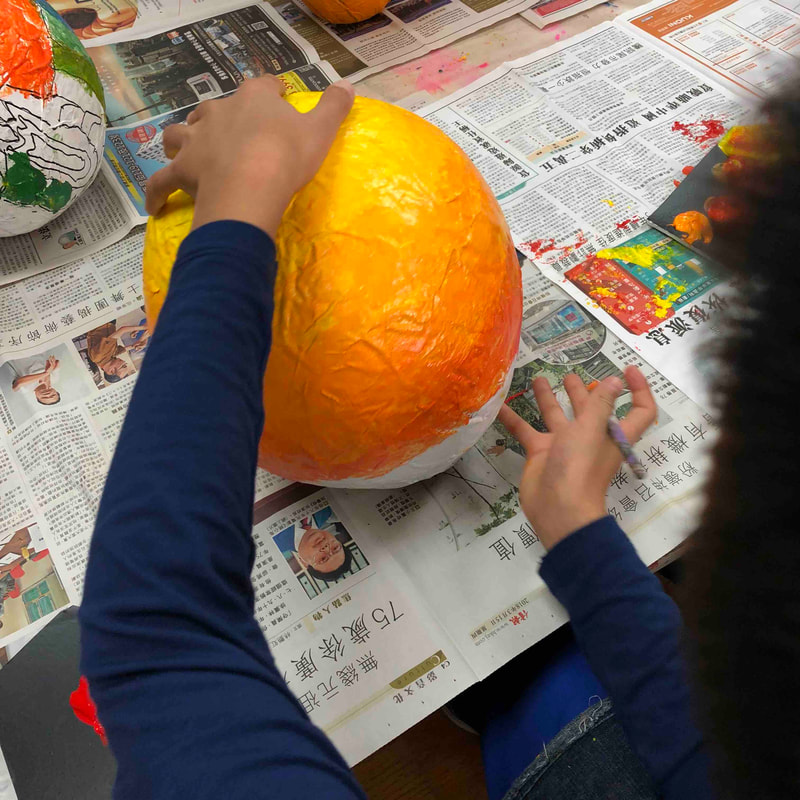
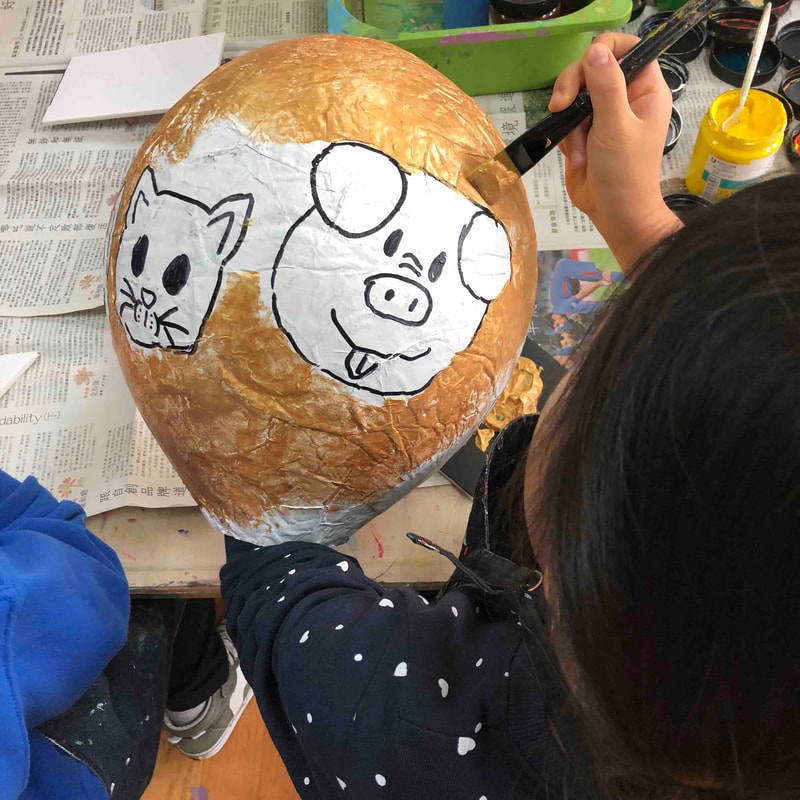
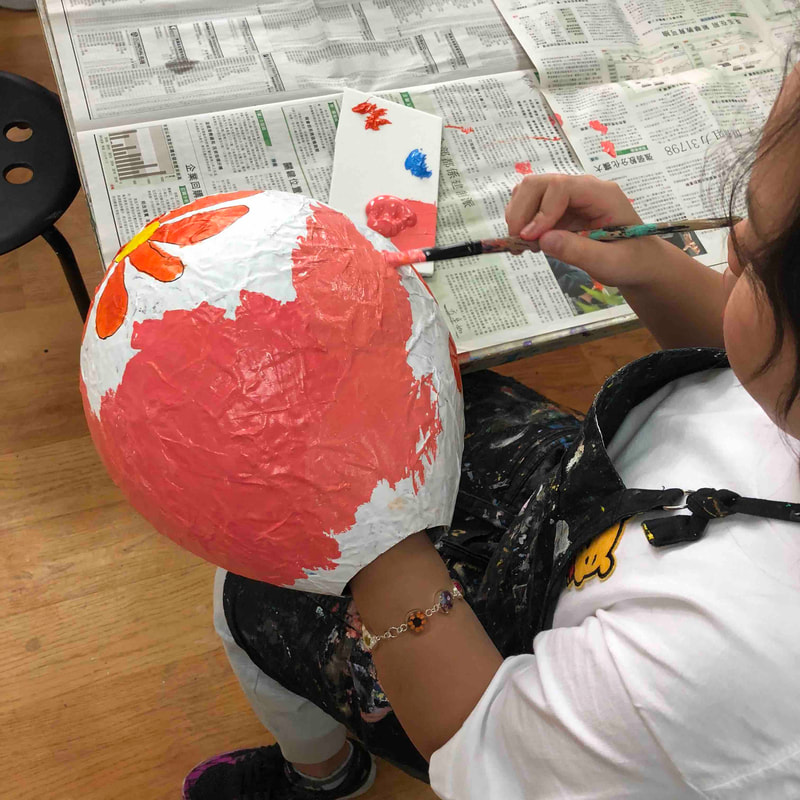
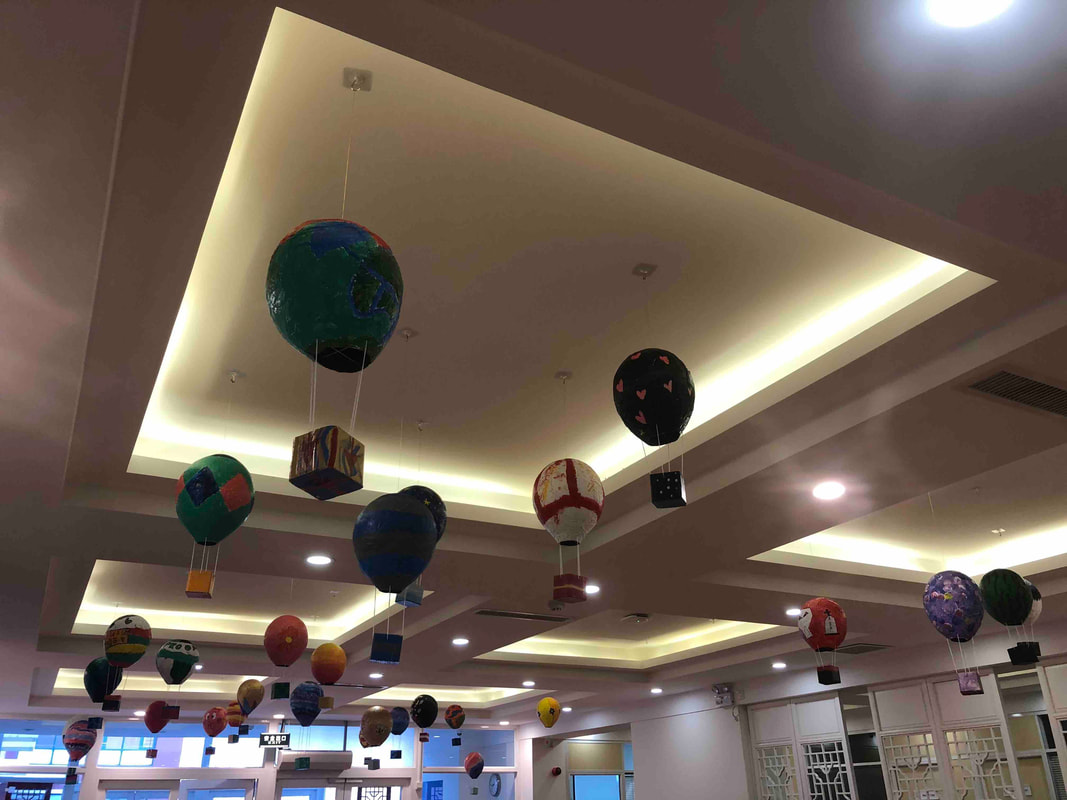
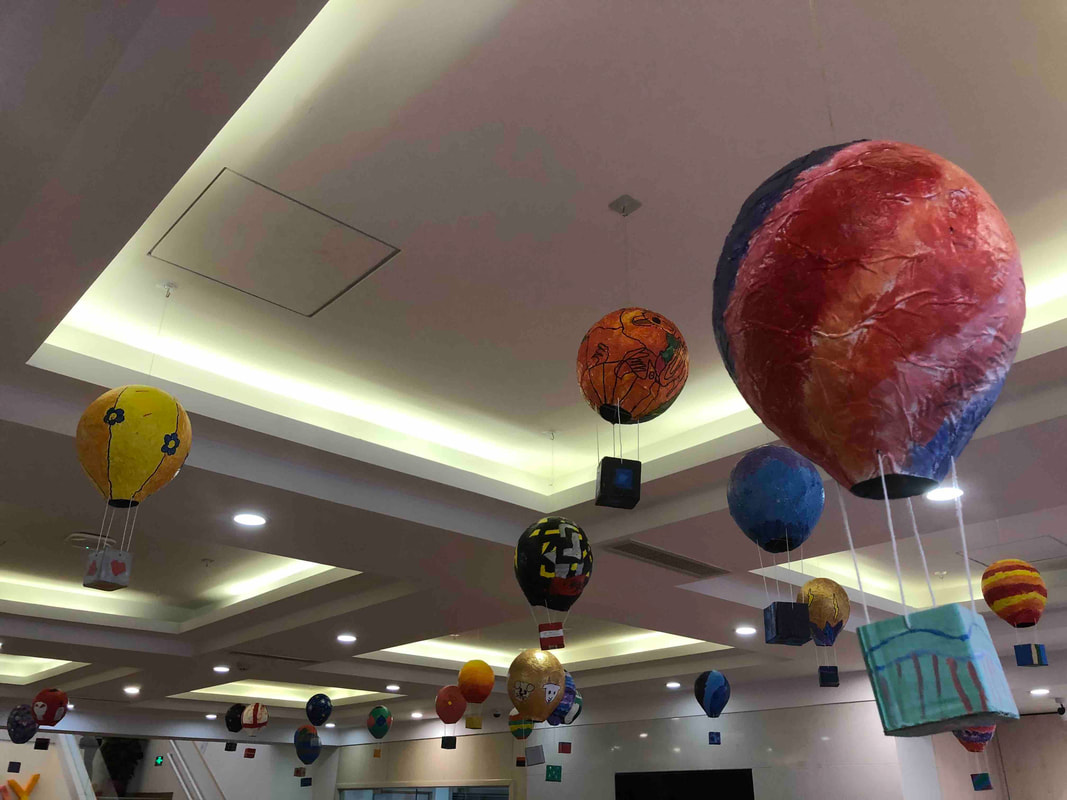
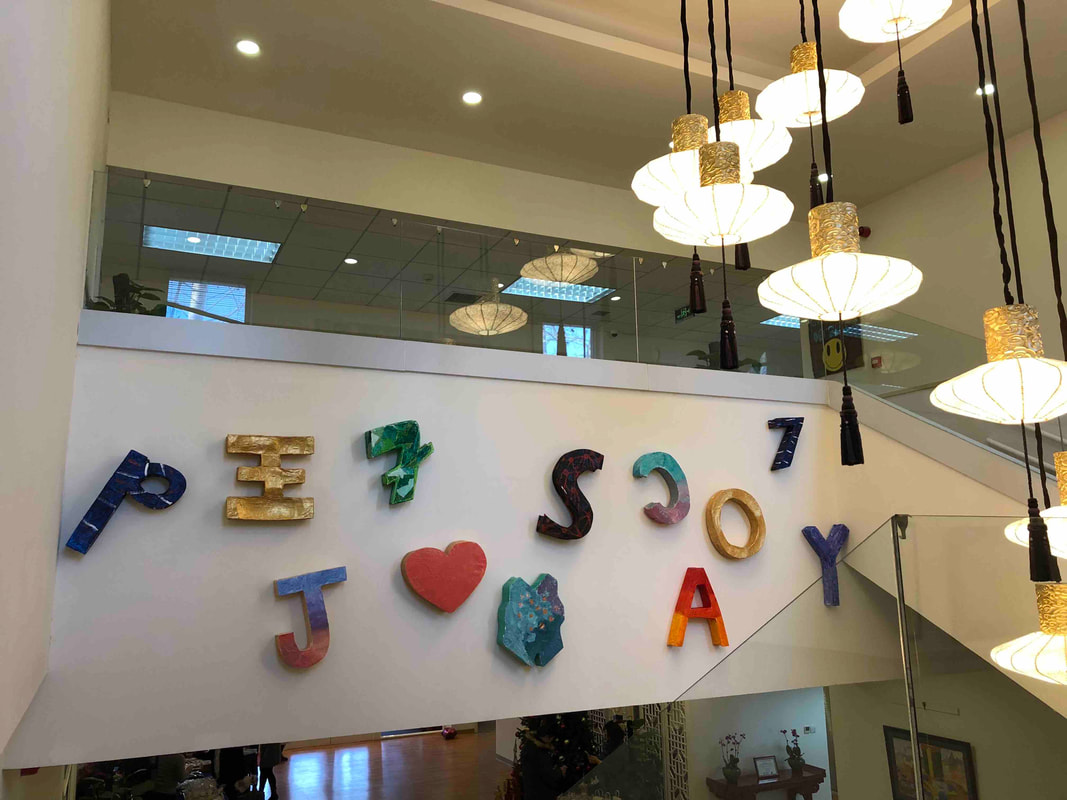
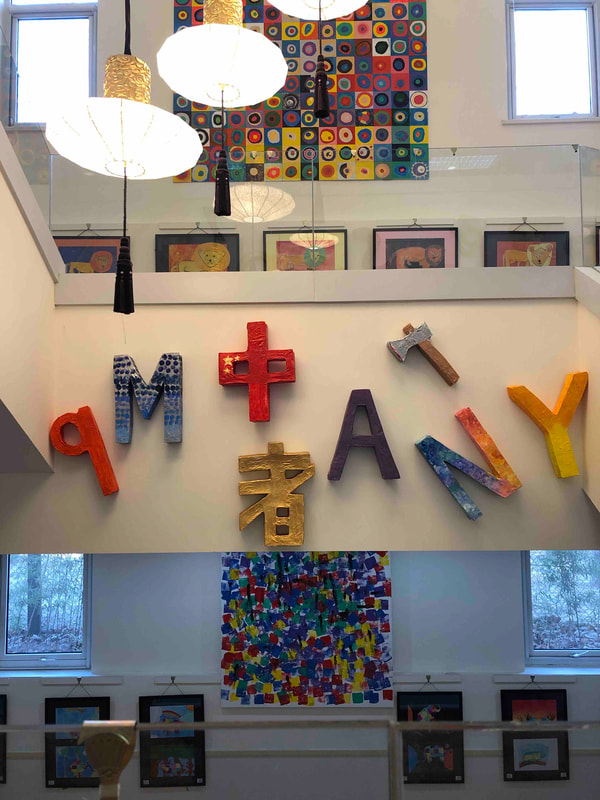
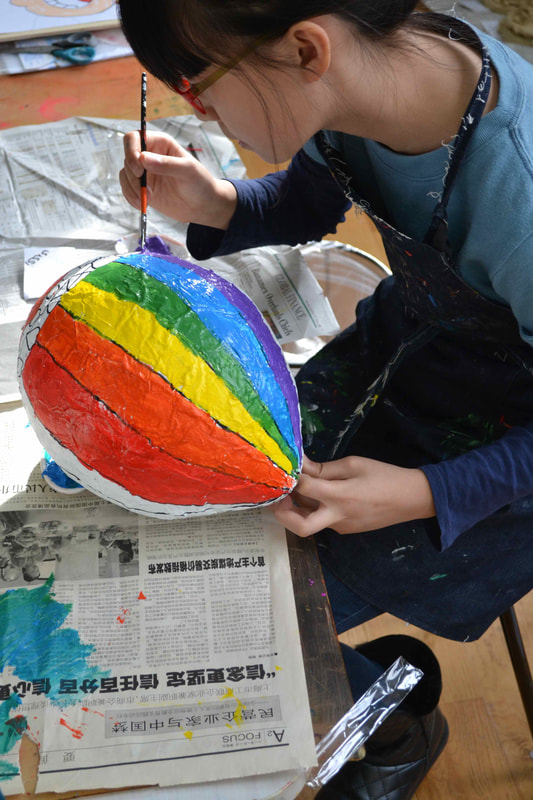
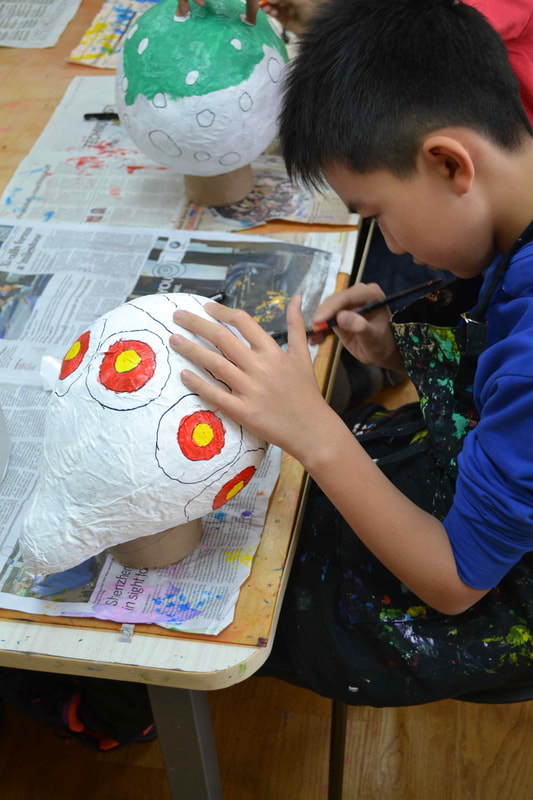
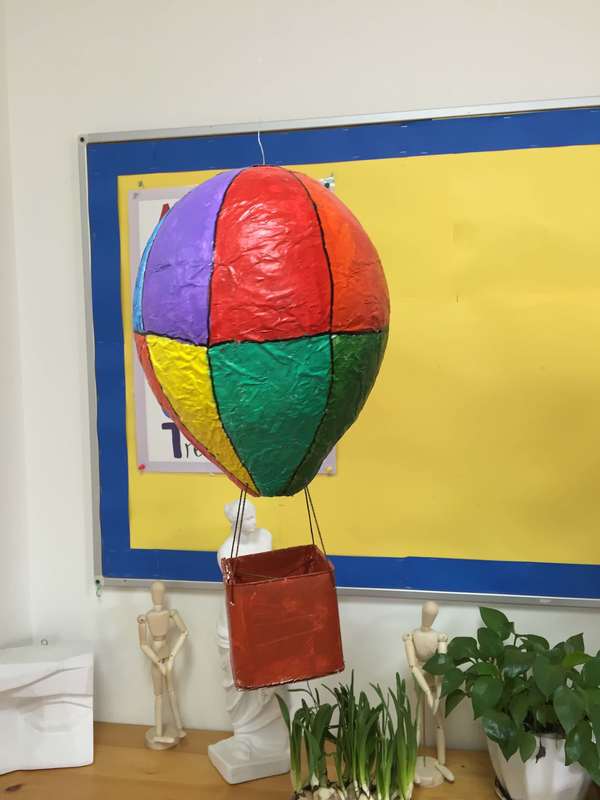
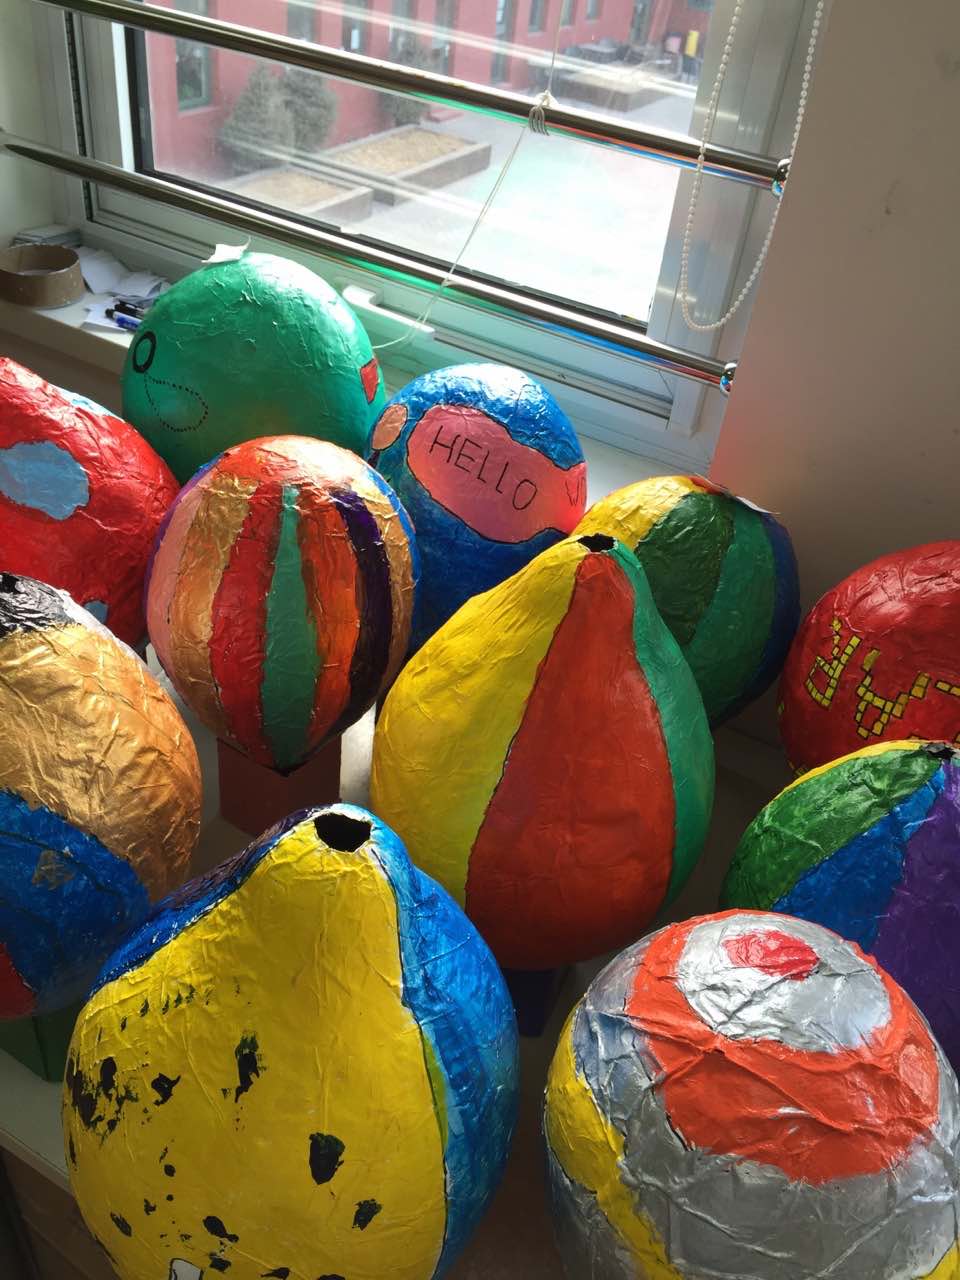
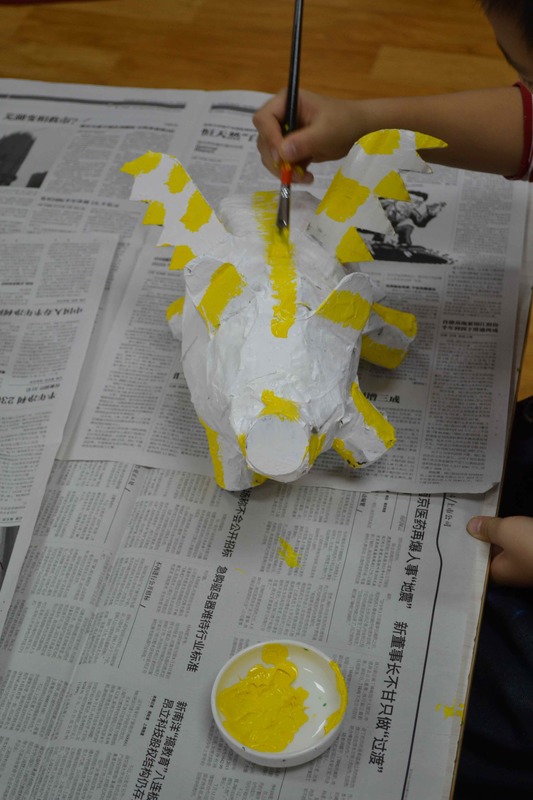
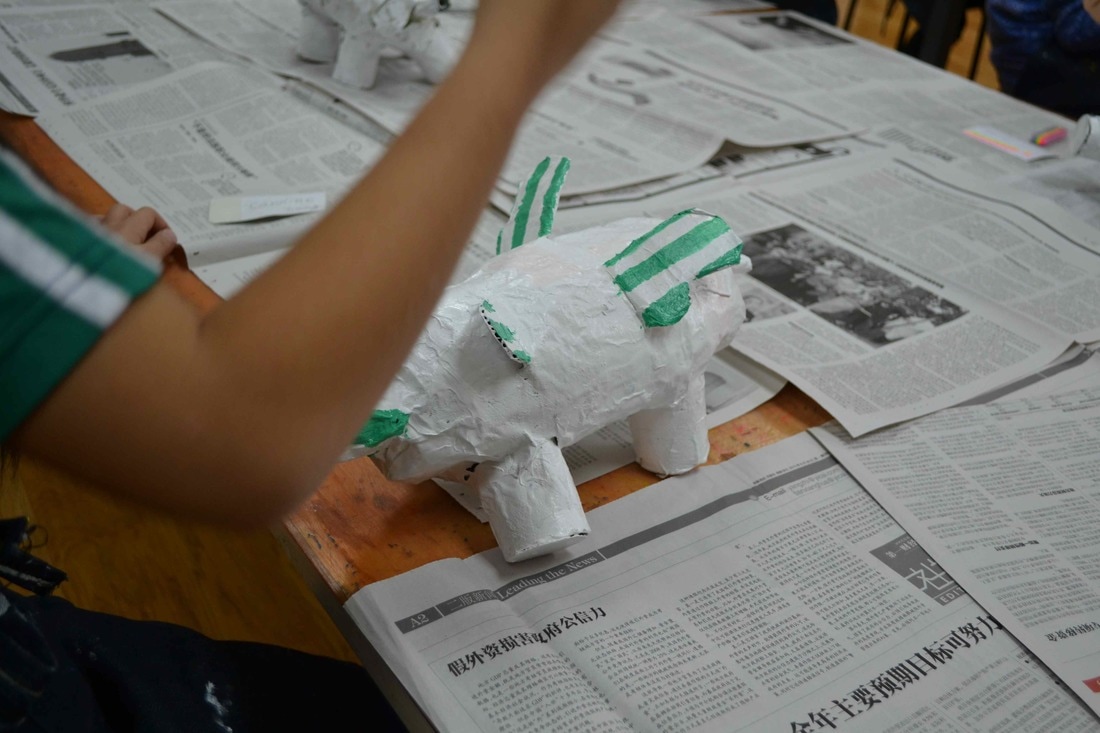
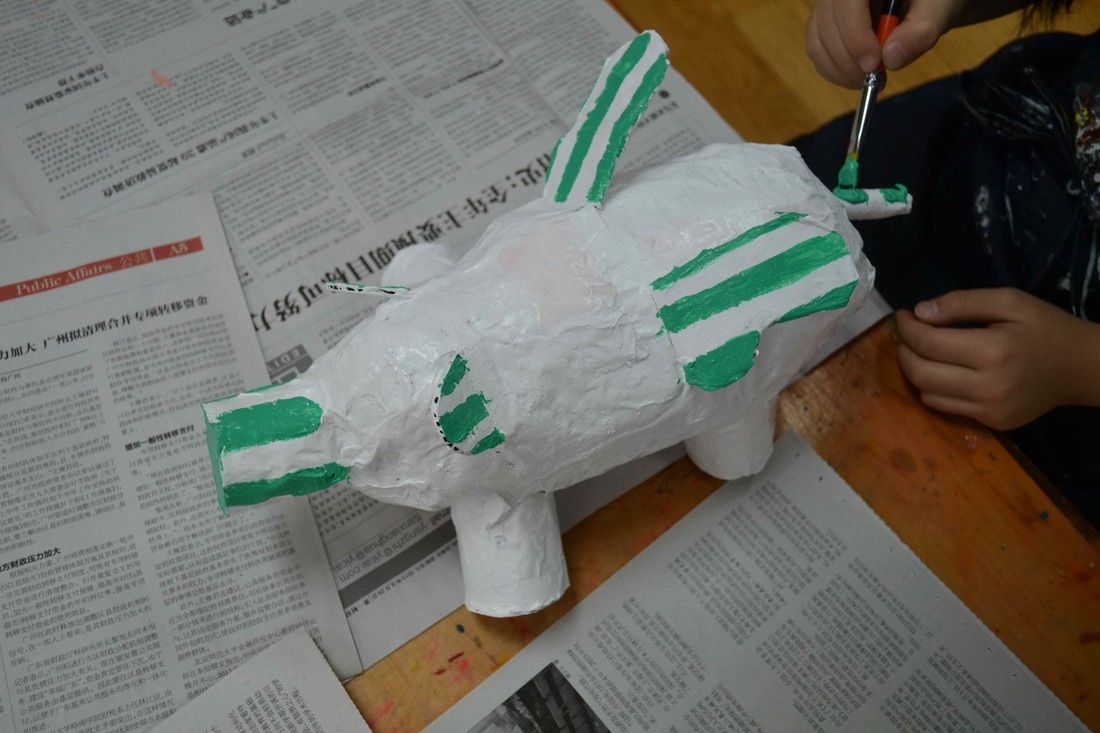
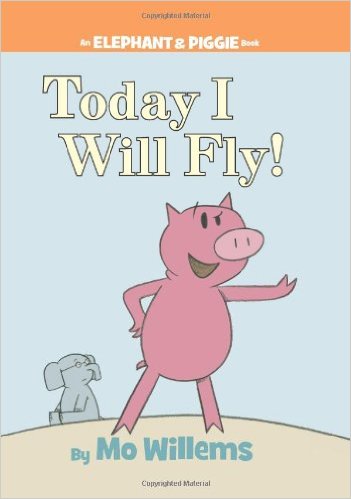
Last week was international week and each one of us talked about our home countries. I am from Spain and I am so proud of the fine art, artists and rich art history we have. We had lessons about Picasso, Joan Miro, Salvador Dali, and of course the one and only Antoni Gaudí. They all are very eclectic artists, so with Grade 7&8 we decided to get into deeper discussion with Gaudí and his magical landscapes. In one of those magical places, Parc Güell, you can find the iconic lizard. After discussing life and work of Gaudí, we got hands on work. Here's just a sneak peak. WIP Grade 4 were studying the wonders of Ancient Greece. Last year we made some mosaic this year working on paper mache Greek vases 6th graders were learning about Neolithic back in their home classroom. After seeing this oportunity we connected both curriculums, art and home room. This is what we came up with. We ended up having a small competition to see whose arrow were shoot the further ! Grade 4 are studying Ancient Greece in their home-classroom. After 3 lessons of hard work we finally made the vases real! Grade 4 are studing Ancient Greece in their classroom, so we started our very own Ancient Greece unit. We talked quite a bit about the vases art form and we ended up making these fantasic paper mache vases! Grade 6 and 7 have been studying Nomadics in their home classroom. Maasais is going to be just one of the units that we will do about Nomadics in Art. Here you can see our wonderful Massai's shields! I wish I could have filmed the process but when it comes to paper mache there is never enough free hands to film. Paper mache is always messy but very rewarding! Stay tuned for the decoration of the shields! Can't wait to hang them up! Layla's interest fair project was about dragons! I had sooo many questions for her about dragons. So she came up with the idea of using some cardboard boxes for the structure of the head (We have loads of recycled materials in the art room, like loads! sometimes I ask to myself if I am keeping too many of them but when a student comes in and have to do a project and you show them proudly your recycled storage... then everything is much easier. Conclusion: It's never too much!) So basically after assembling the boxes, we used paper mache technique, then acrylic, foil paper from kids lunch, etc... it was so much fun to work along her making this dragon real. Interest fair is coming soon! Lena is working on something quite cool... Can you guess what is about? Stay tuned! We have Zhong Guo Xin Nian around the corner and this coming new year will be the year of PIG. So we got many different projects going on related to pigs. This is one of them. We made a paper mache flying pig. The main materials used to make the body are used newspaper, plastic bags, toilet paper rolls and masking tape. Once the whole body is built, students cover it with more newspaper stripes impregnated with the paper mache paste. There was one student that really wanted to make it in a different way, not using paper mache but cardboard boxes. He used many different types of boxes and manipulated them to make this amazing pig, his tail can even move! and it's not even half finish. The following lesson teachers painted all in white just to use the time wisely and don't waste a lesson by tghe students. After pigs are painted in white they will design and paint their very own one. Paper mache, one of our favorite techniques! You basically can make anything happen! This time we made a hot air balloon. Unfortunately, I couldn't take any picture of the process because it got quite messy. Basically, we had ready beforehand the paper mache paste and enough newspaper stripes. 2 or 3 layers of wet newspaper stripes on the balloon and few days to let it dry. The coolest part to pop the balloon once the newspaper was dry... Once the balloon is dry and popped we paint it white, so on the second lesson students will have the balloon white, dry and ready to paint their very own design. Our Grades 5 & 6 have been working on a paper mache project. They first designed what they wanted to make on a KD board structure, assembled and then messiness started! We applied our paper mache secret formula on the structure with newspaper stripes (if anyone is interested in the secret formula, just pop by the art room, we will be very happy to share it with you) Next and last lesson was to paint it all. We got letters, numbers, shapes, logos even some book characters! Grade 4 made these hot air balloons of paper mache. We first blew a balloon, they made the paper mache paste. Basically flour and water on the right proportion, we have a little advice for you to get the perfect paste, perfect stickness (if you wanna know just leave a comment below and I will reply happily). Then newspaper stripes, dip them well in the paste and then one by one paste it to the balloon. One problem you might find is how to store the wet balloons, so you have to be ready in advanced. I can also give you couple tips that worked really well with us. Paper Mache never fails. One of the messiest media we do but hey it worth it. I would've loved to show you the process of how we got to this amazing hot air balloons but I had literally no hands to take any pic. We basically blew up a balloon, stick the newspaper stripes covered with the paper mache paste (Chris owns a secret recipe that works sooo good, it's a bit smelly but good enough to handle it). Then wait for few days/week and then the best part of the project... pop the balloon. Once you got a hard balloon shape just need to paint it and go! Third graders had a messy but superfun paper mache lesson. We found this storybook that fits perfectly the idea we had in mind, a flying pig! Firtst thing was to make the body of the pig with newspaper, plastic bags and masking tape. After that, we found some cardboard and time for ears and wings, again masking tape. Second lesson is the big day. The secret is to have everything perfectly organized so you don´t waste a second. Basically newspaper strips and paper mache paste. Third and last day. Painting day. The result was really impressive and the display of them was amazing. we hung them all up at the main lobby. |
Positive, Creative Space.
Archives
December 2023
|


 RSS Feed
