|
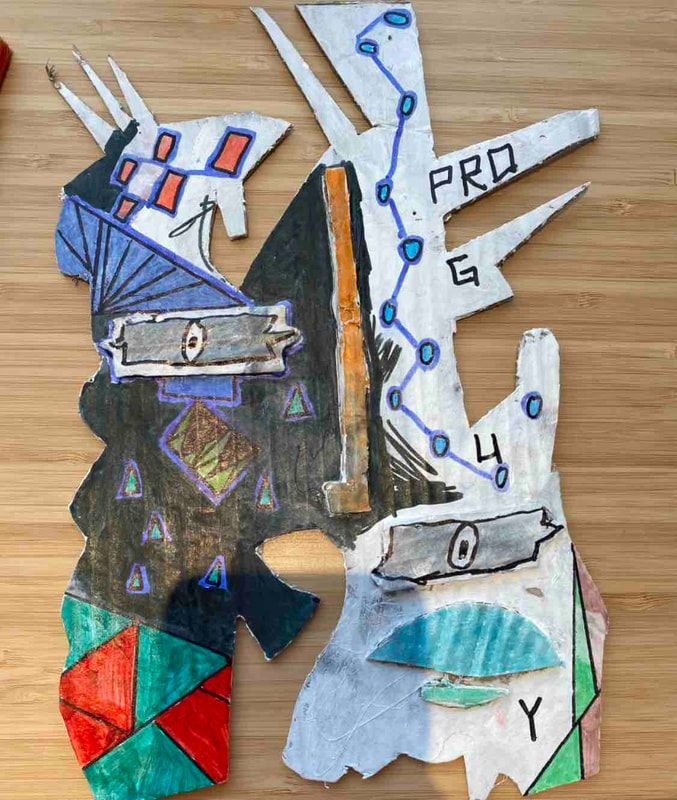
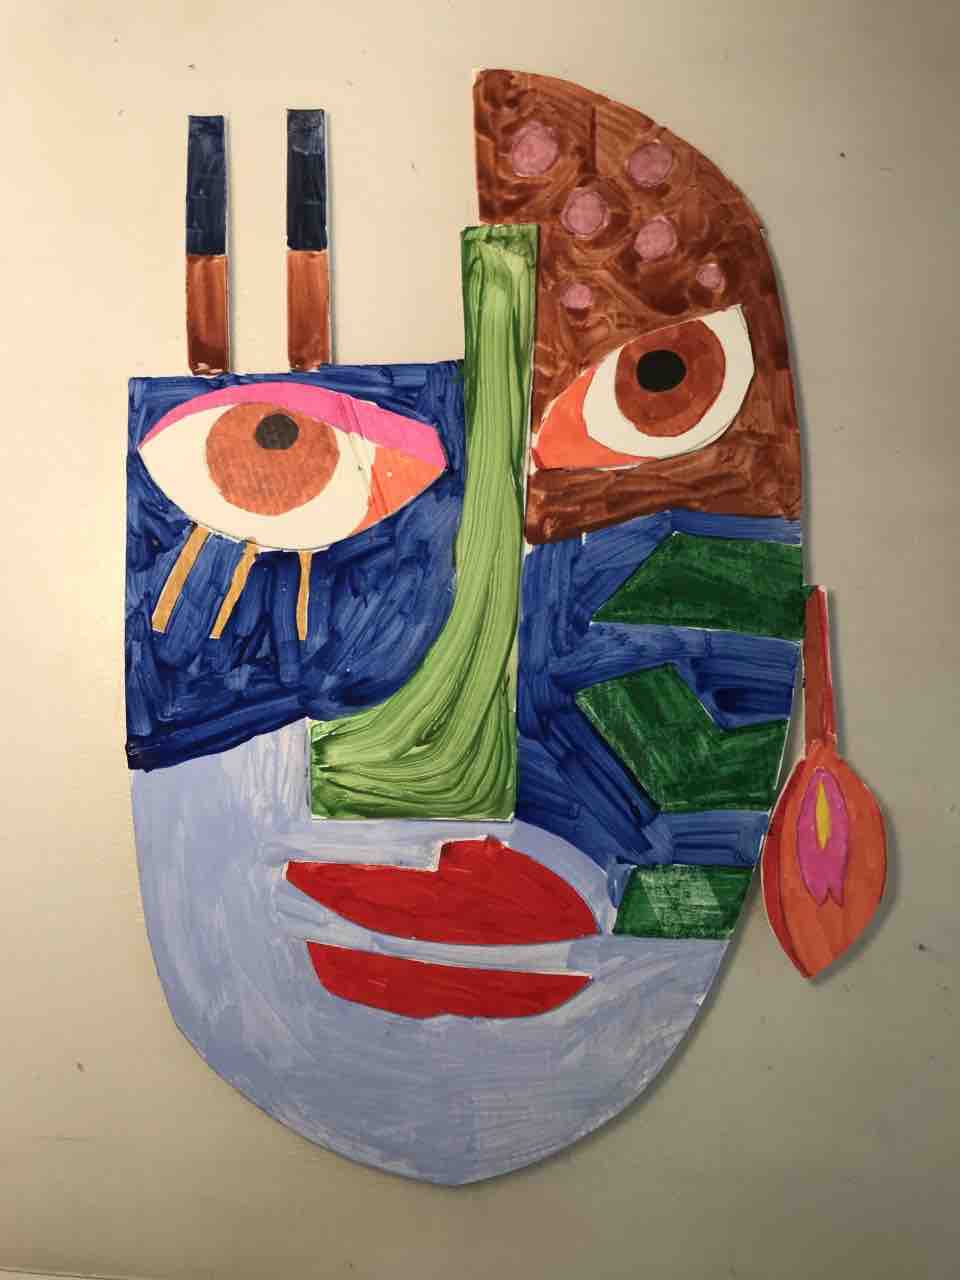
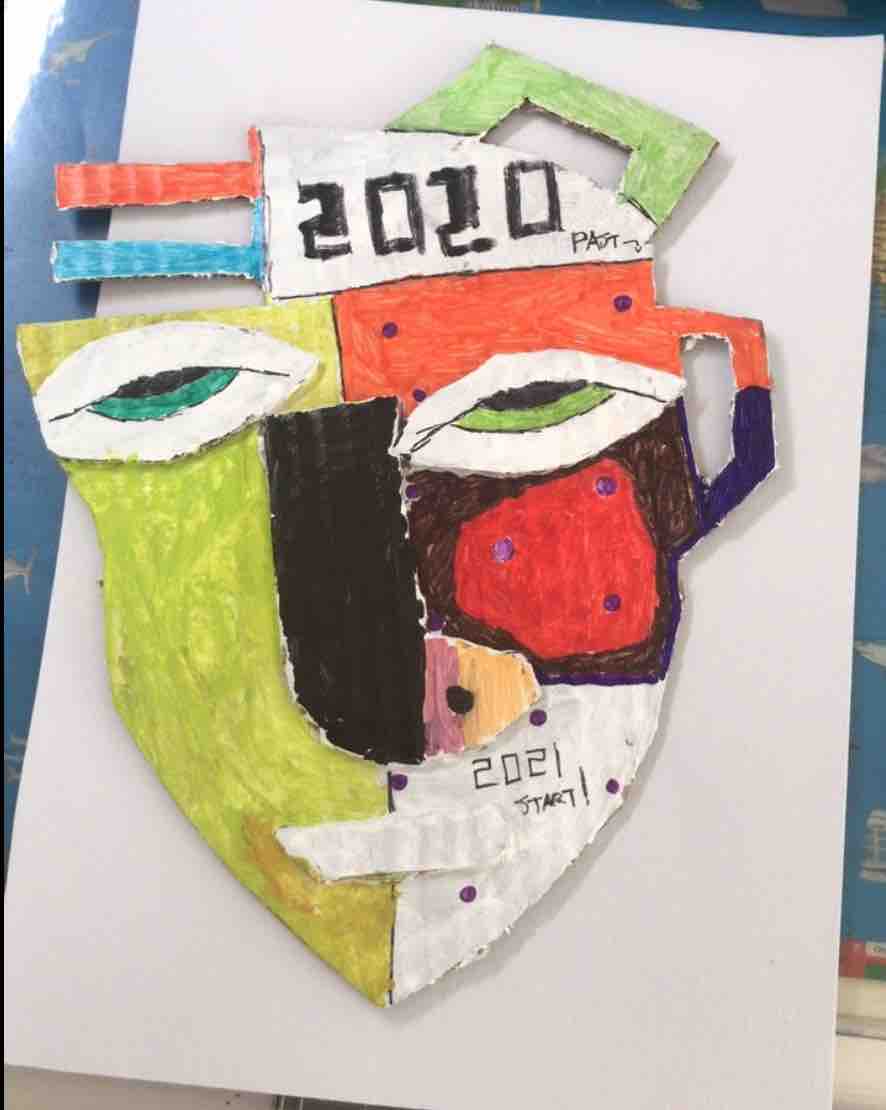
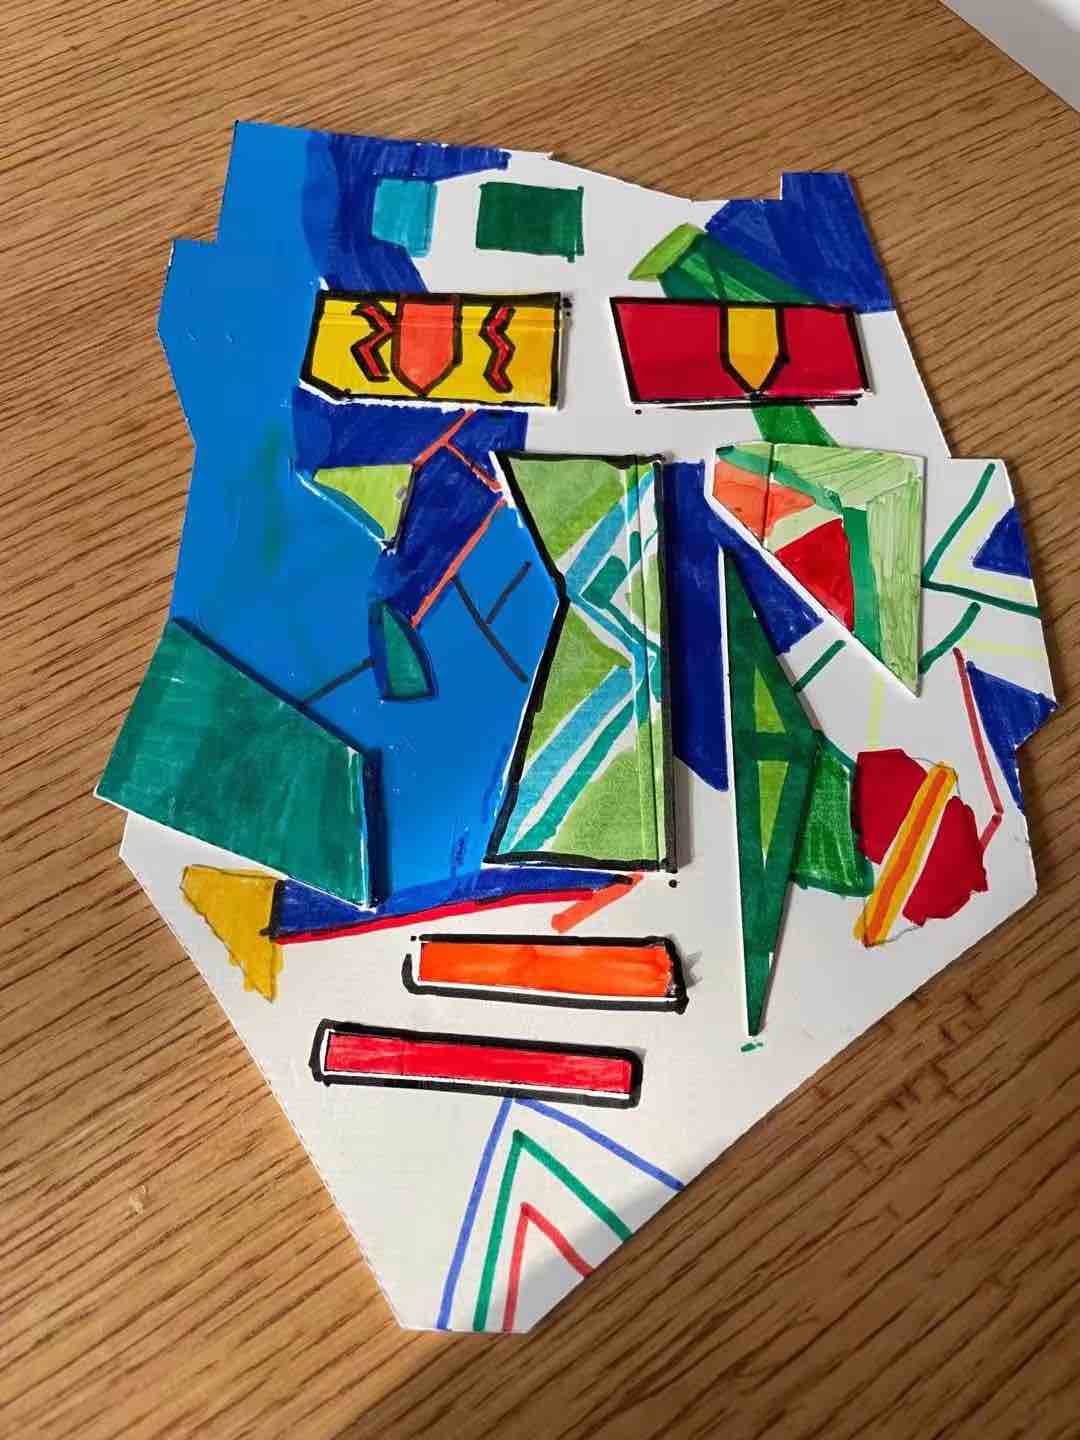
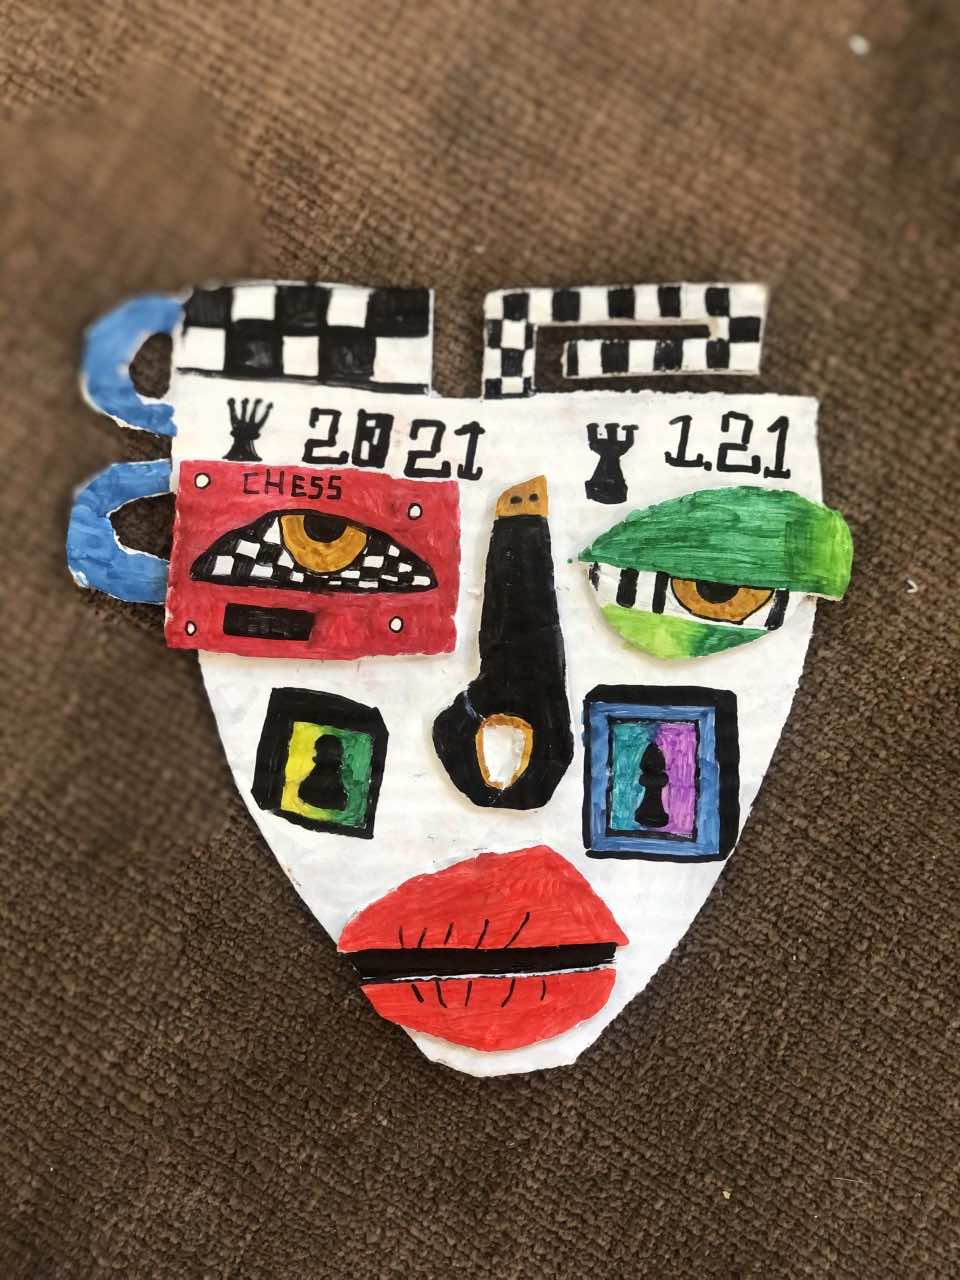
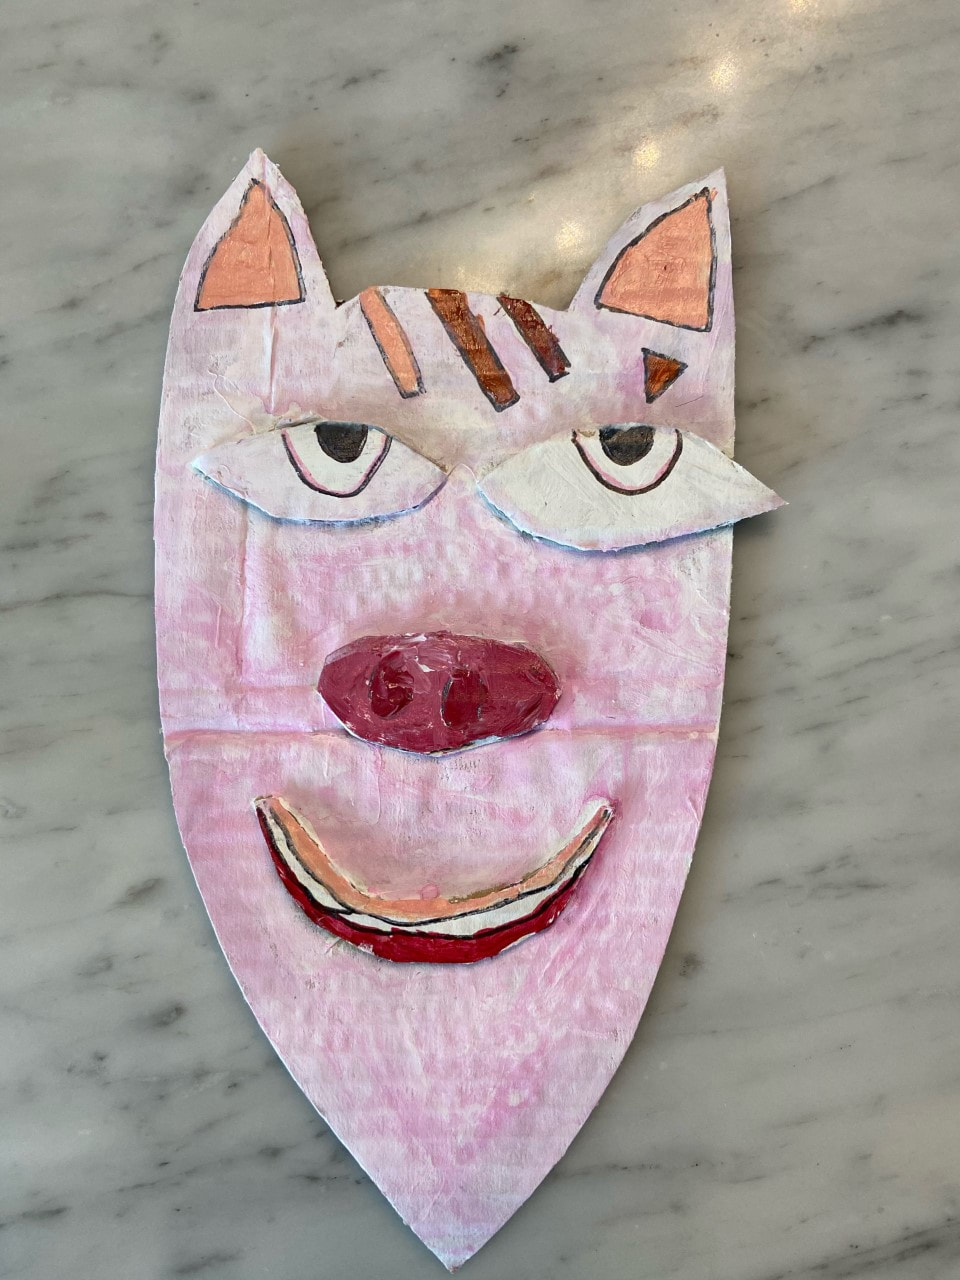
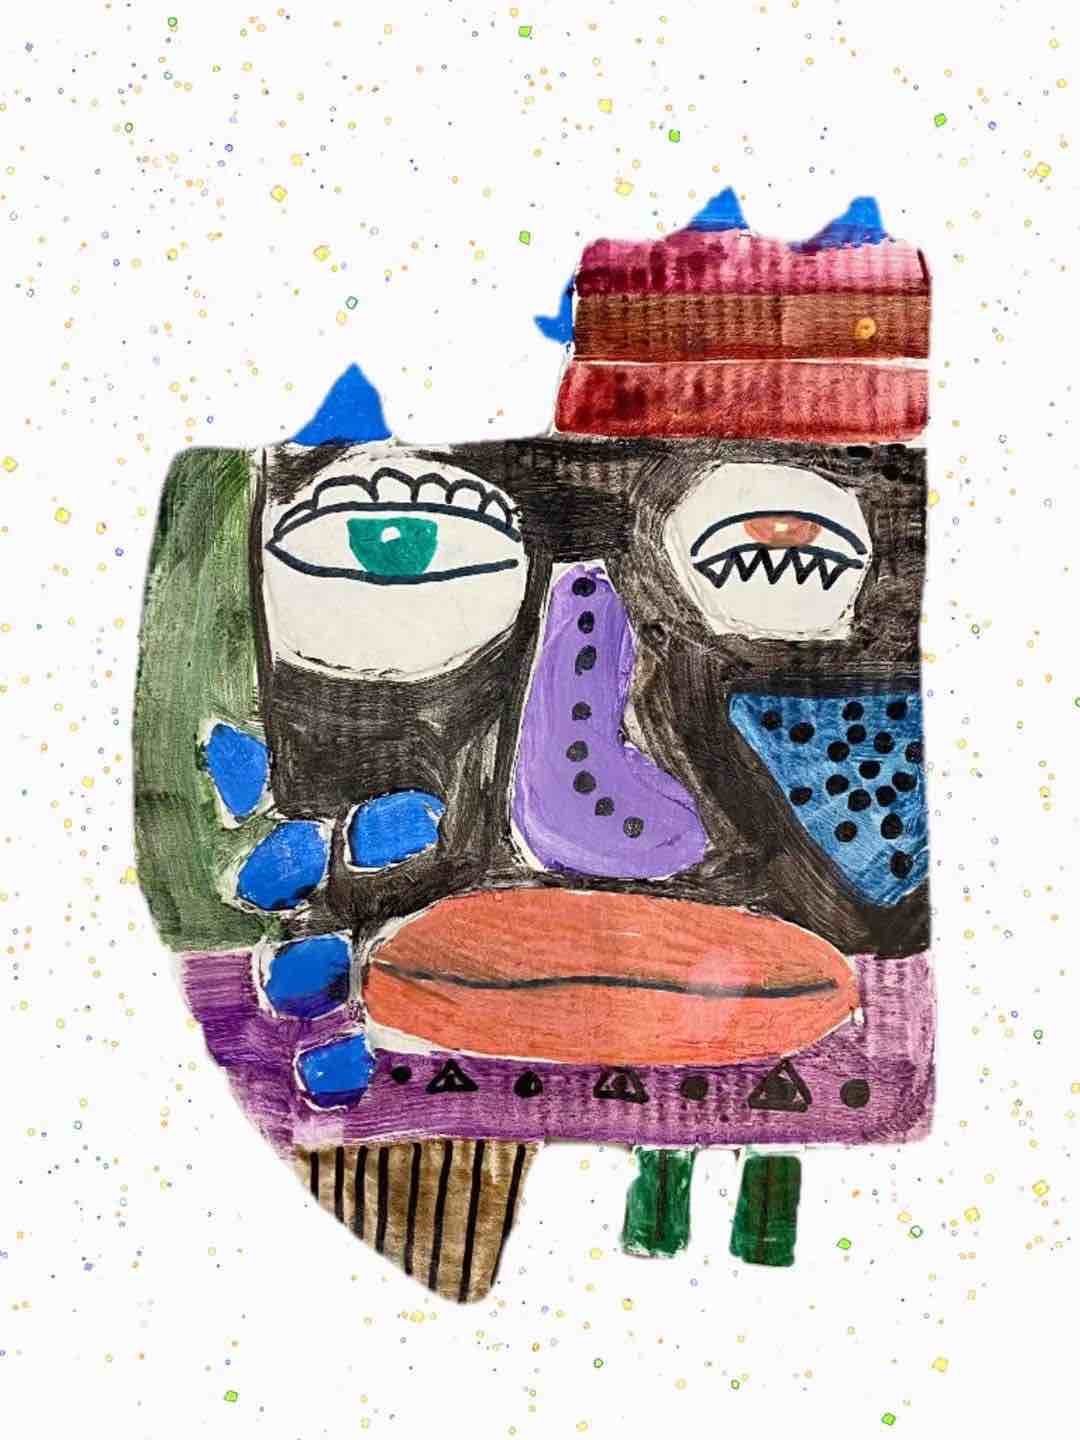
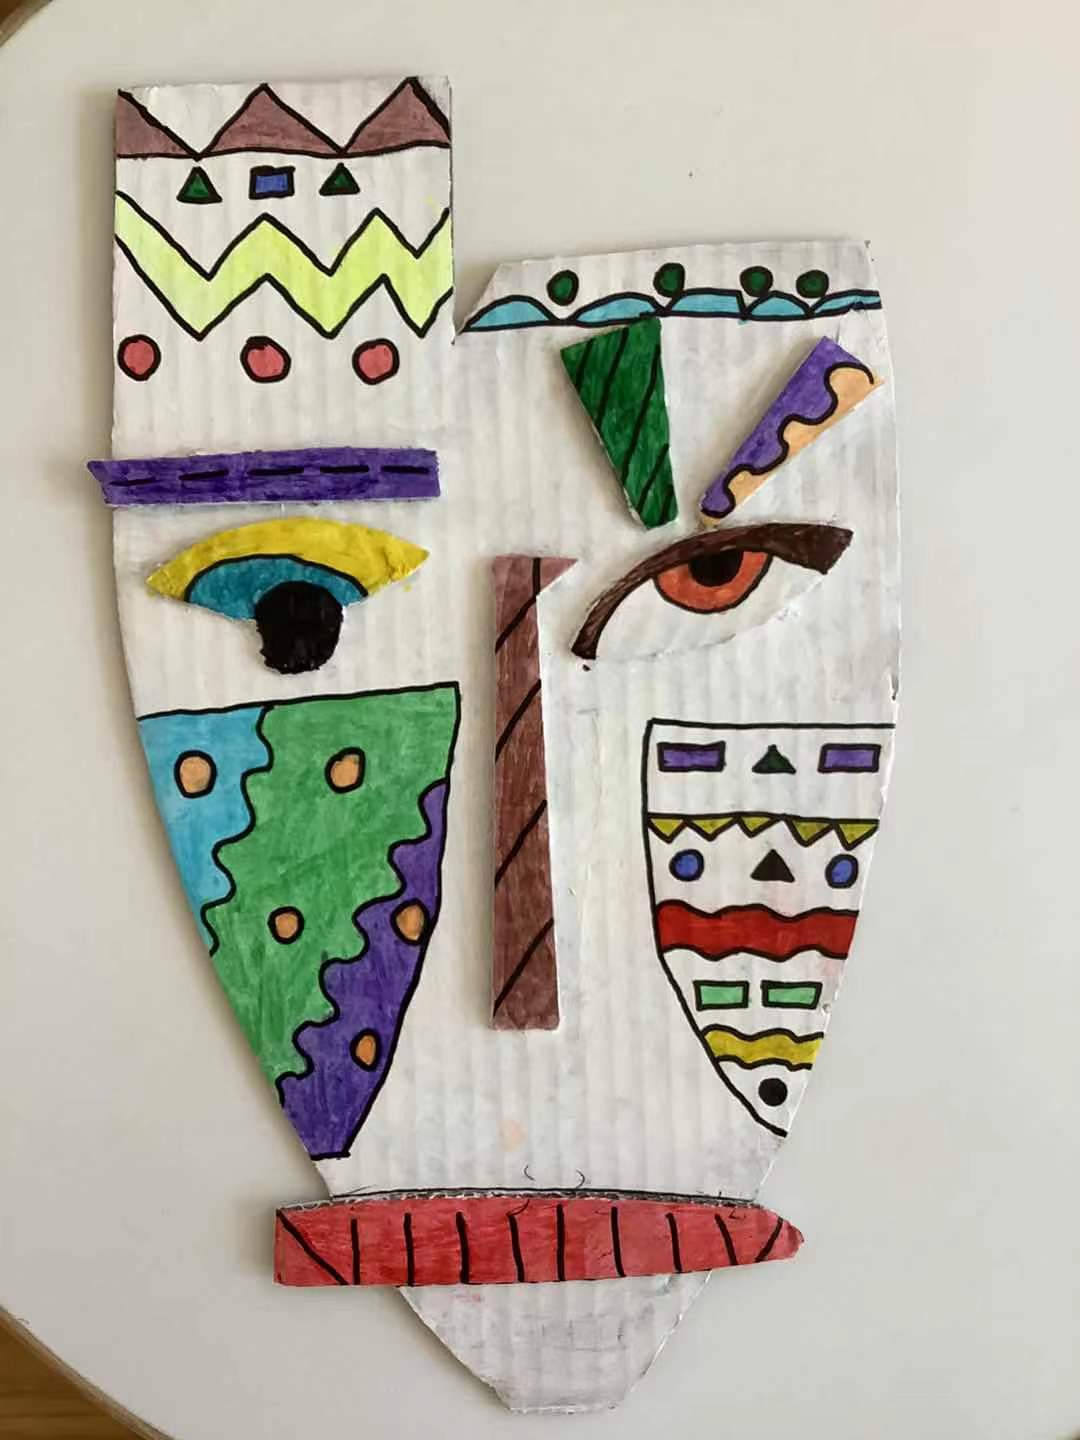
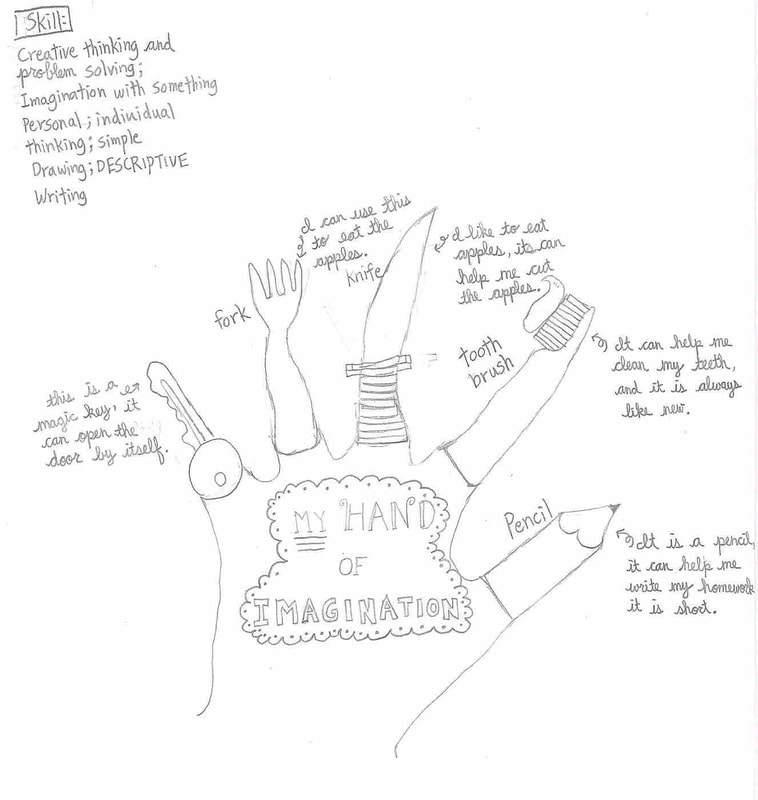
This is one of the few lessons that we repeat over the years, so much to talk about in here, Kimmy Cantrel, Picasso, Africa, recycling...
0 Comments
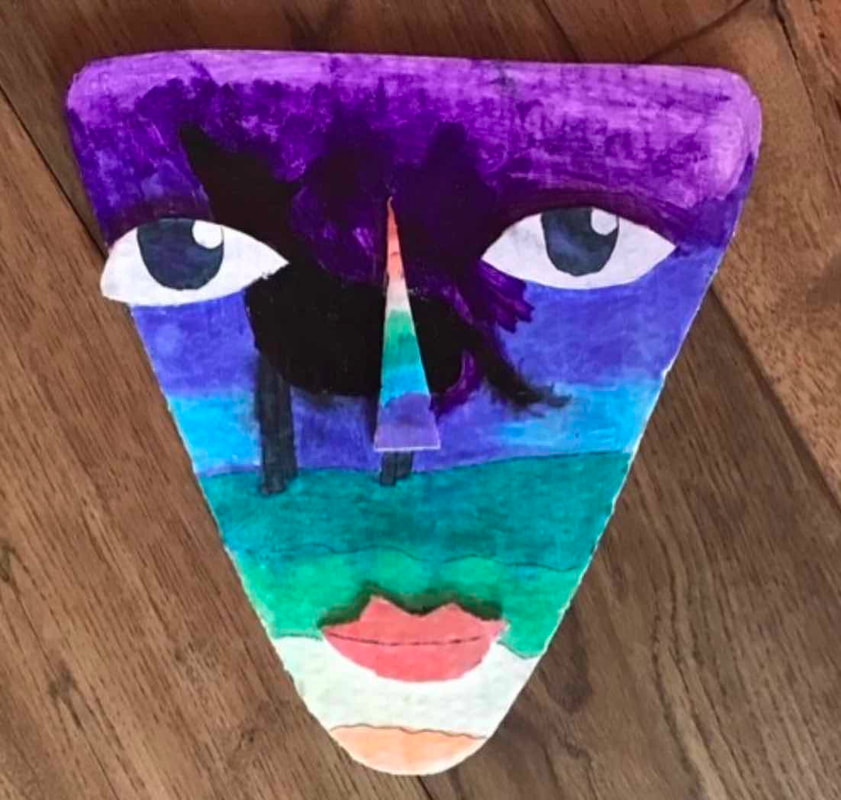
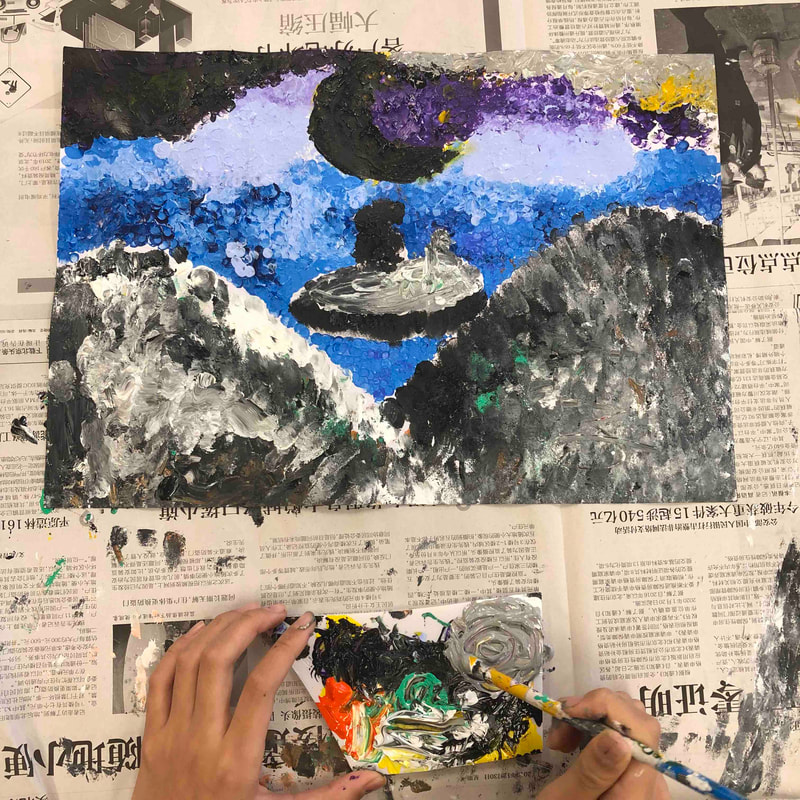
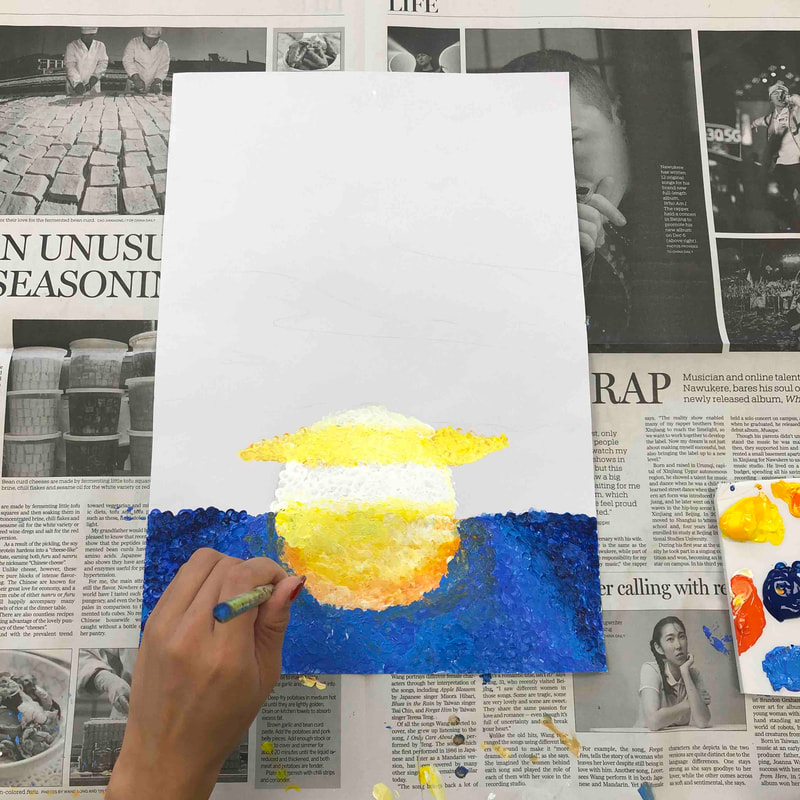
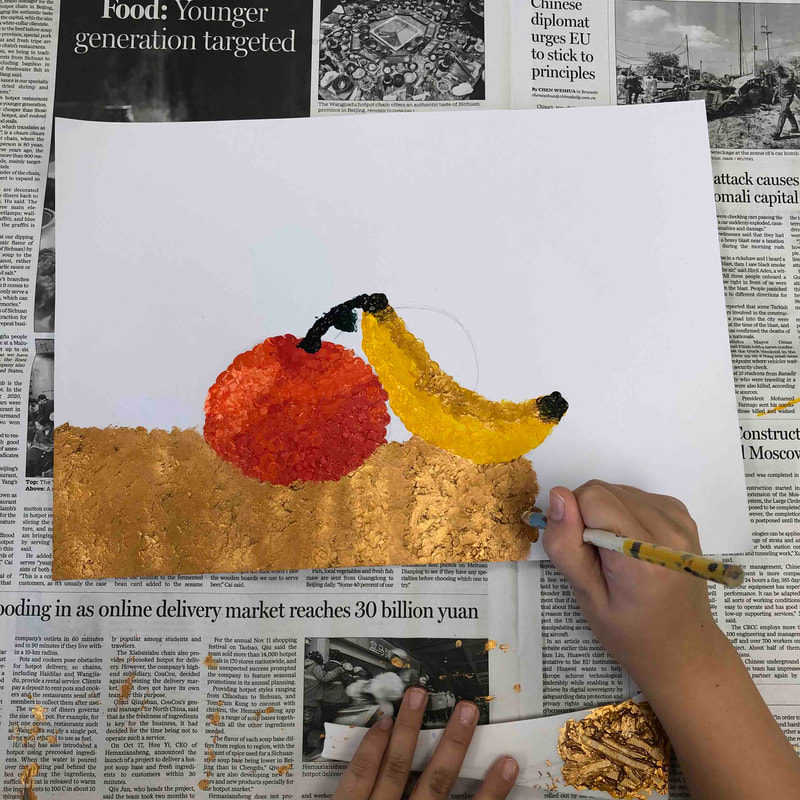
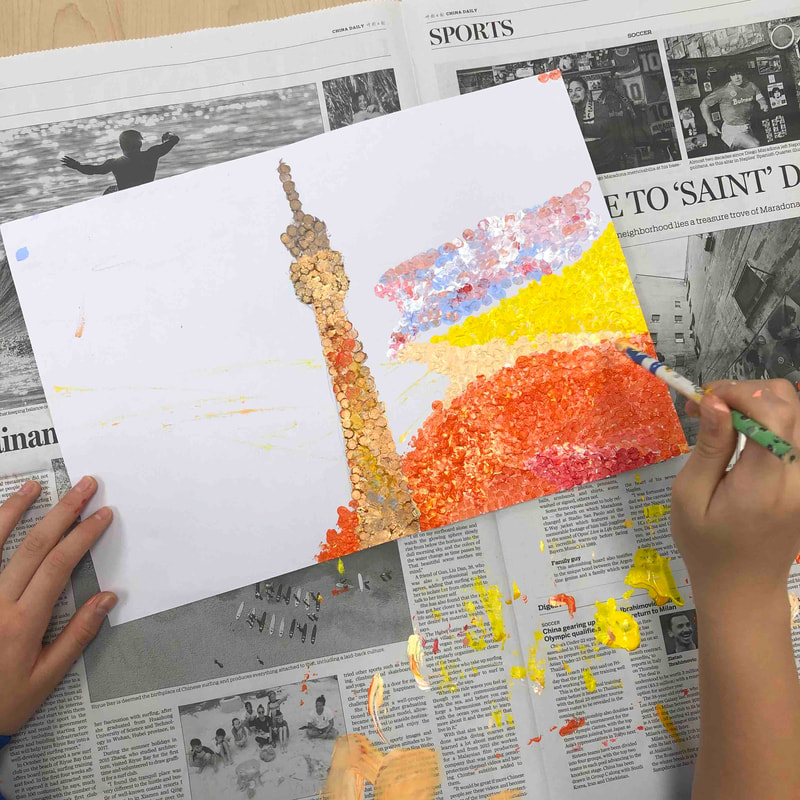
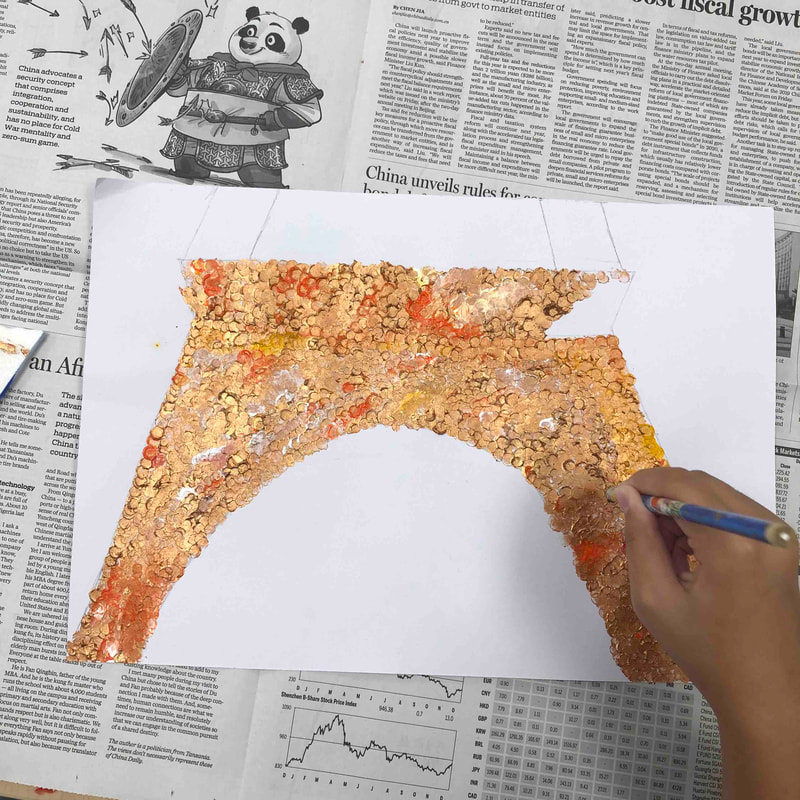
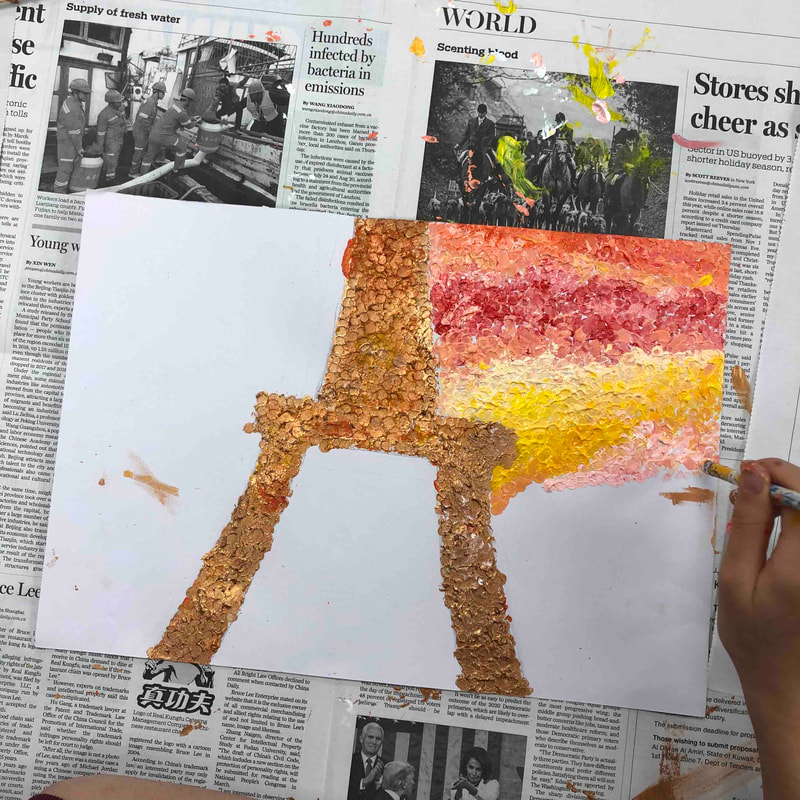
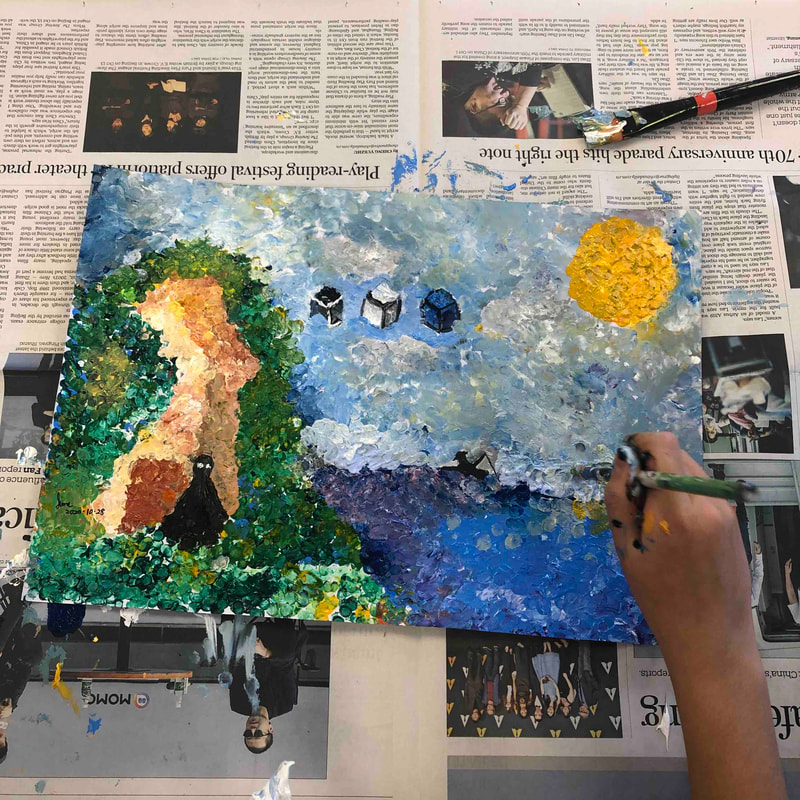
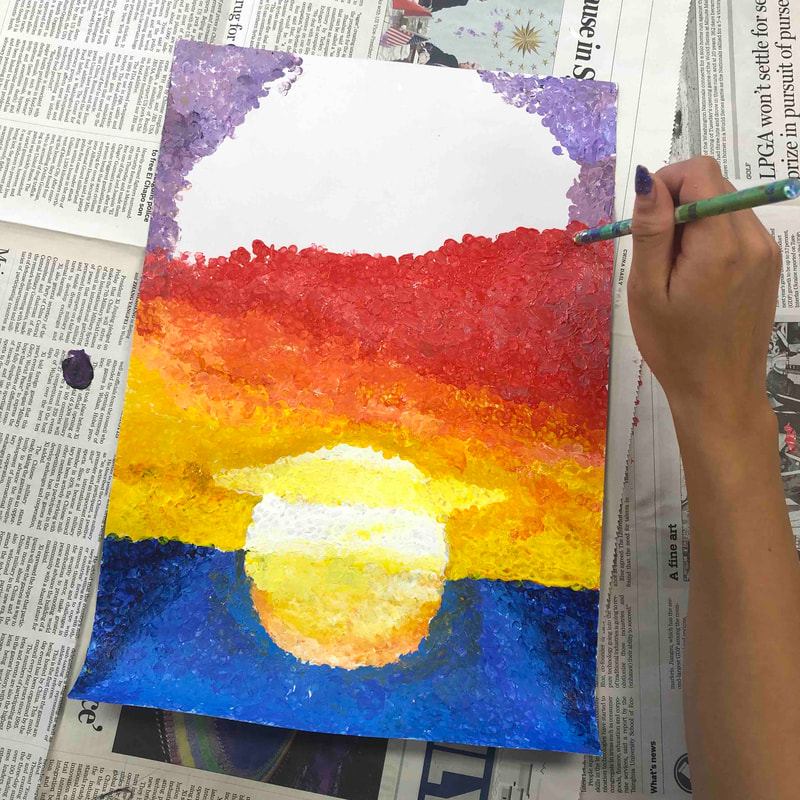
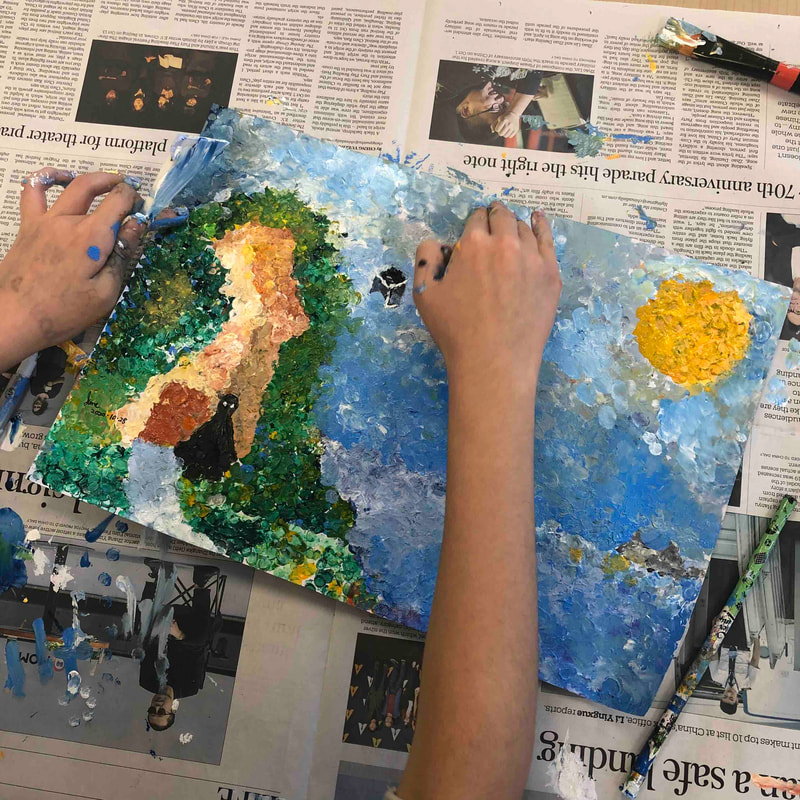
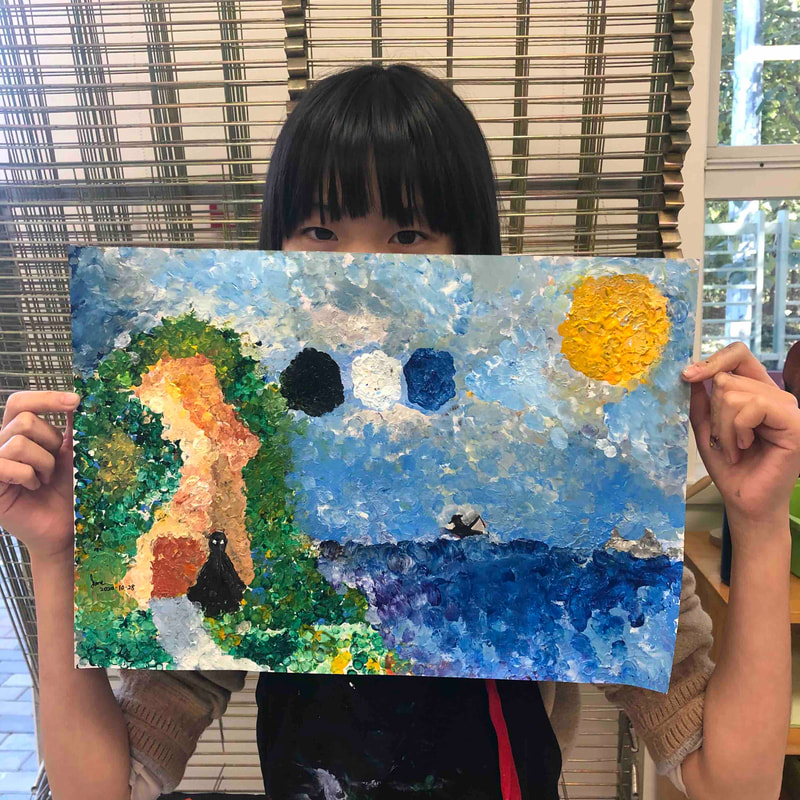
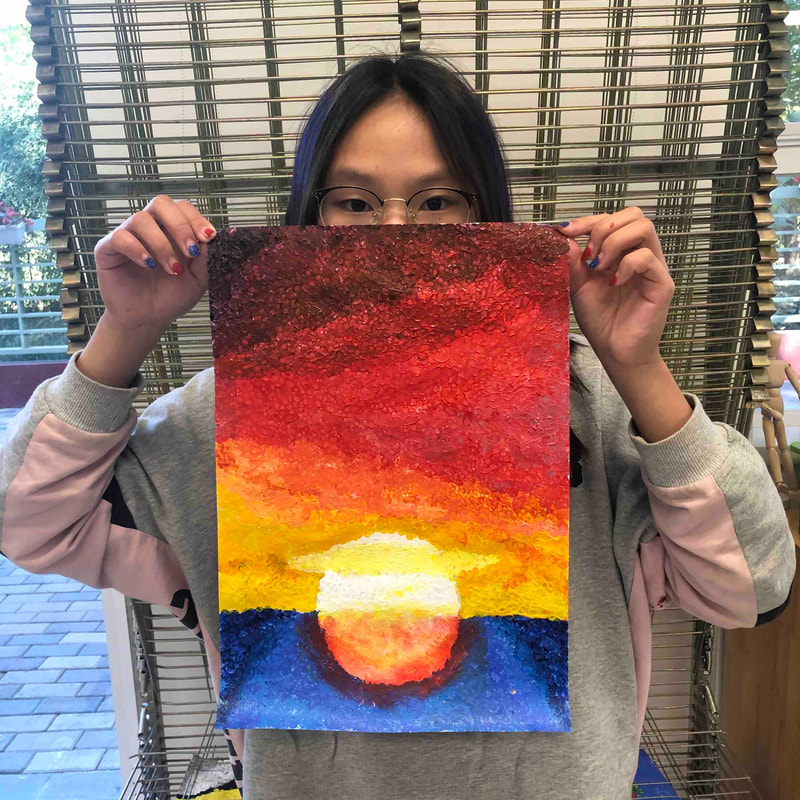
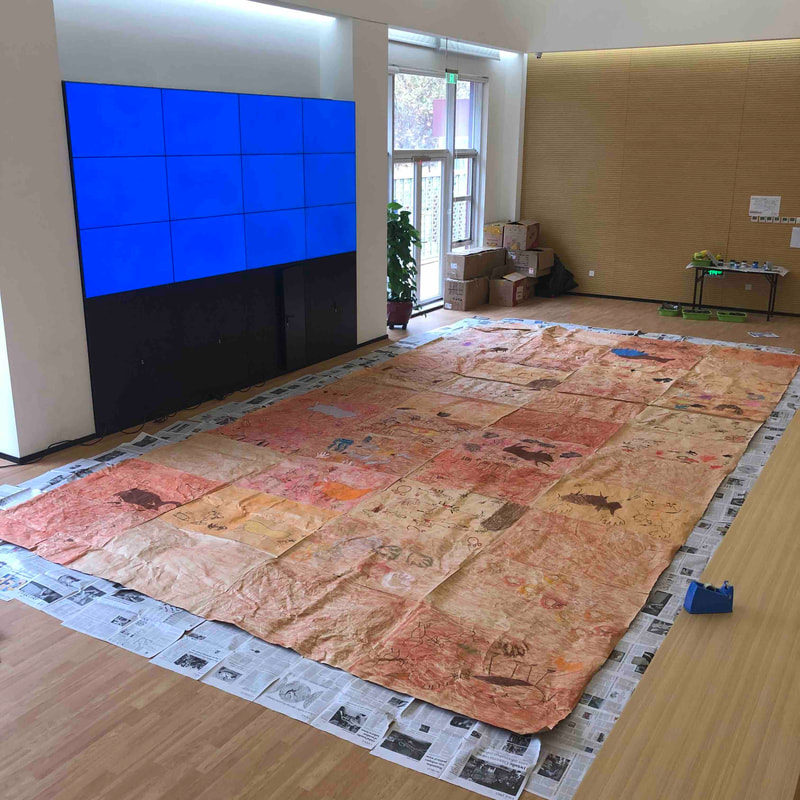
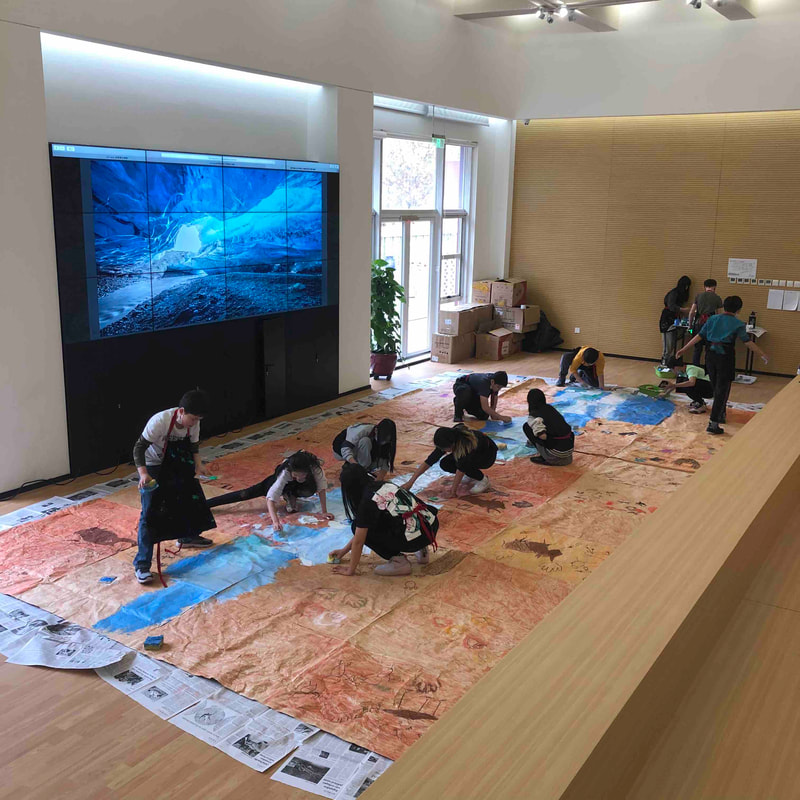
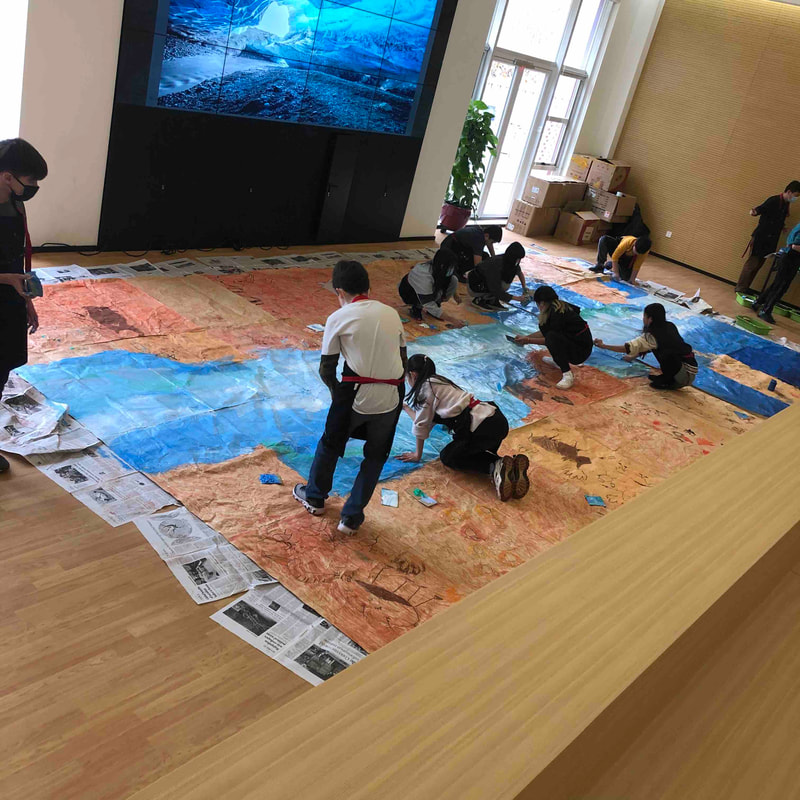
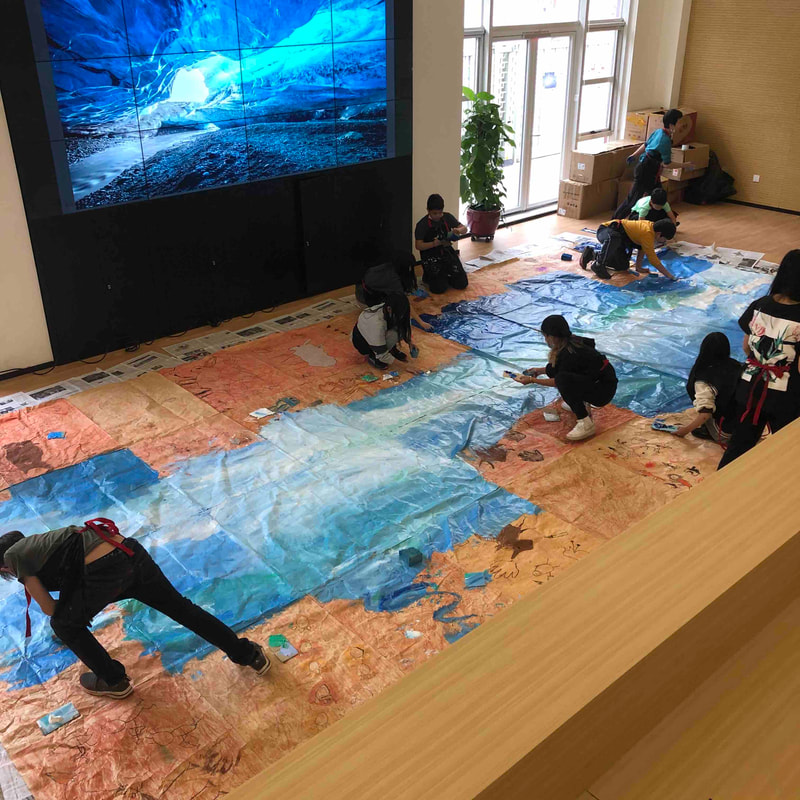
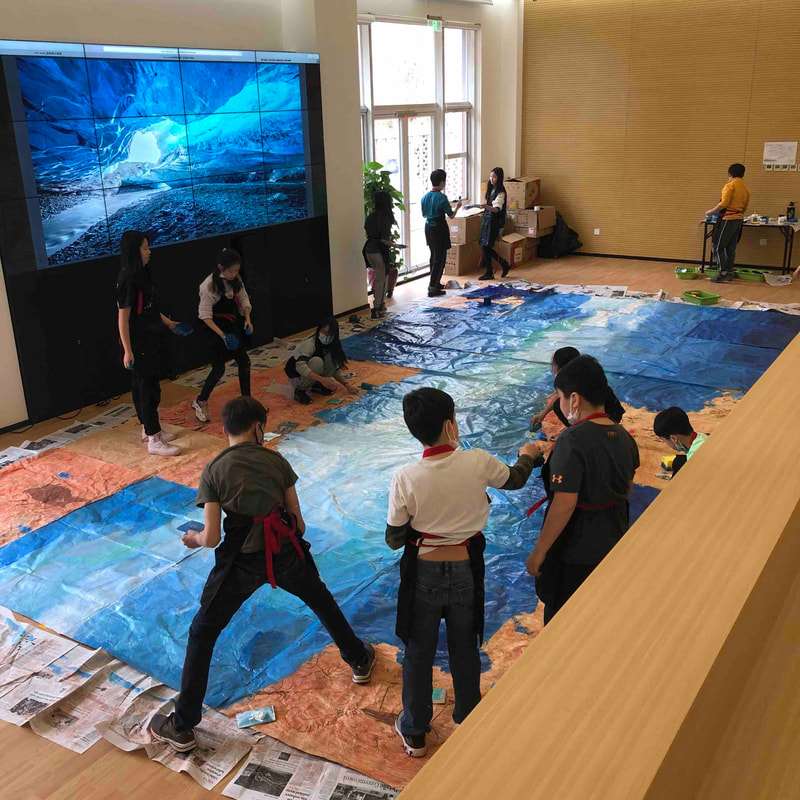
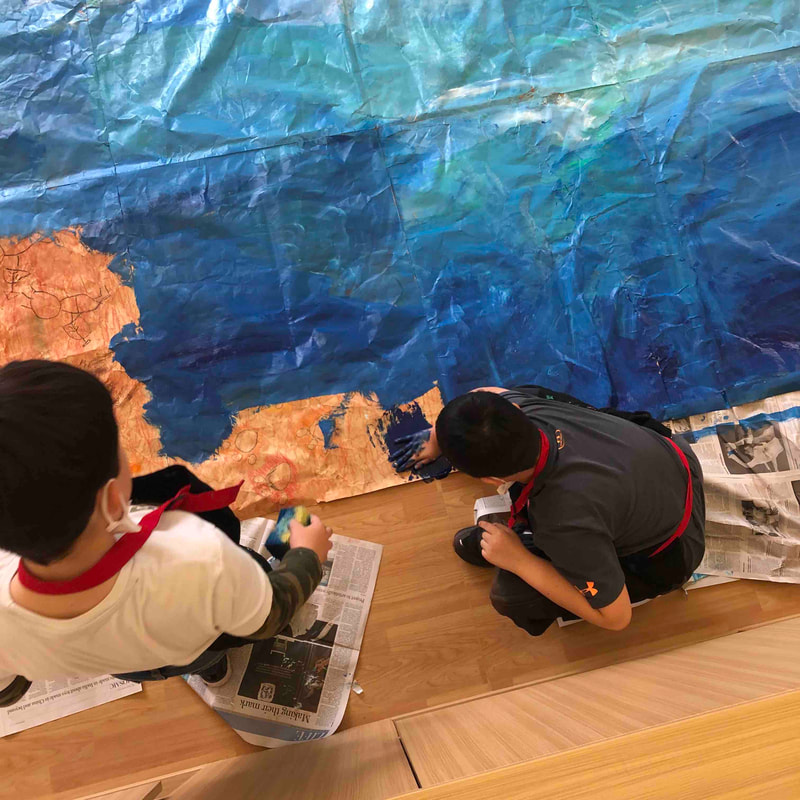
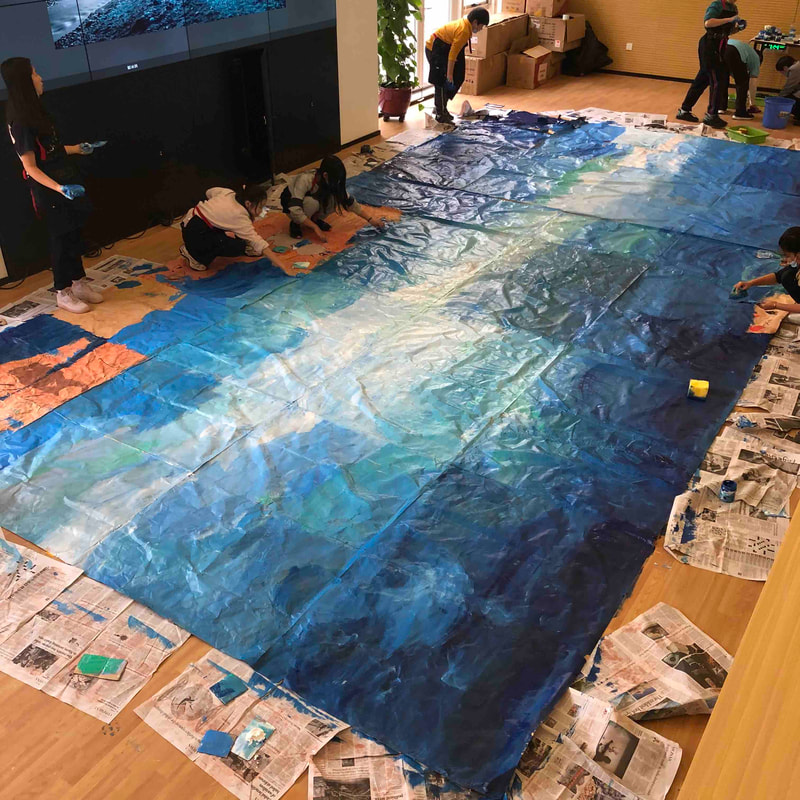
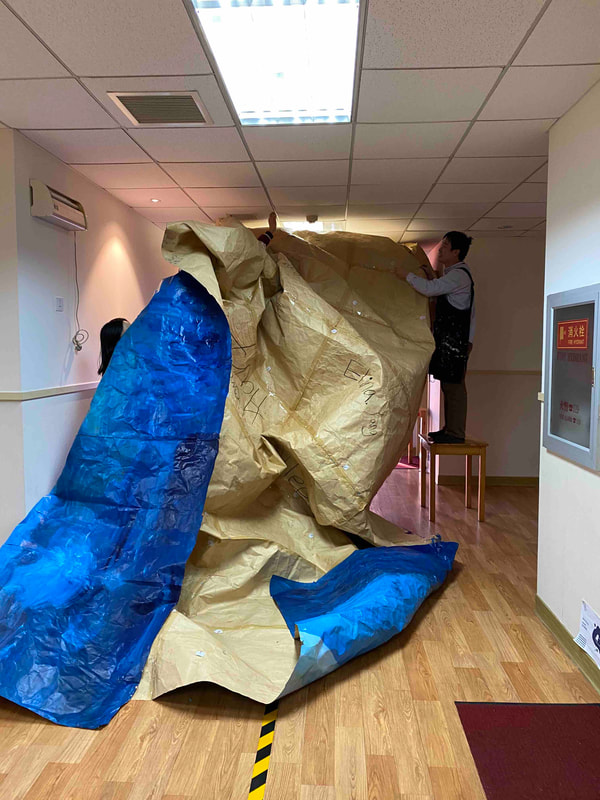
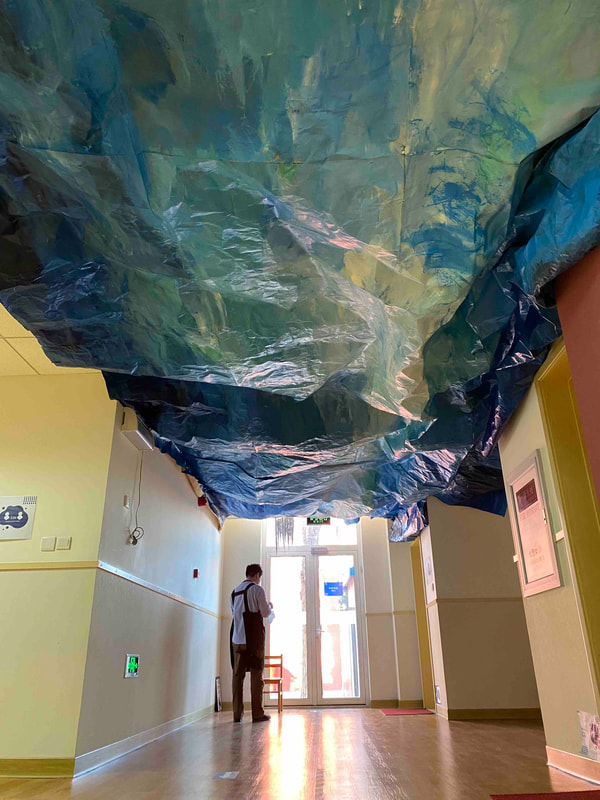
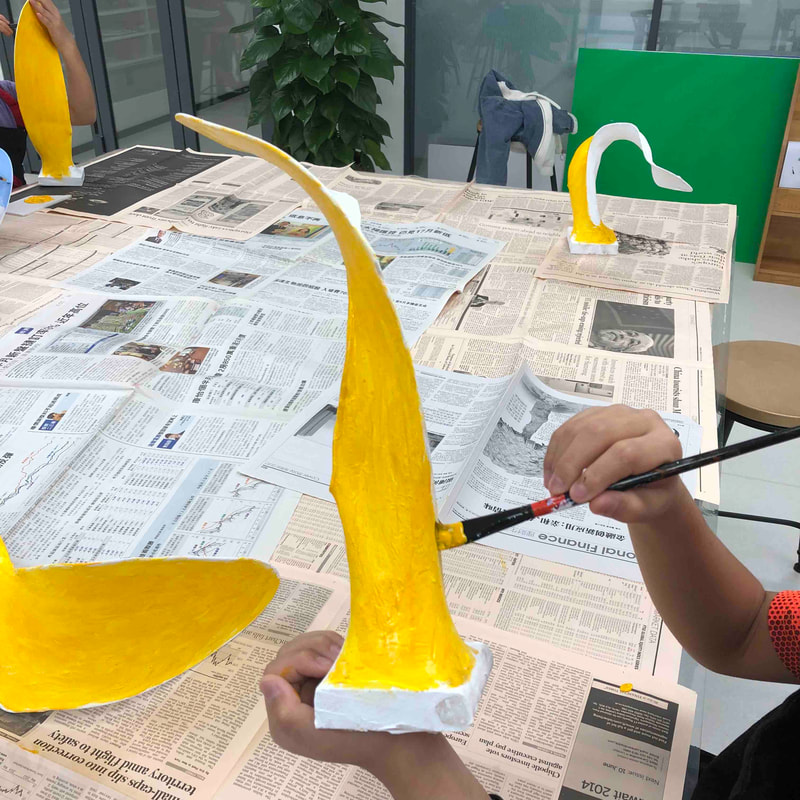
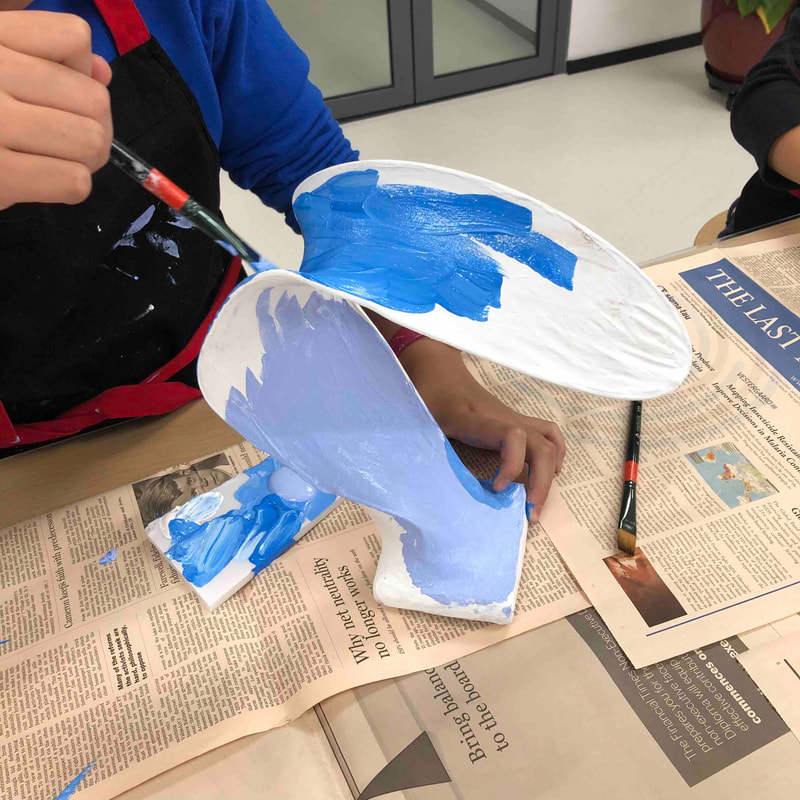
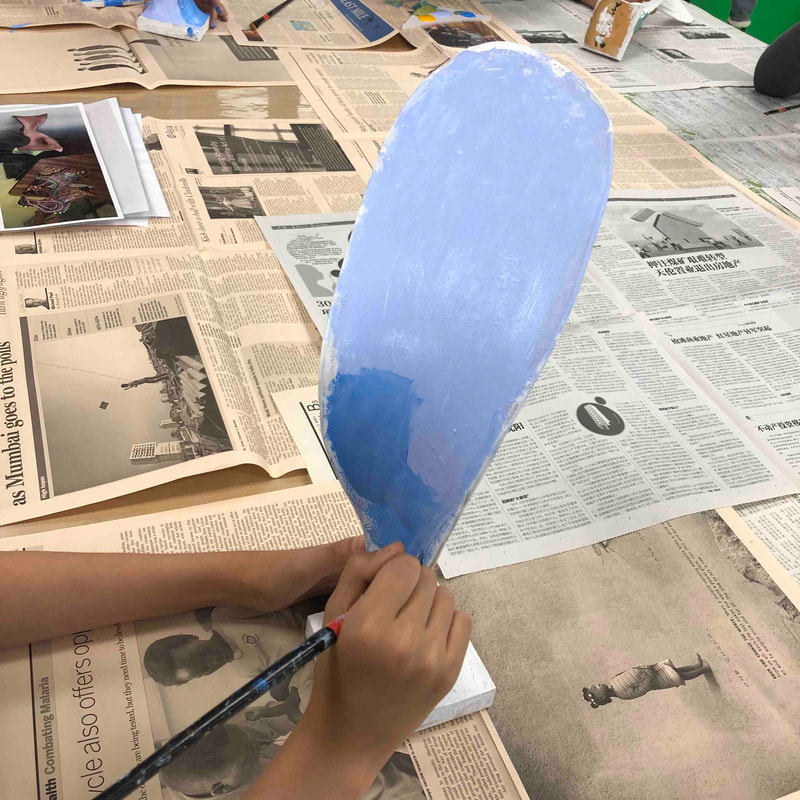
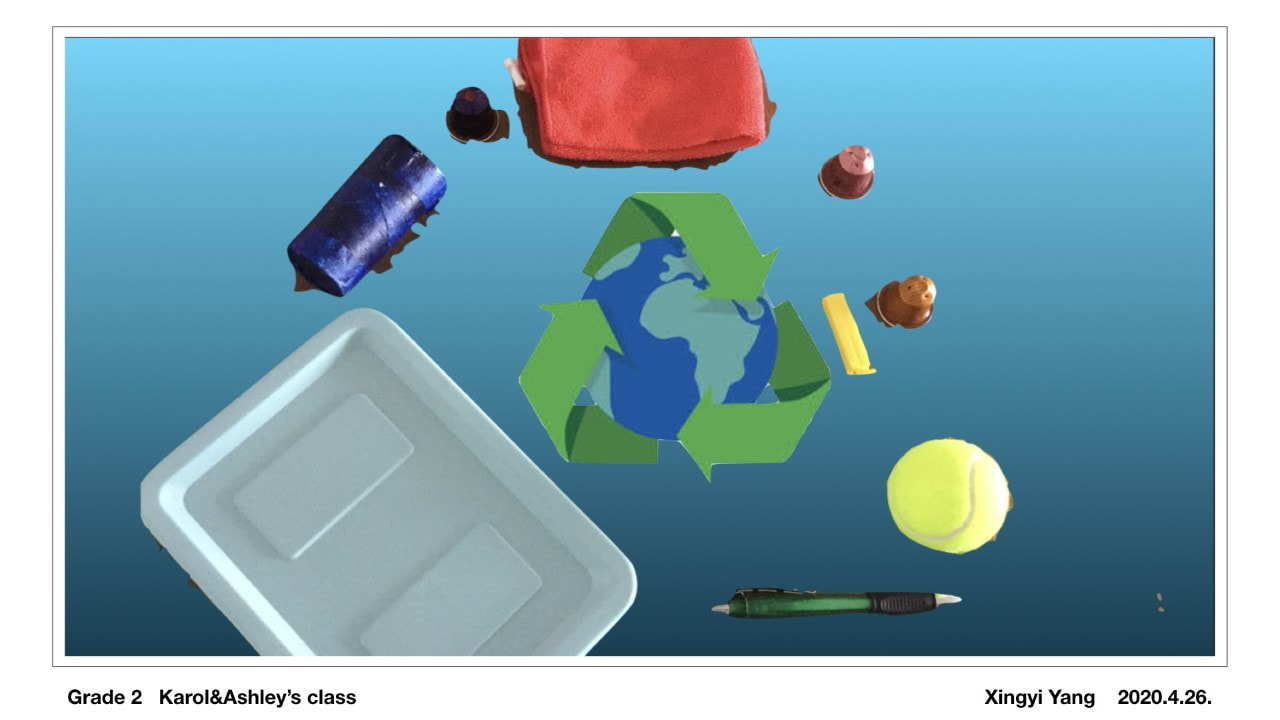
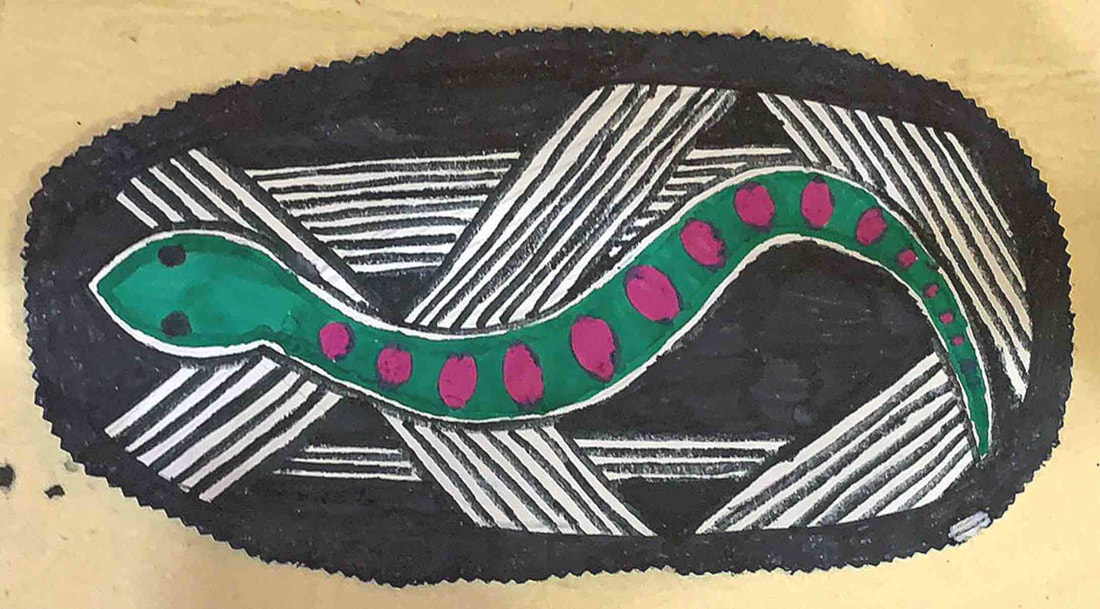
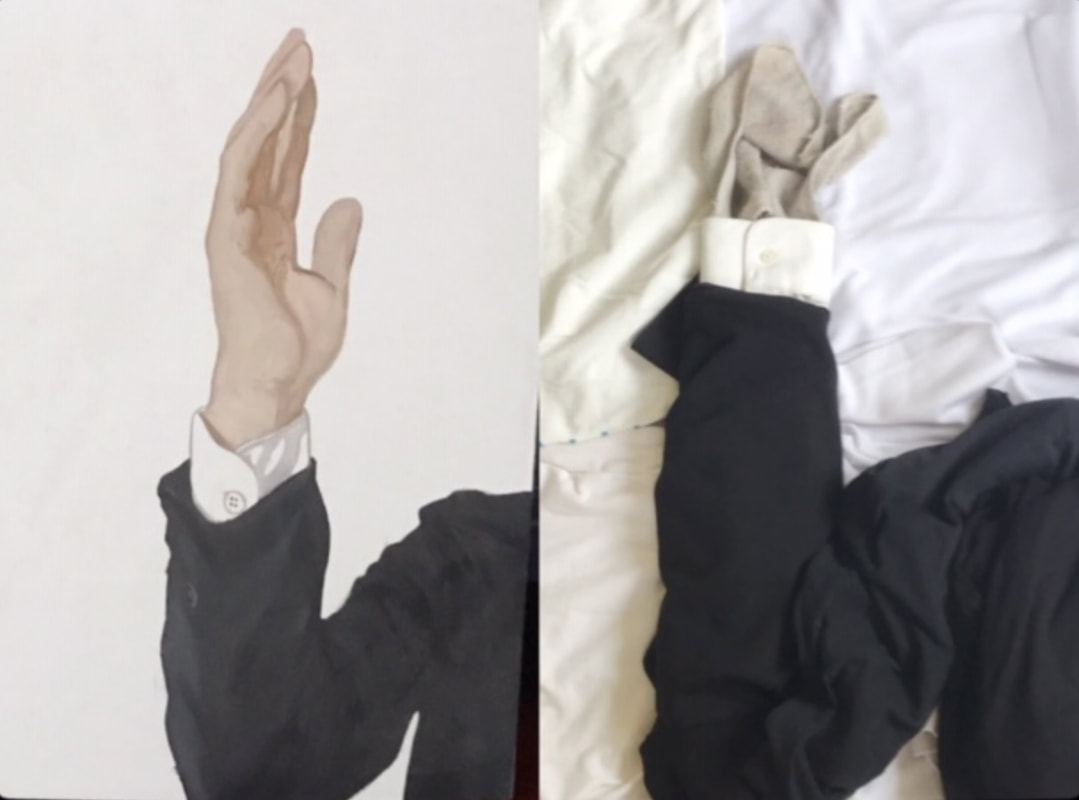
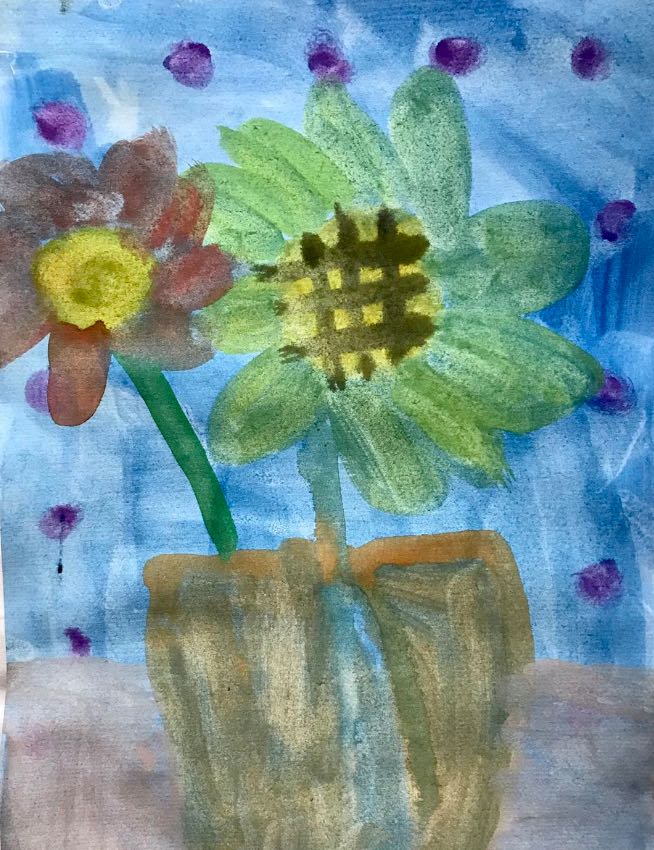
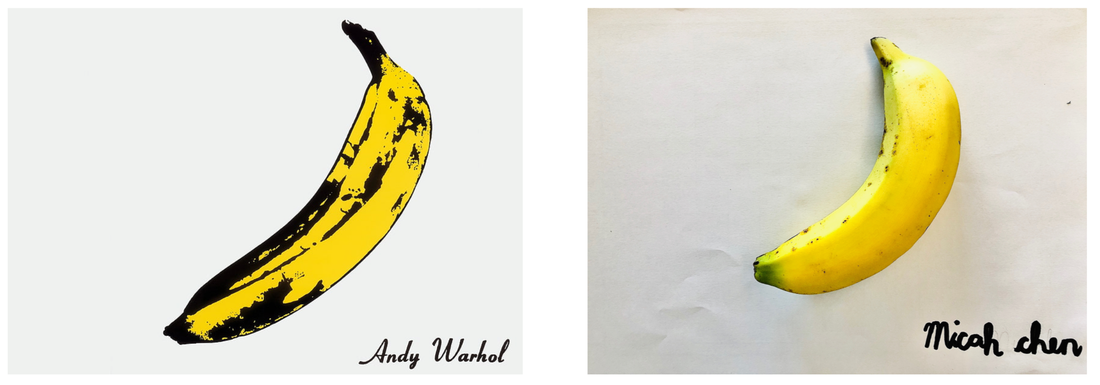
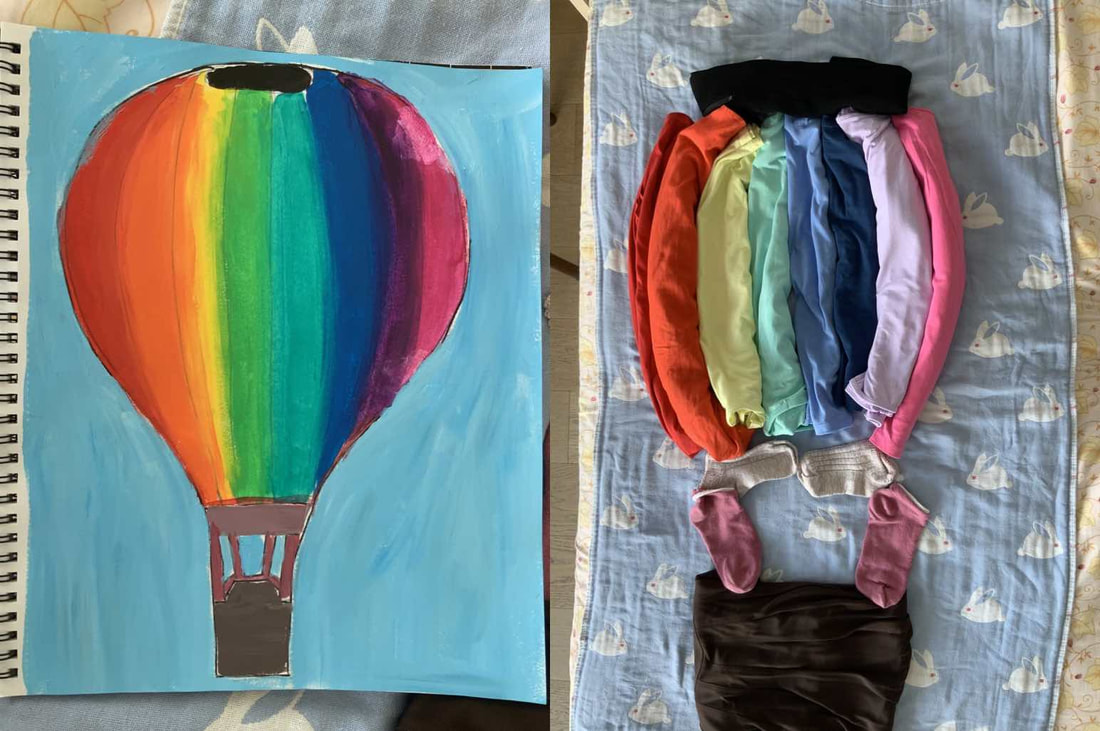
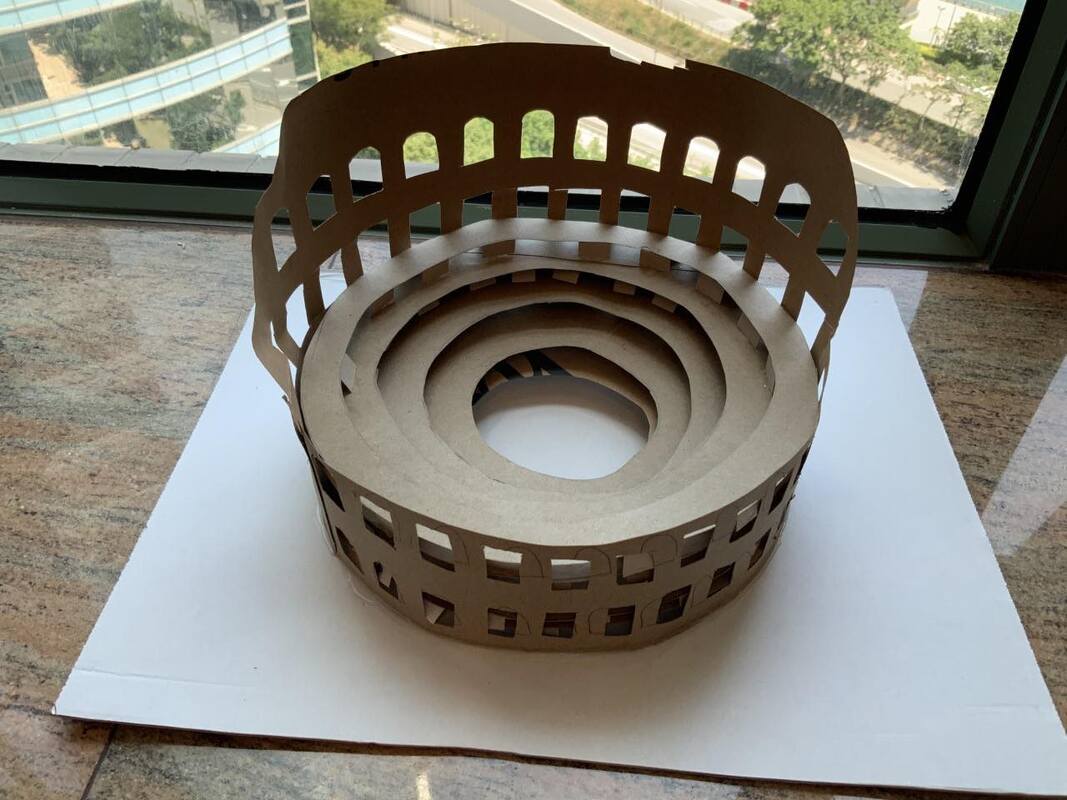
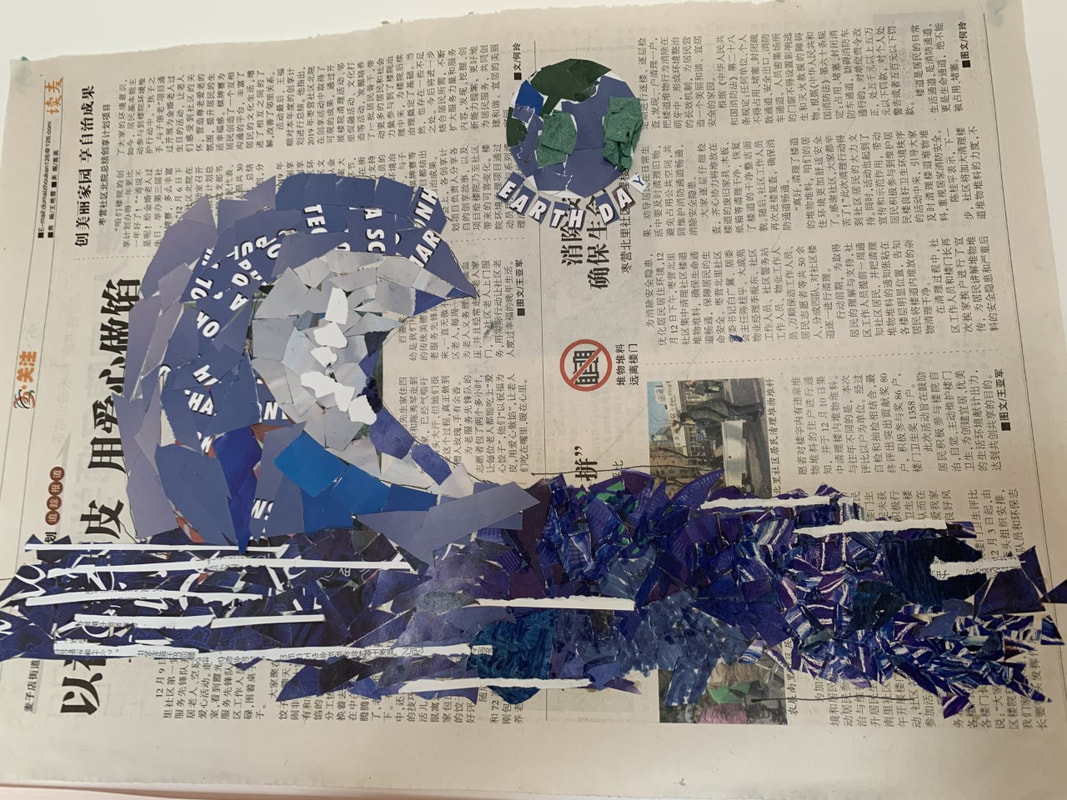
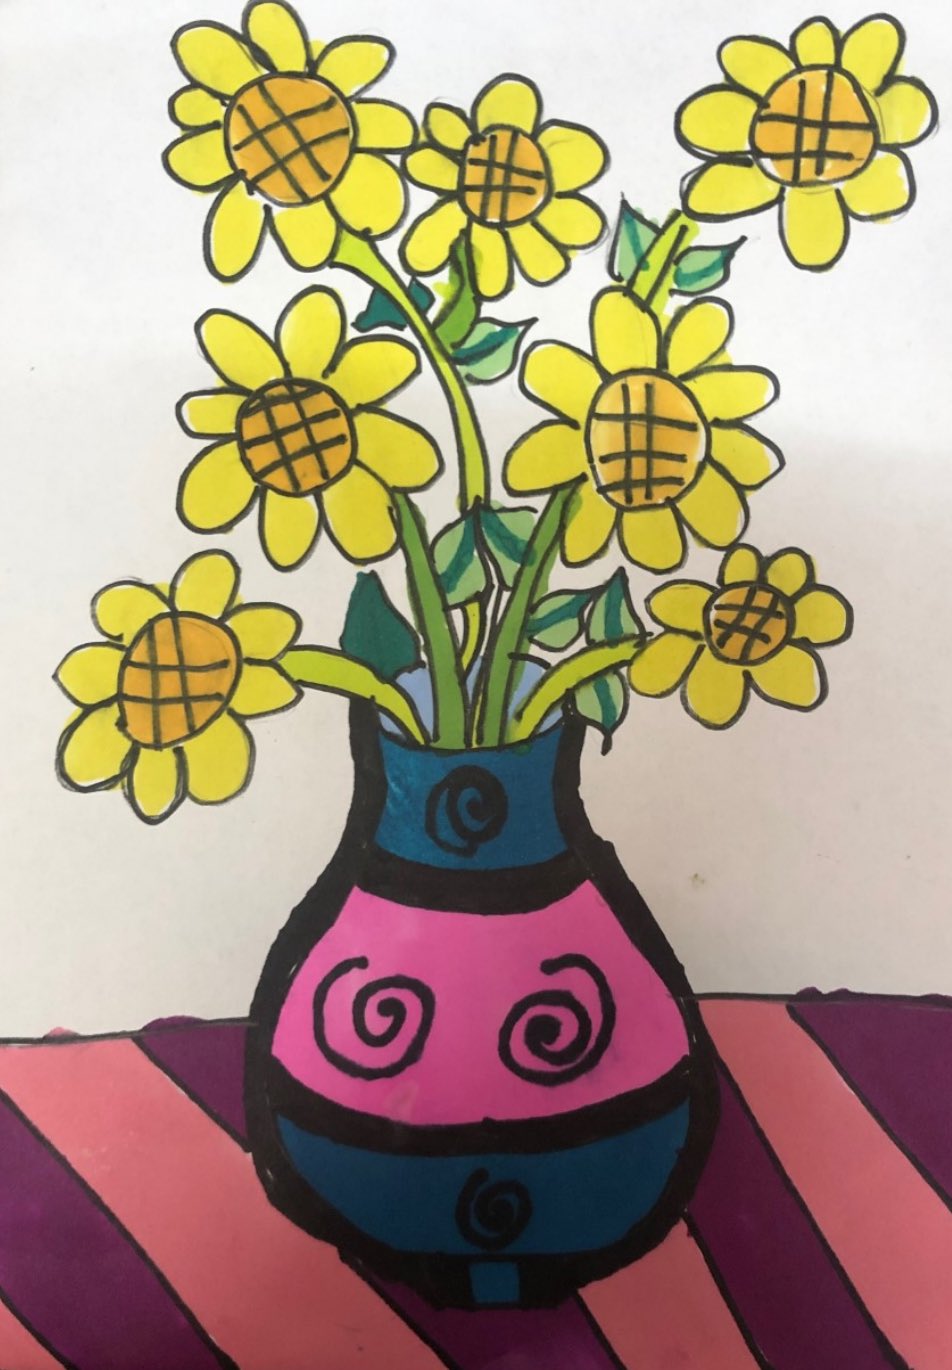
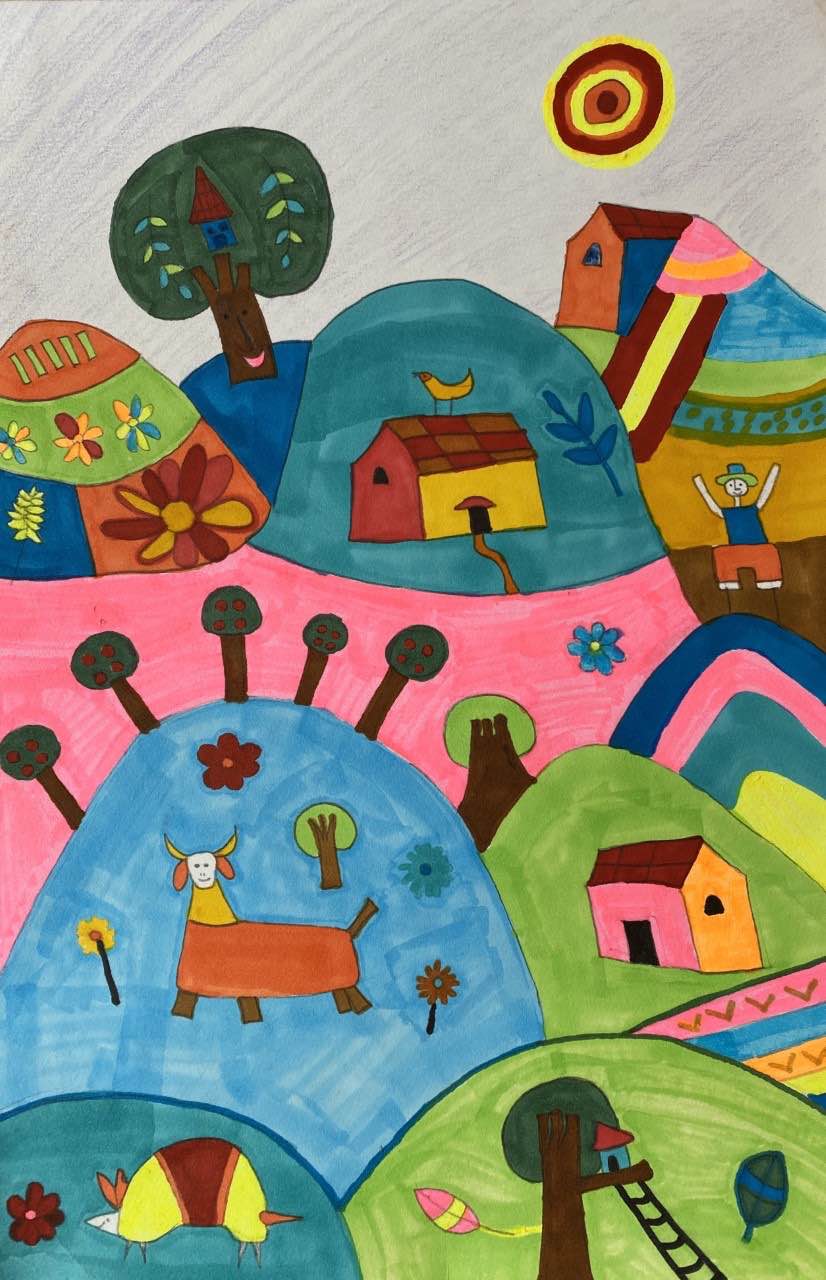
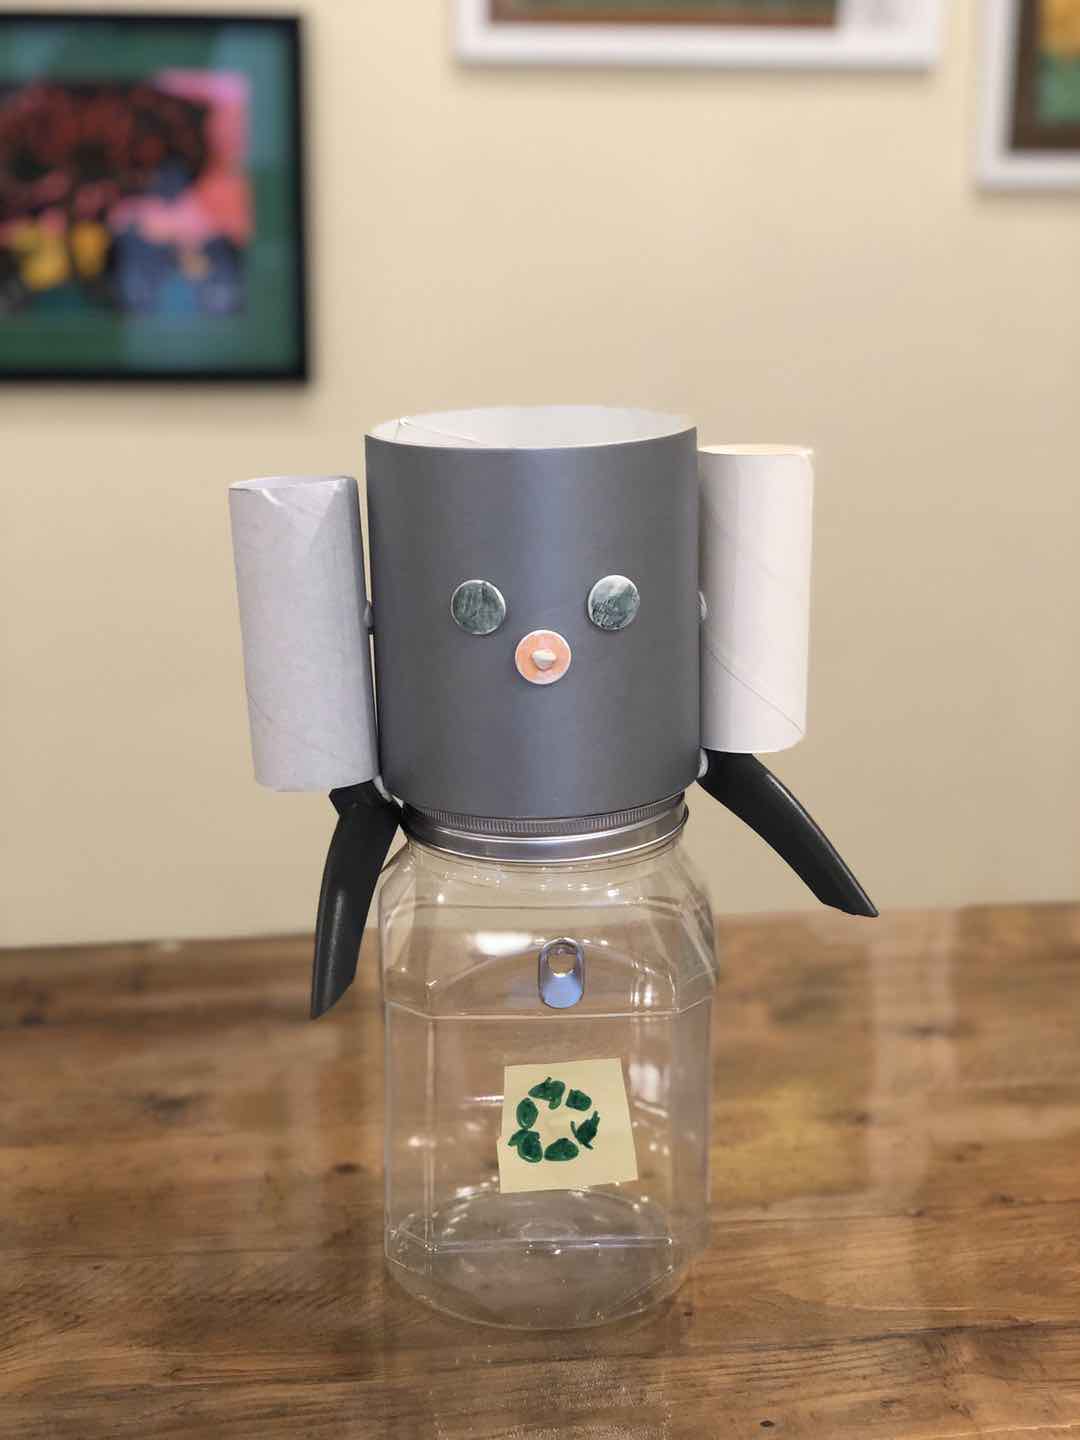
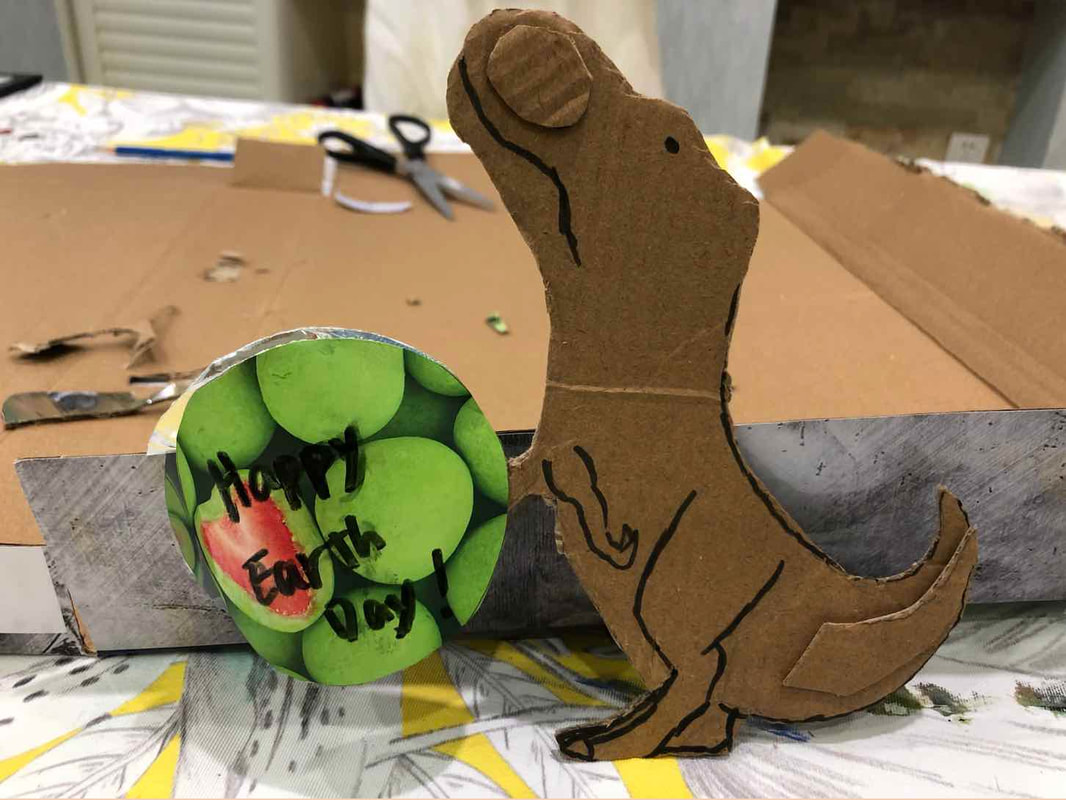
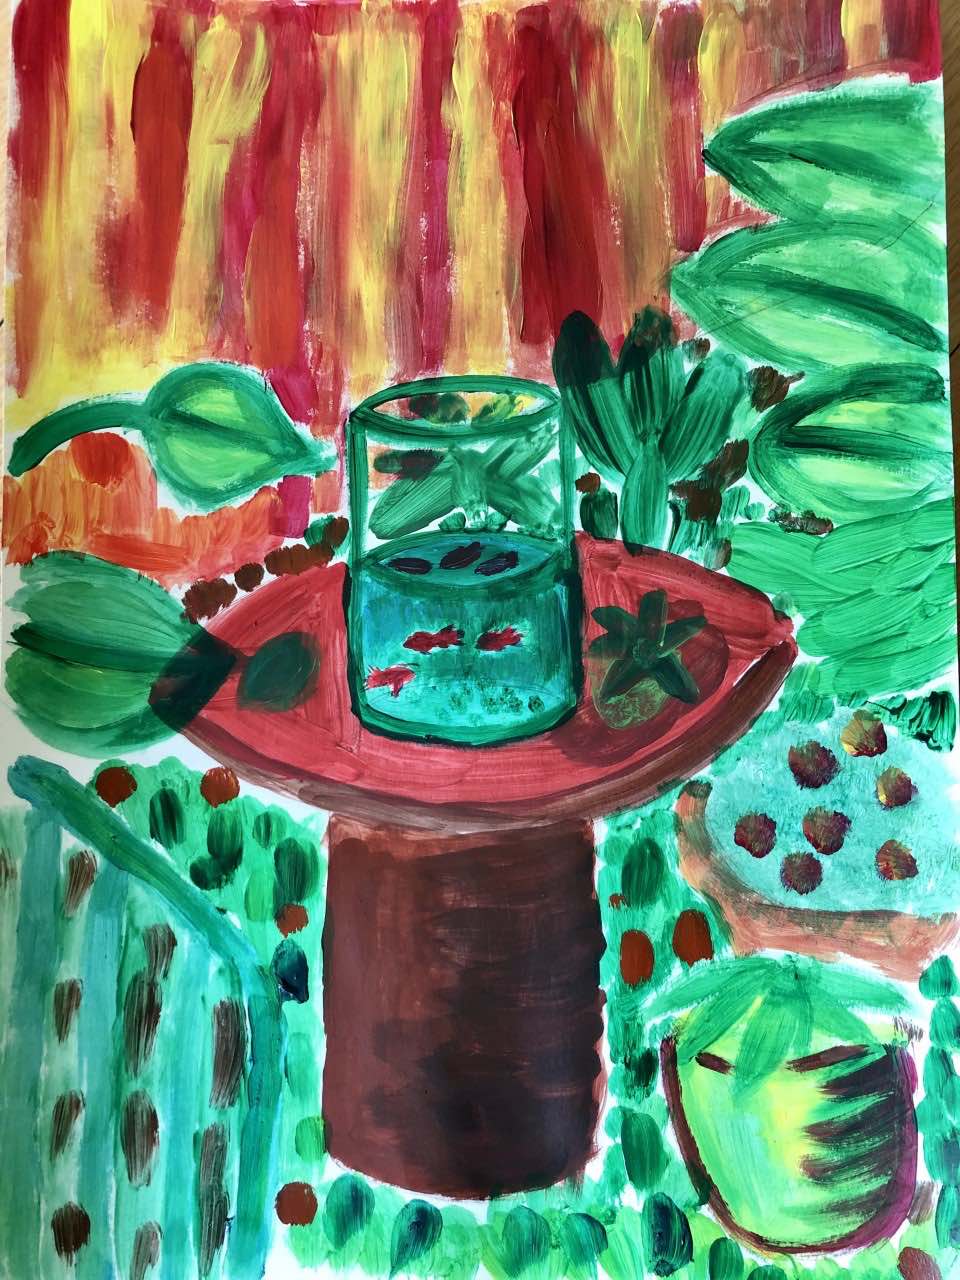
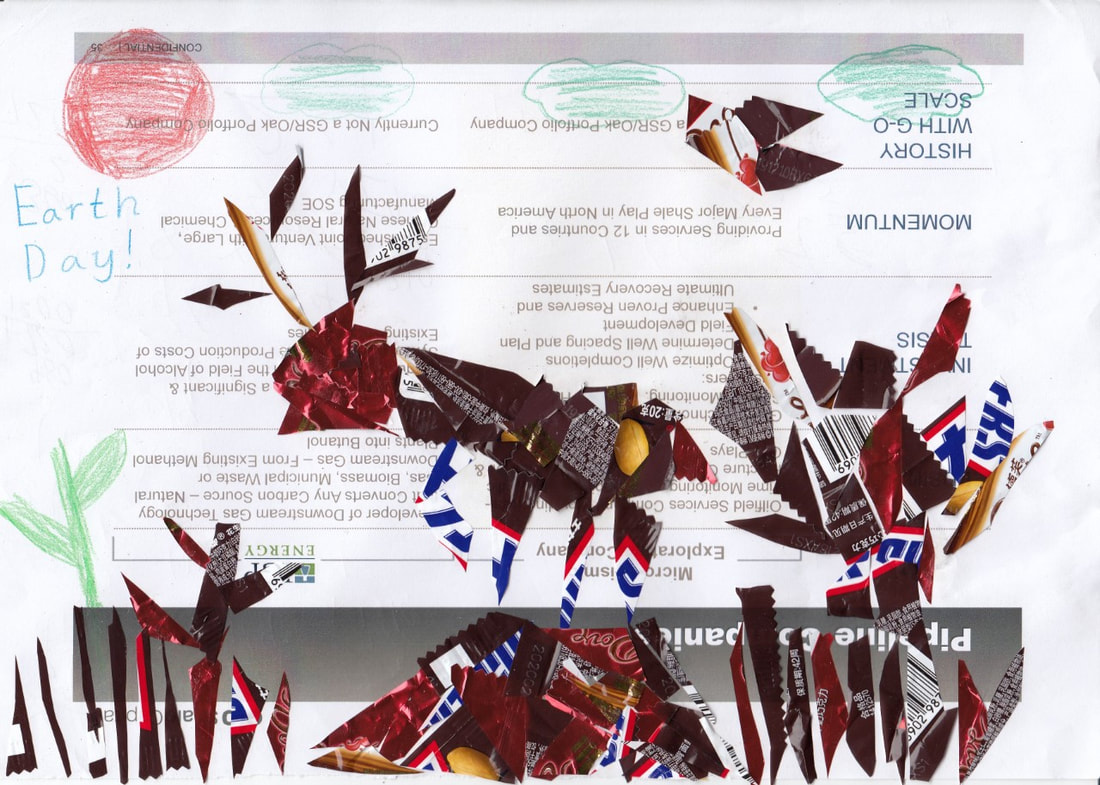
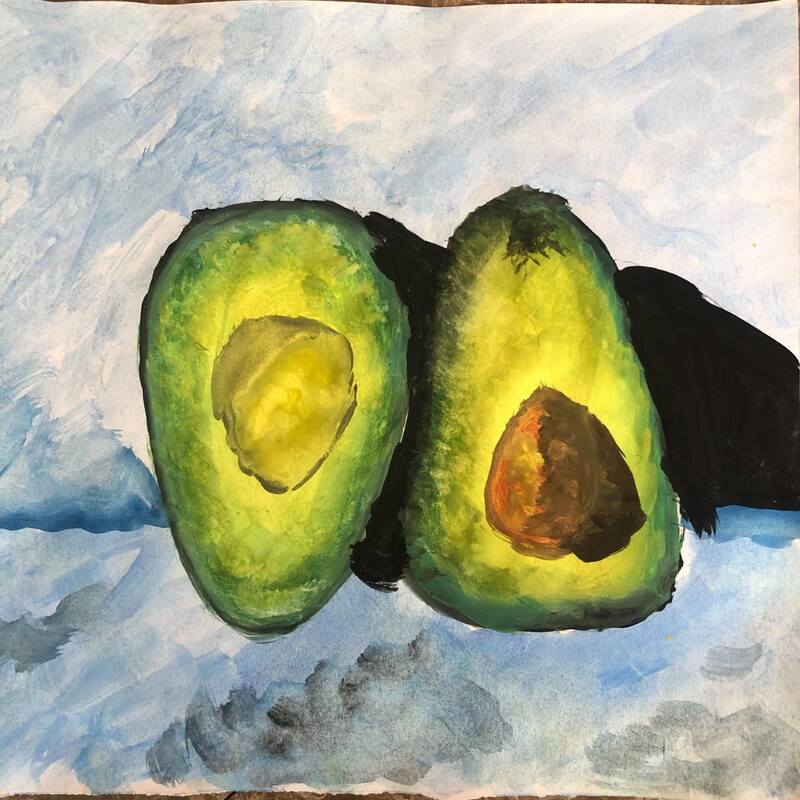
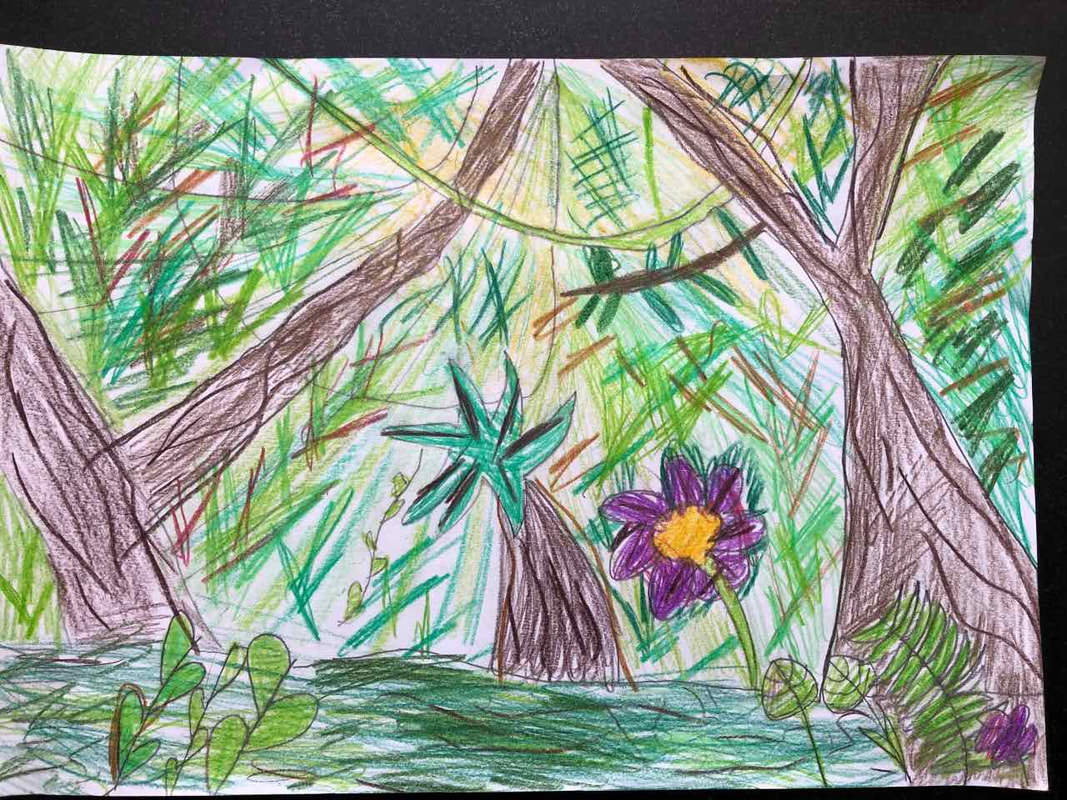
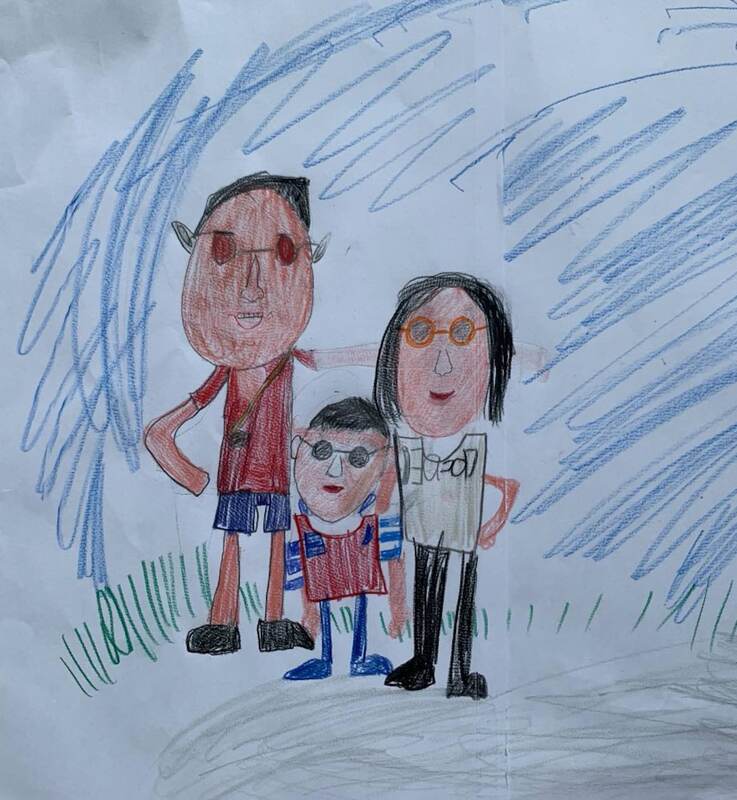
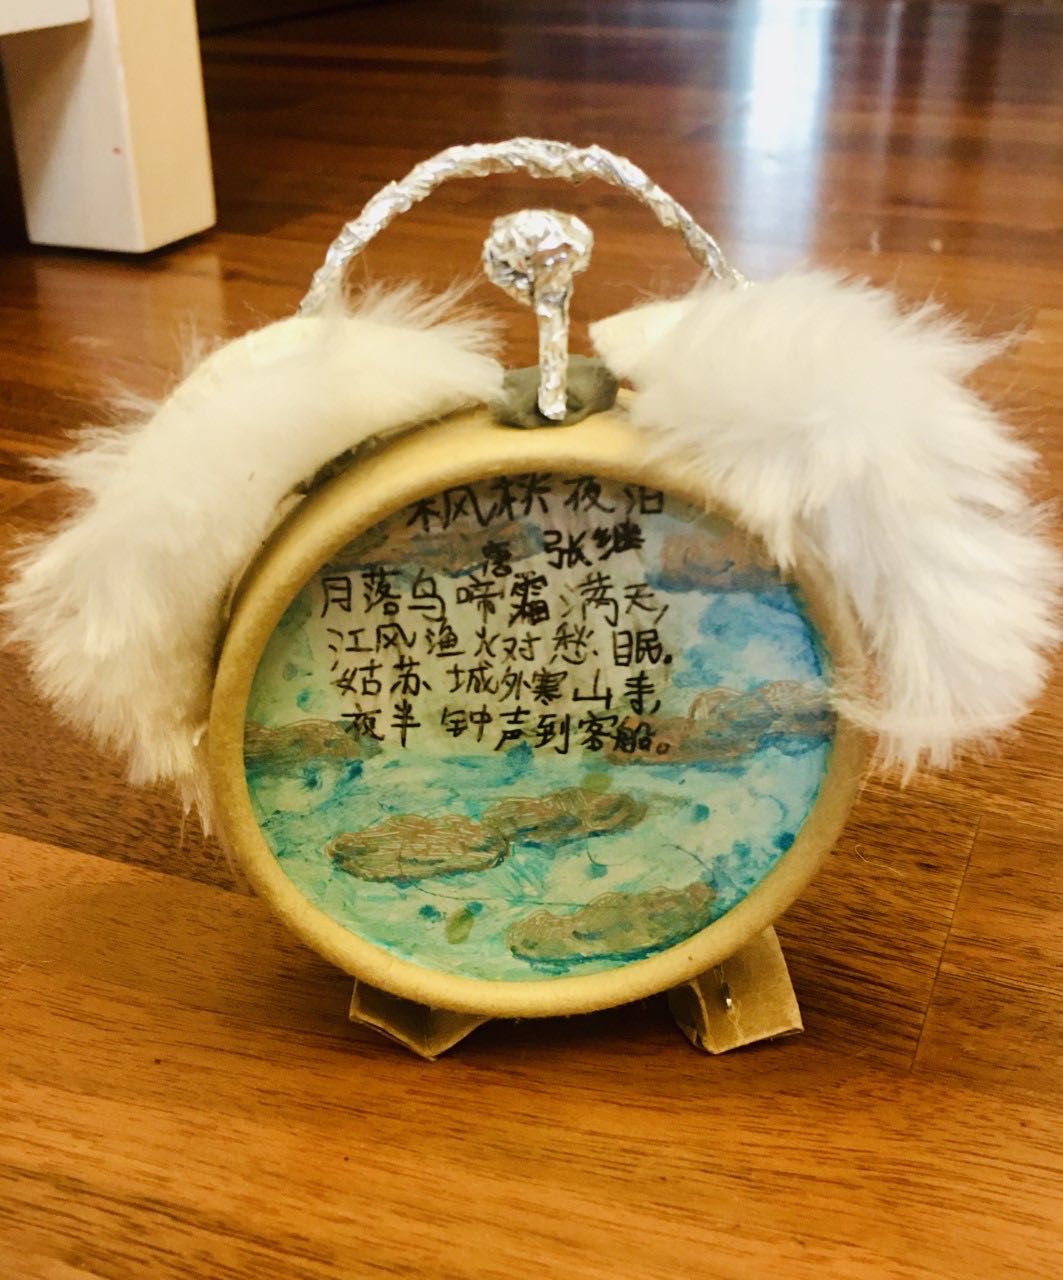
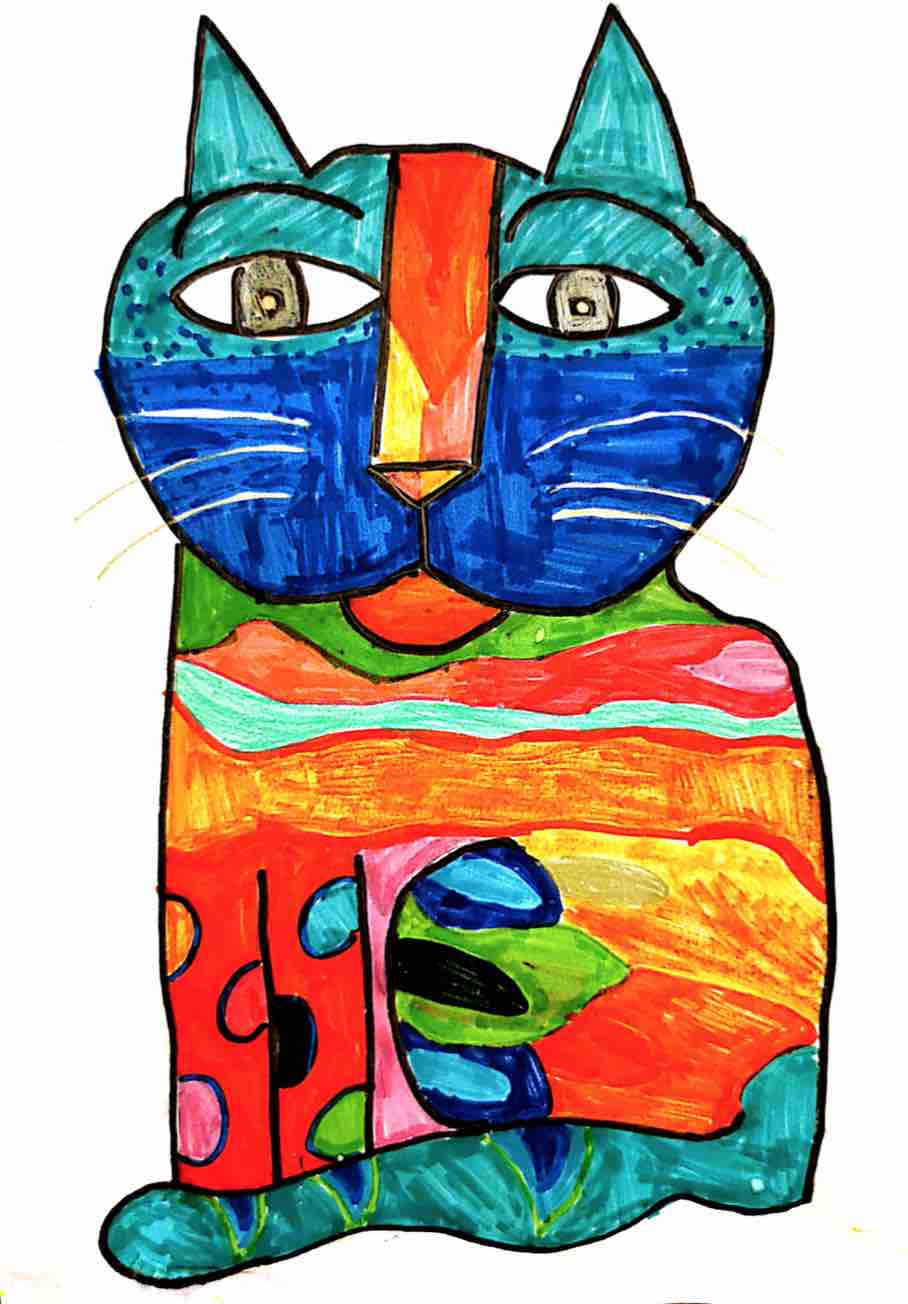
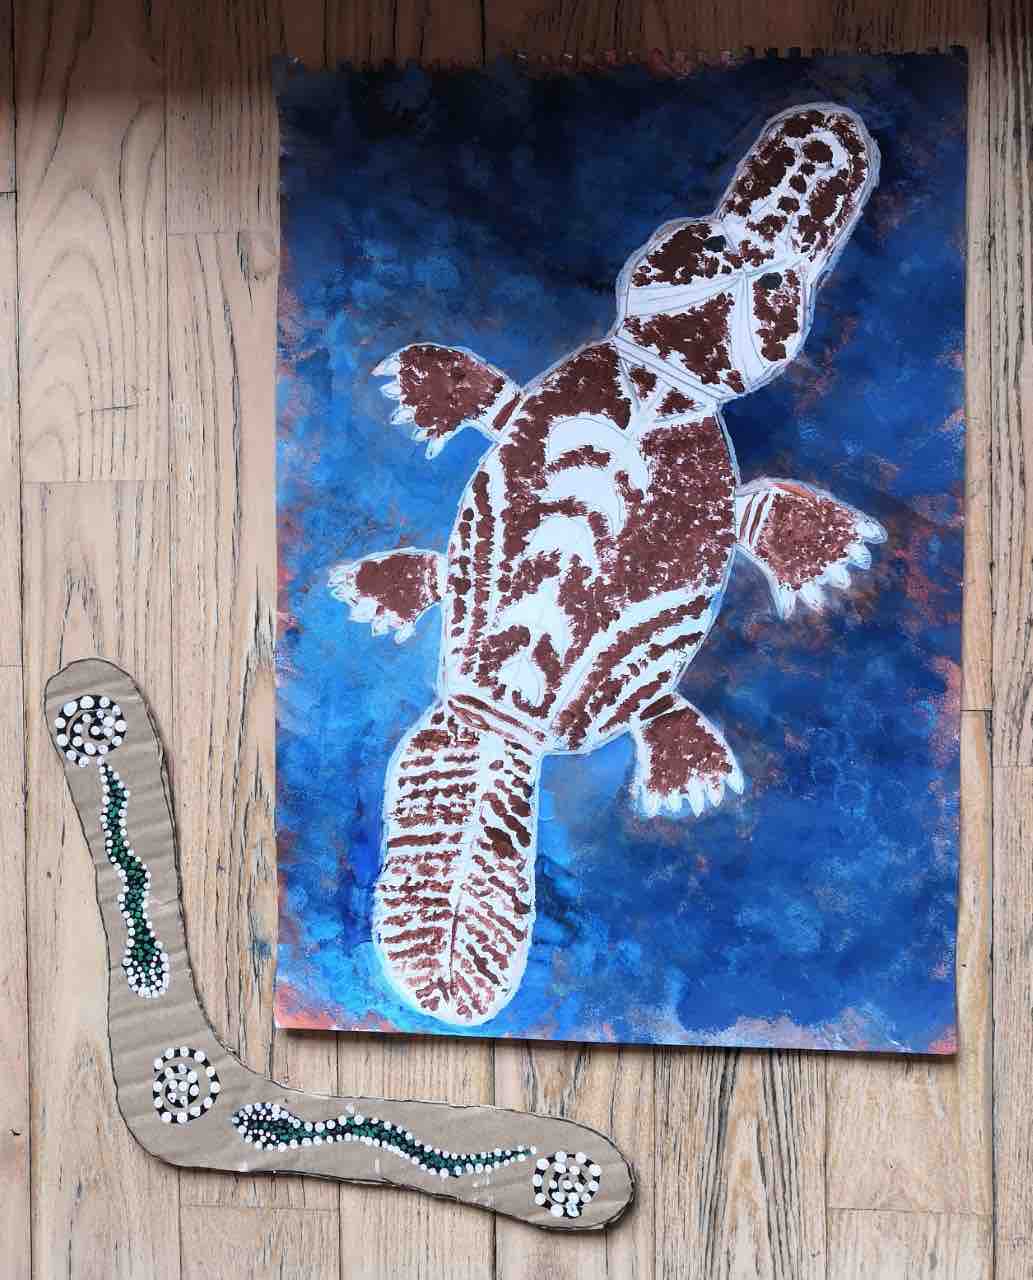
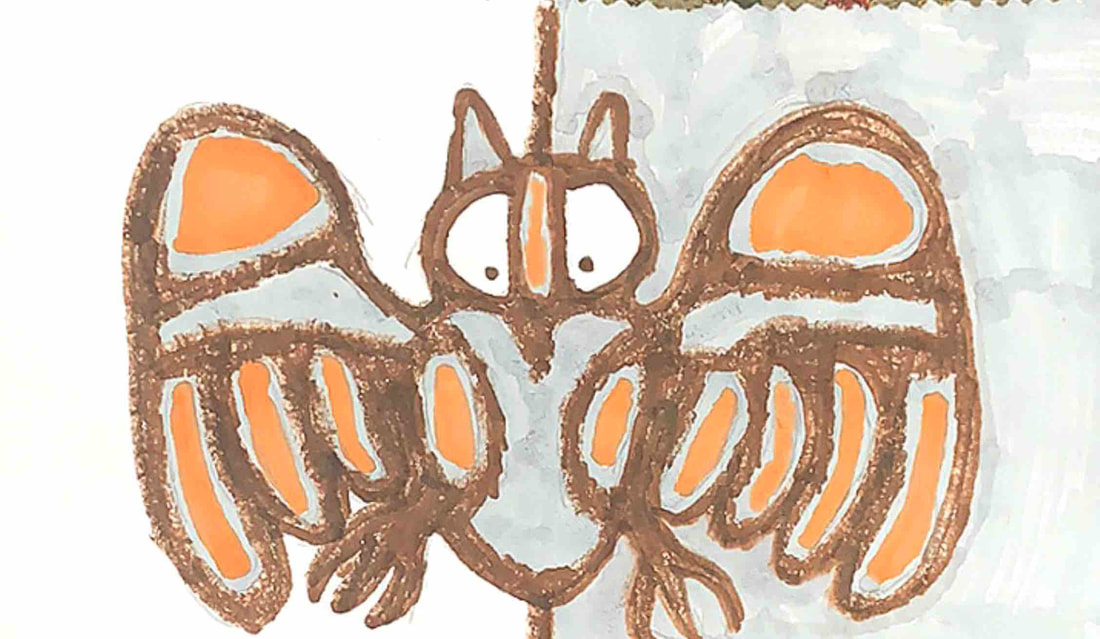
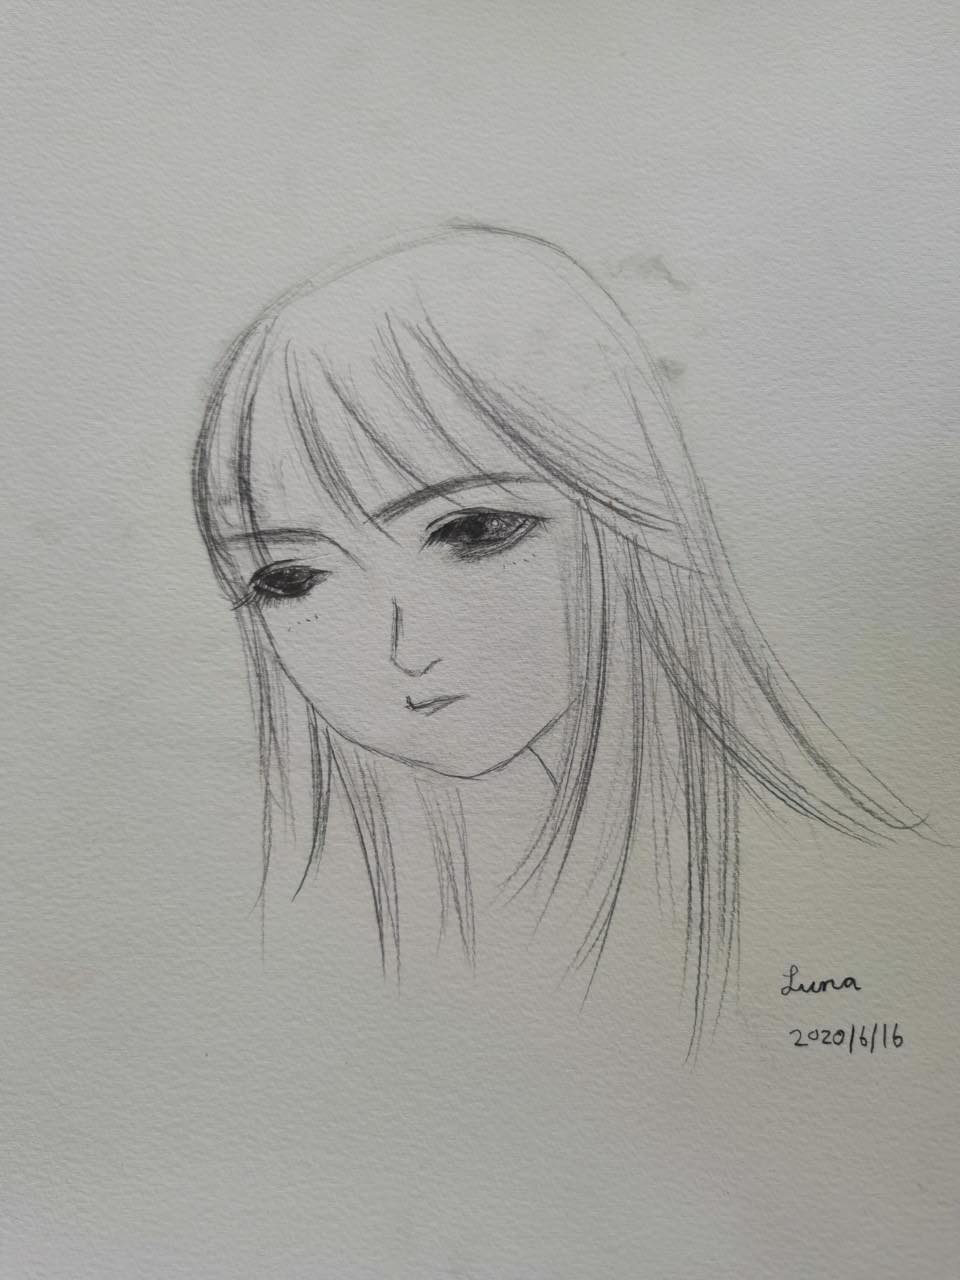
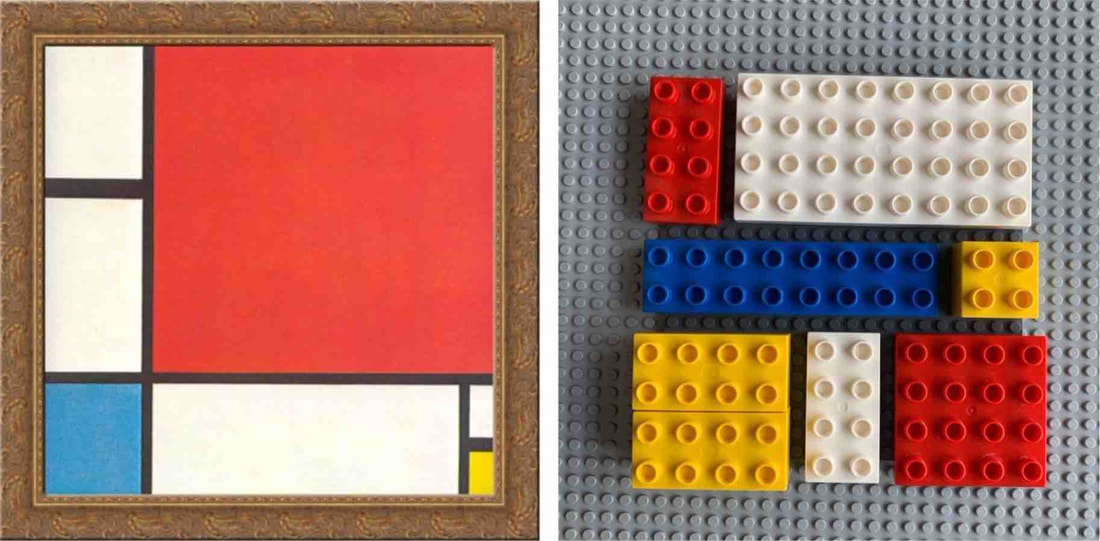
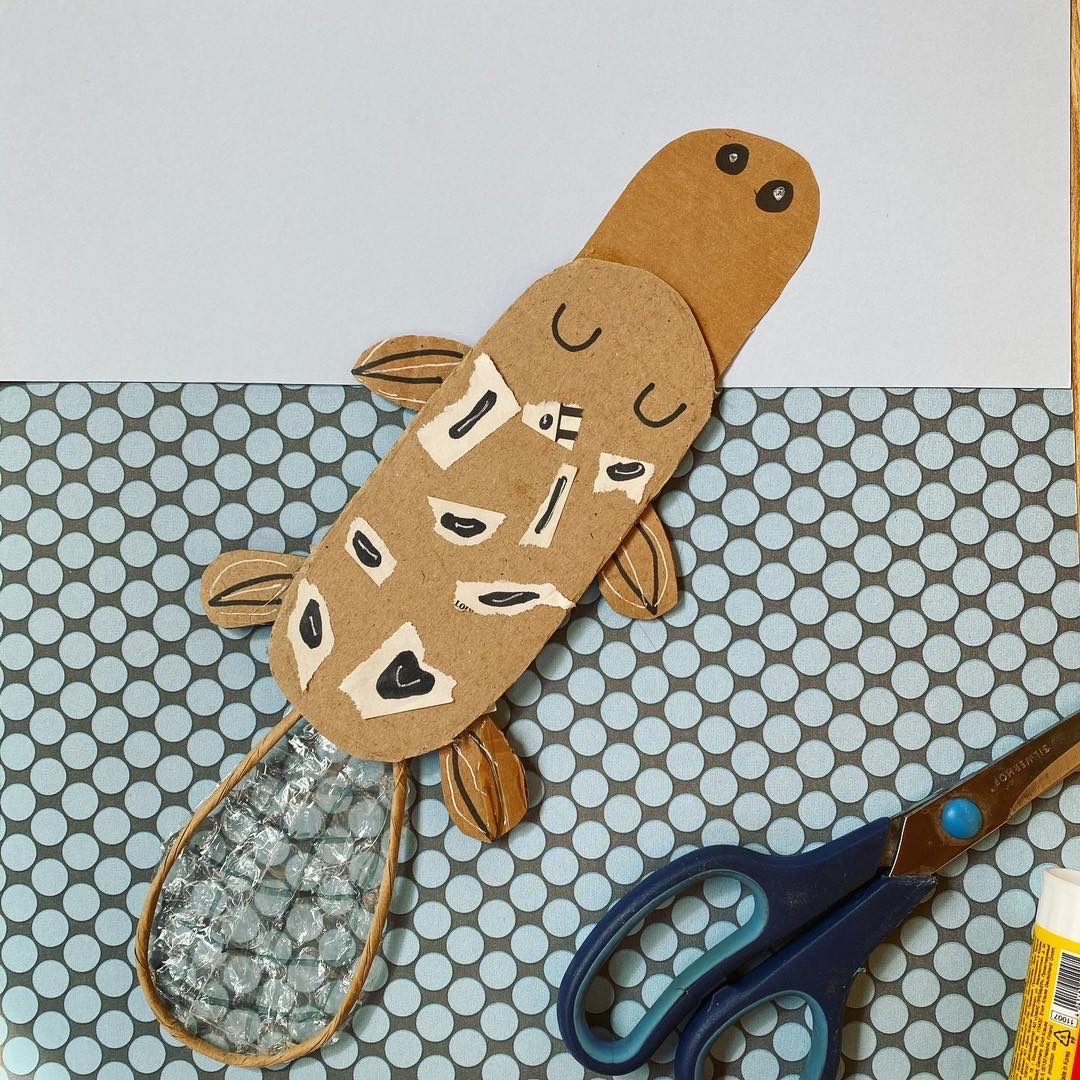
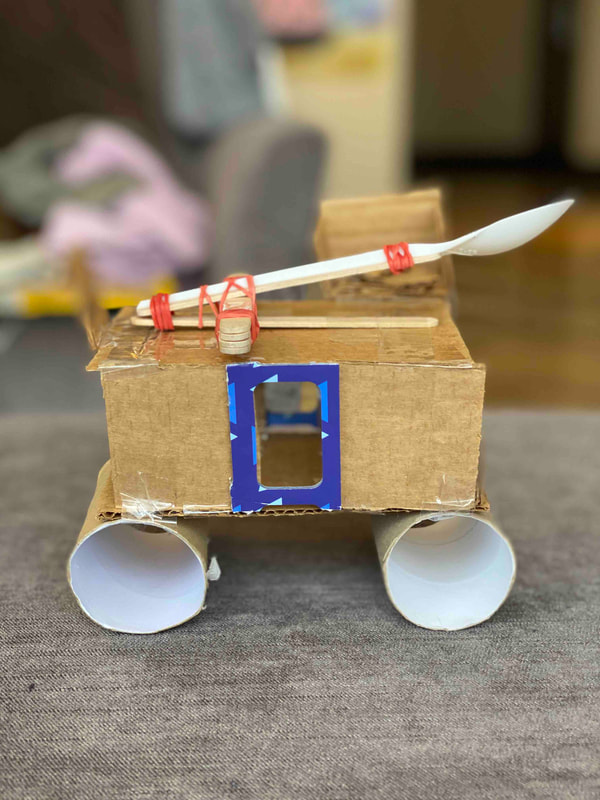
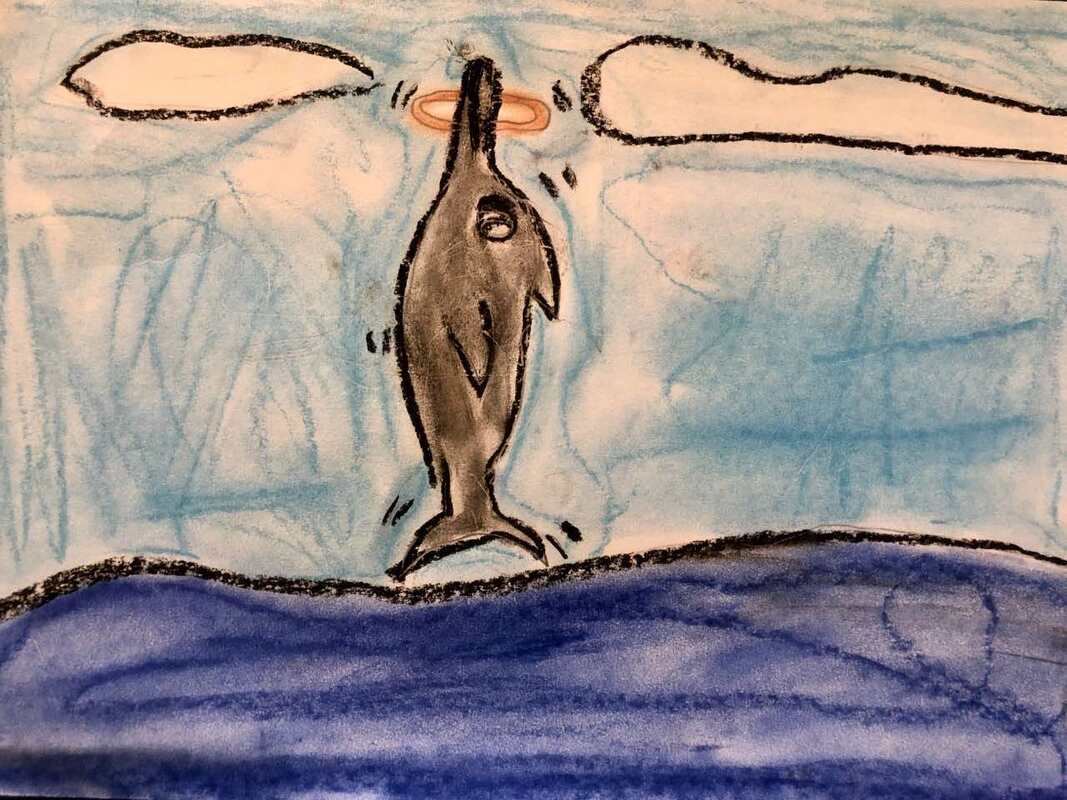
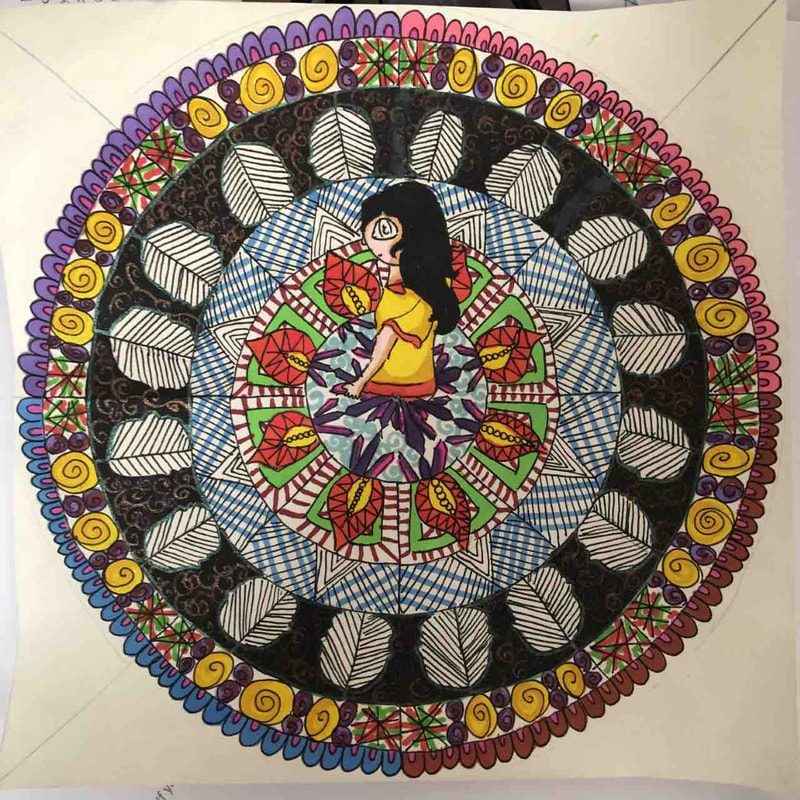
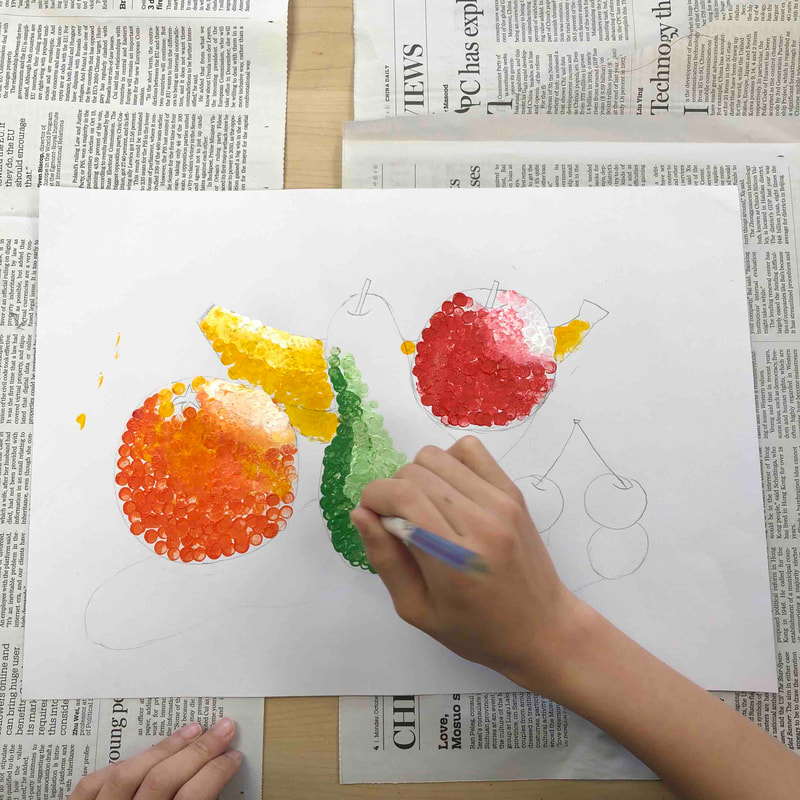
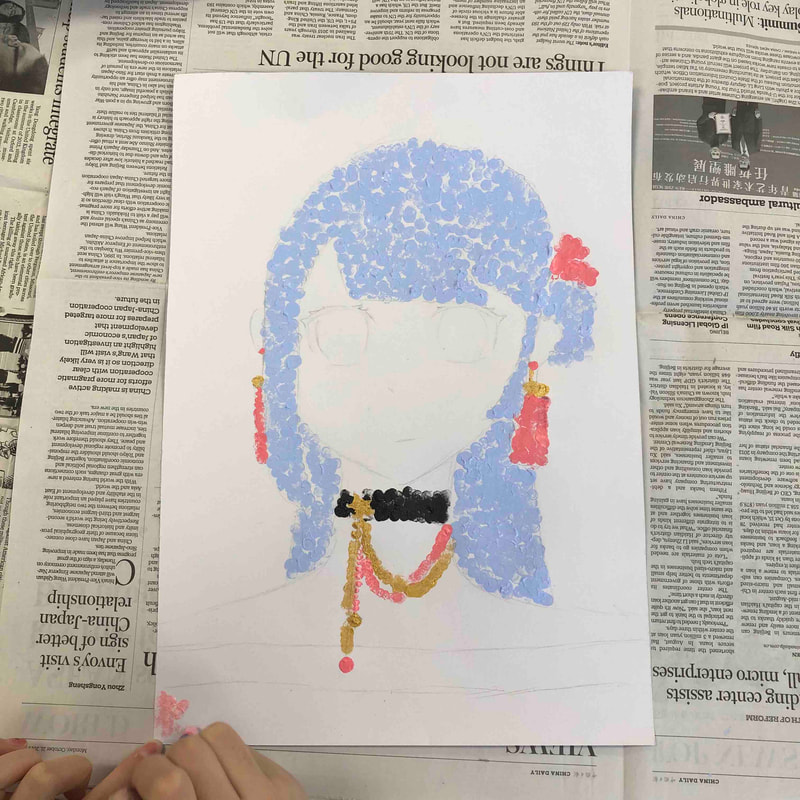
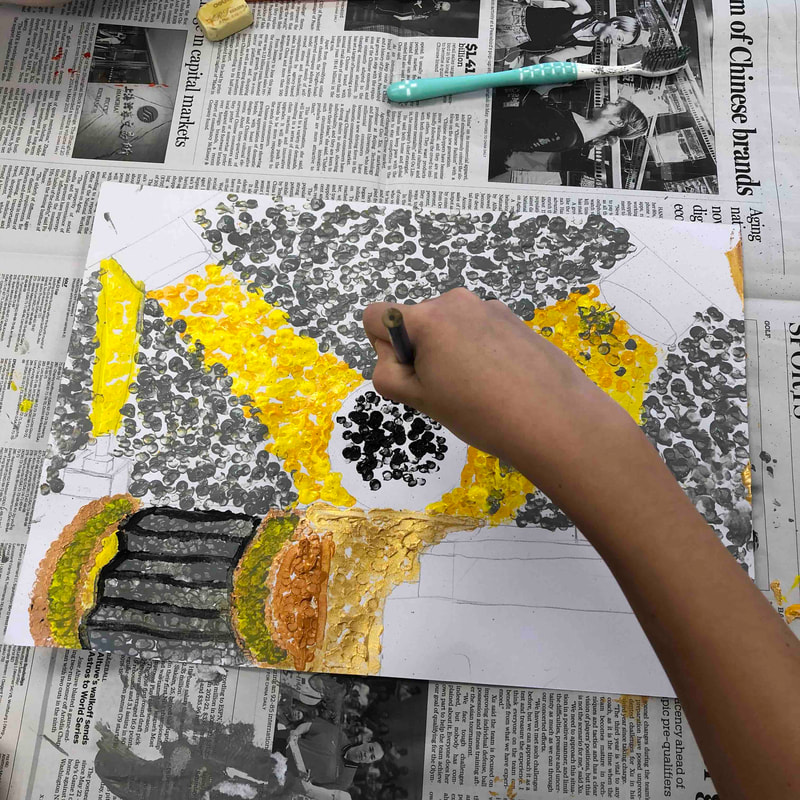
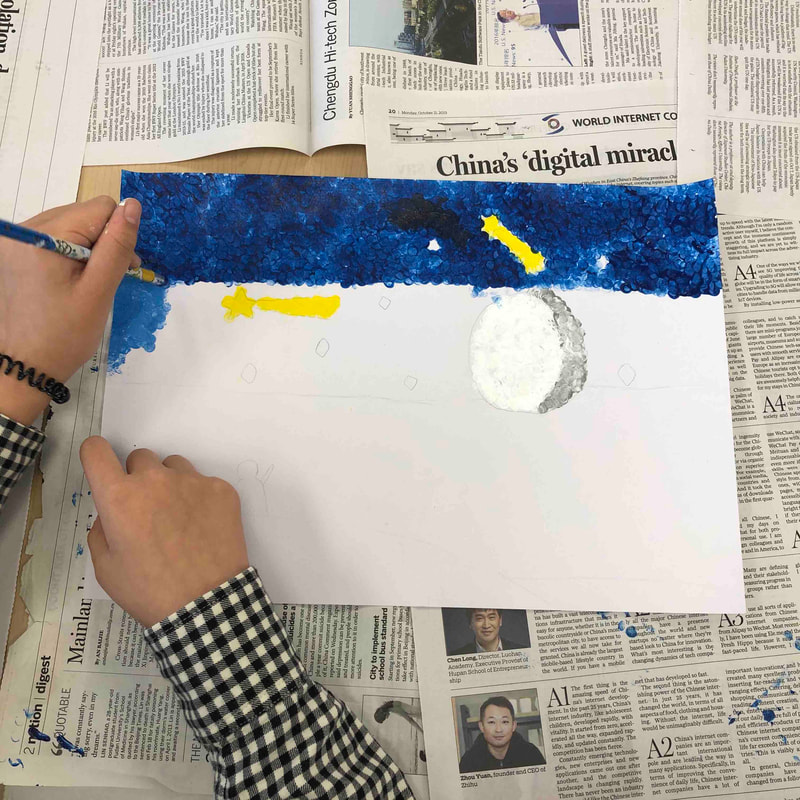
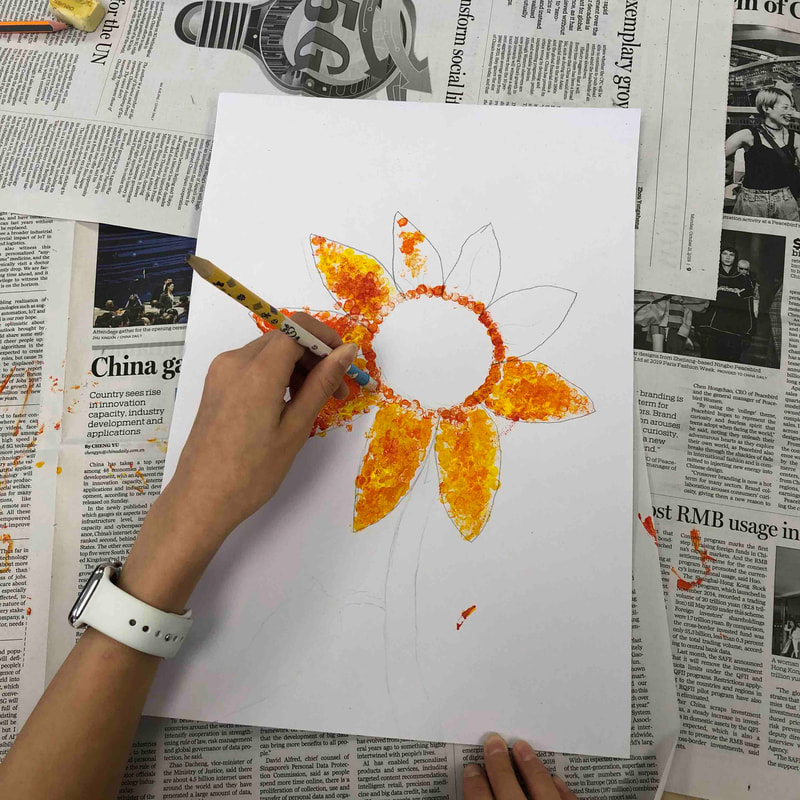
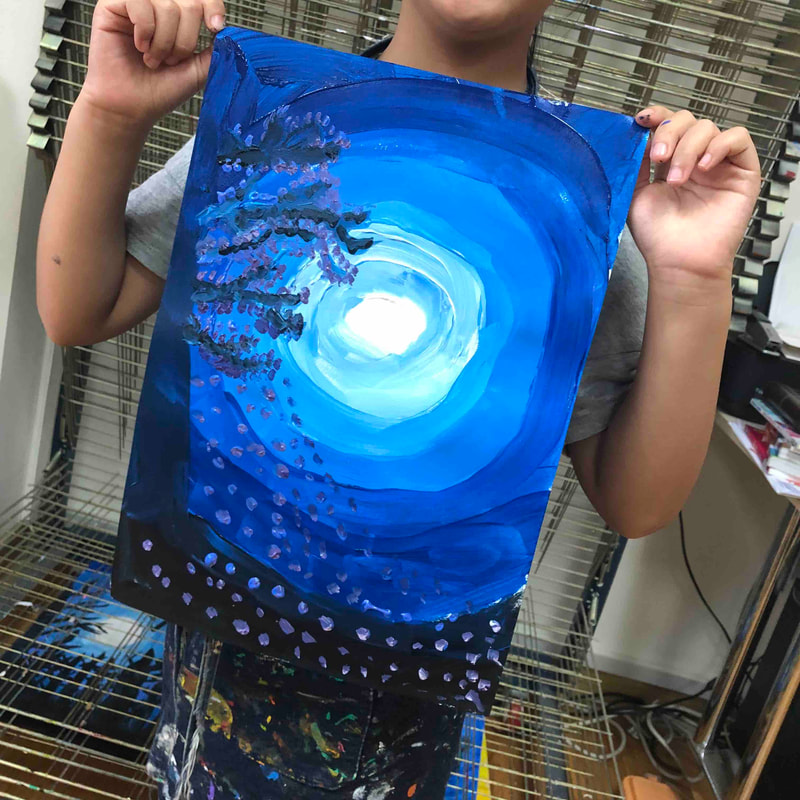
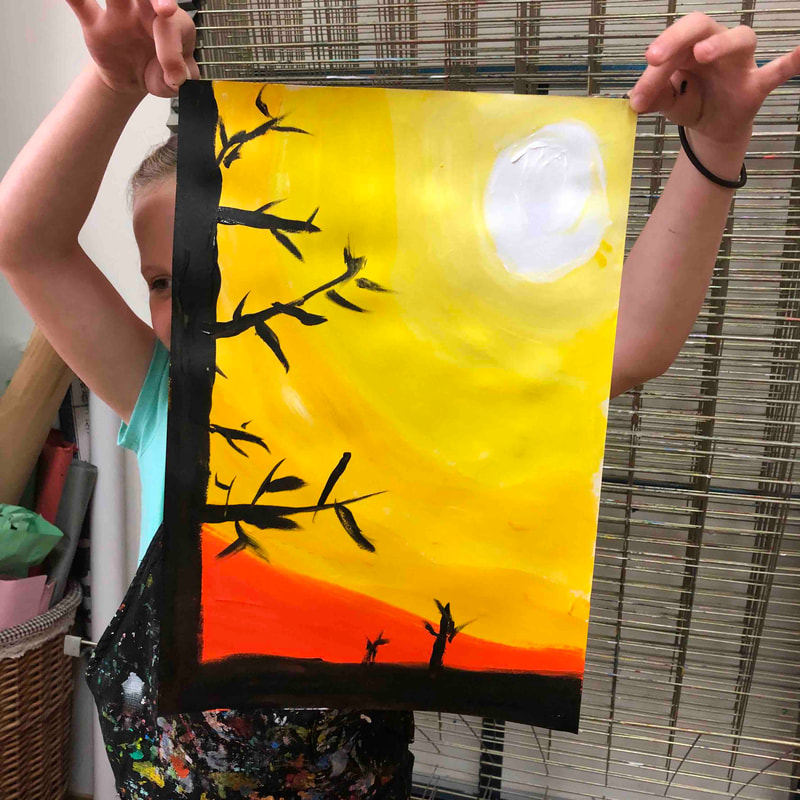
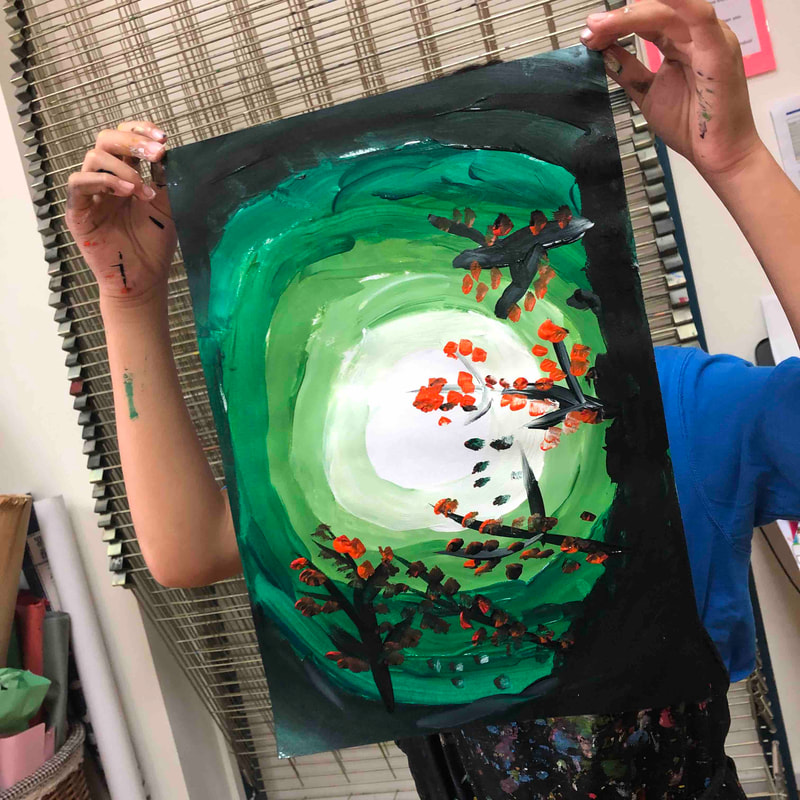
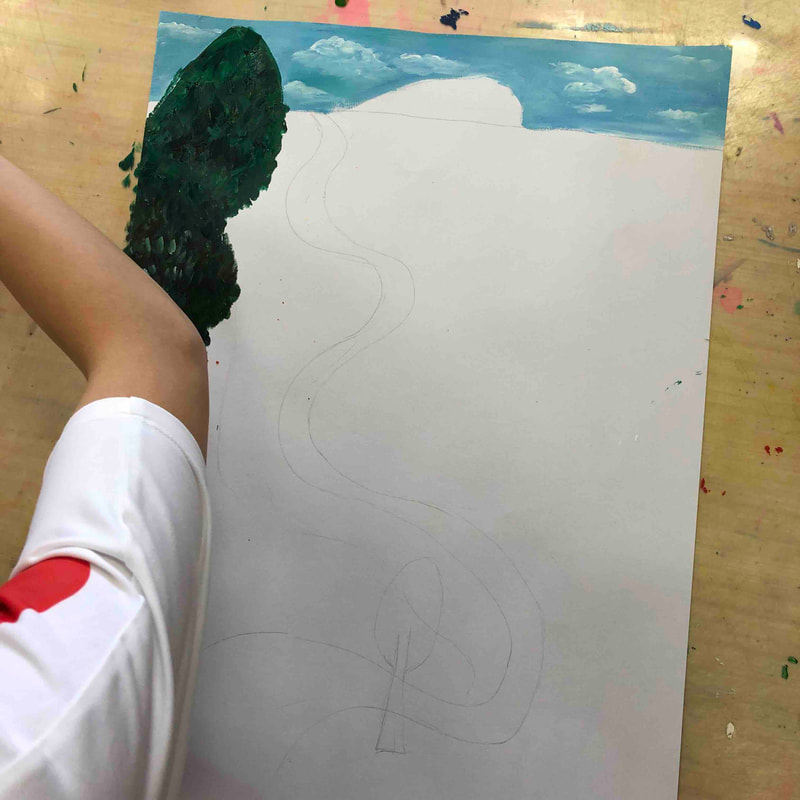
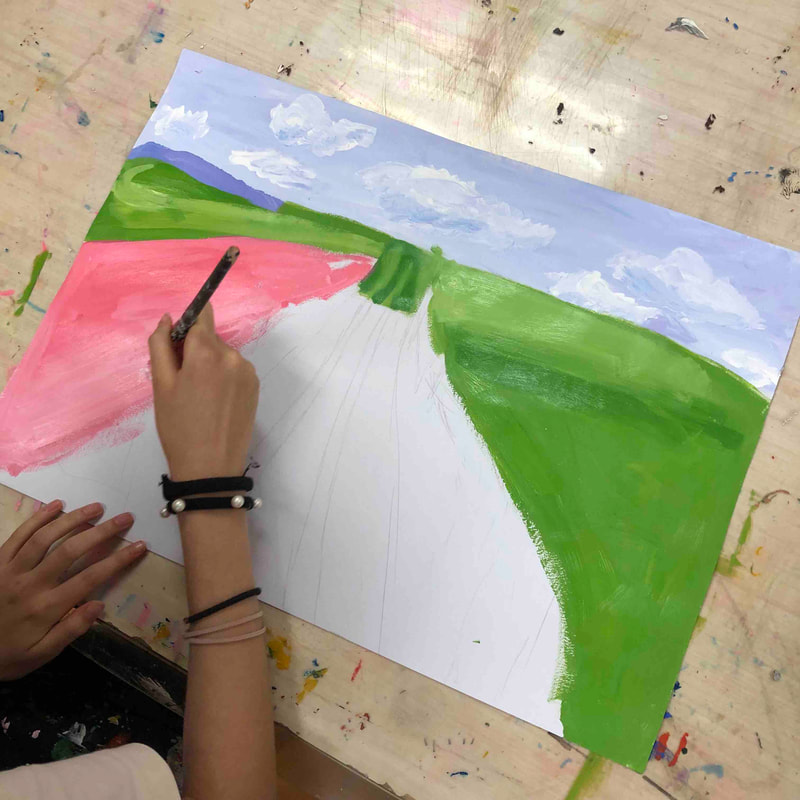
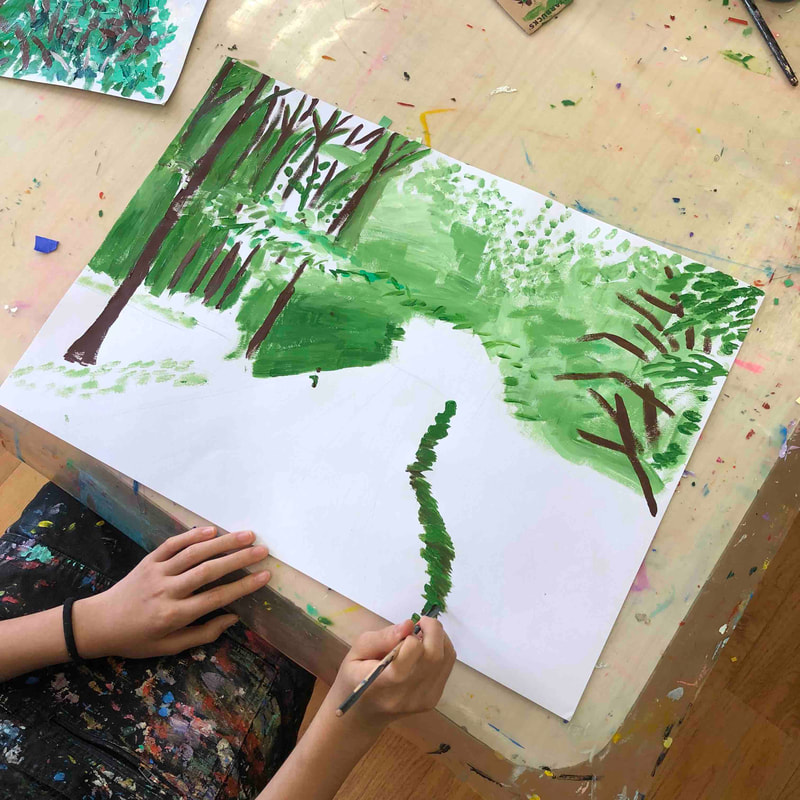
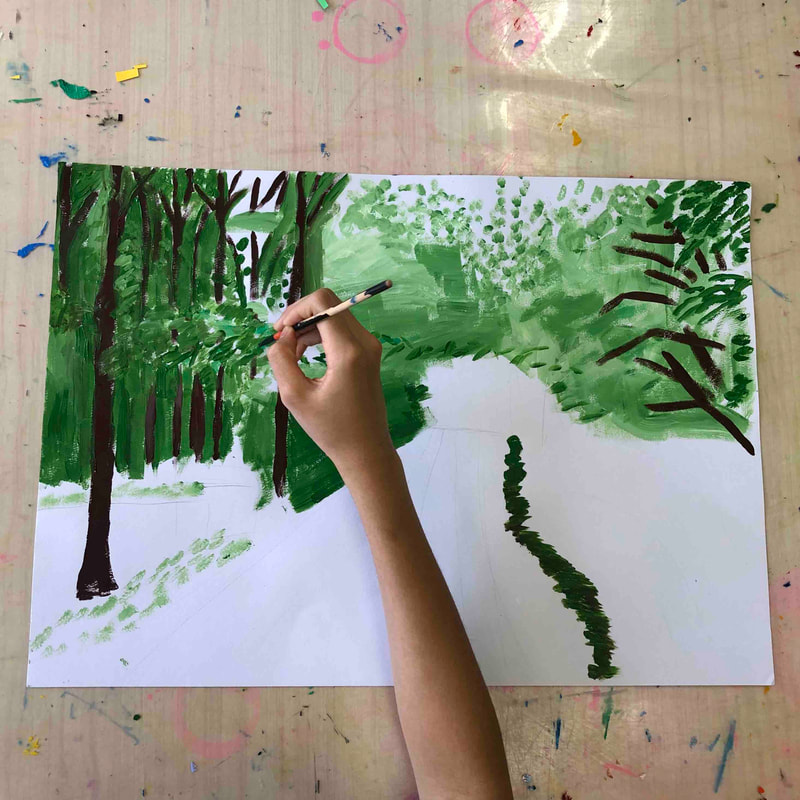
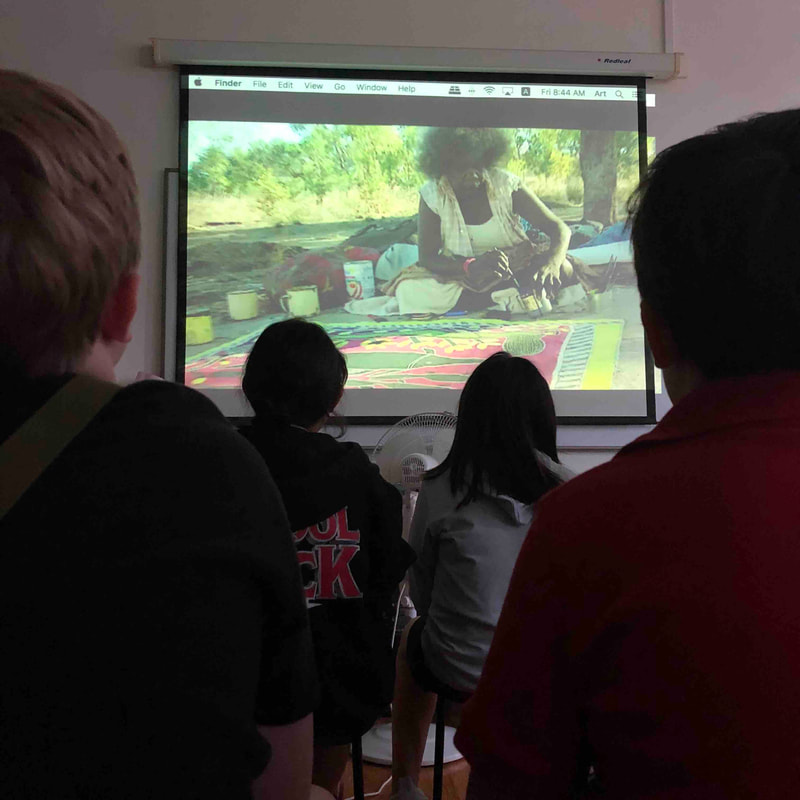
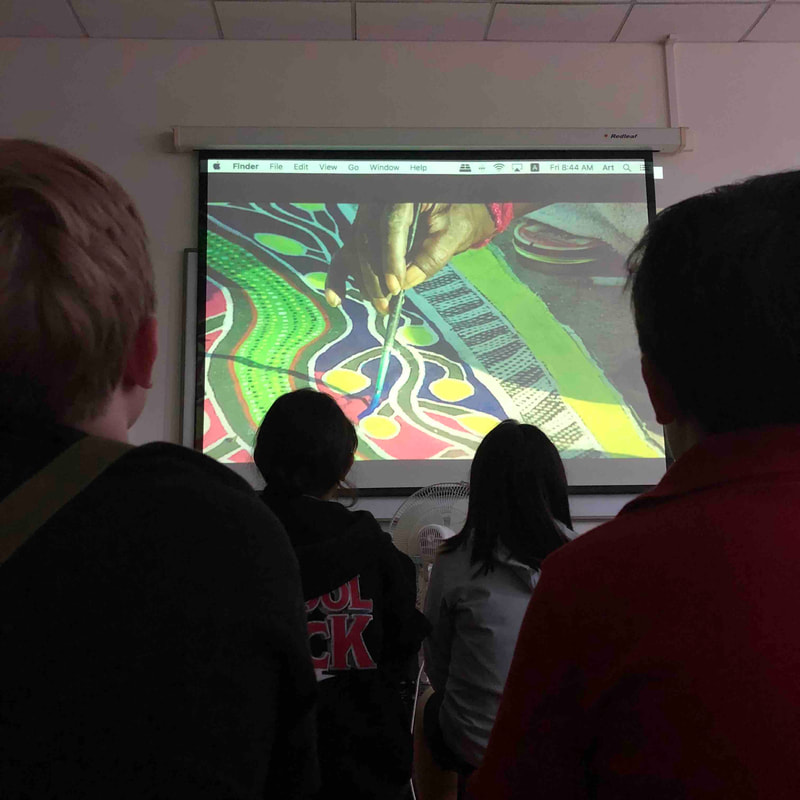
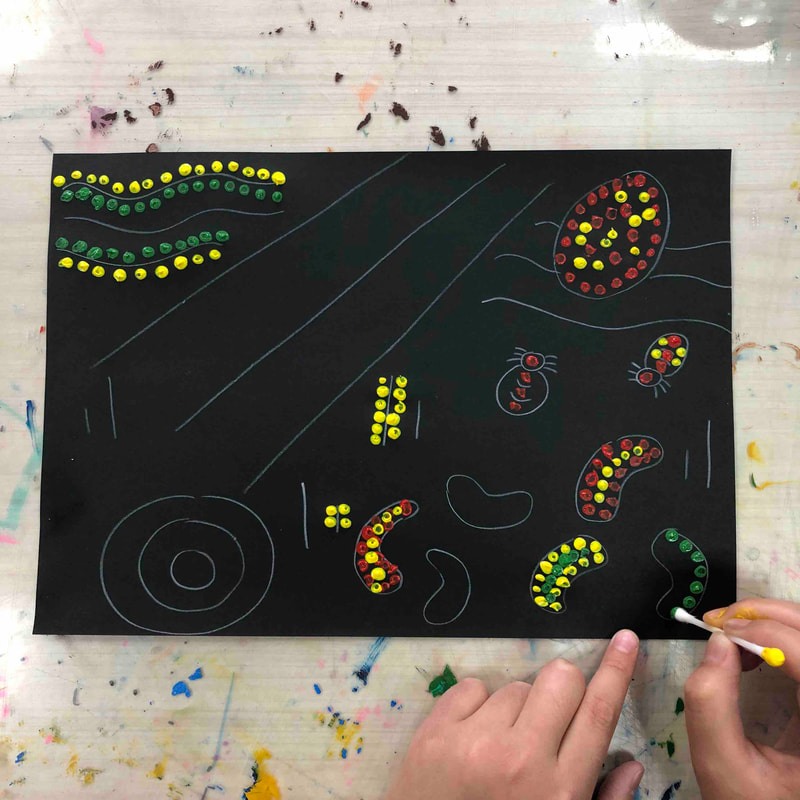
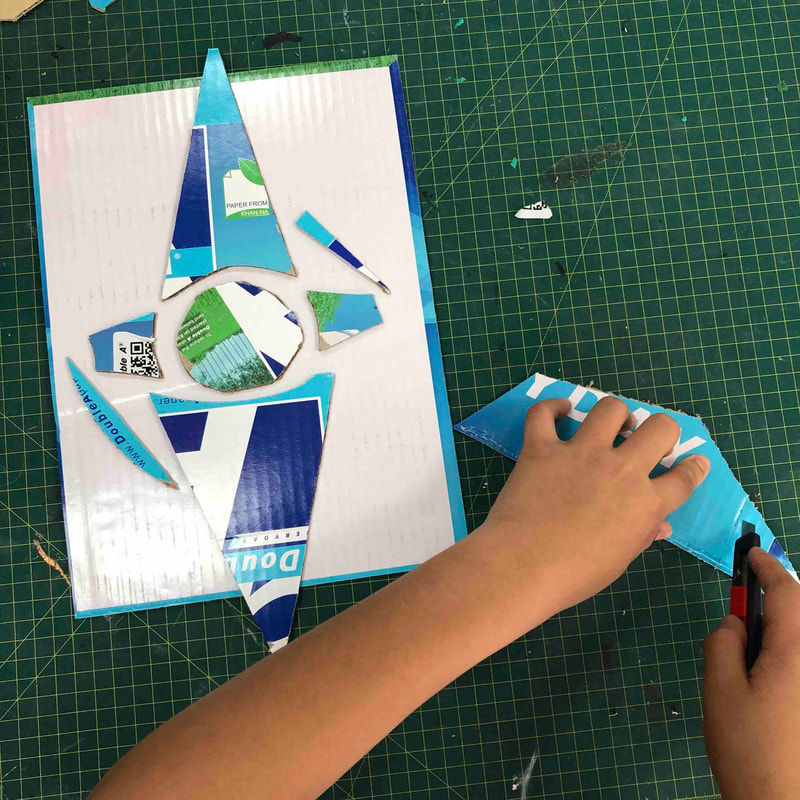
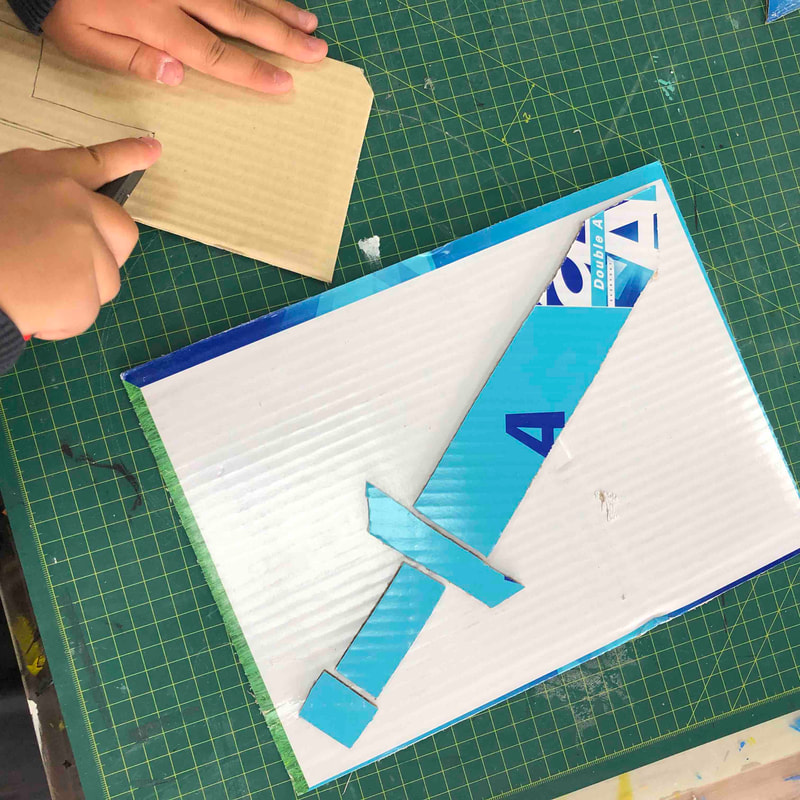
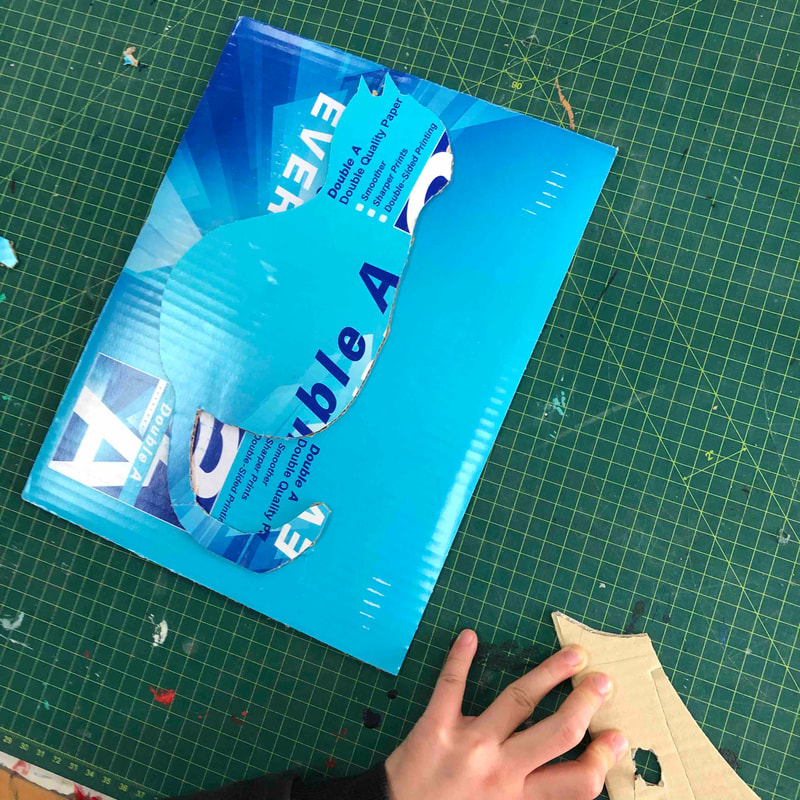
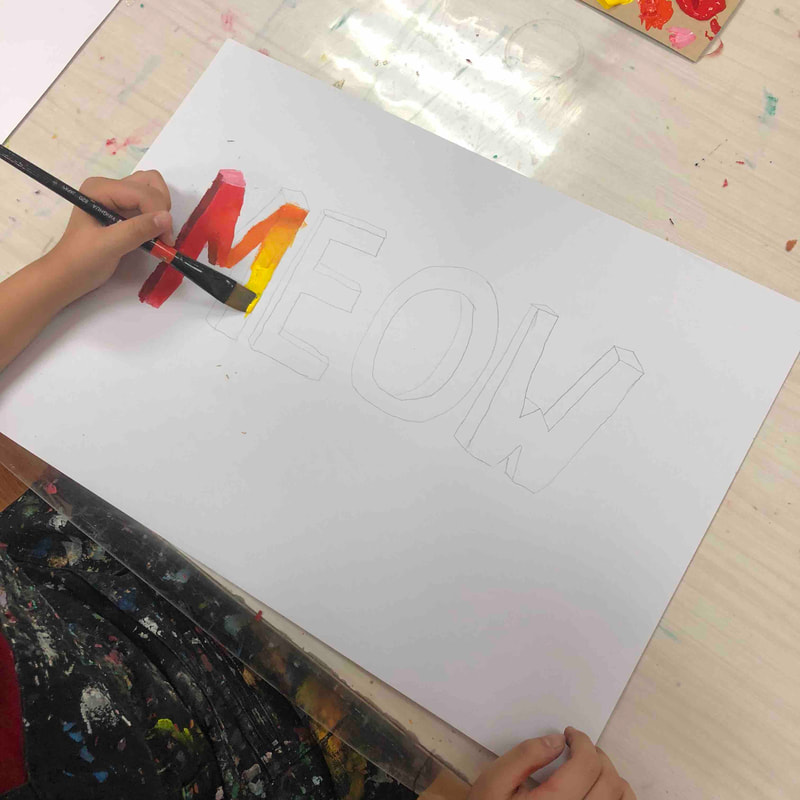
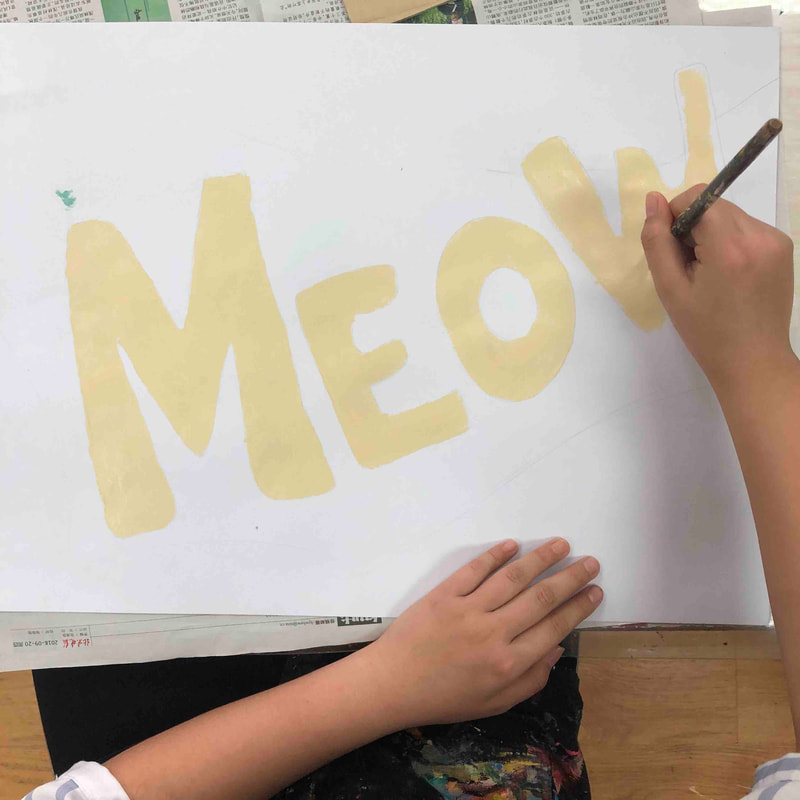
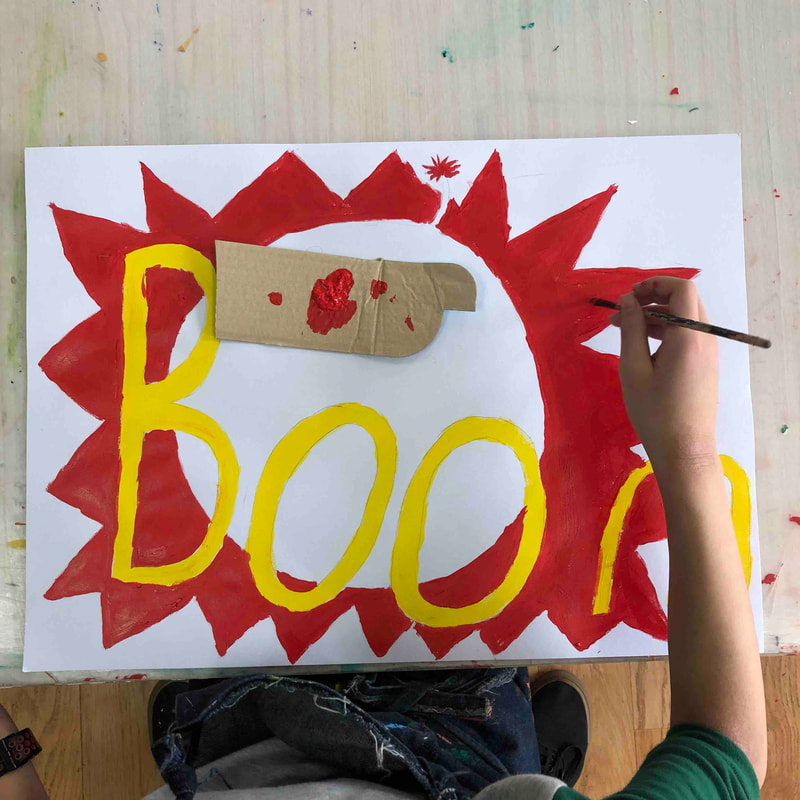
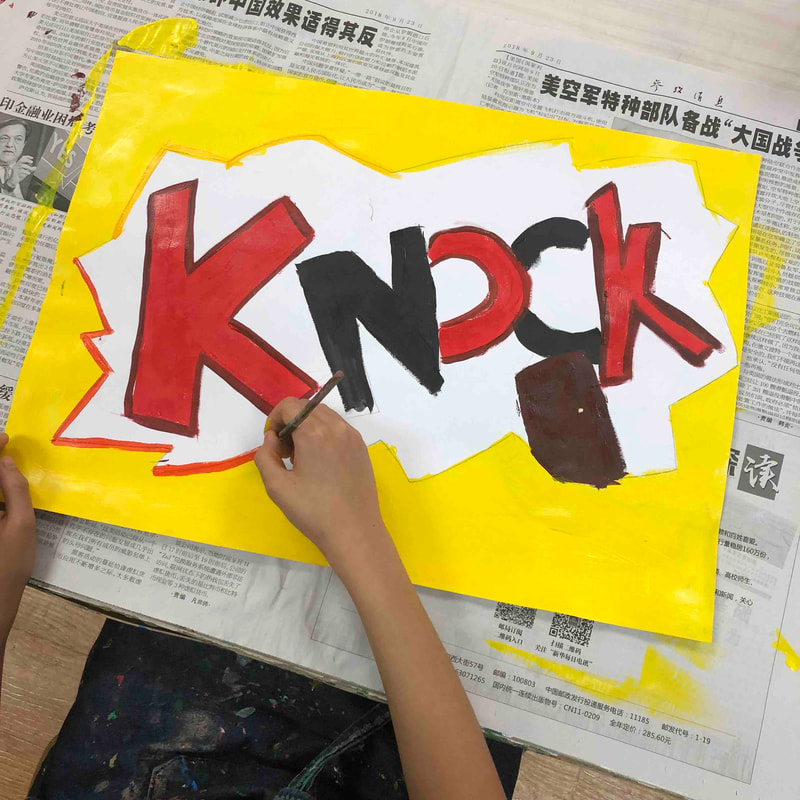
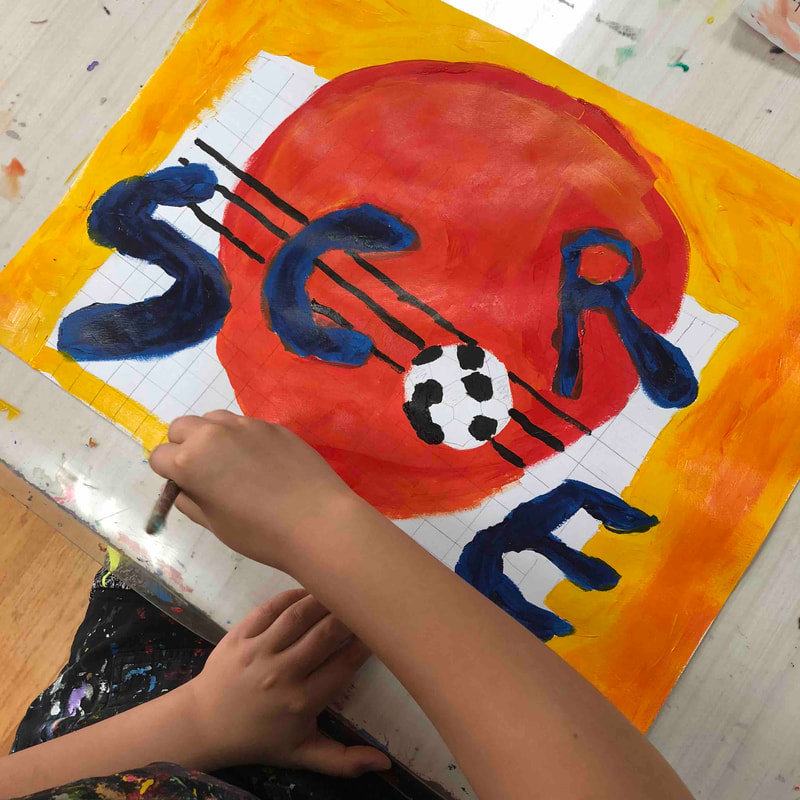
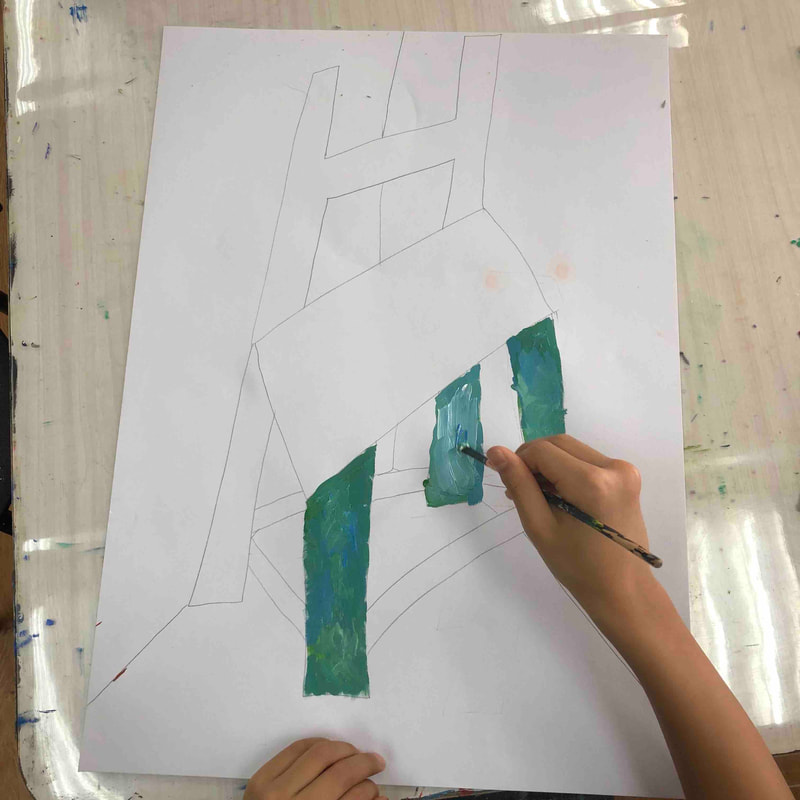
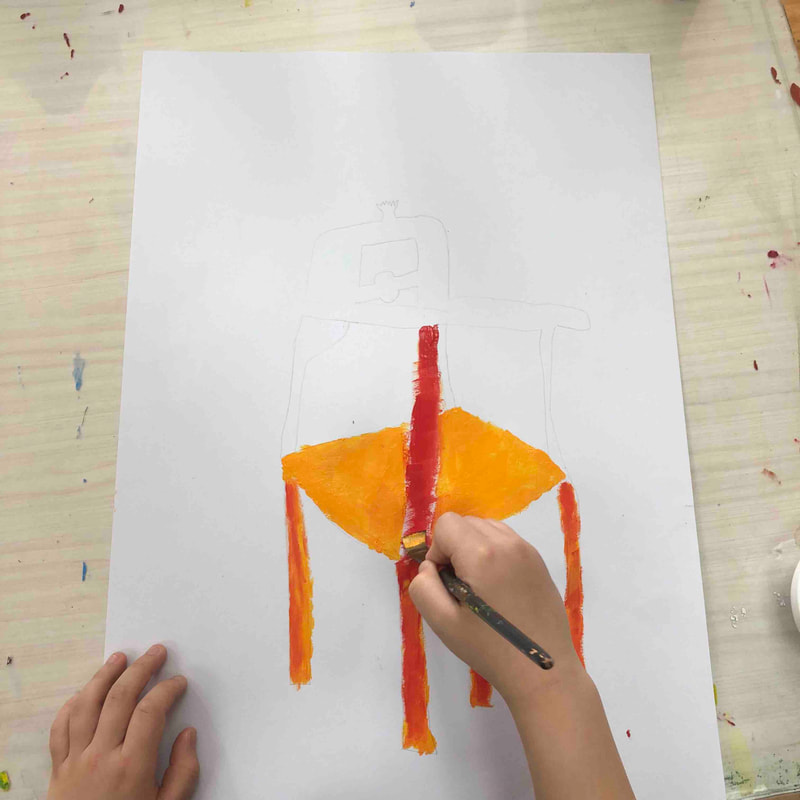
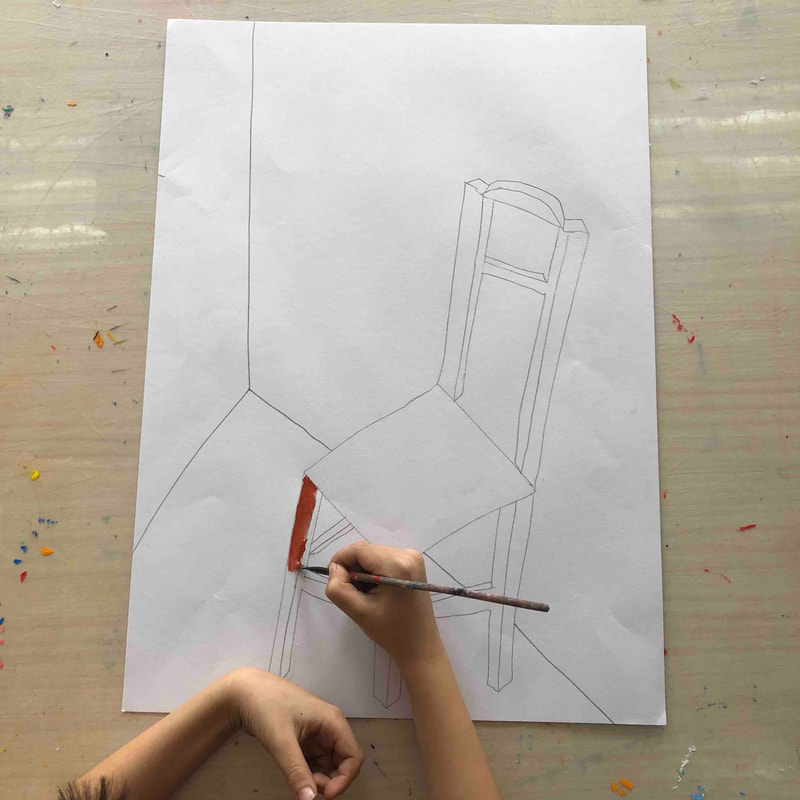
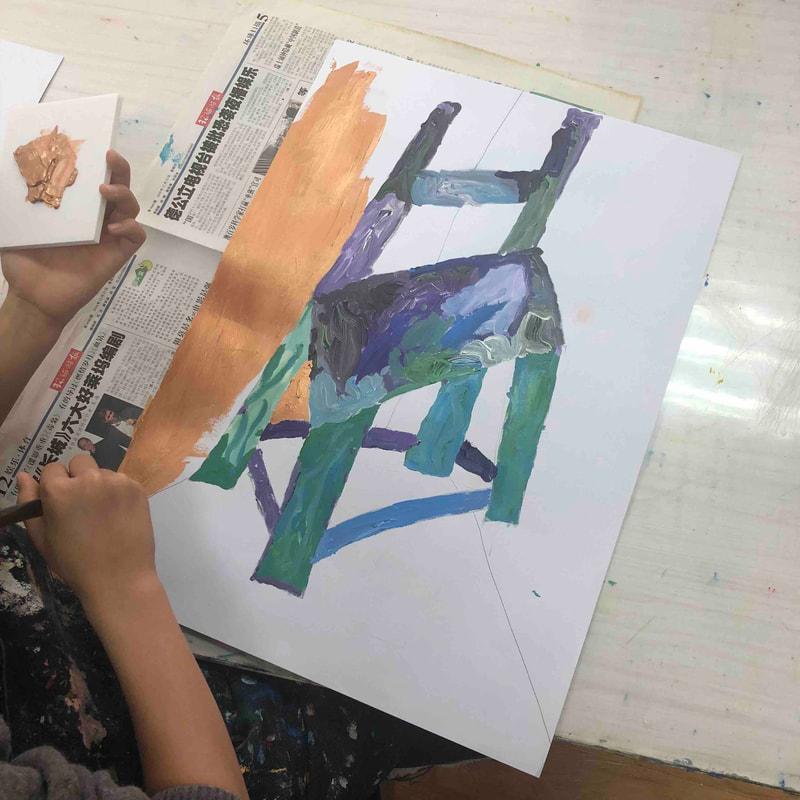
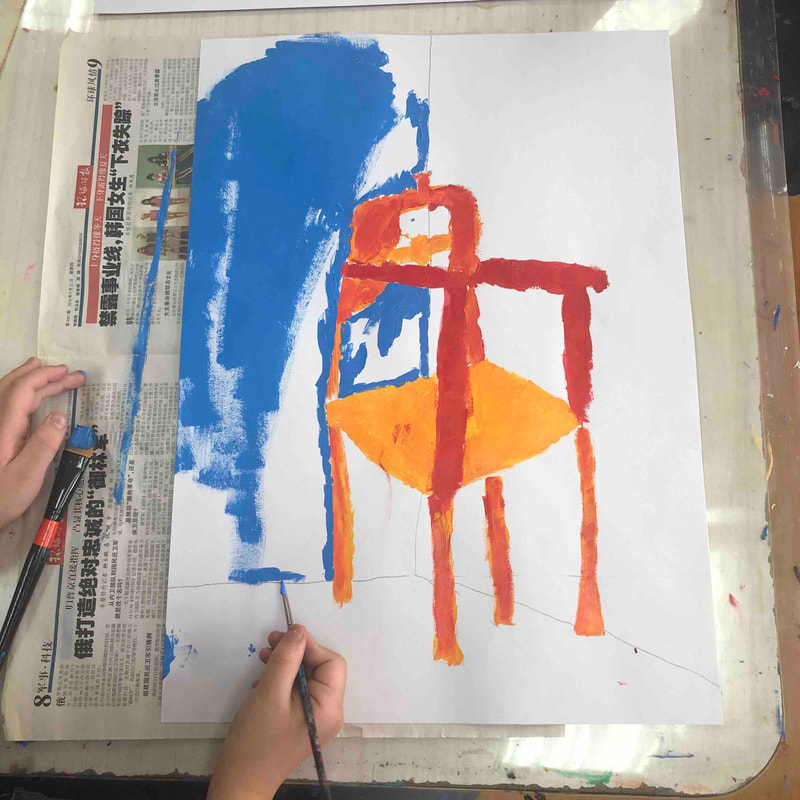
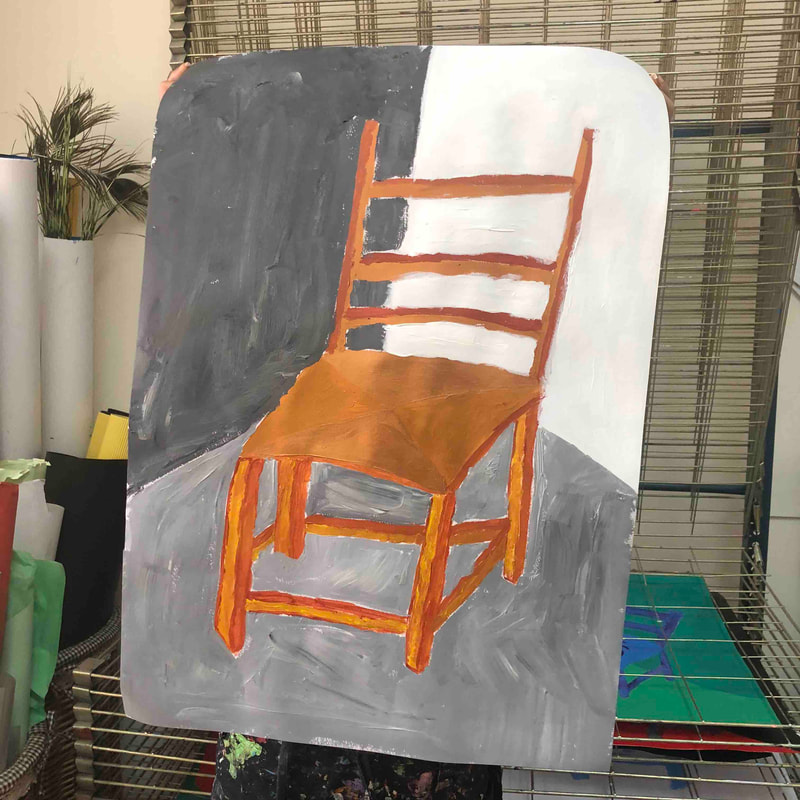
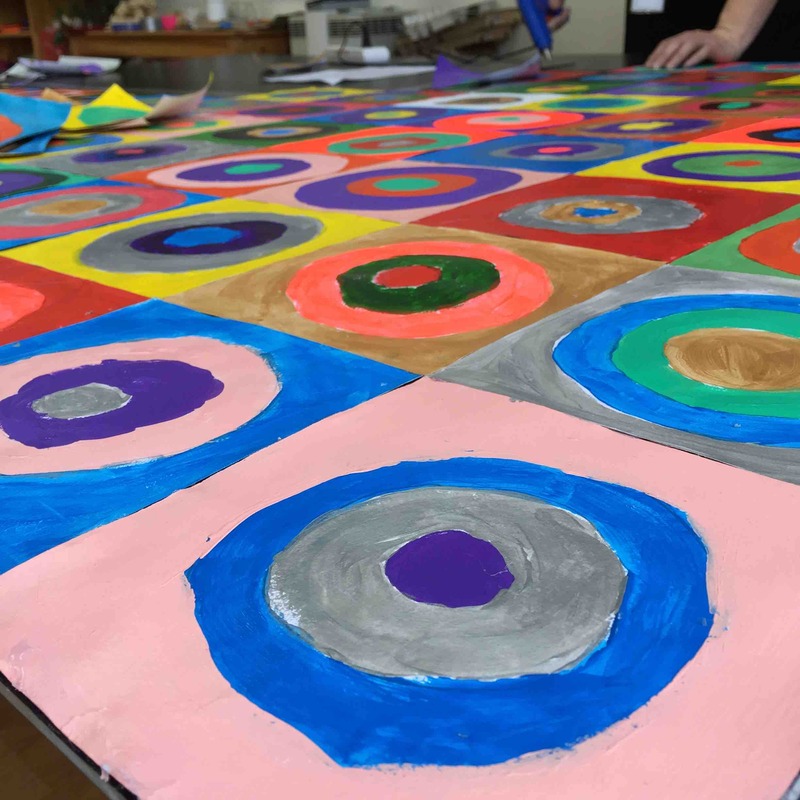
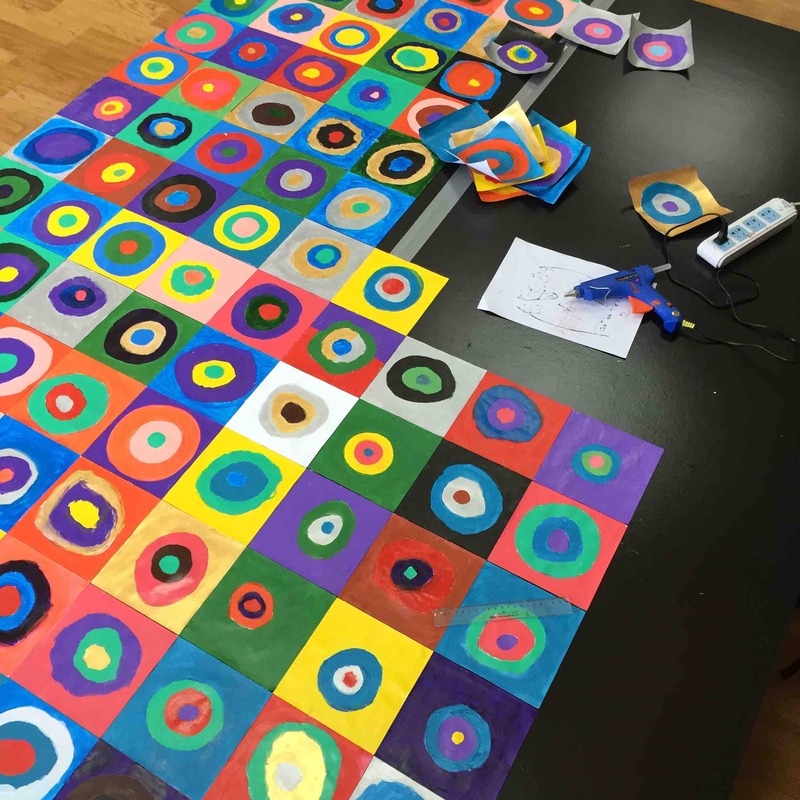
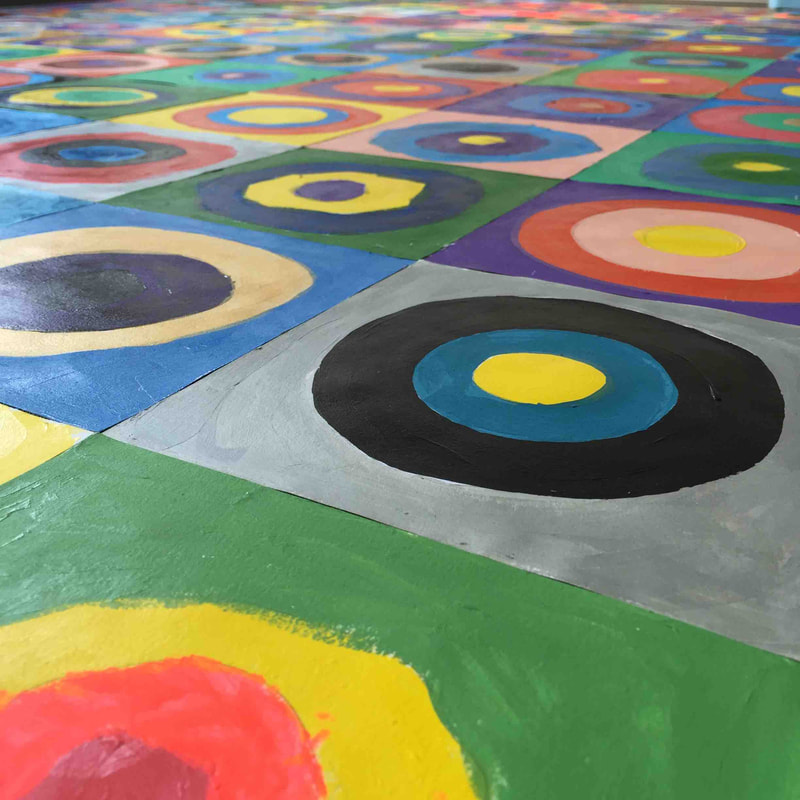
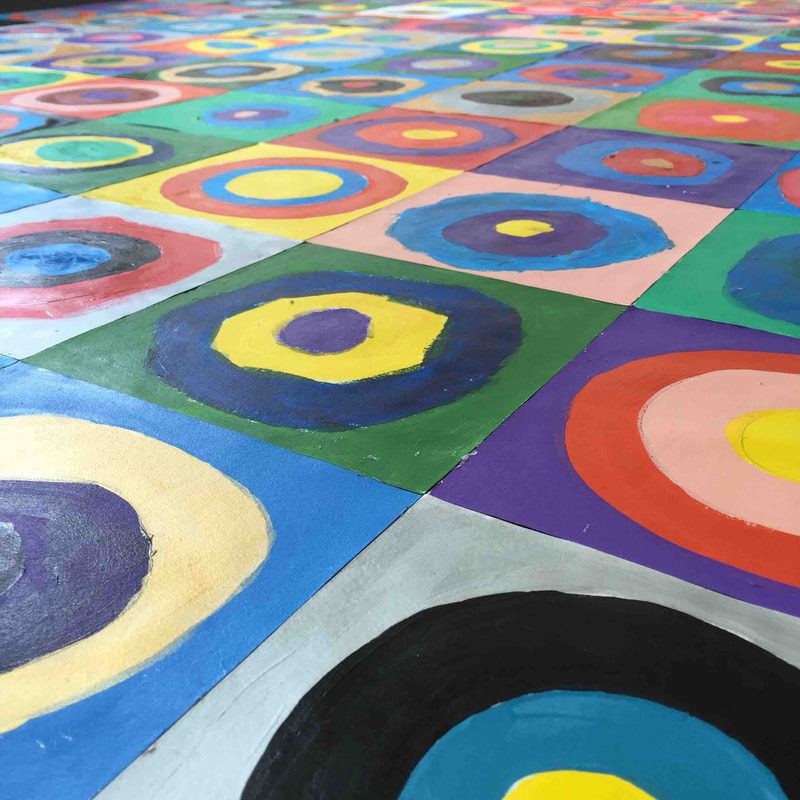
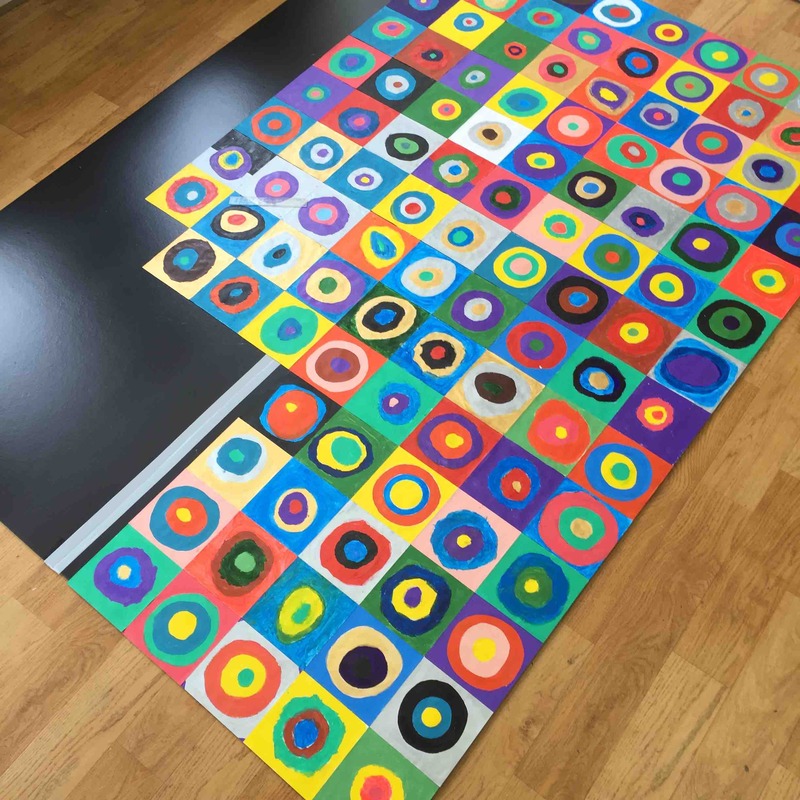
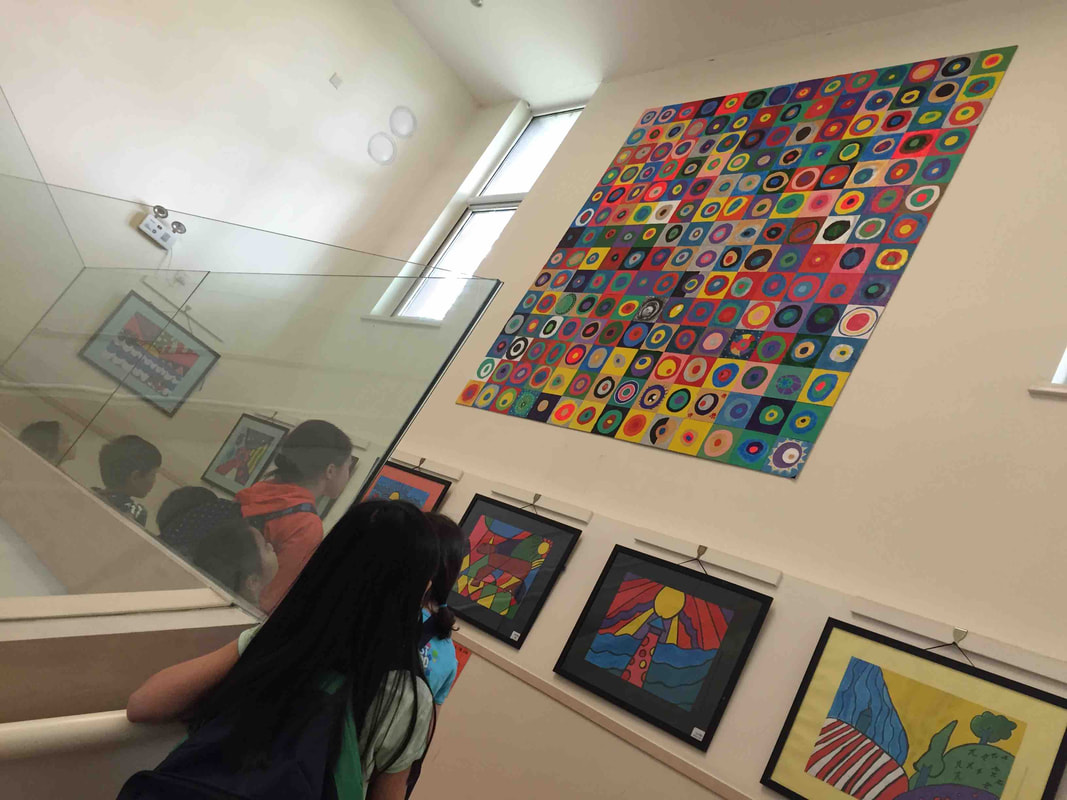
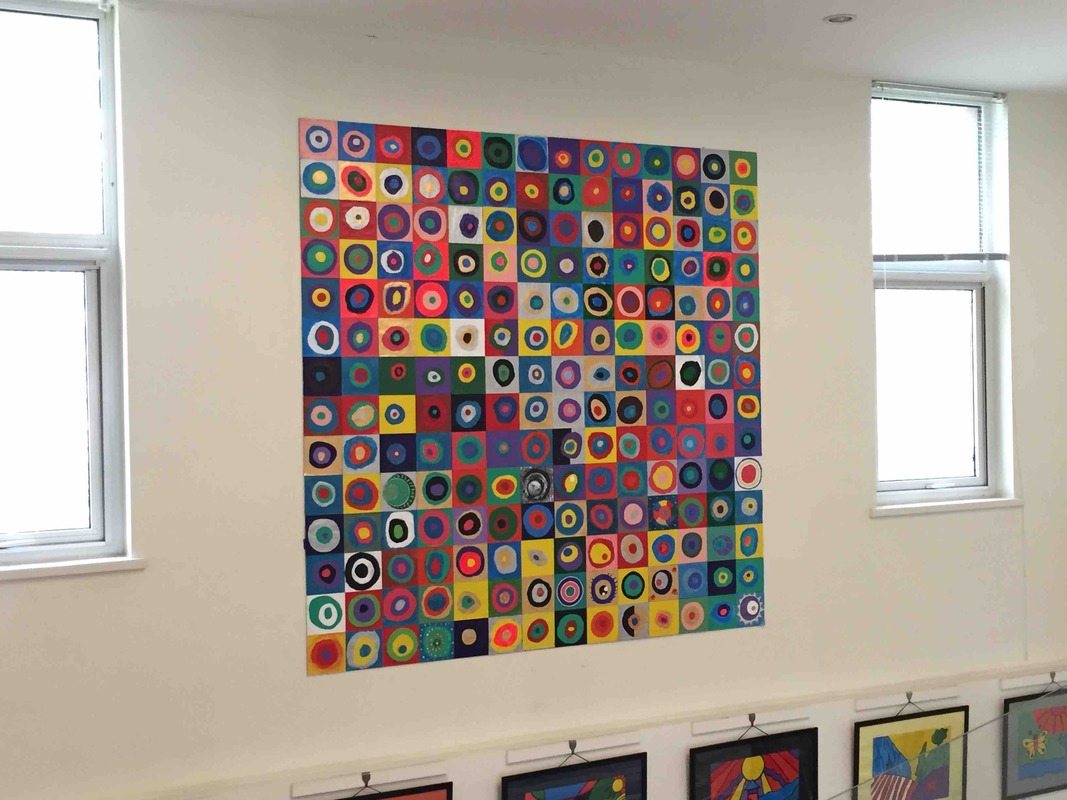
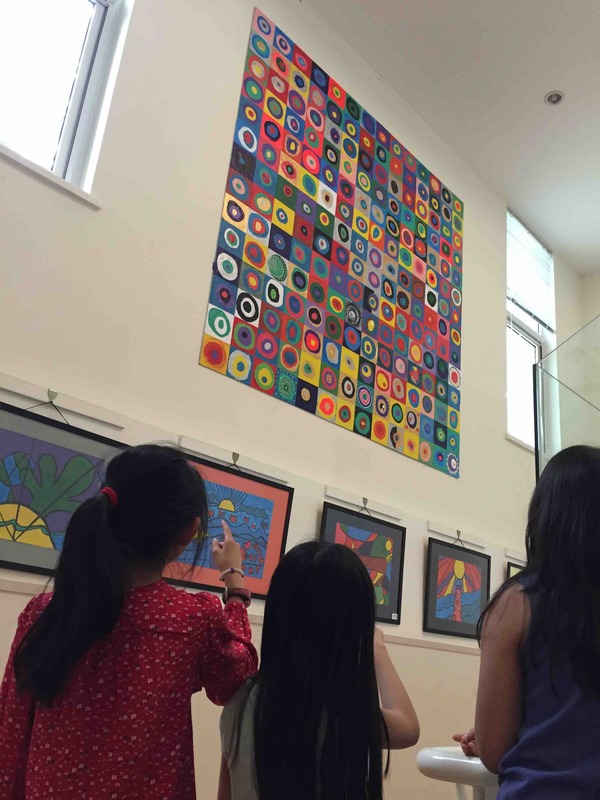
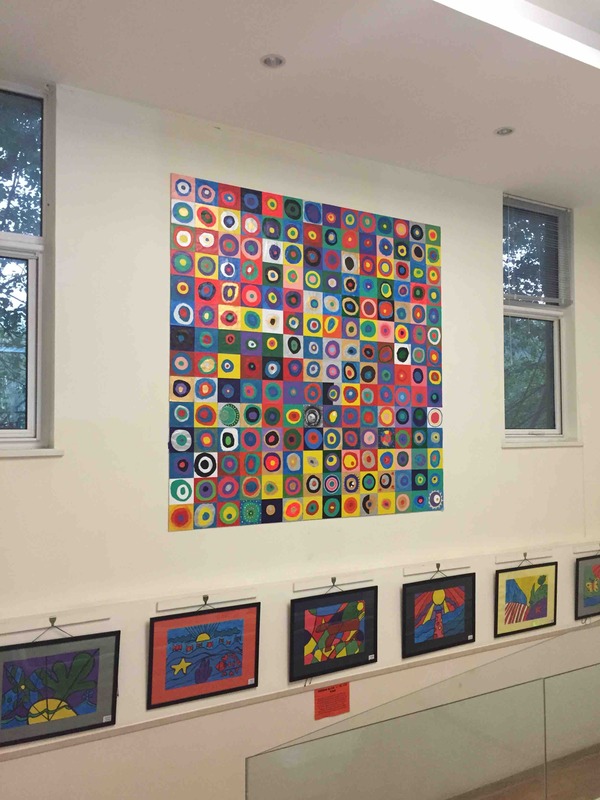
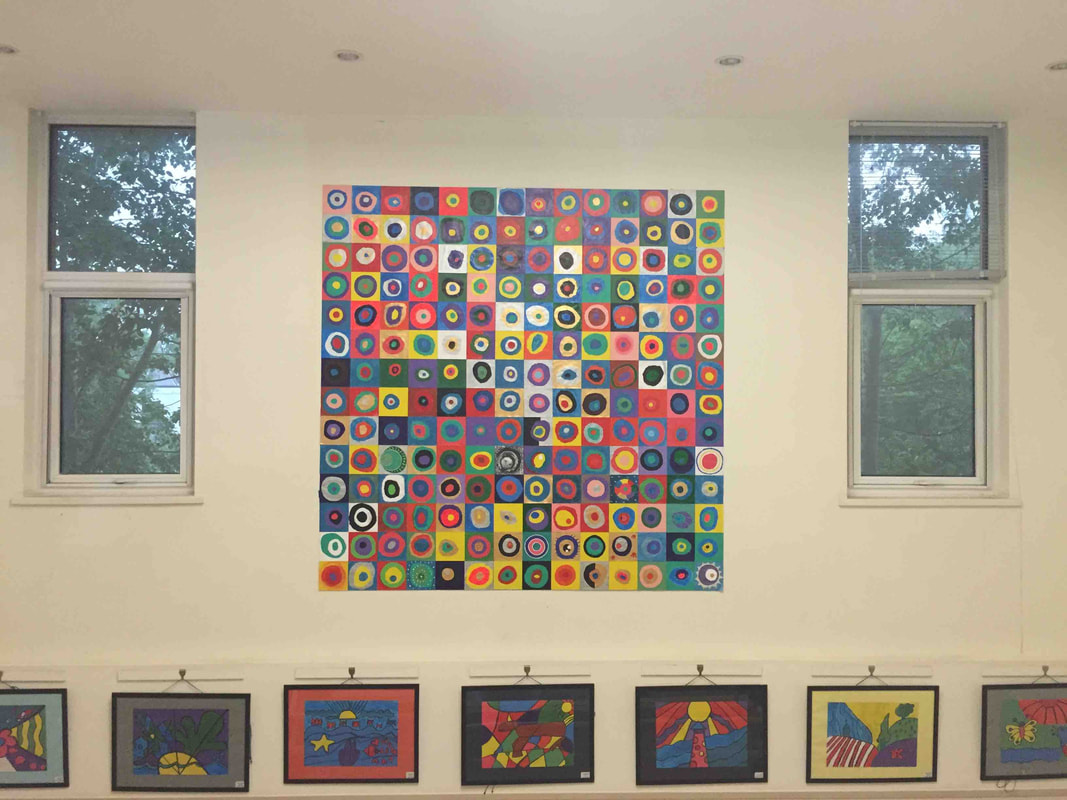
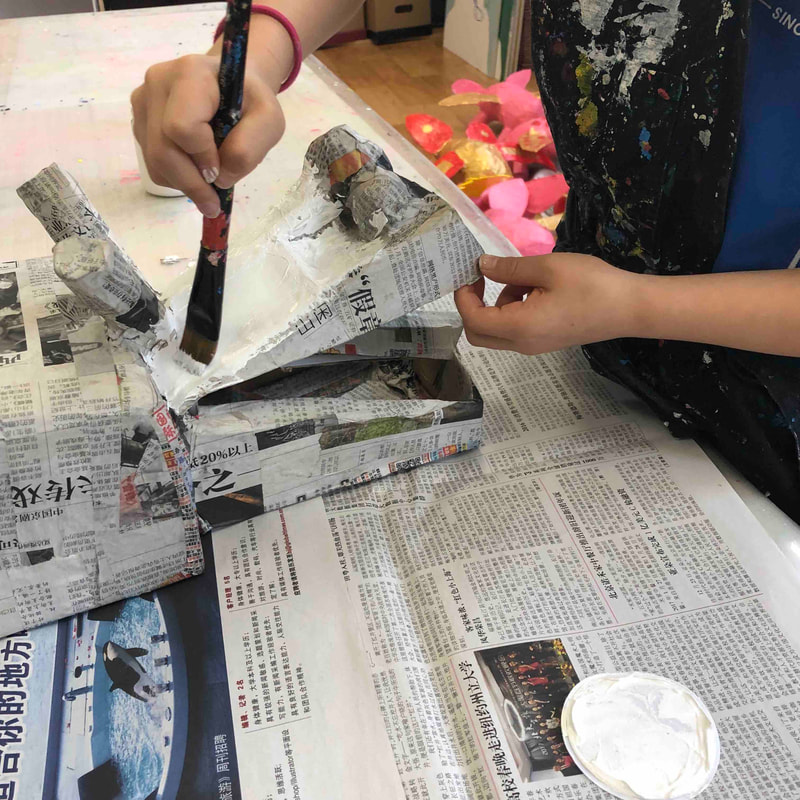
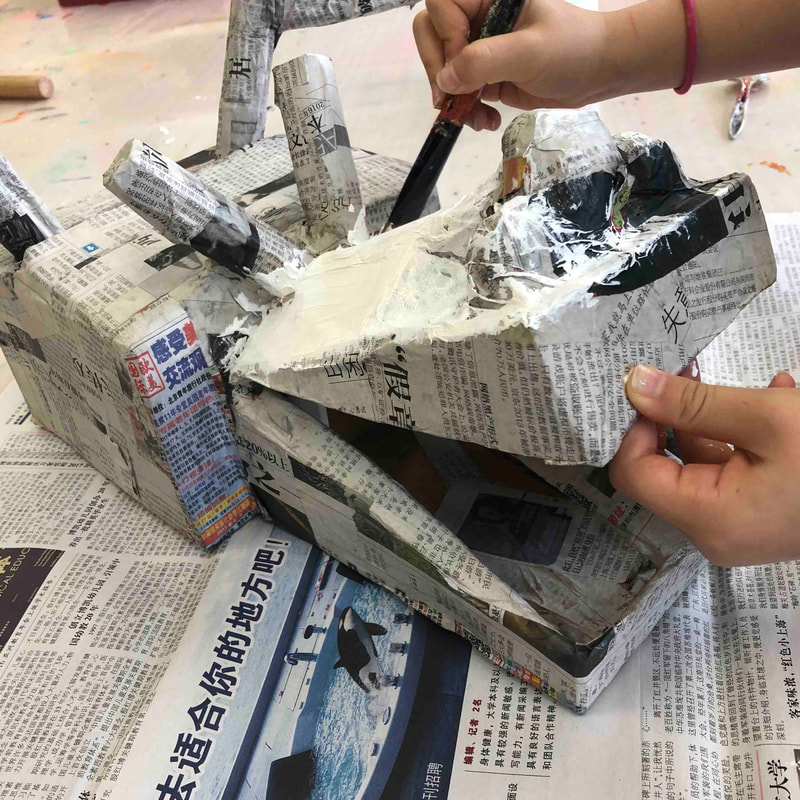
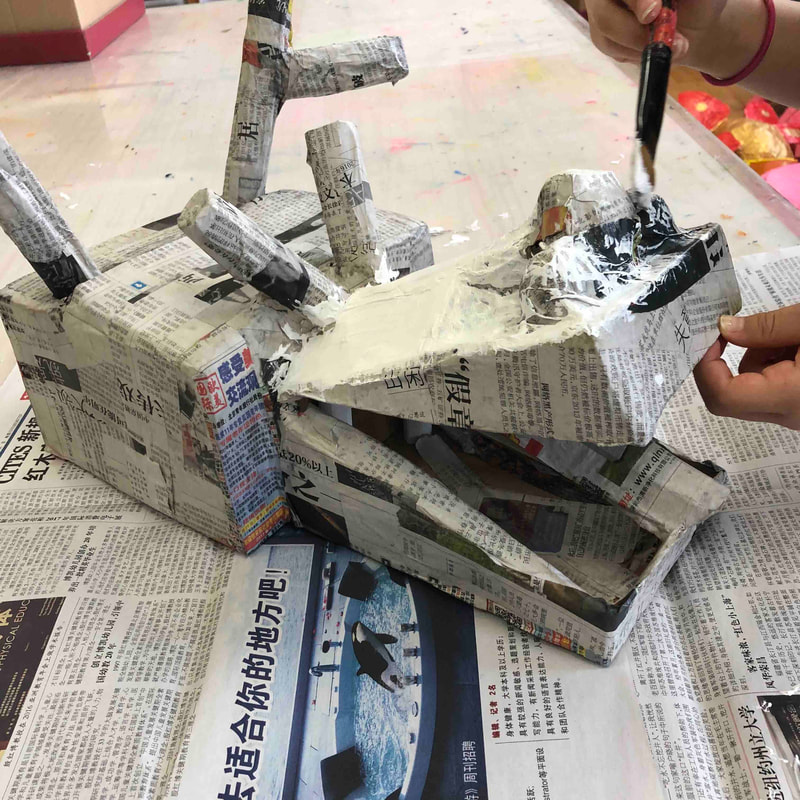
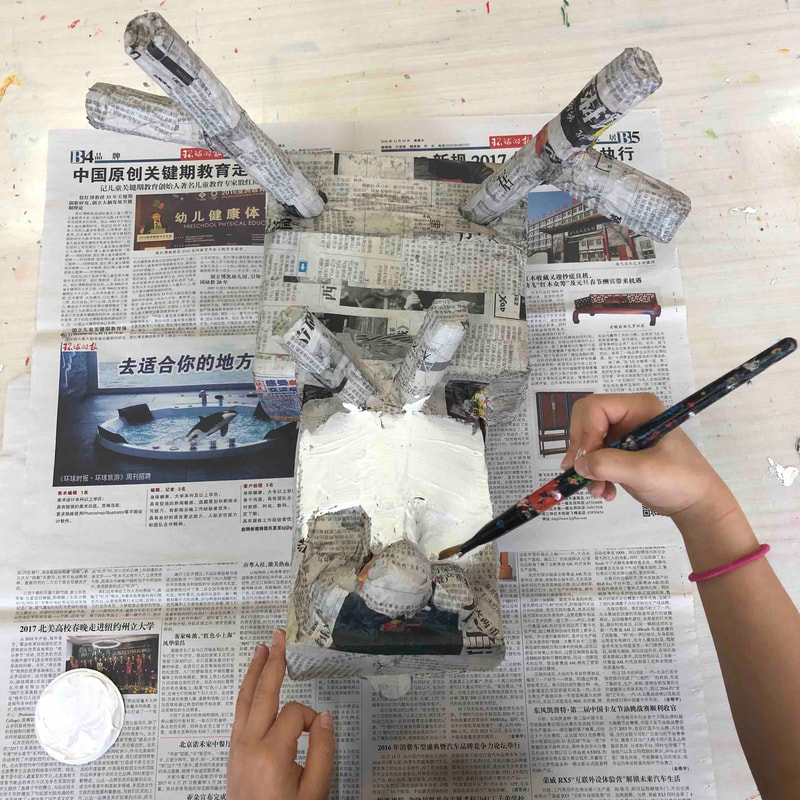
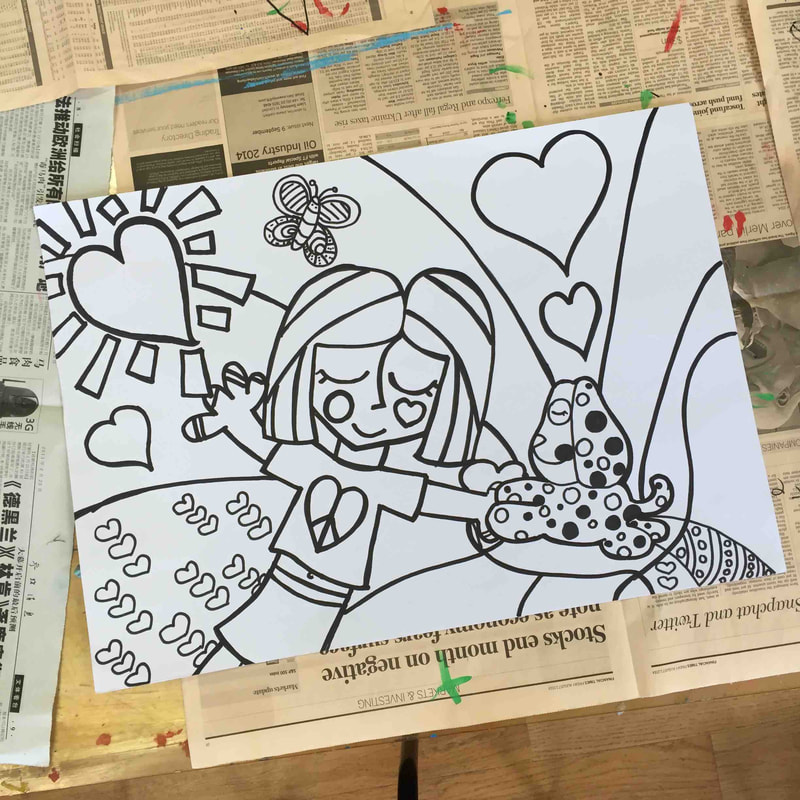
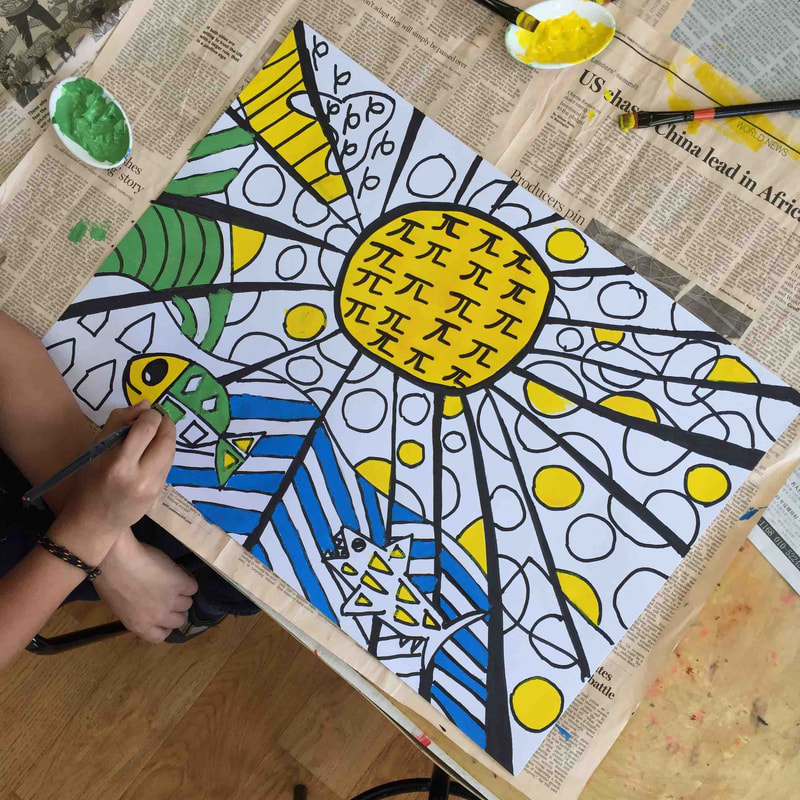
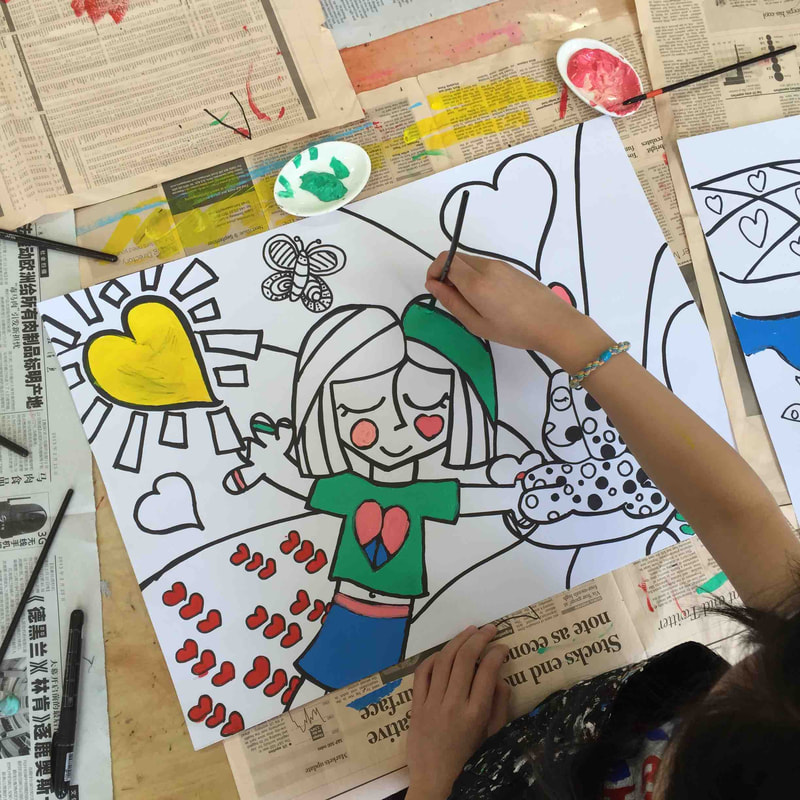
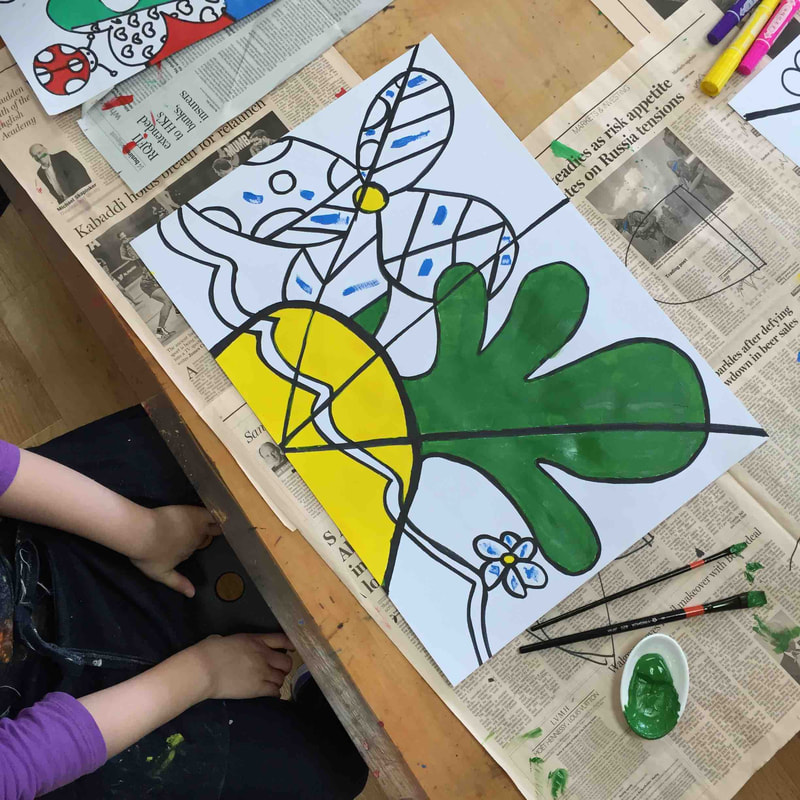
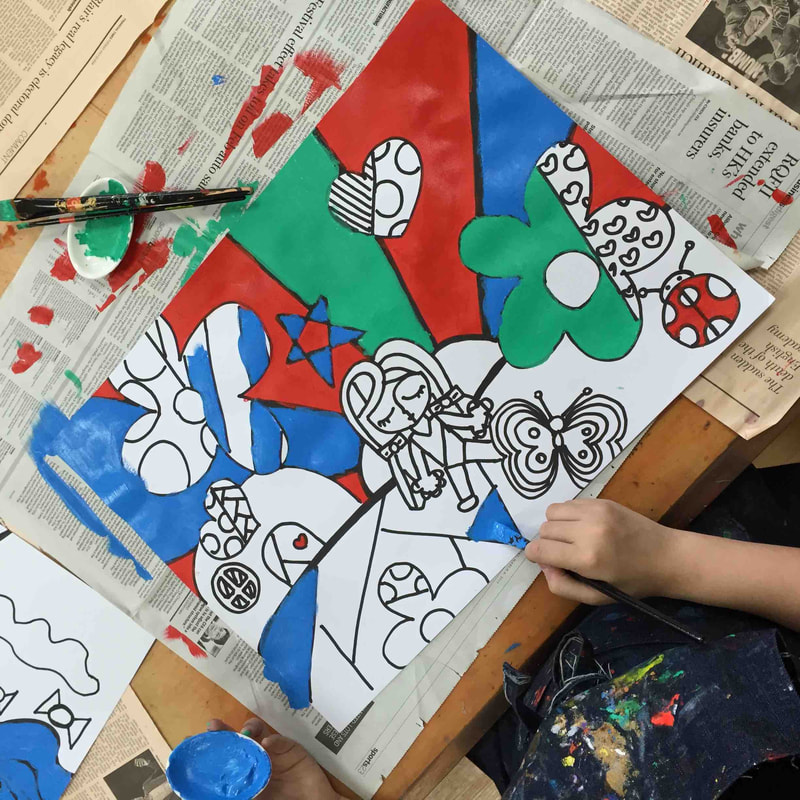
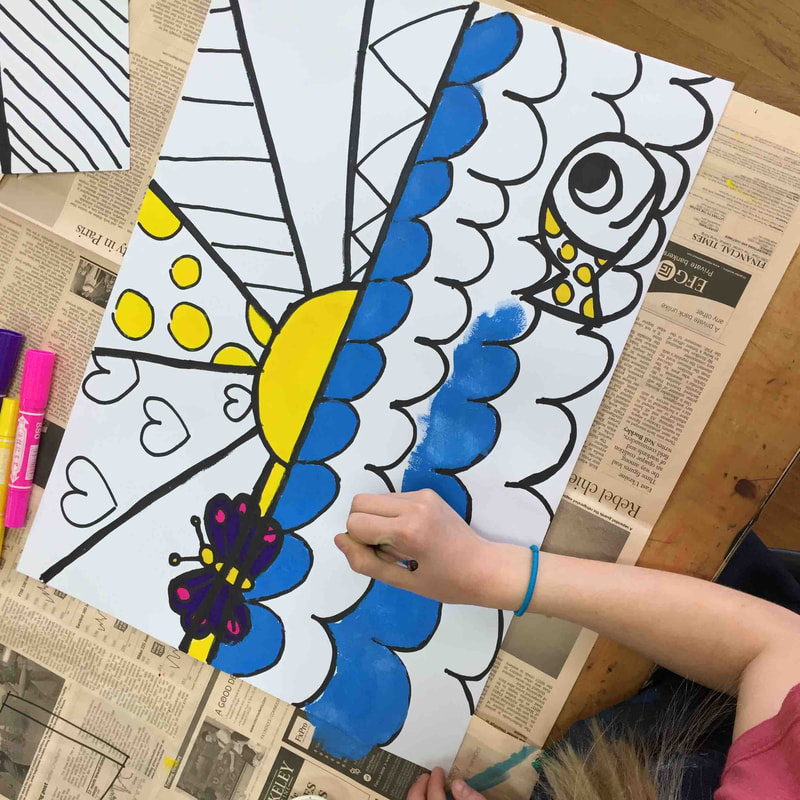
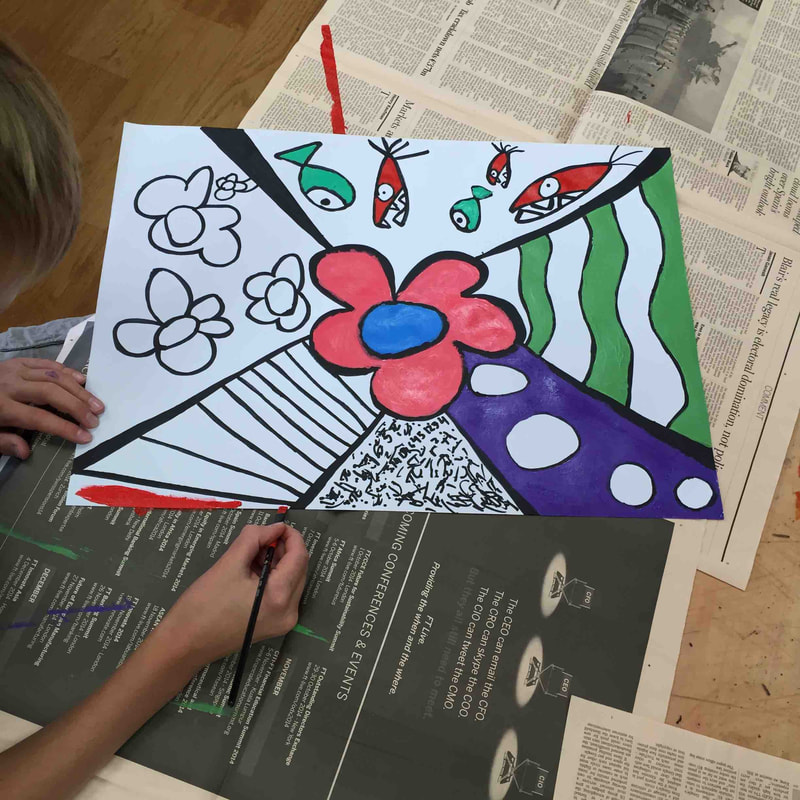
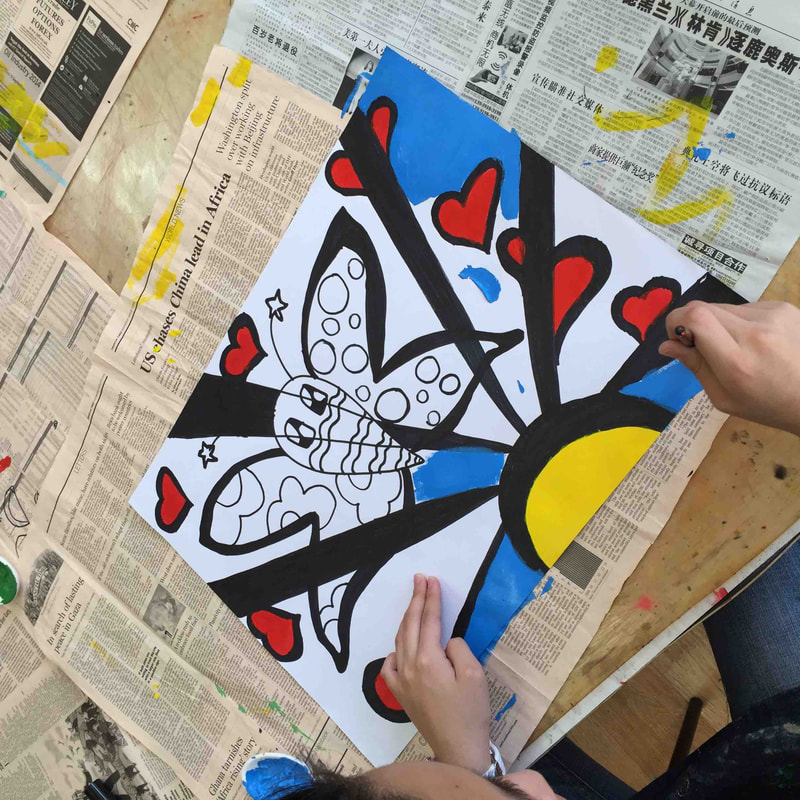
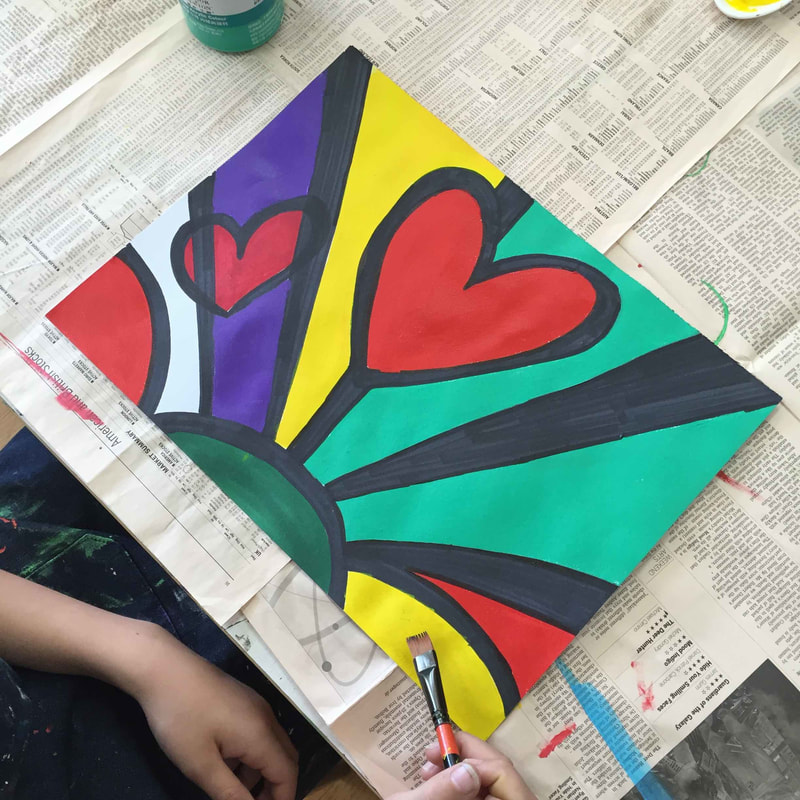
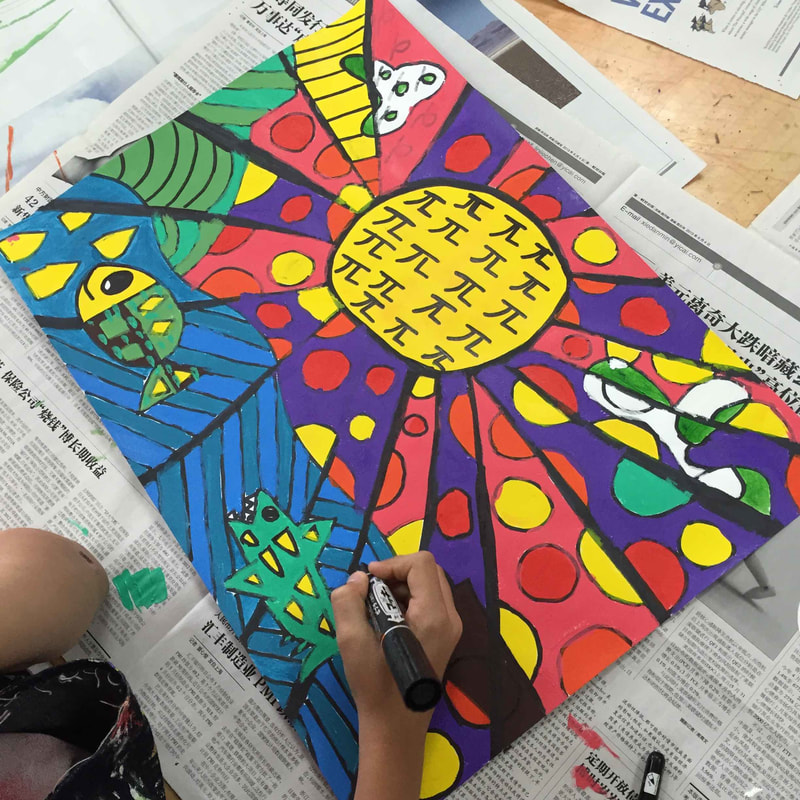
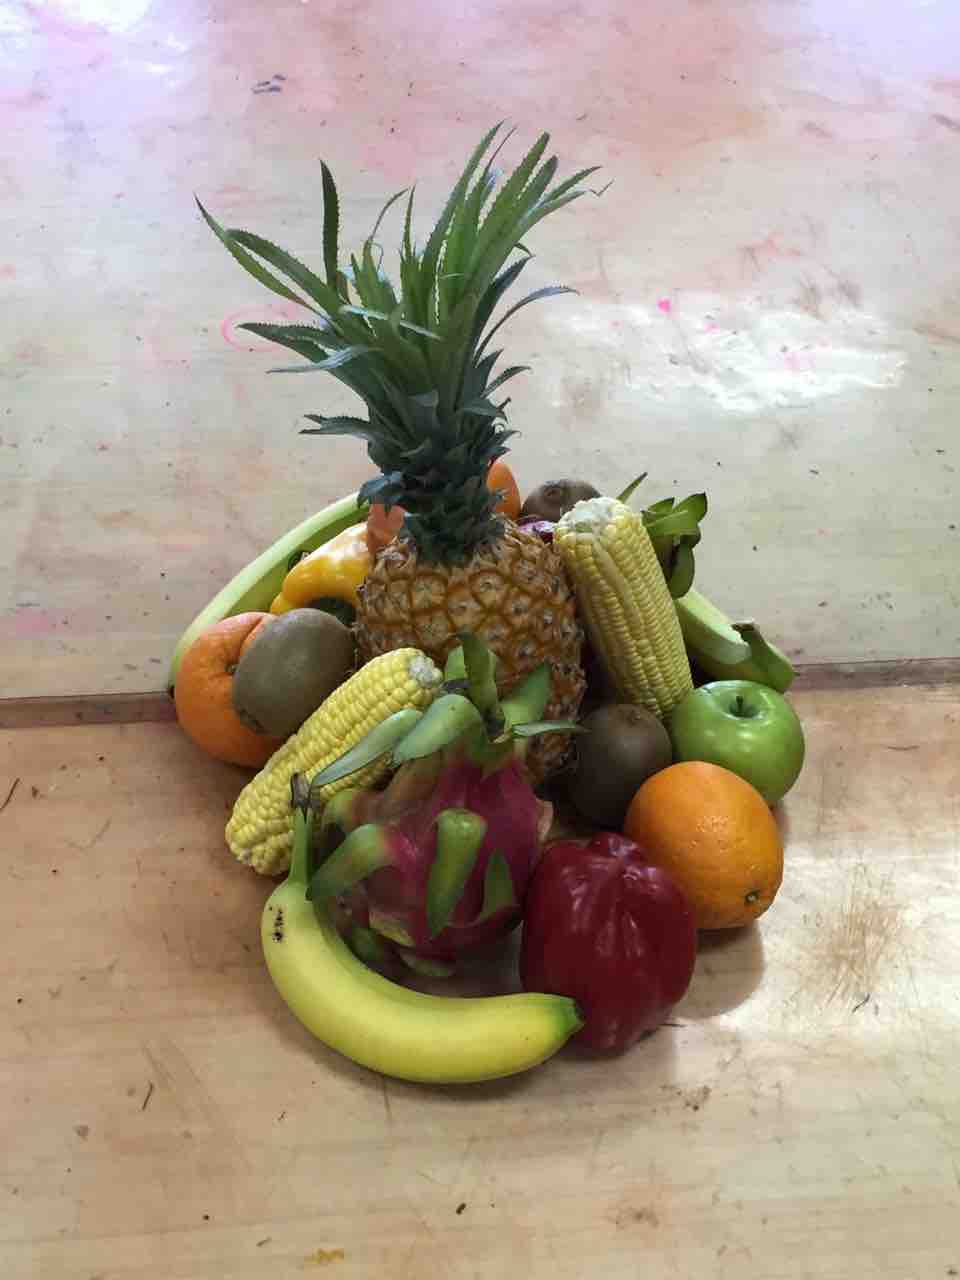
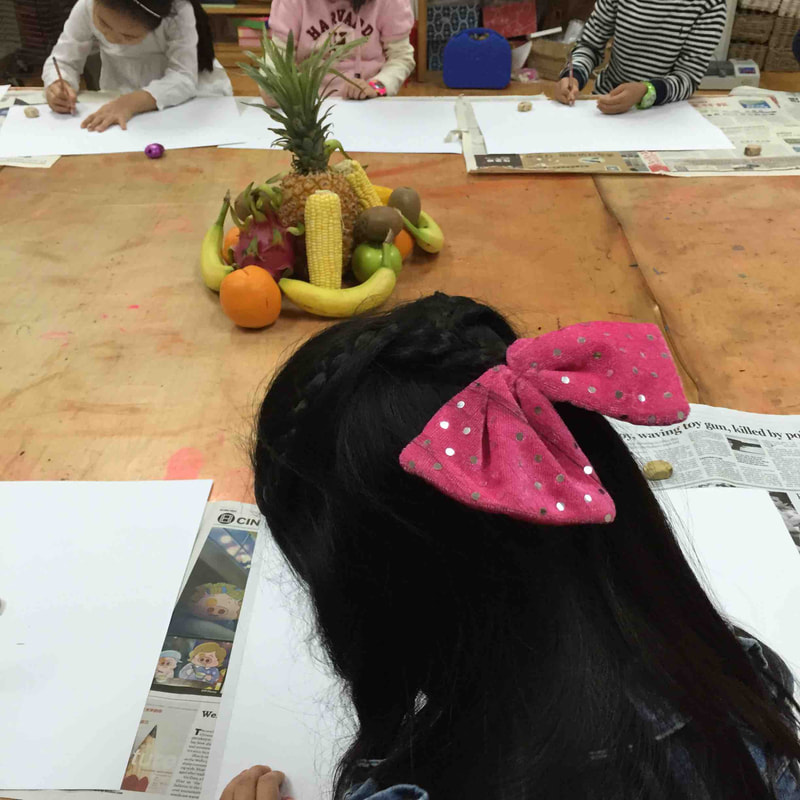
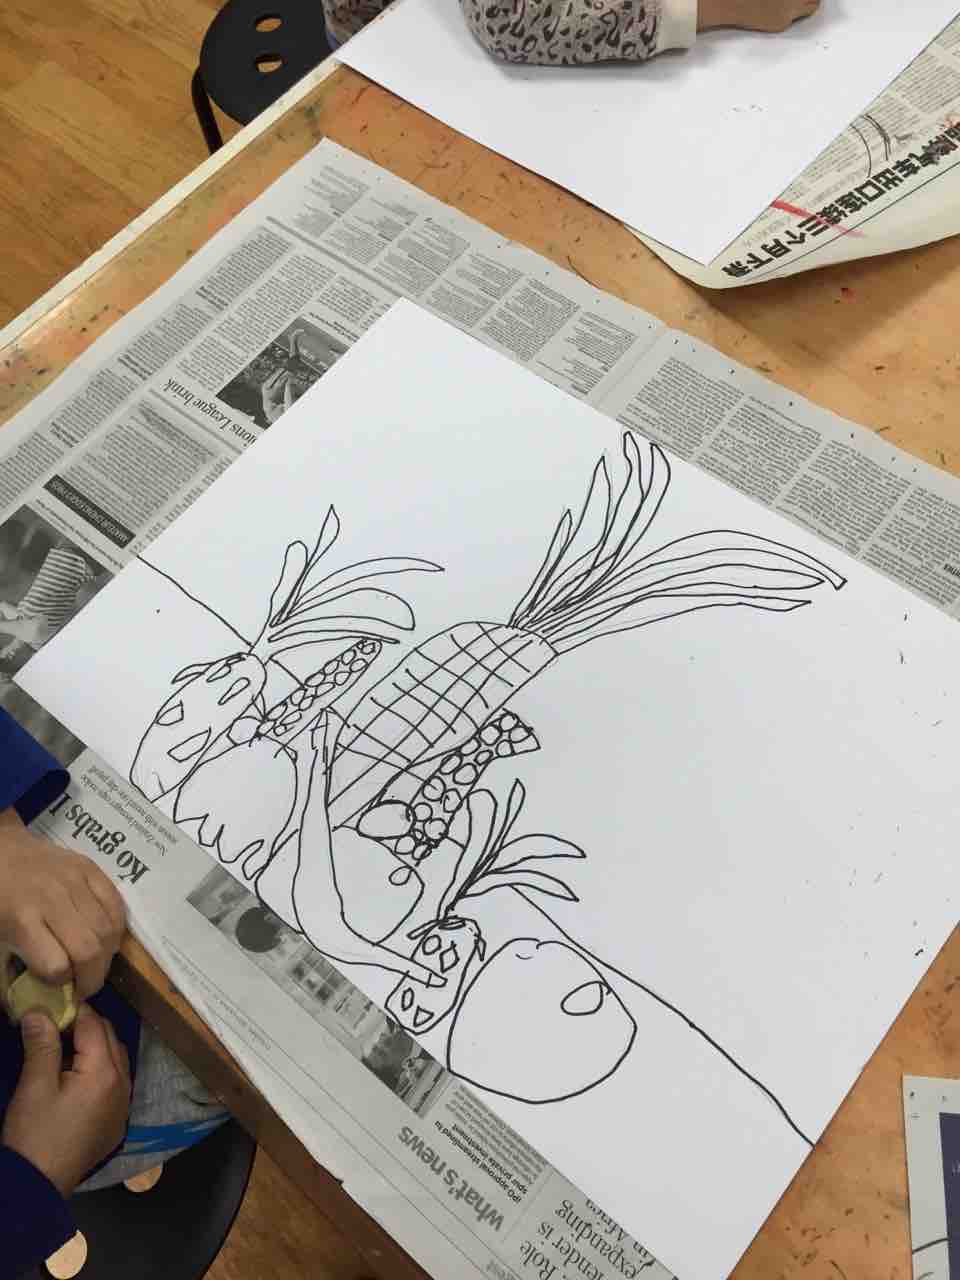
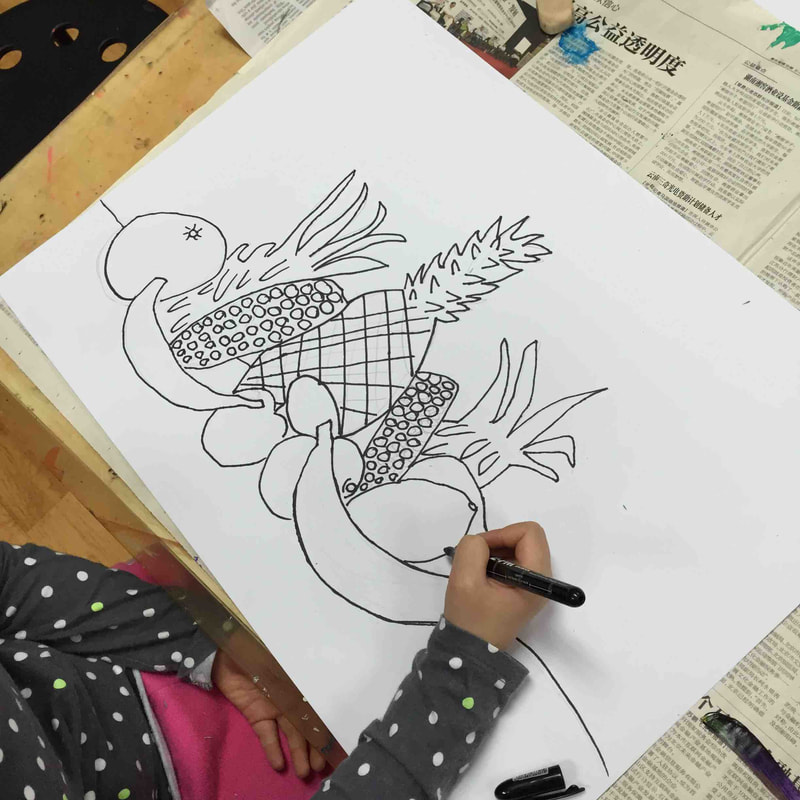
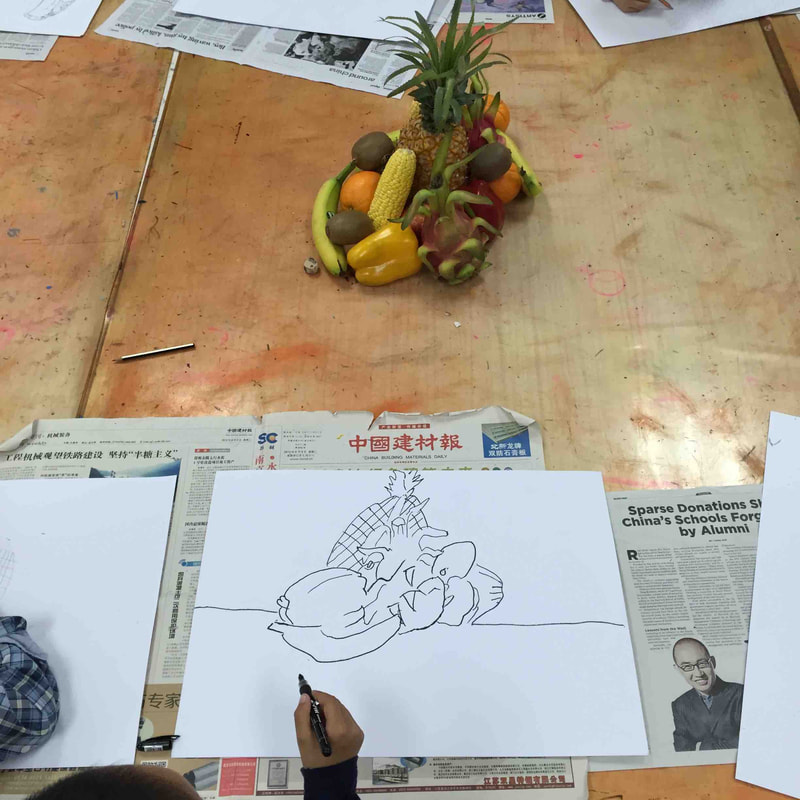
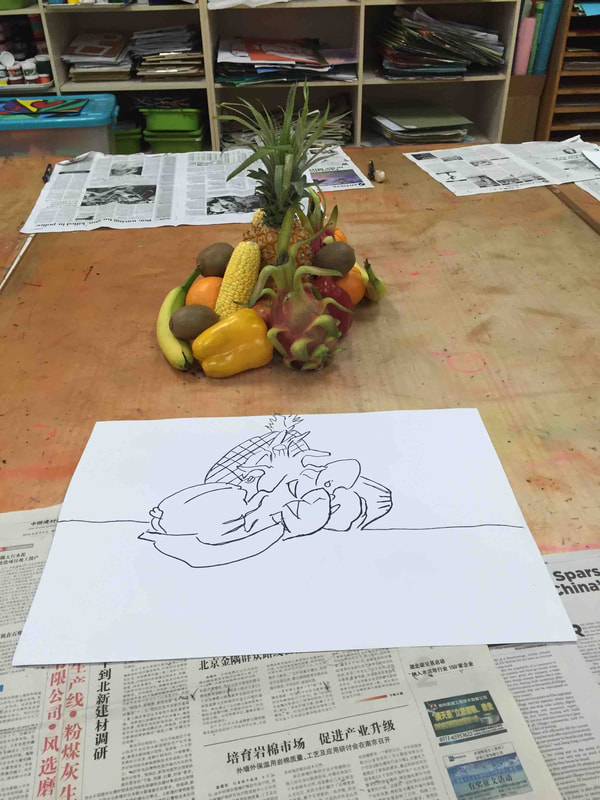
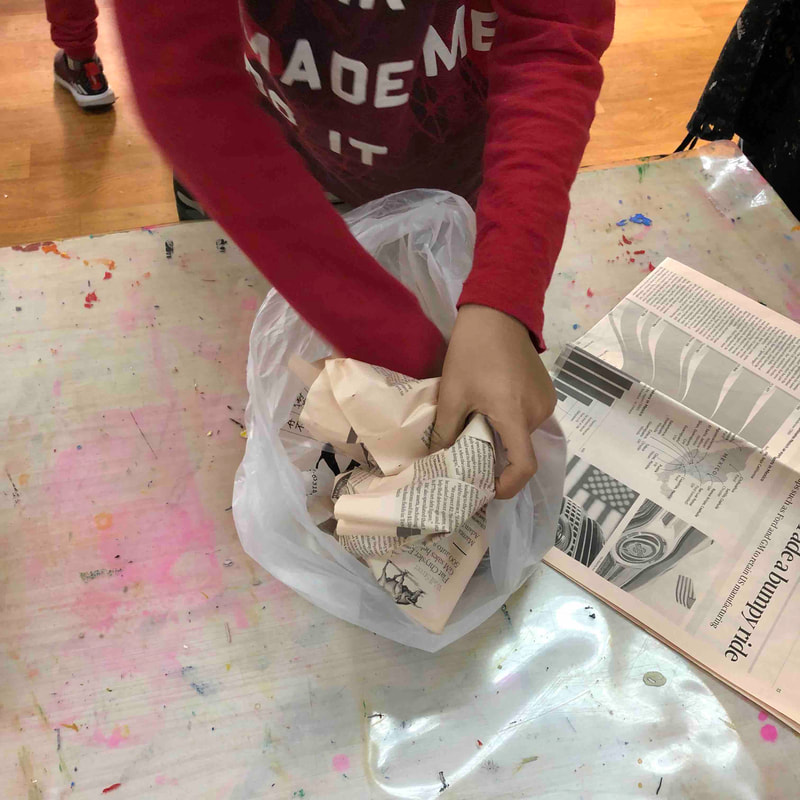
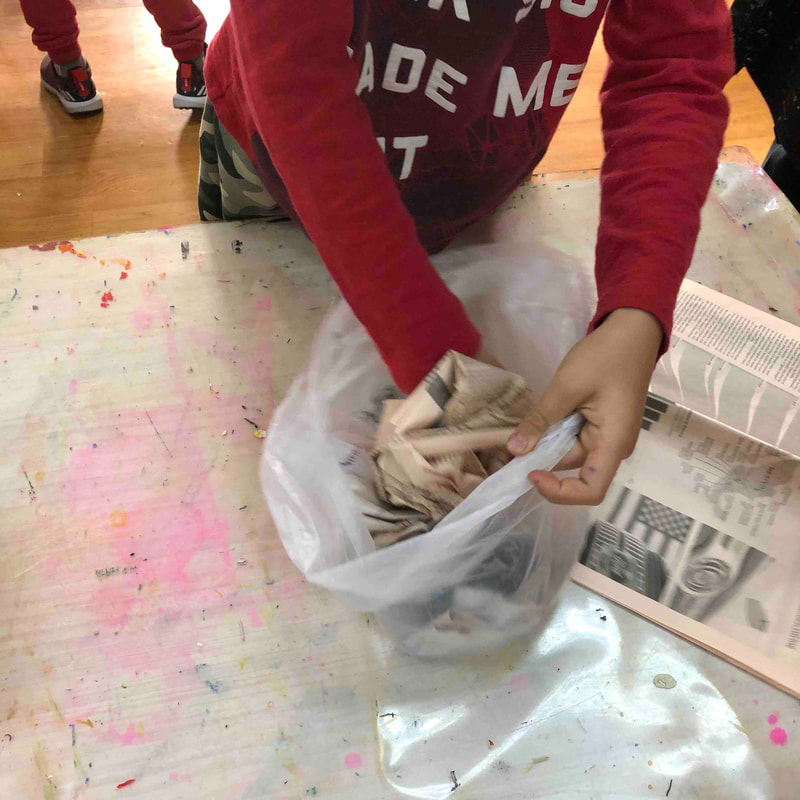
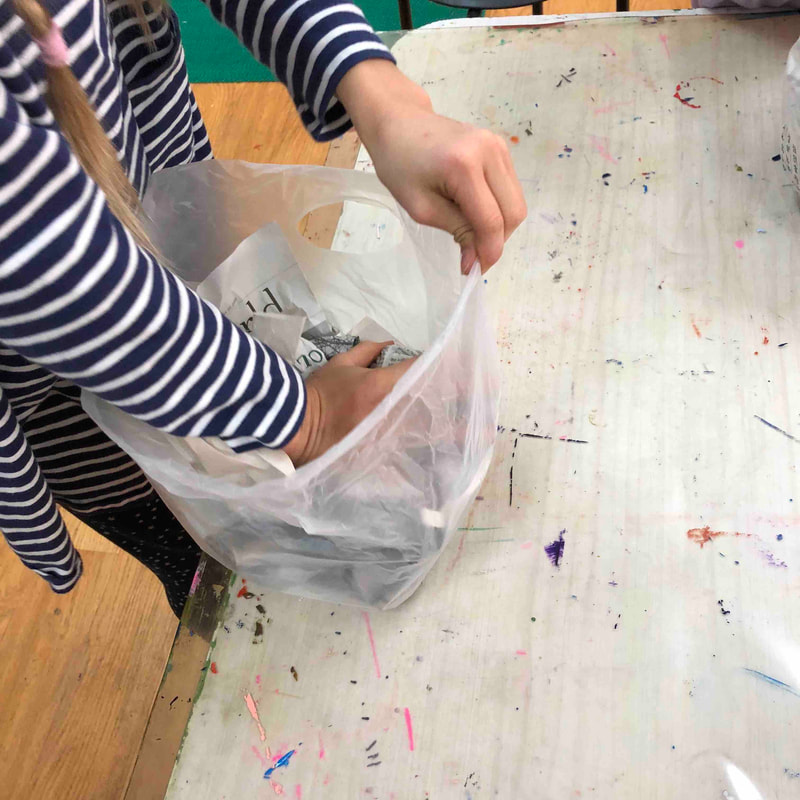
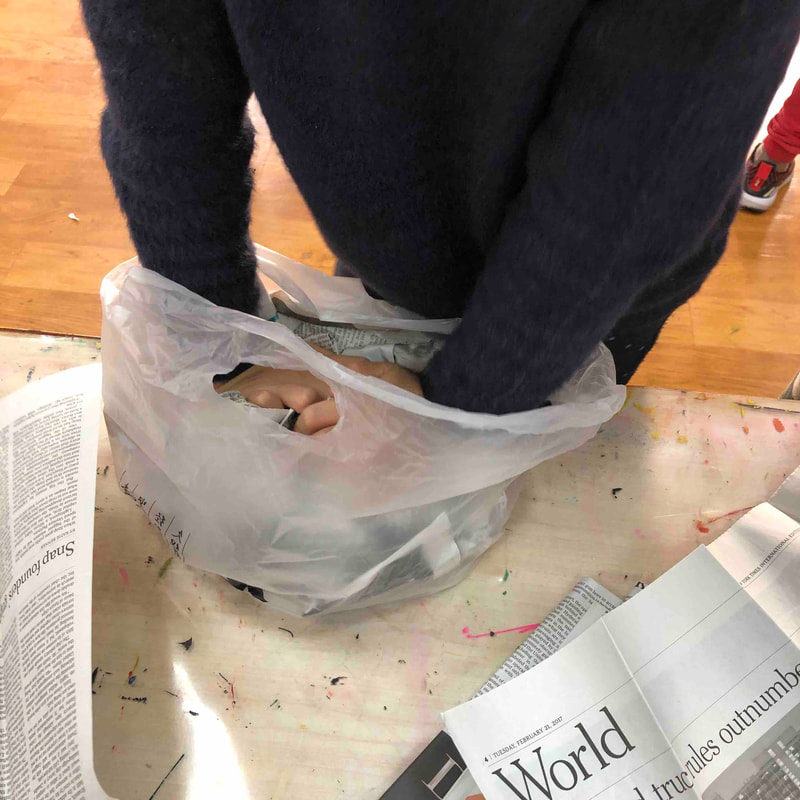
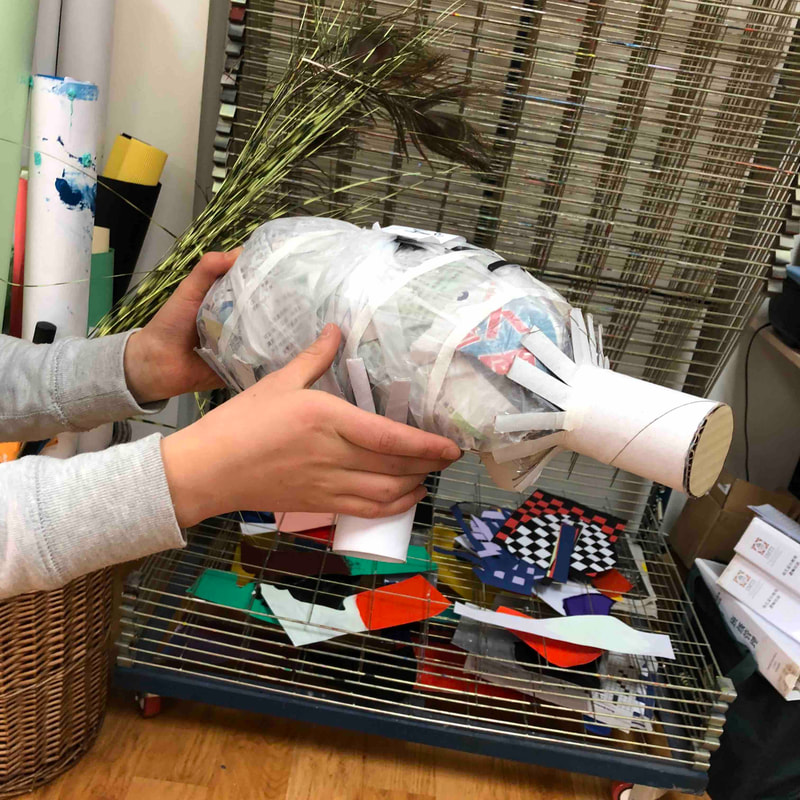
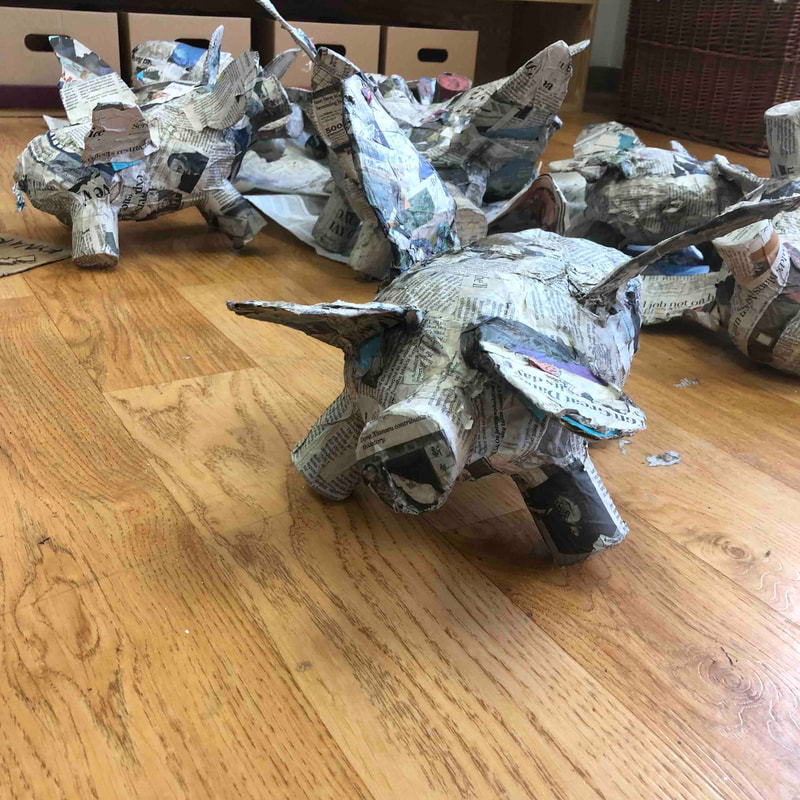
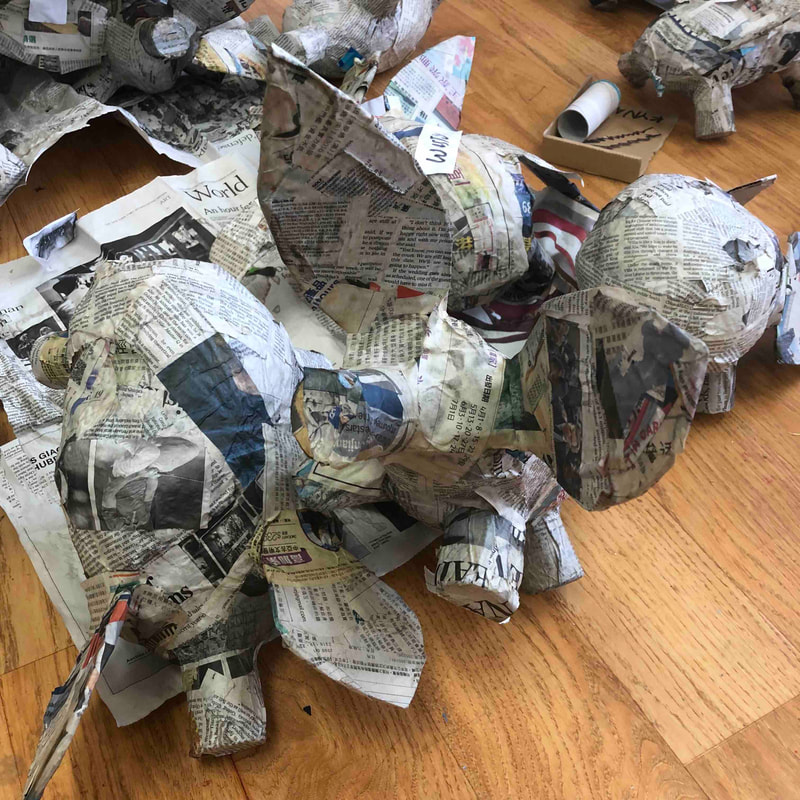
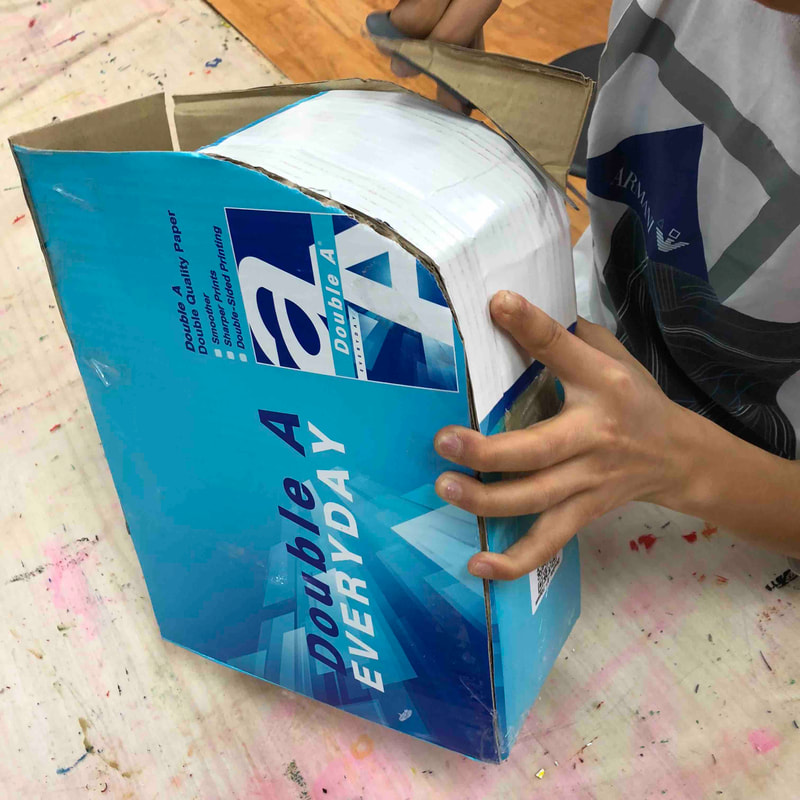
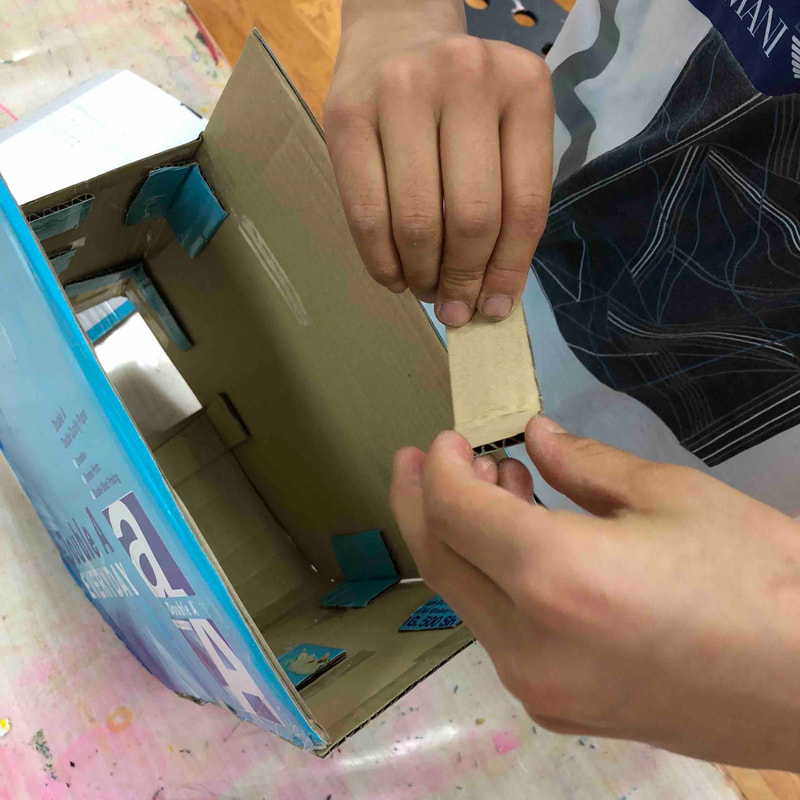
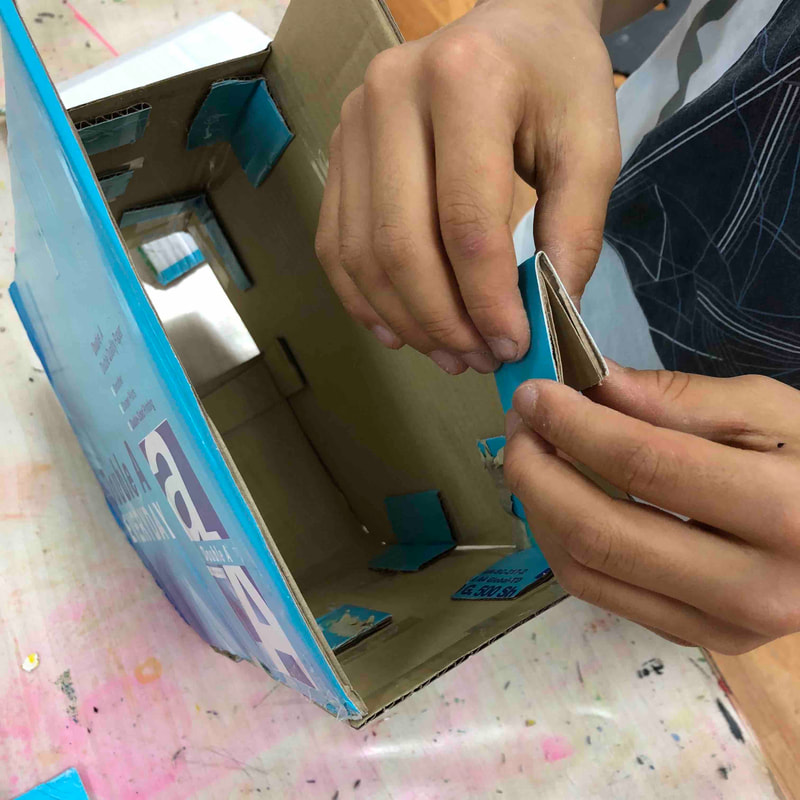
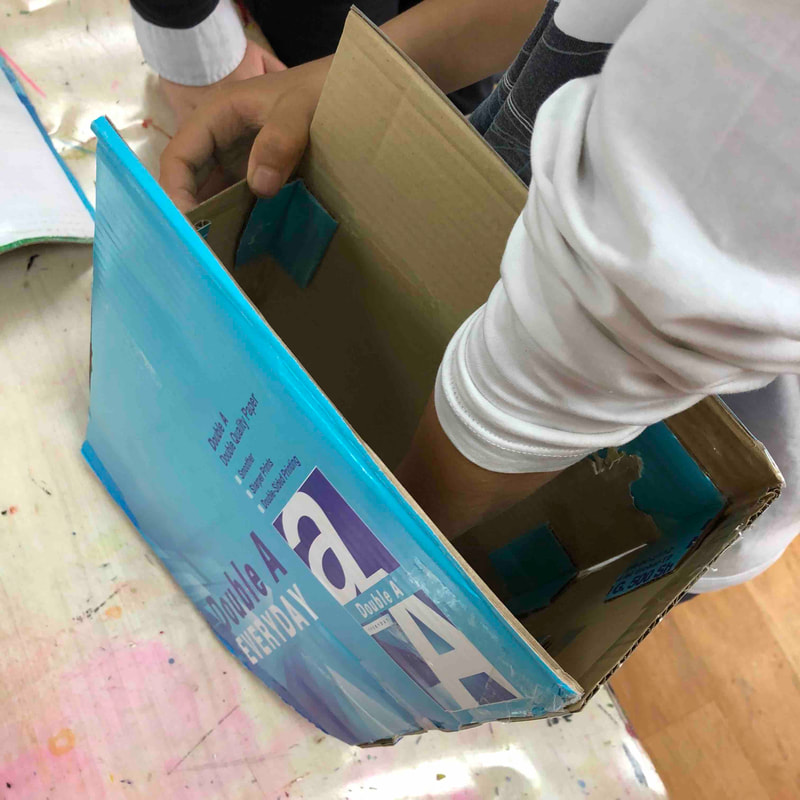
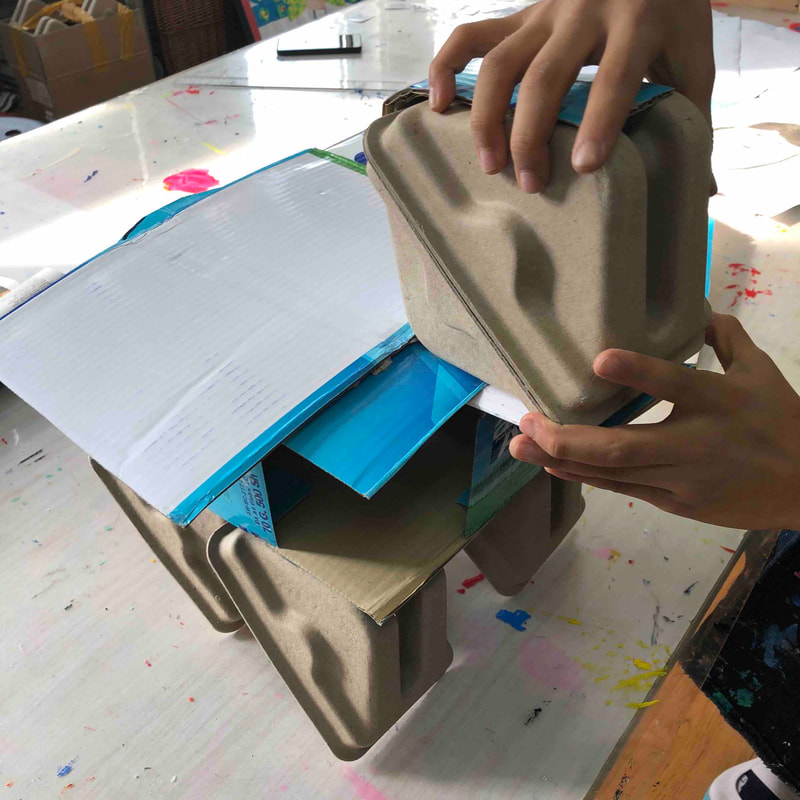
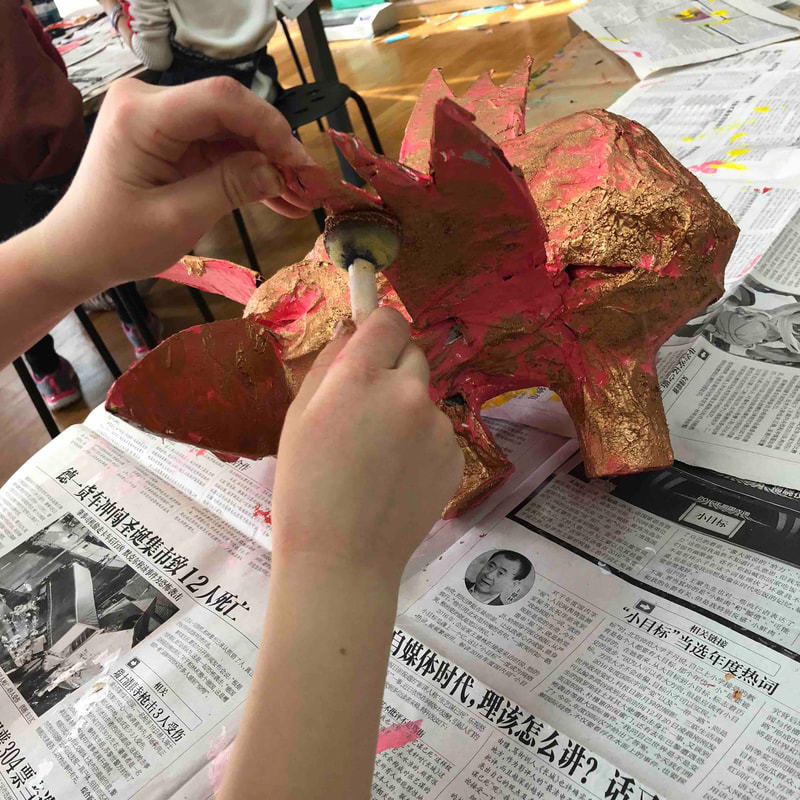
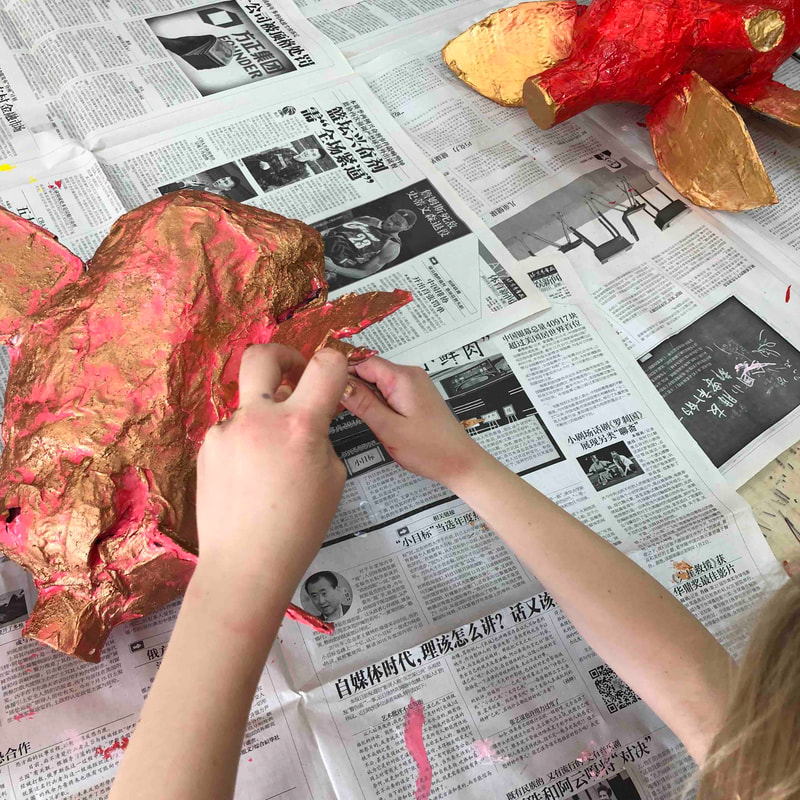
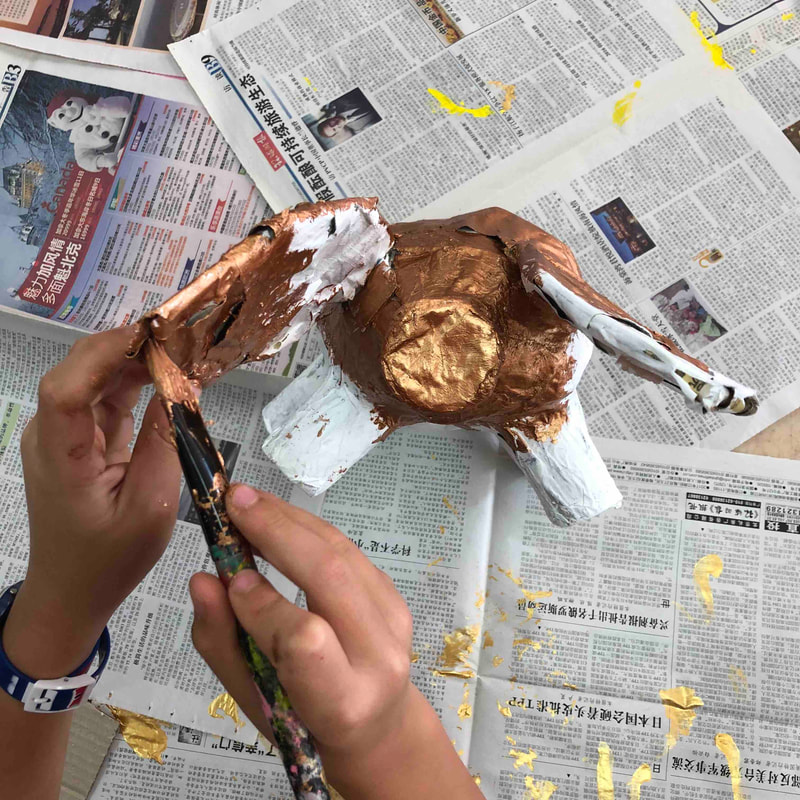
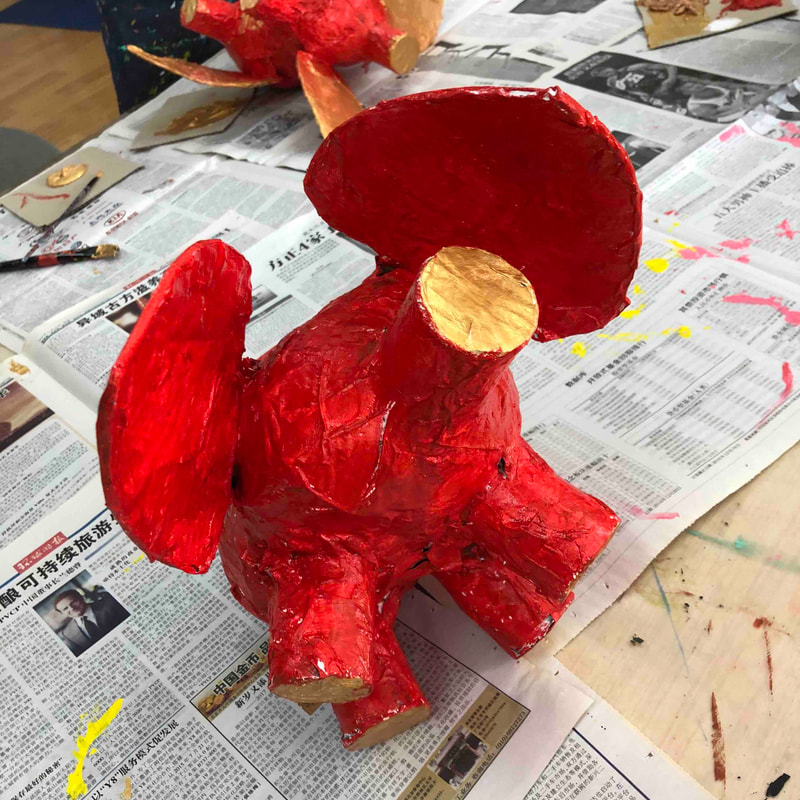
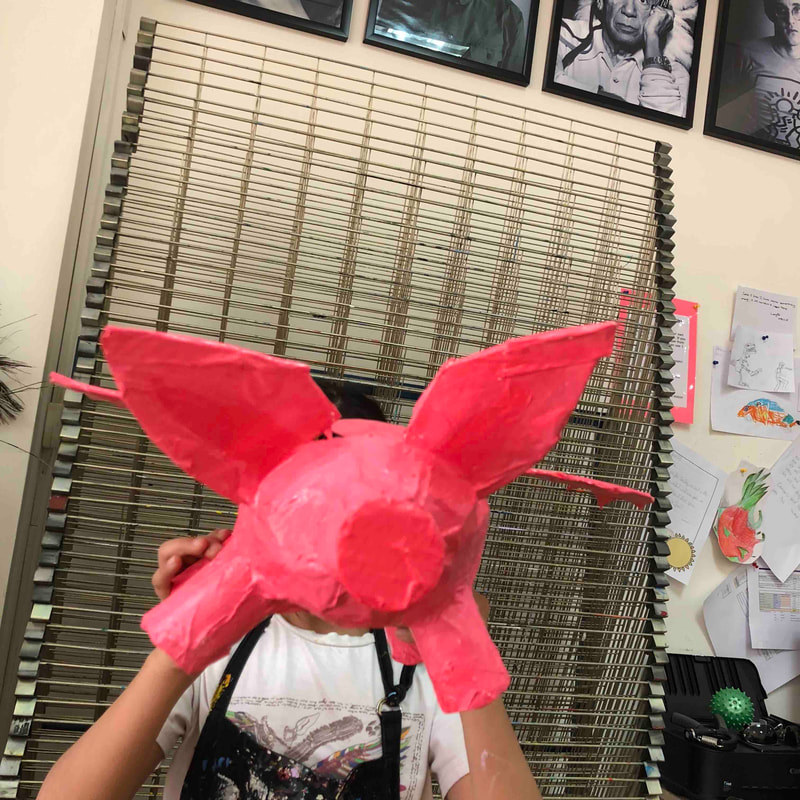
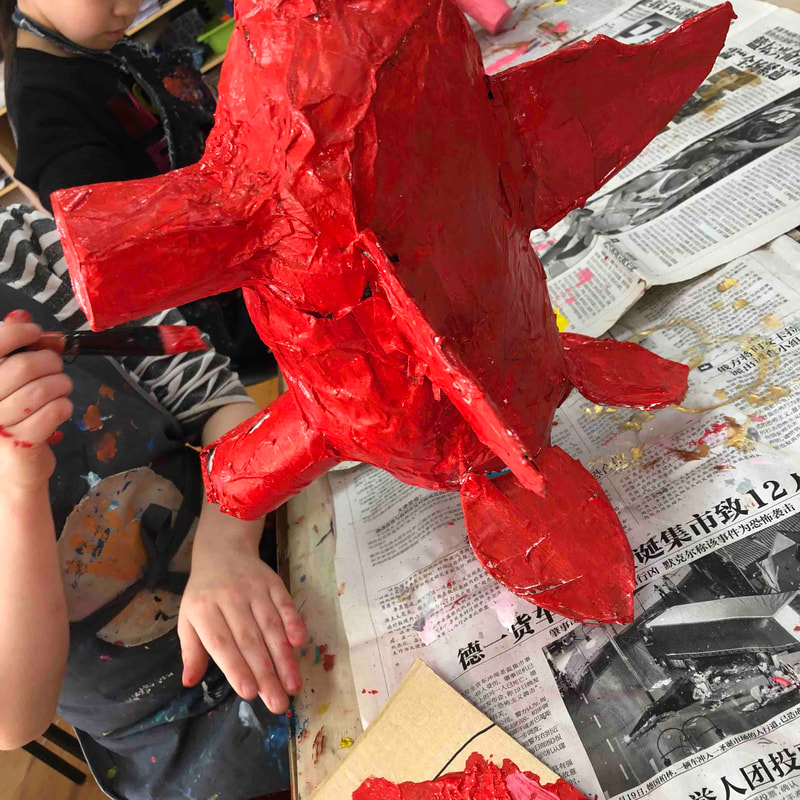
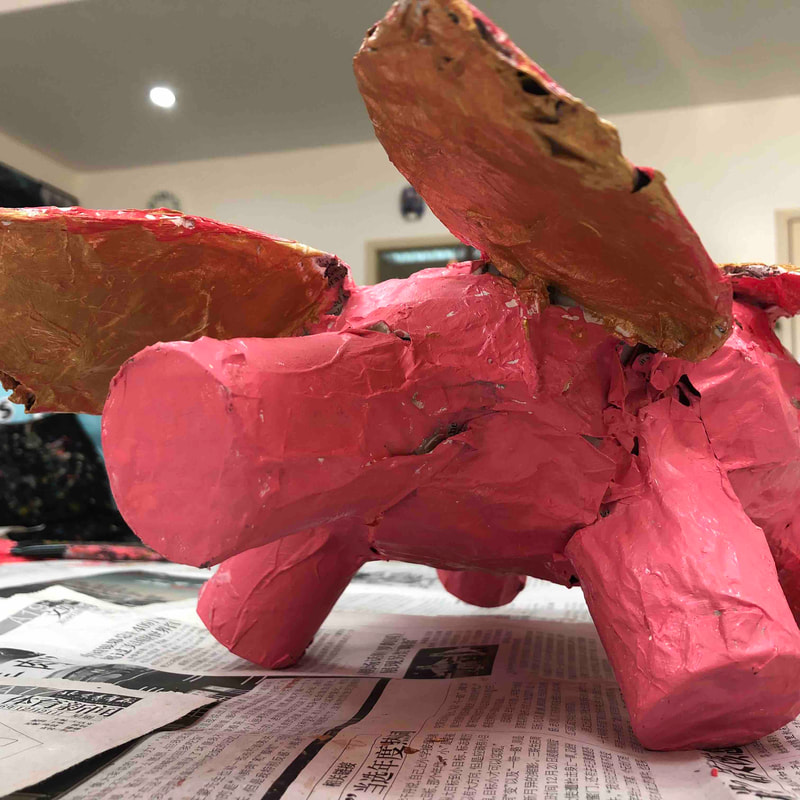
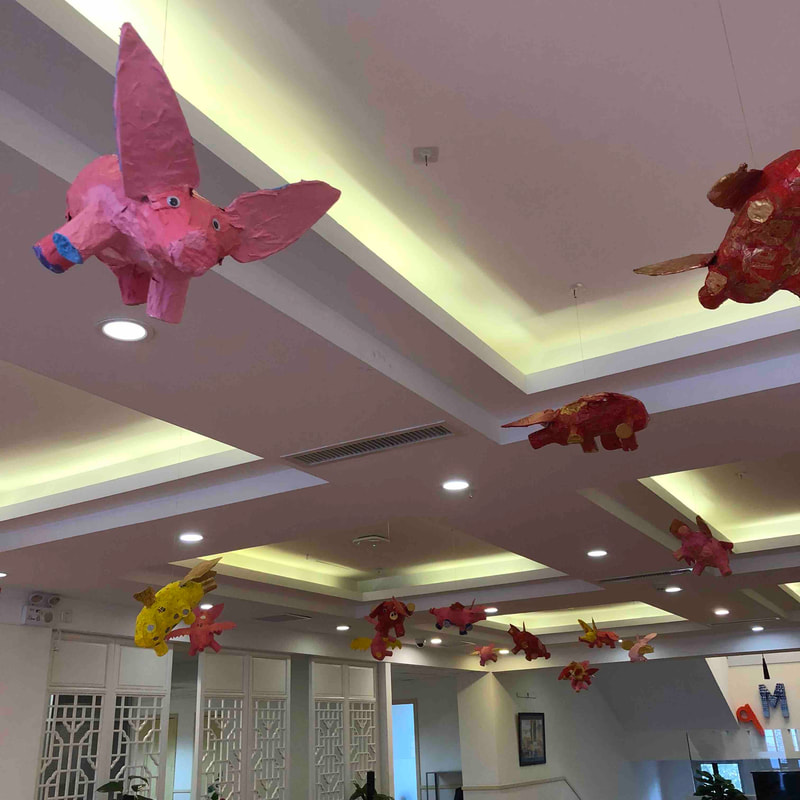
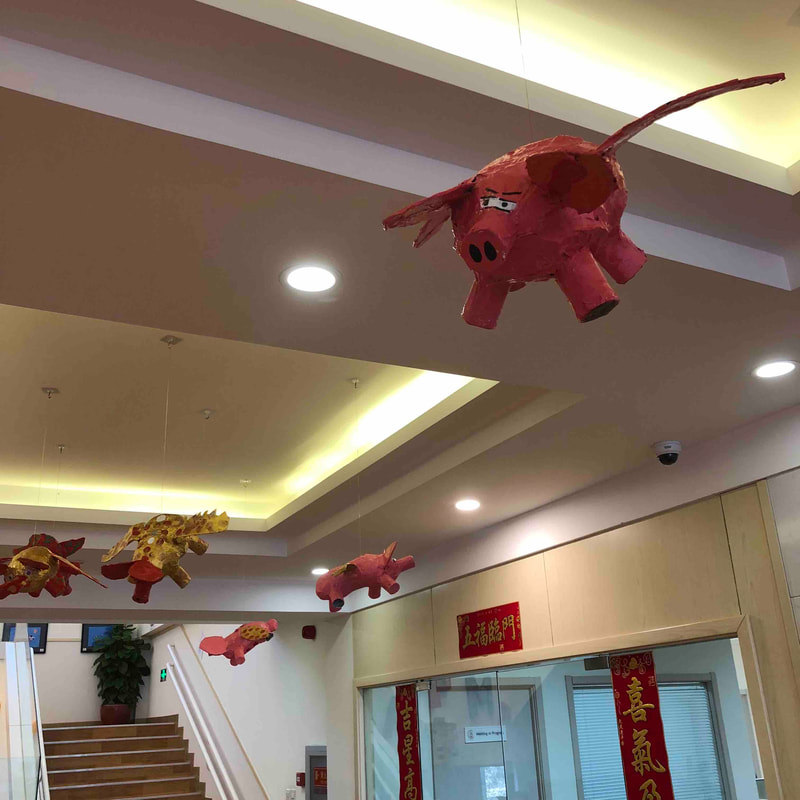
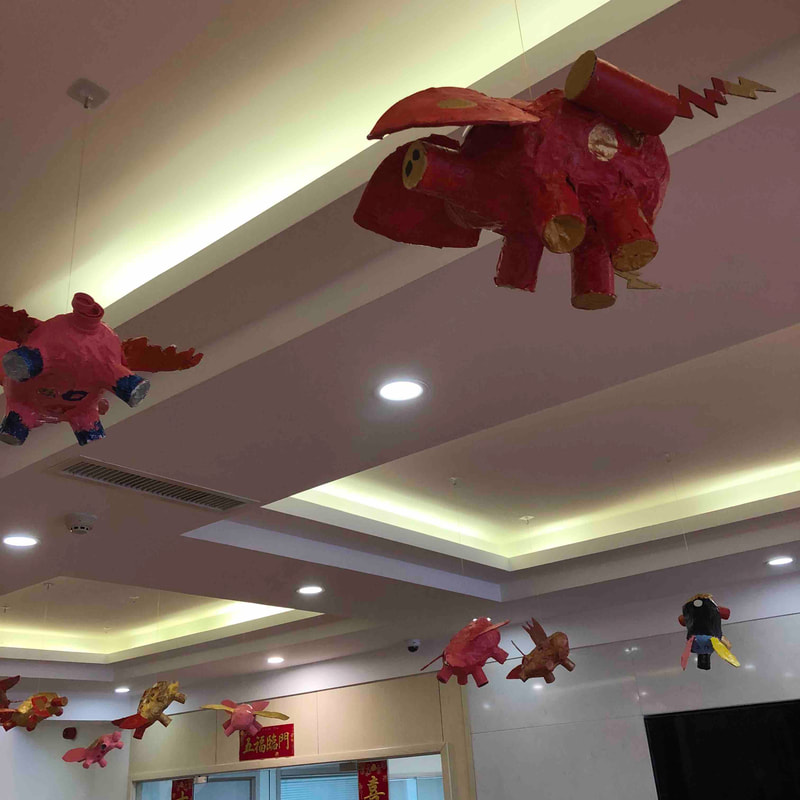
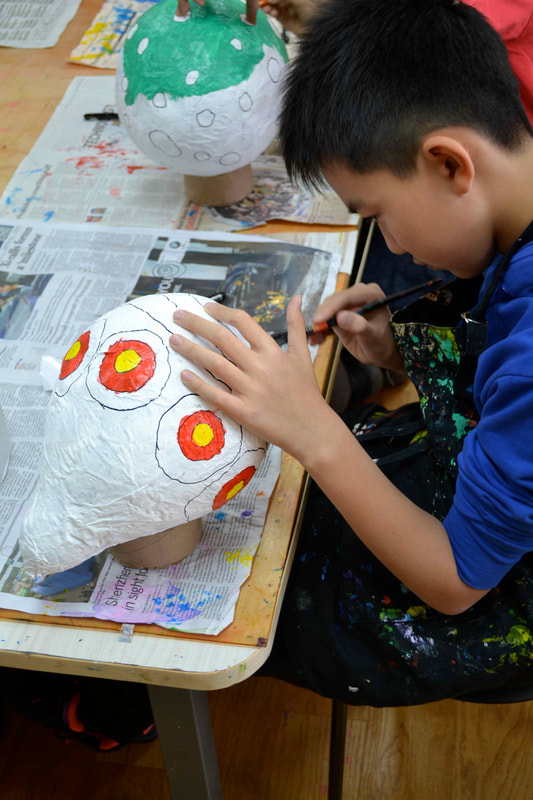
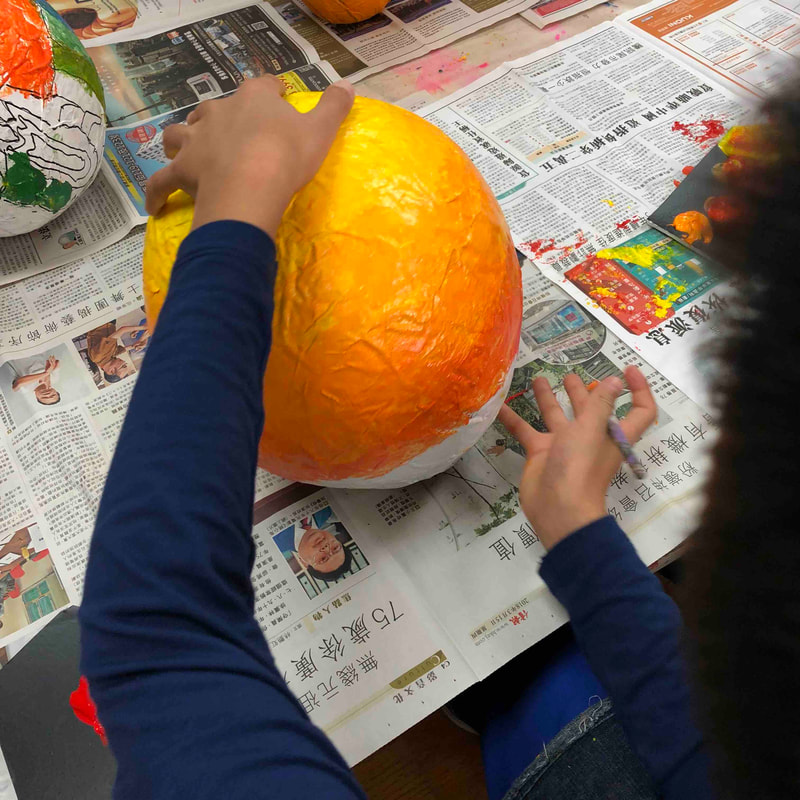
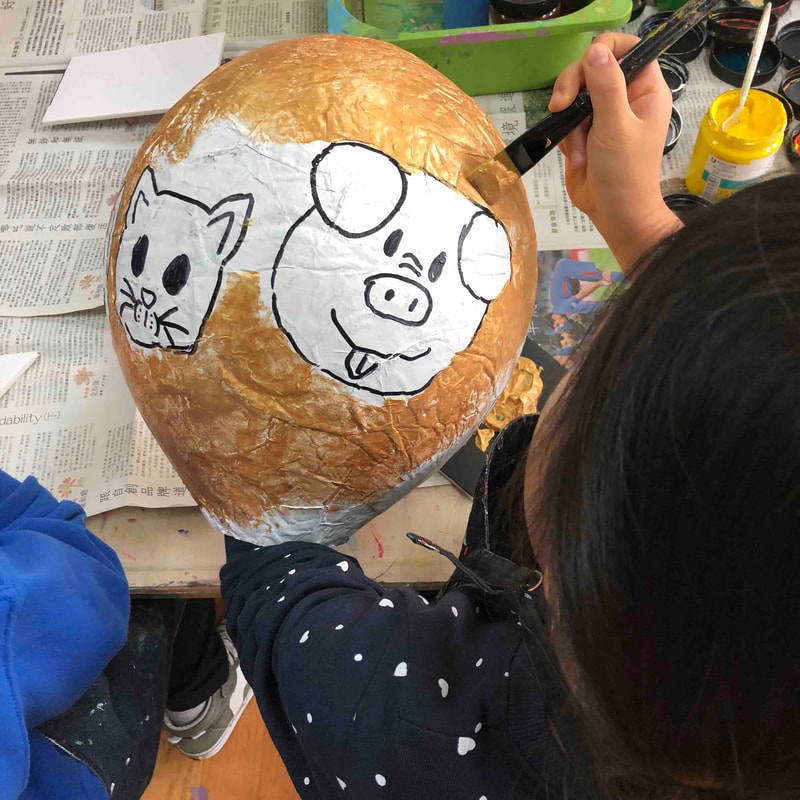
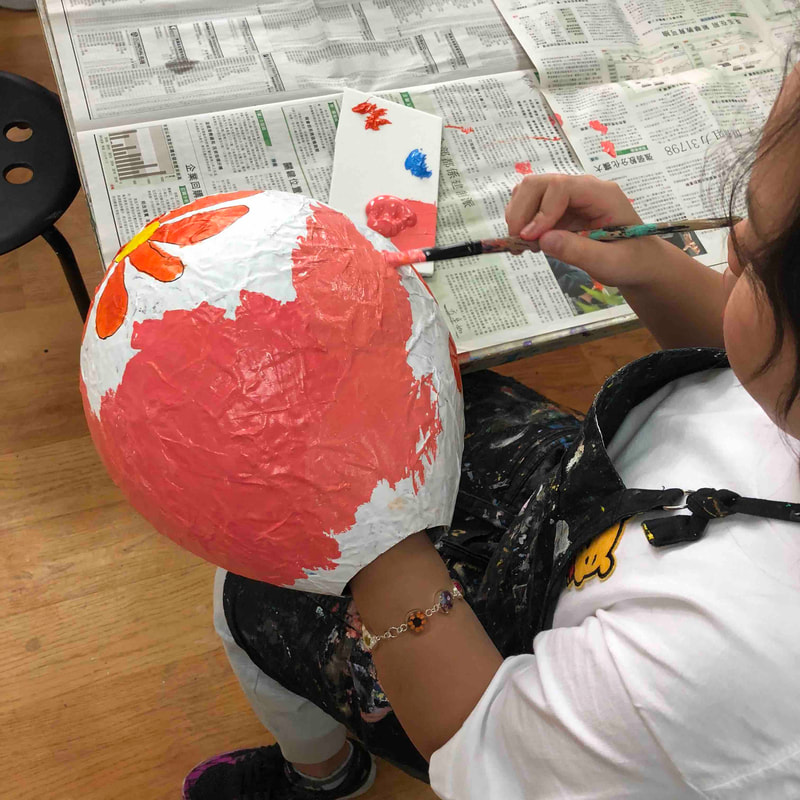
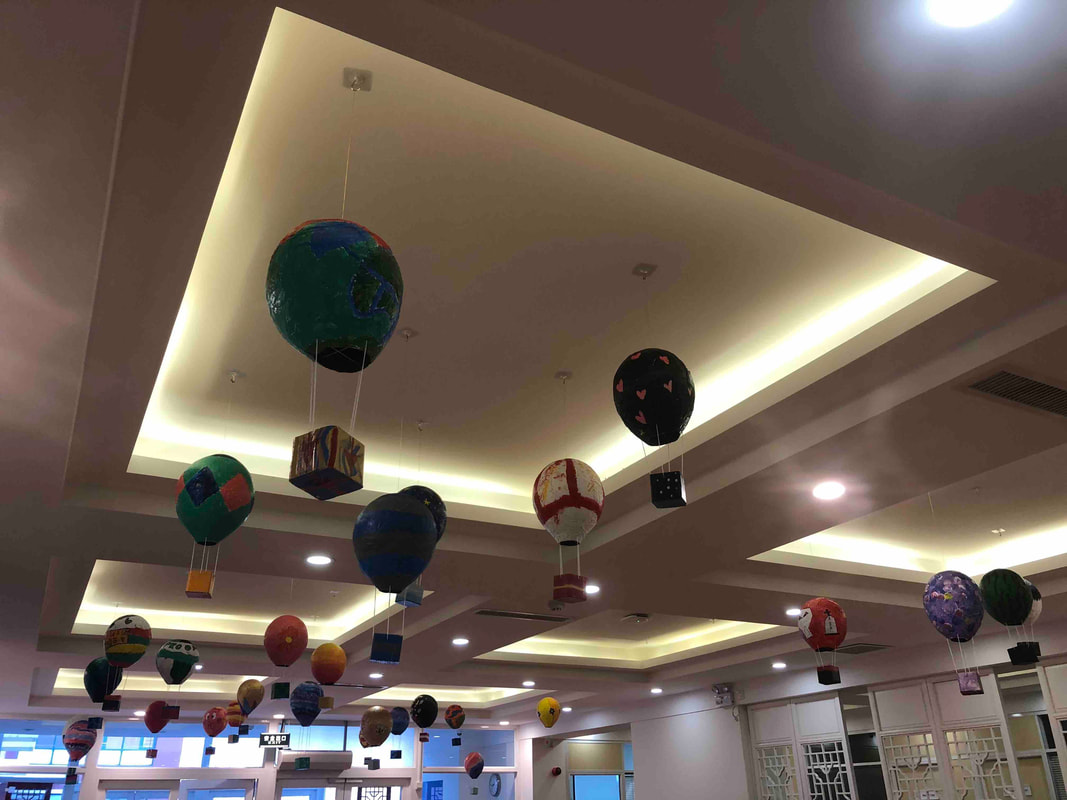
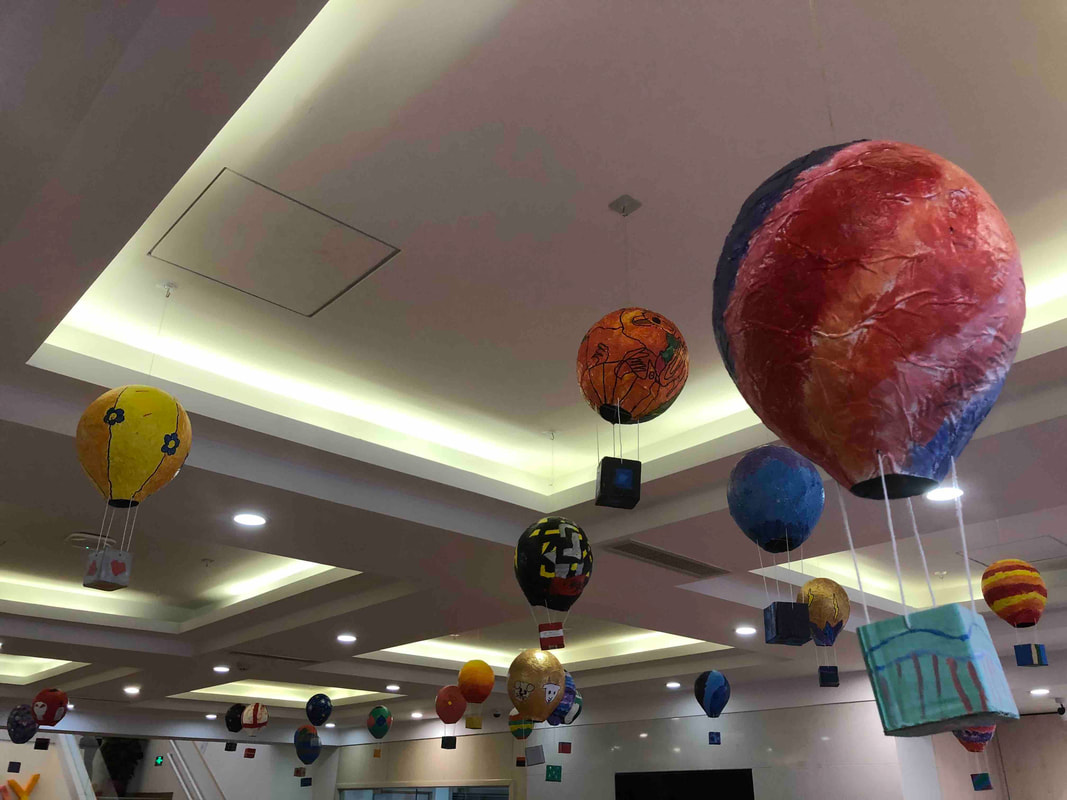
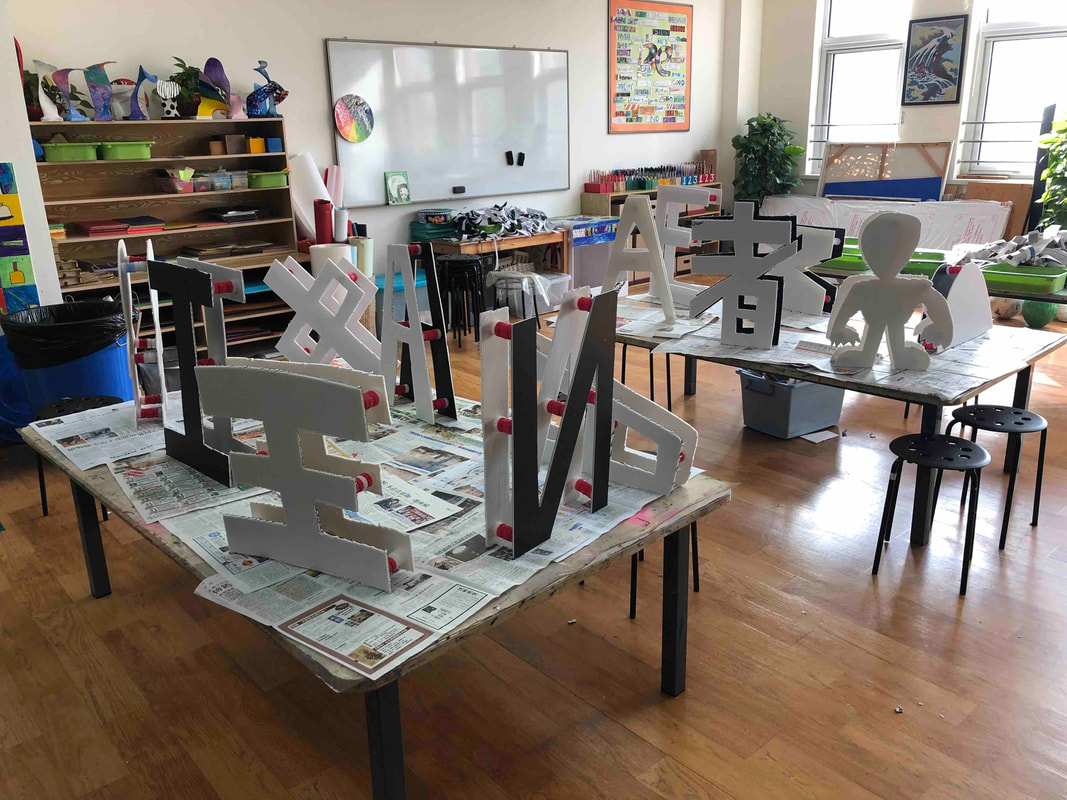
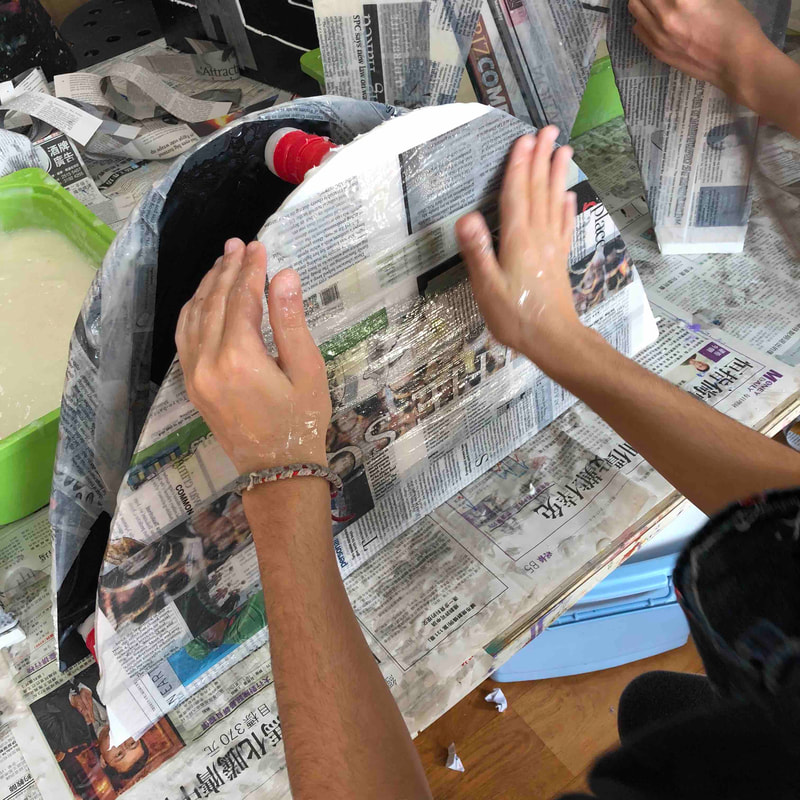
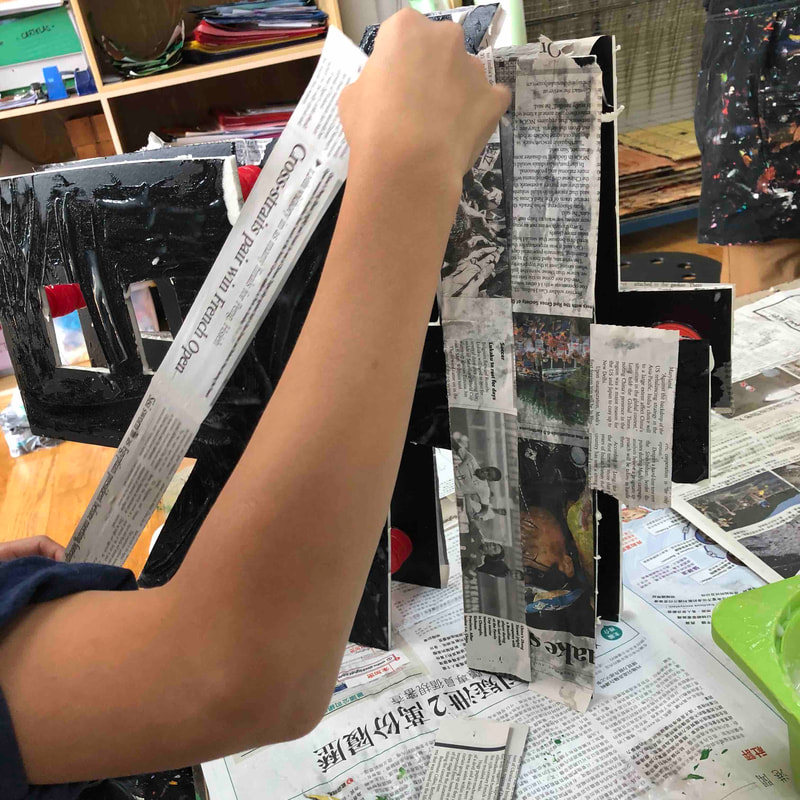
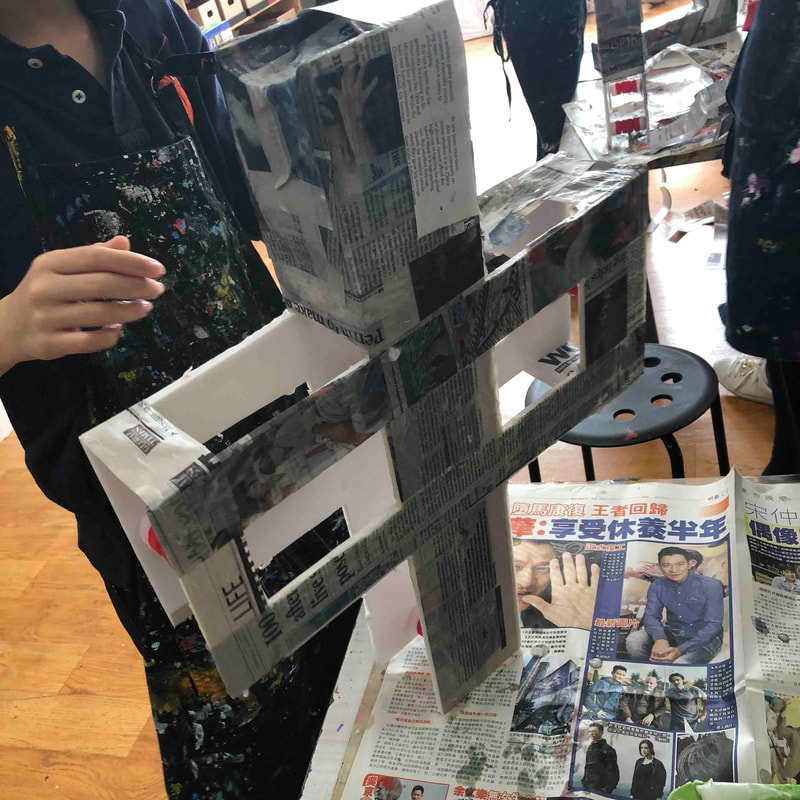
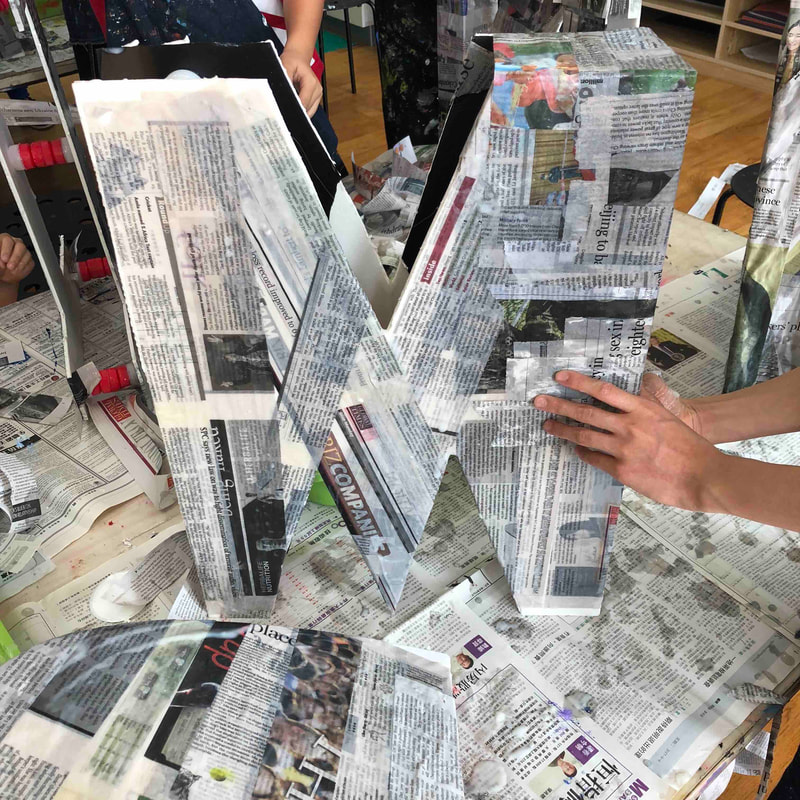
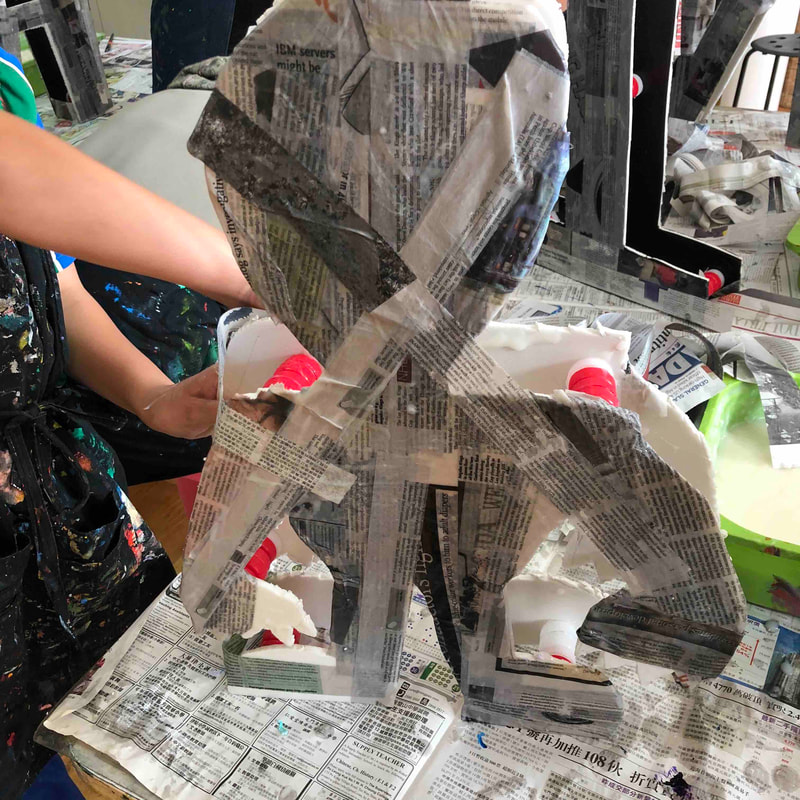
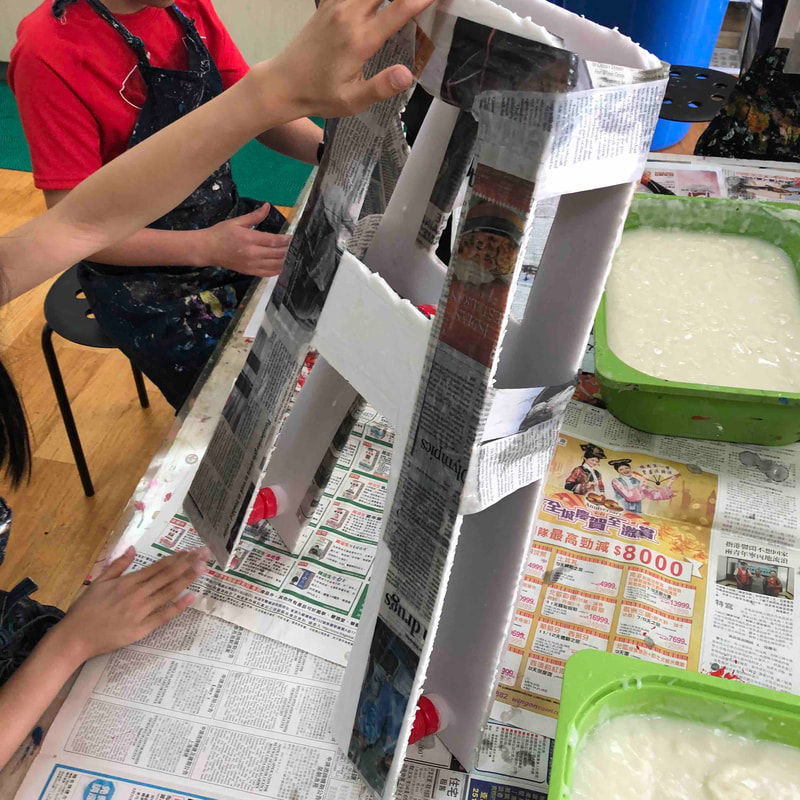
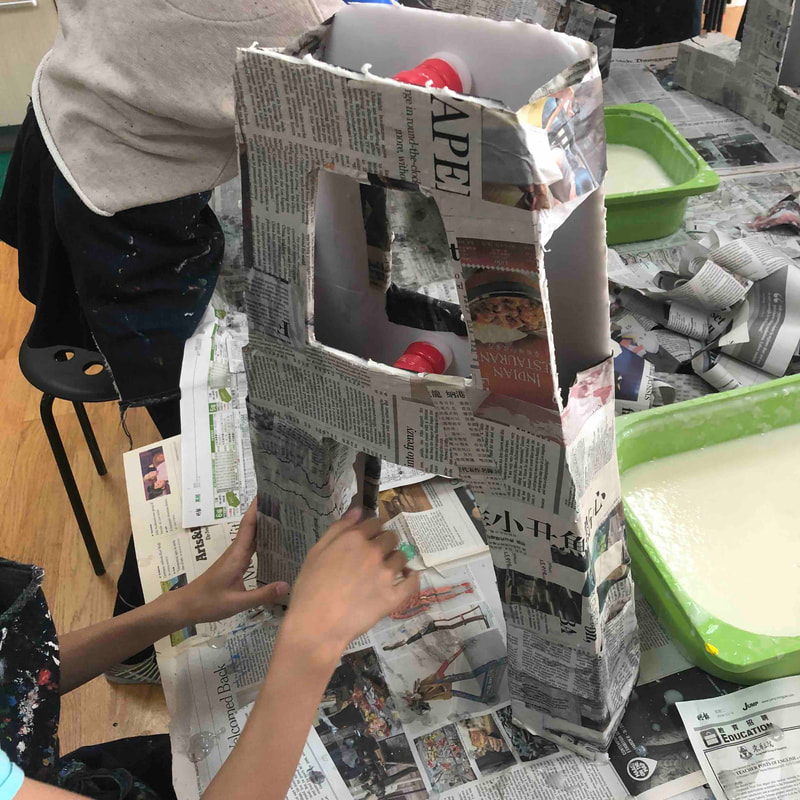
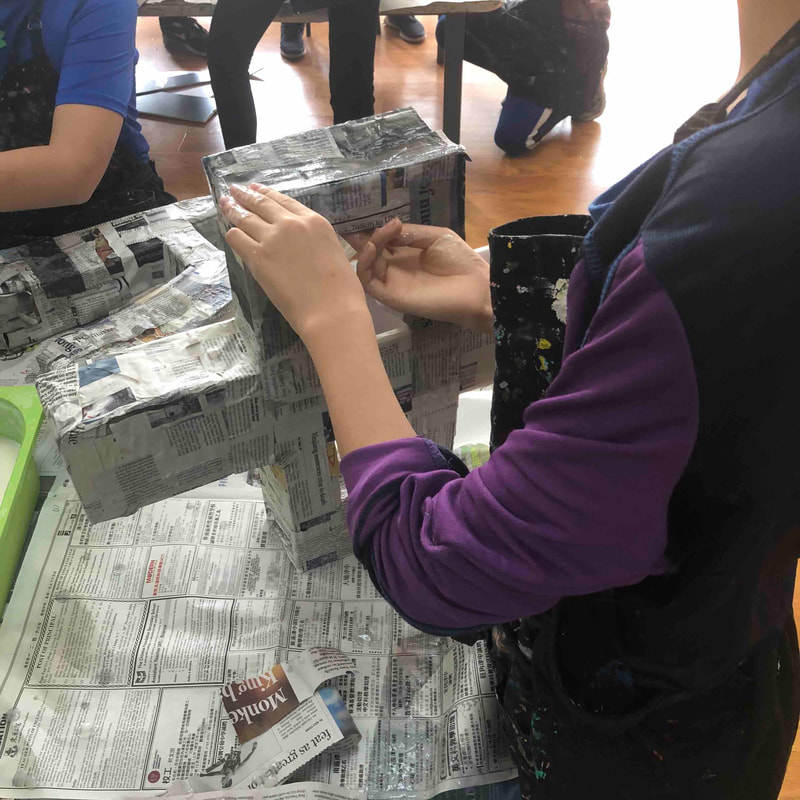
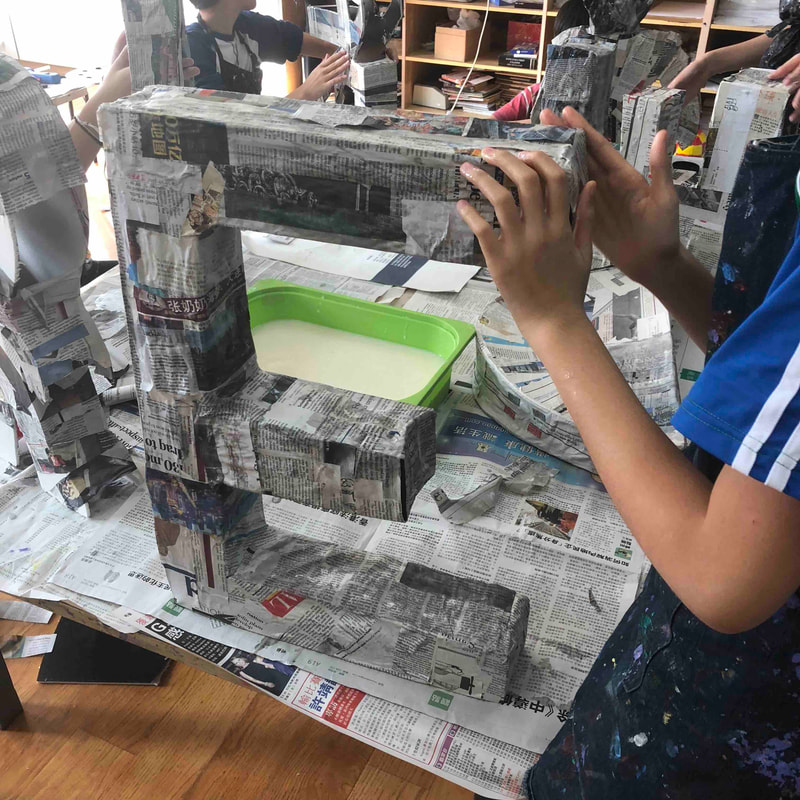
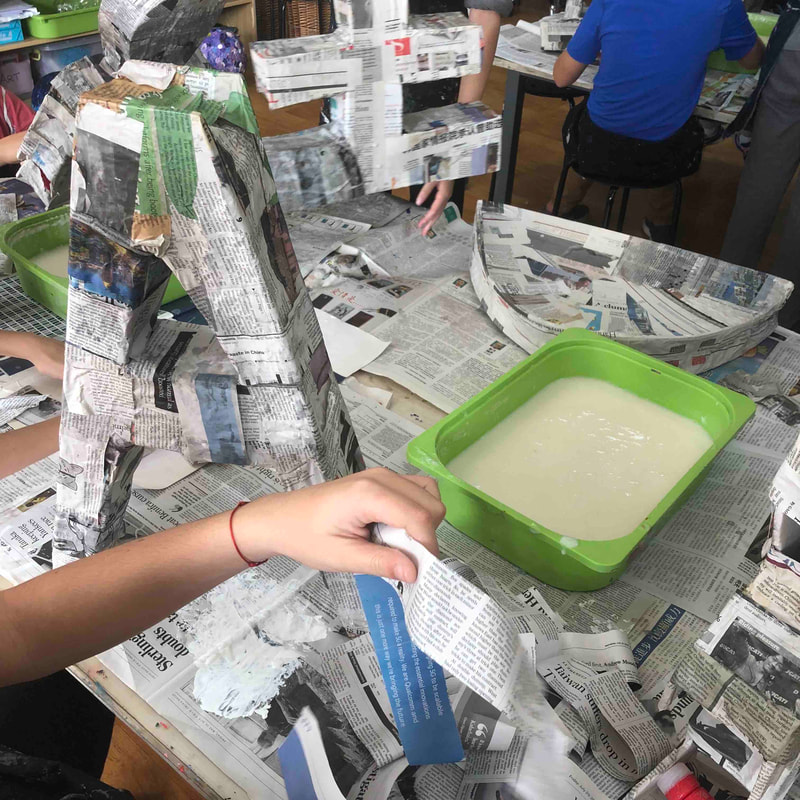
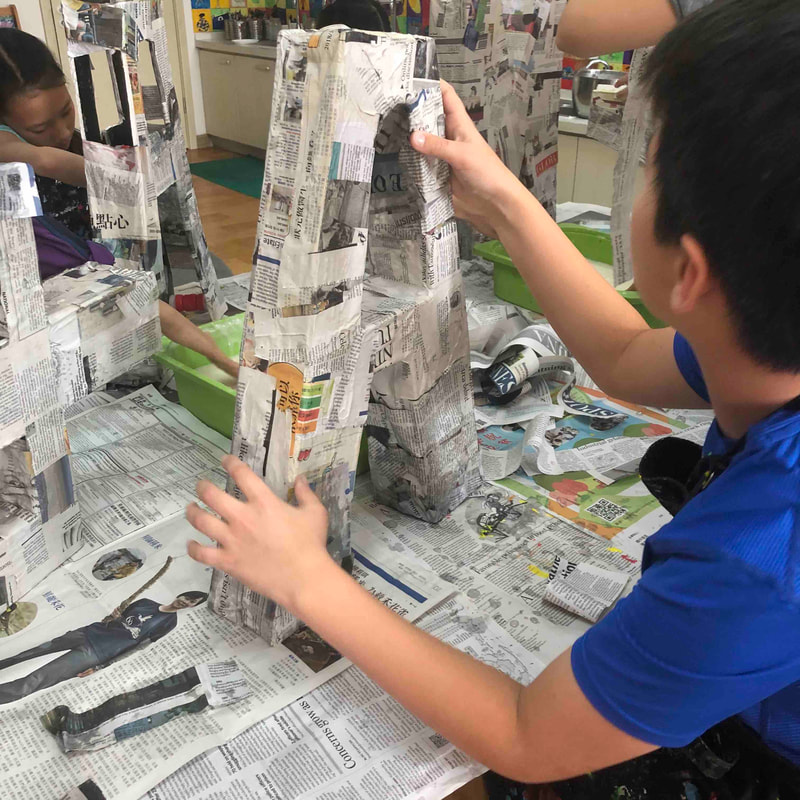
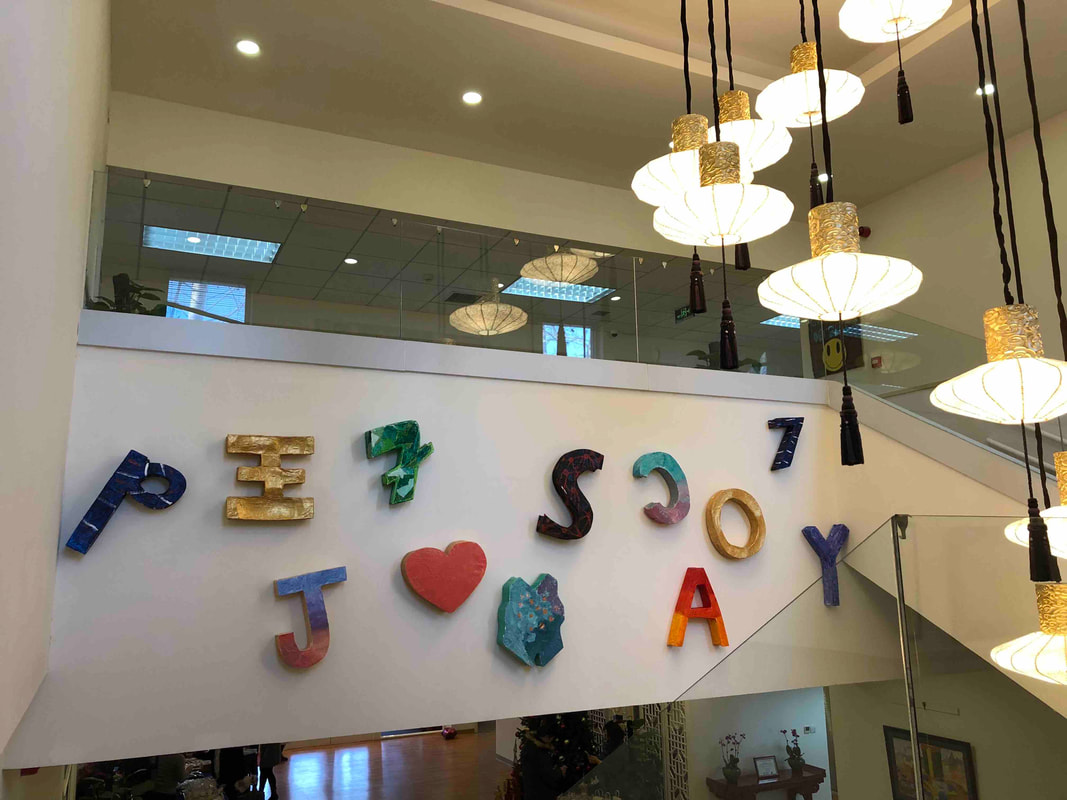
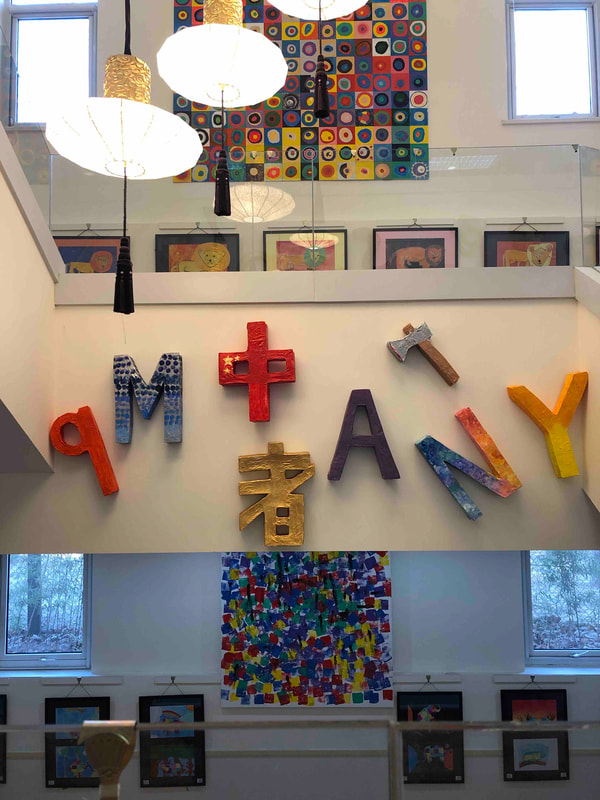
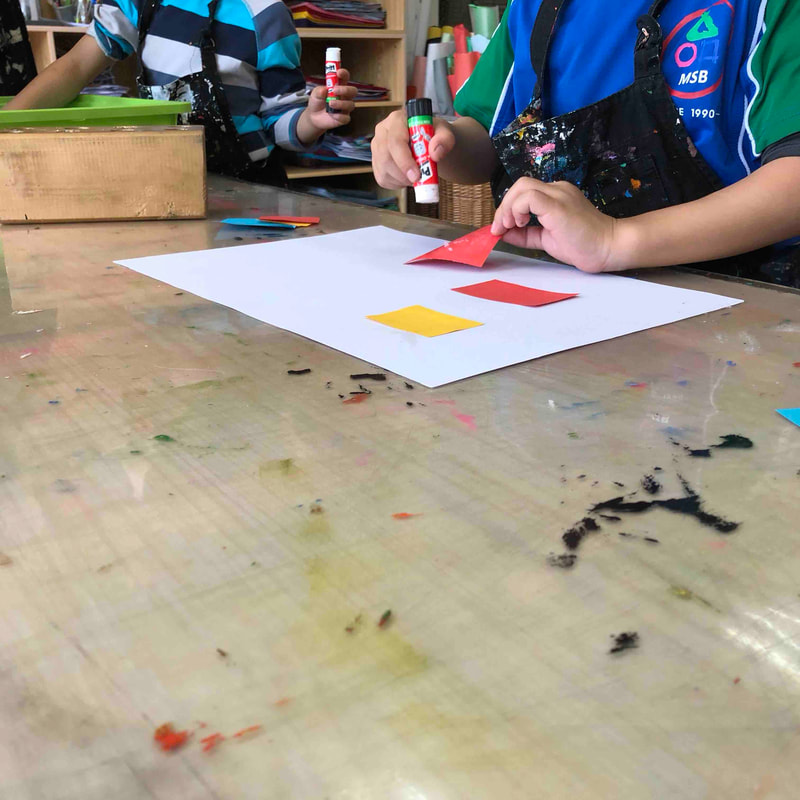
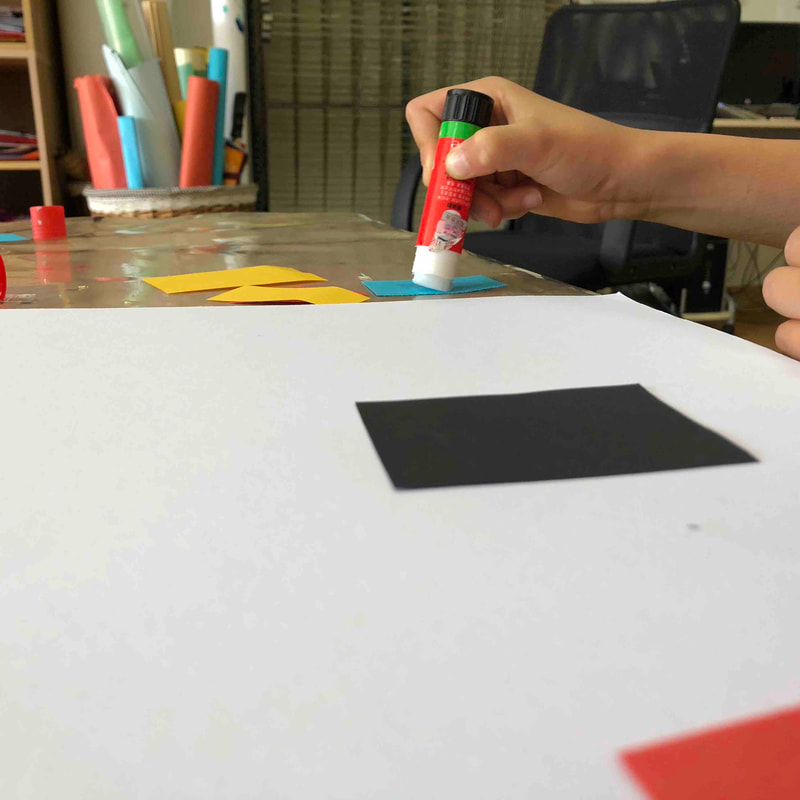
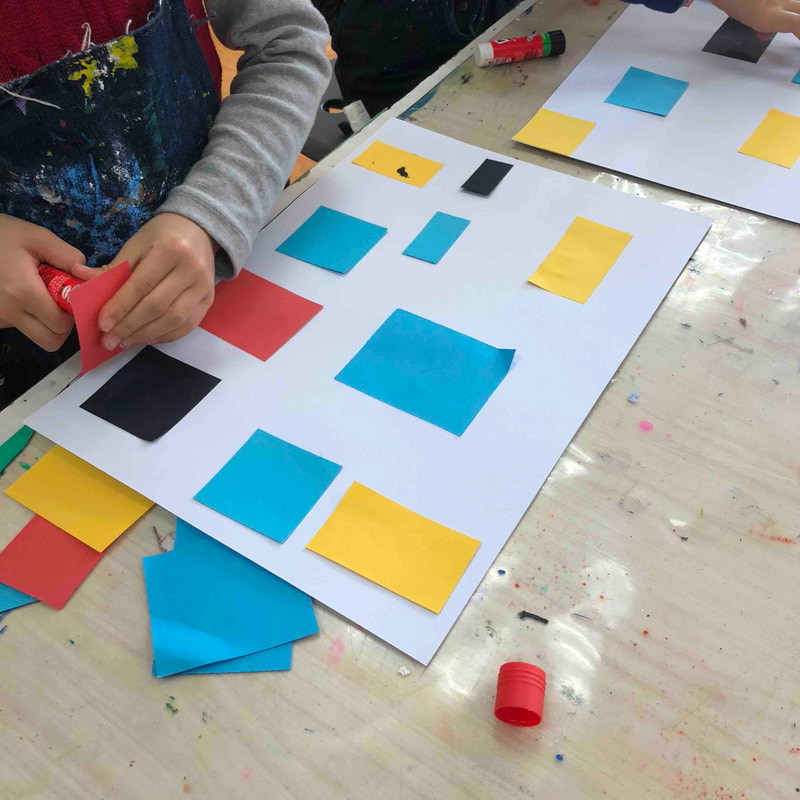
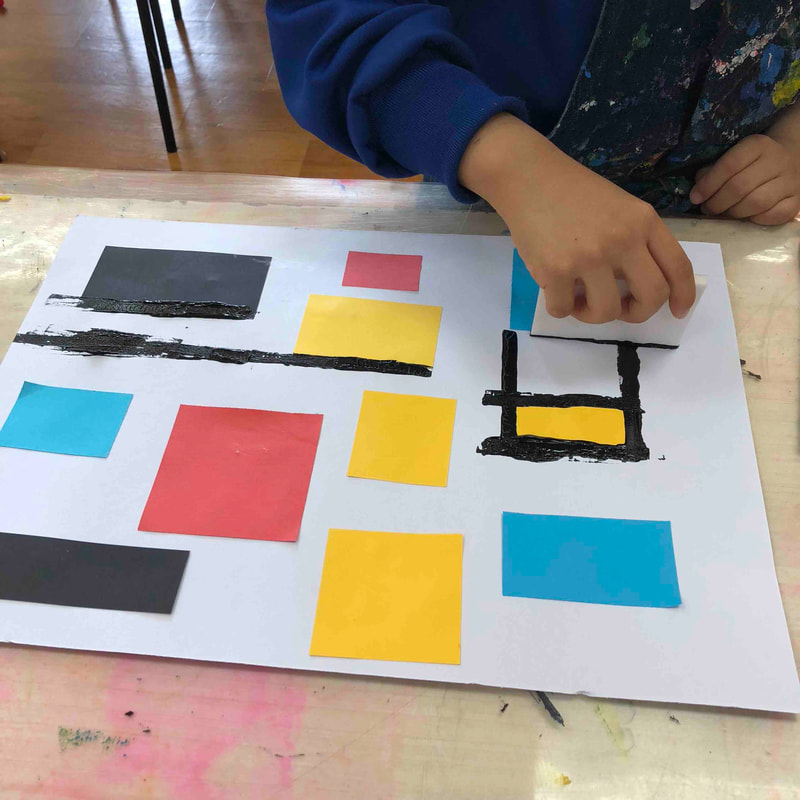
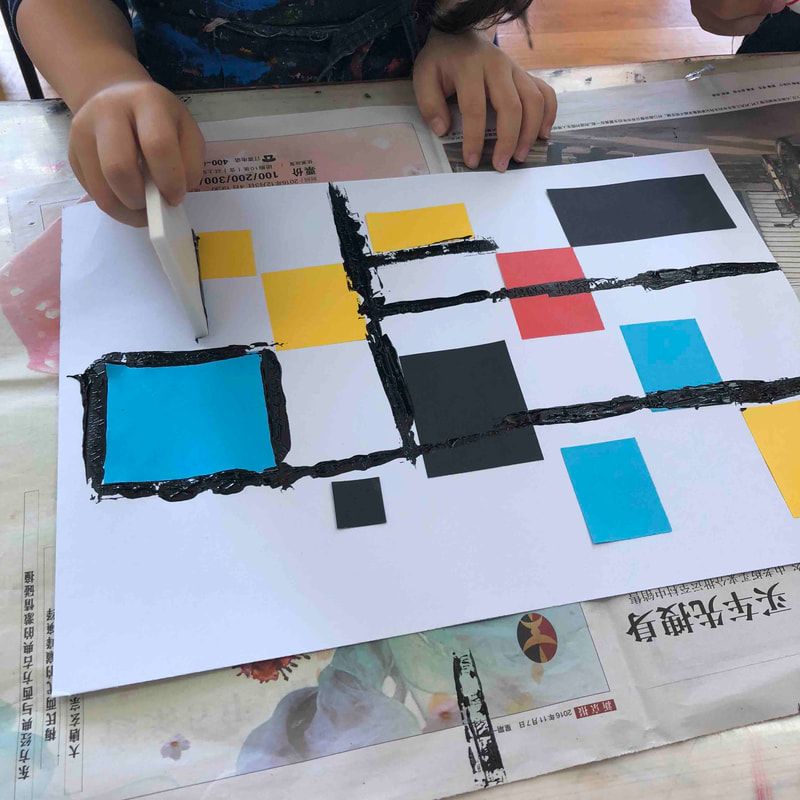
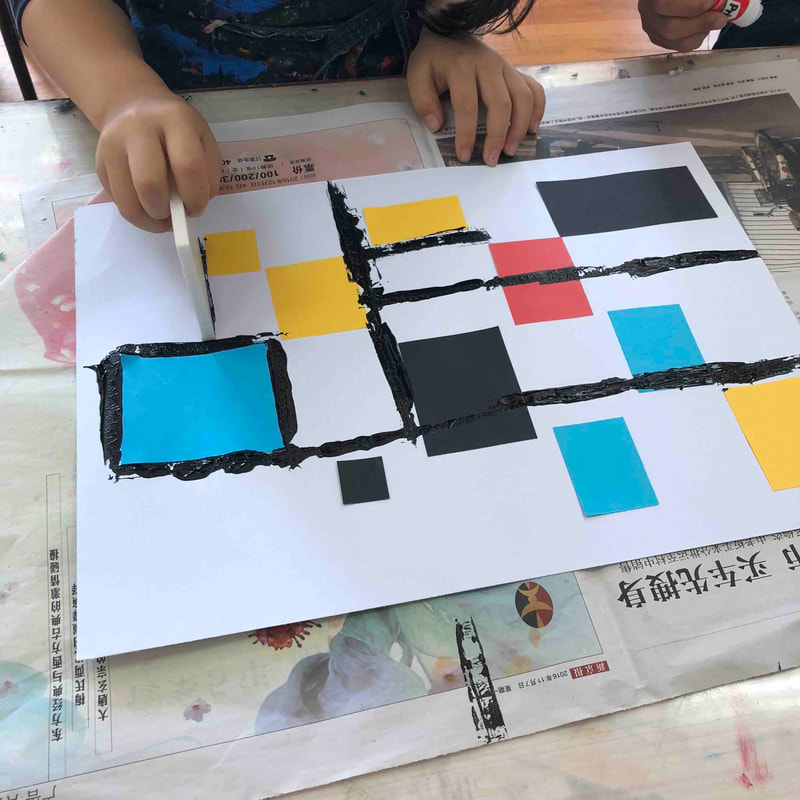
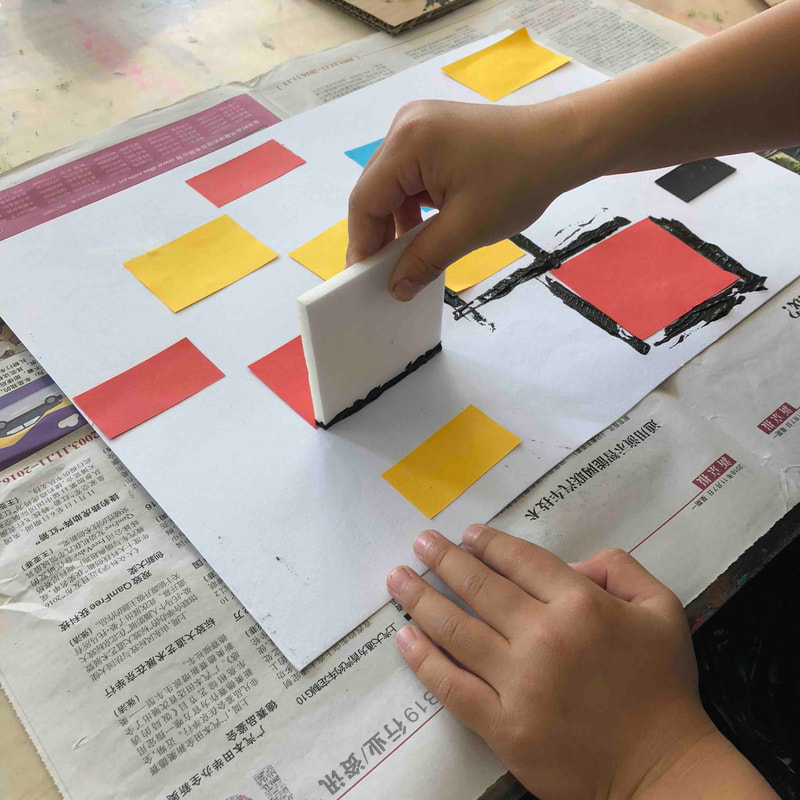
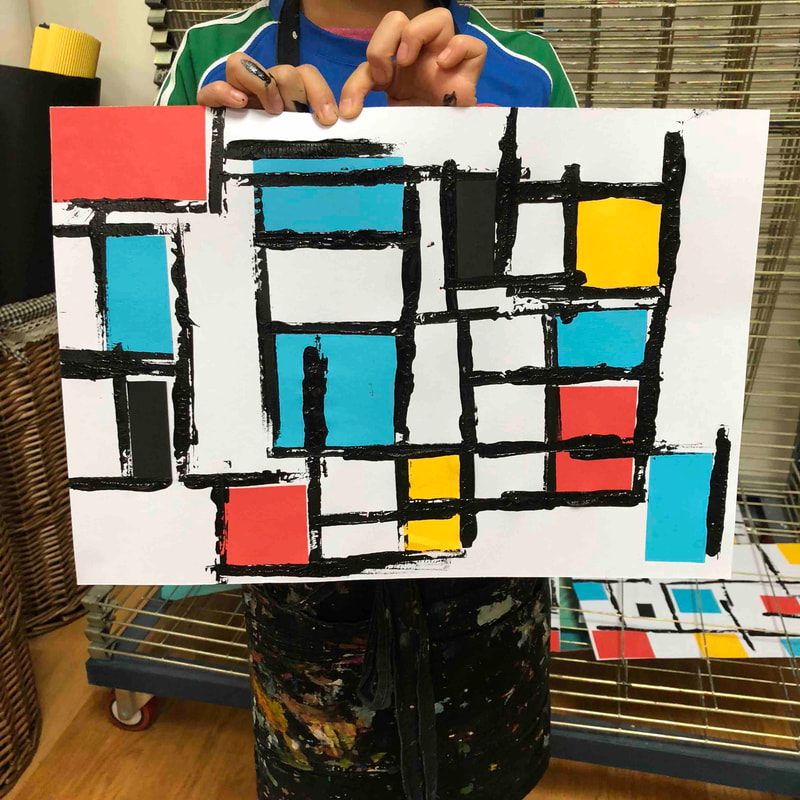
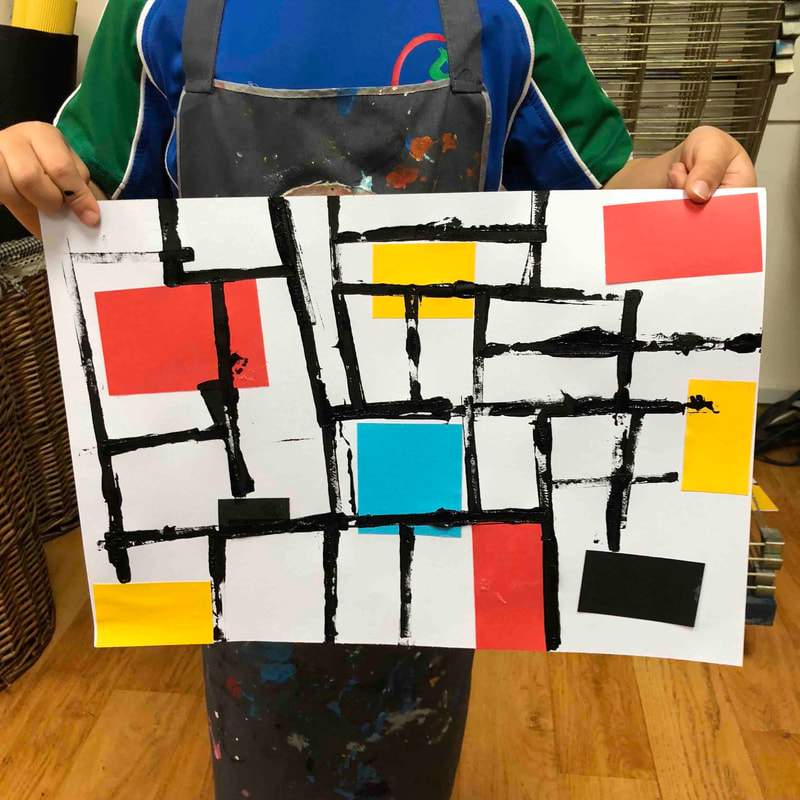
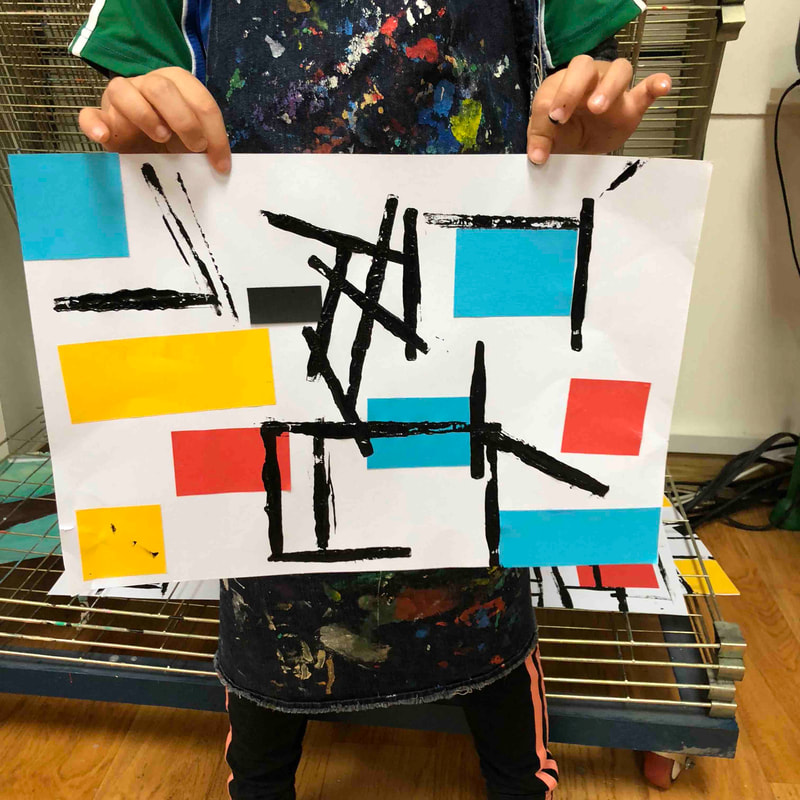
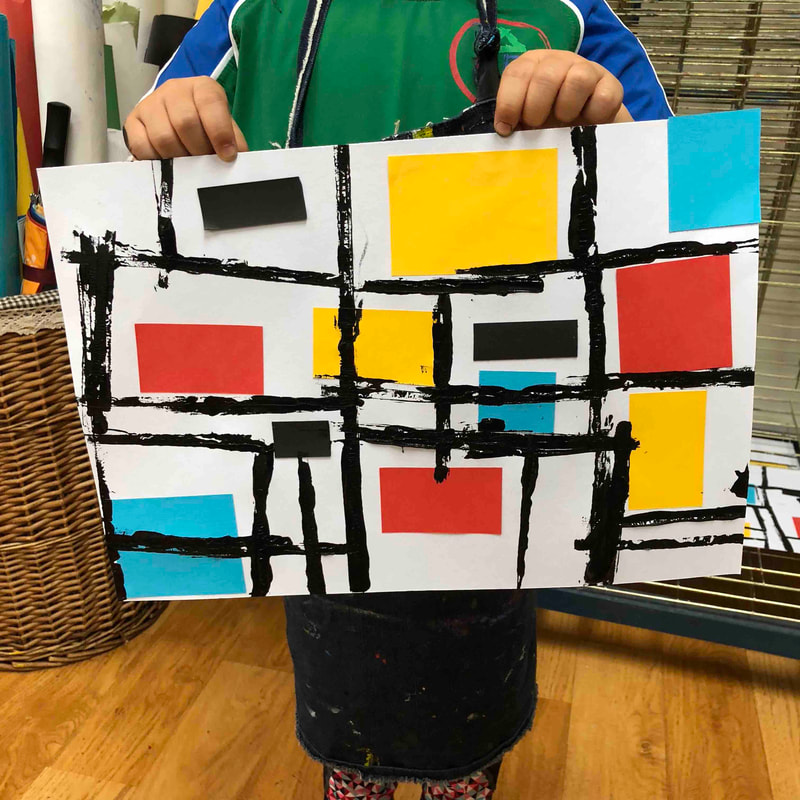
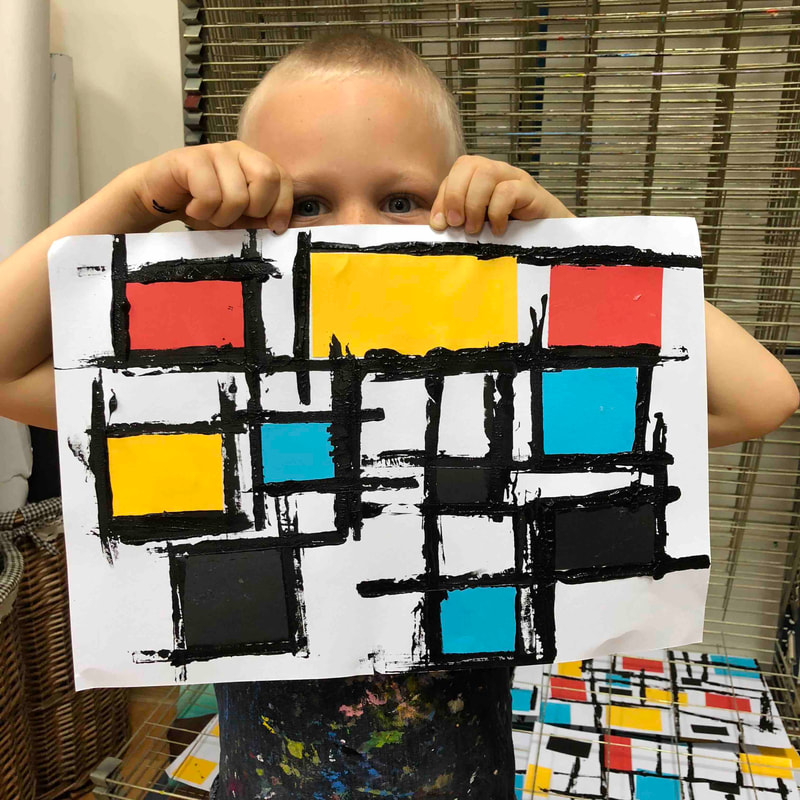
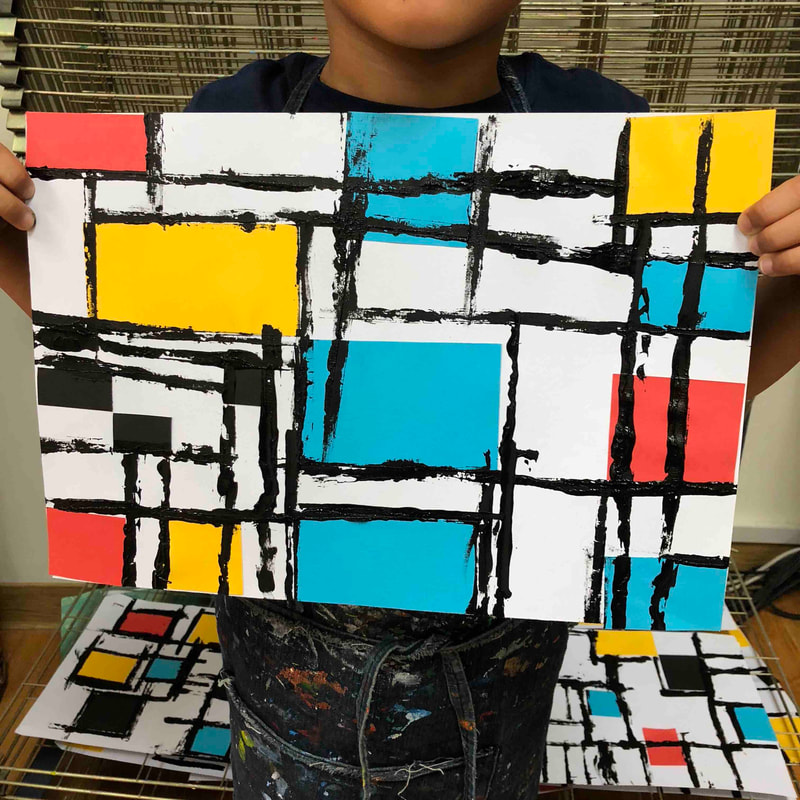
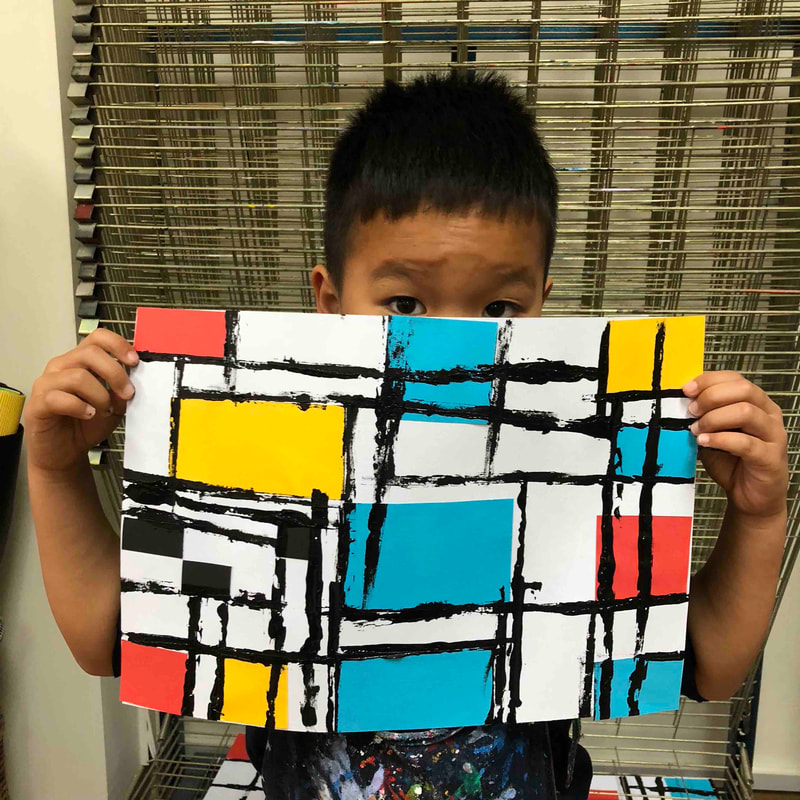
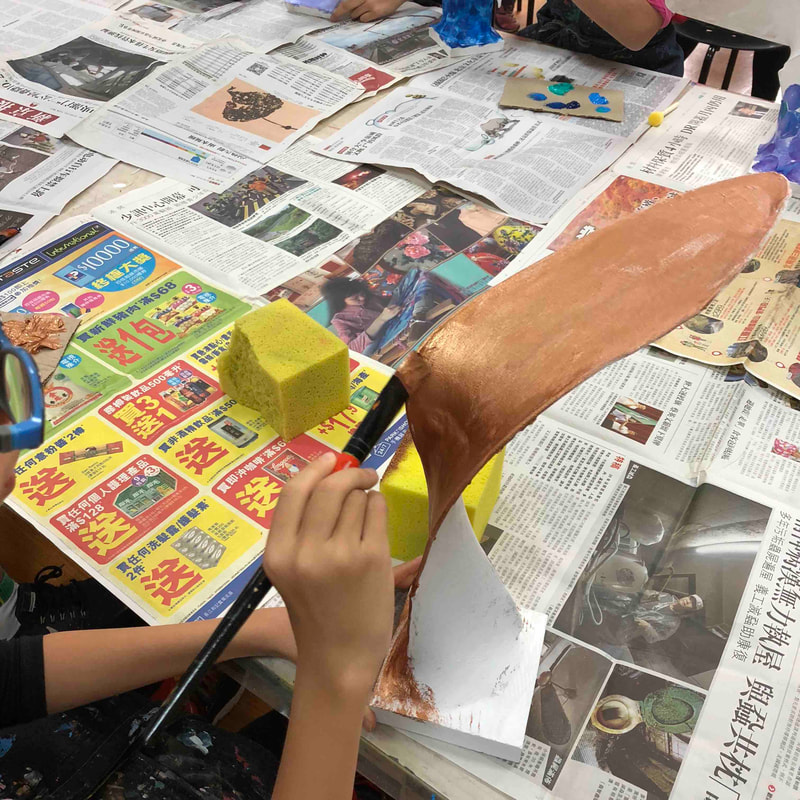
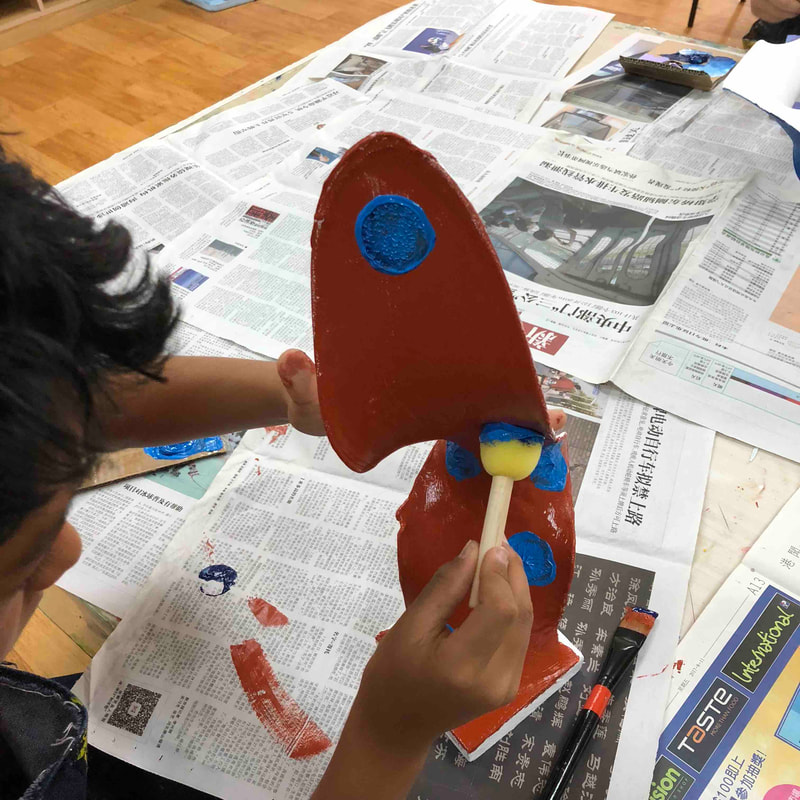
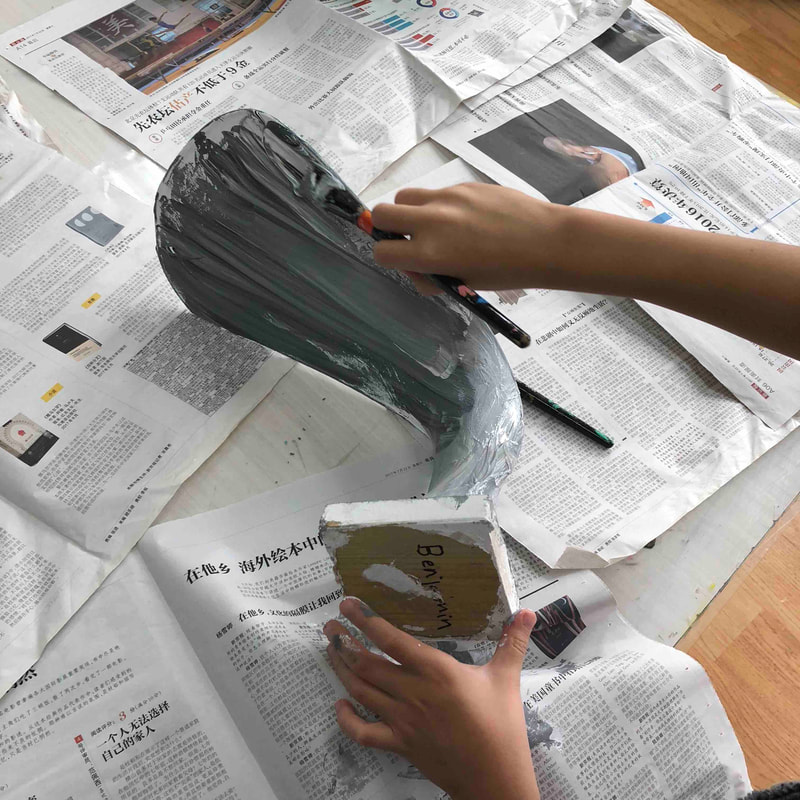
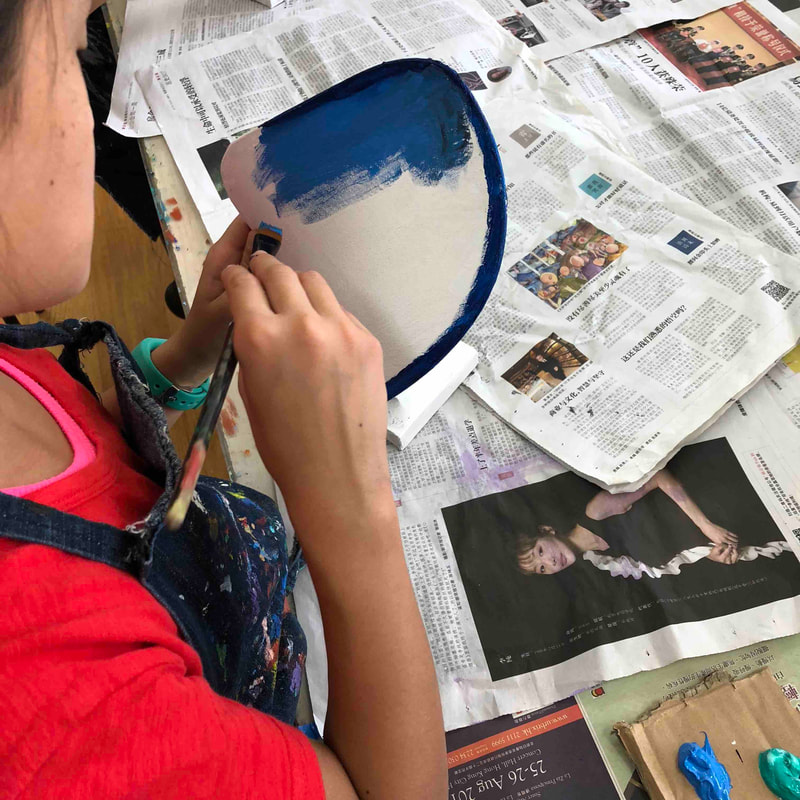
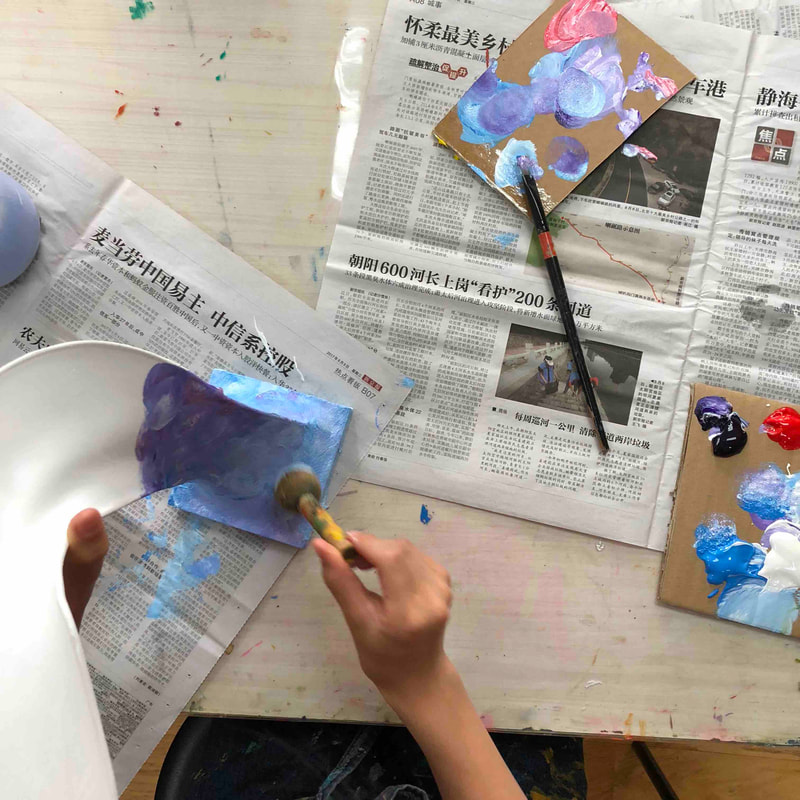
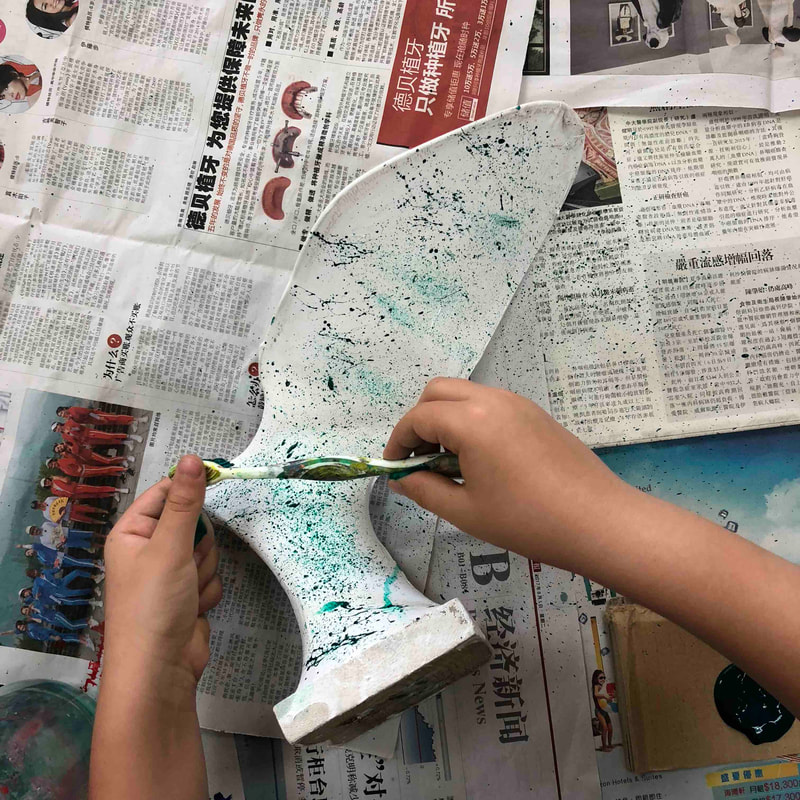
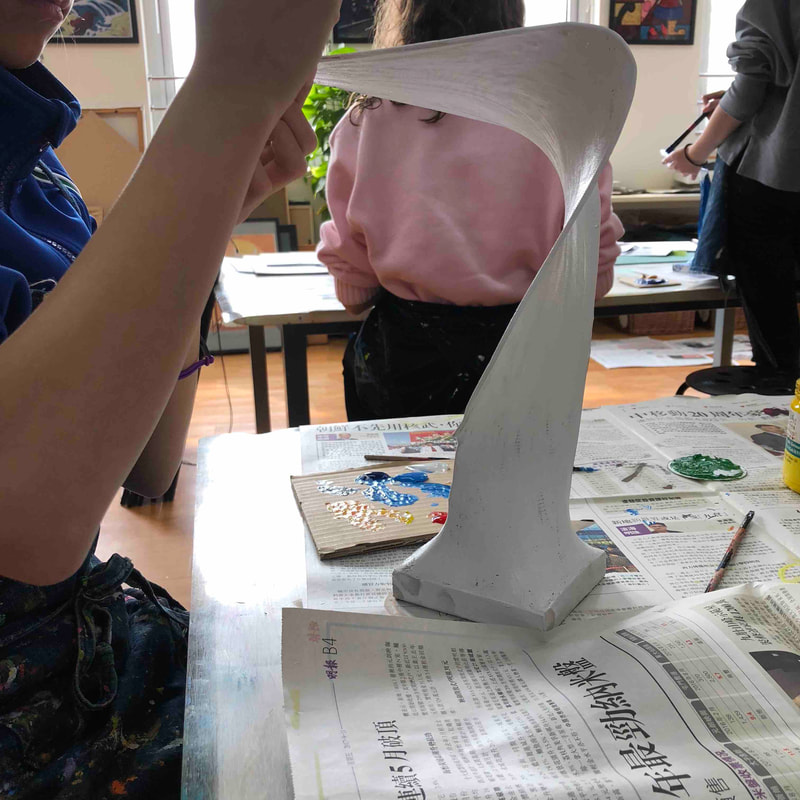
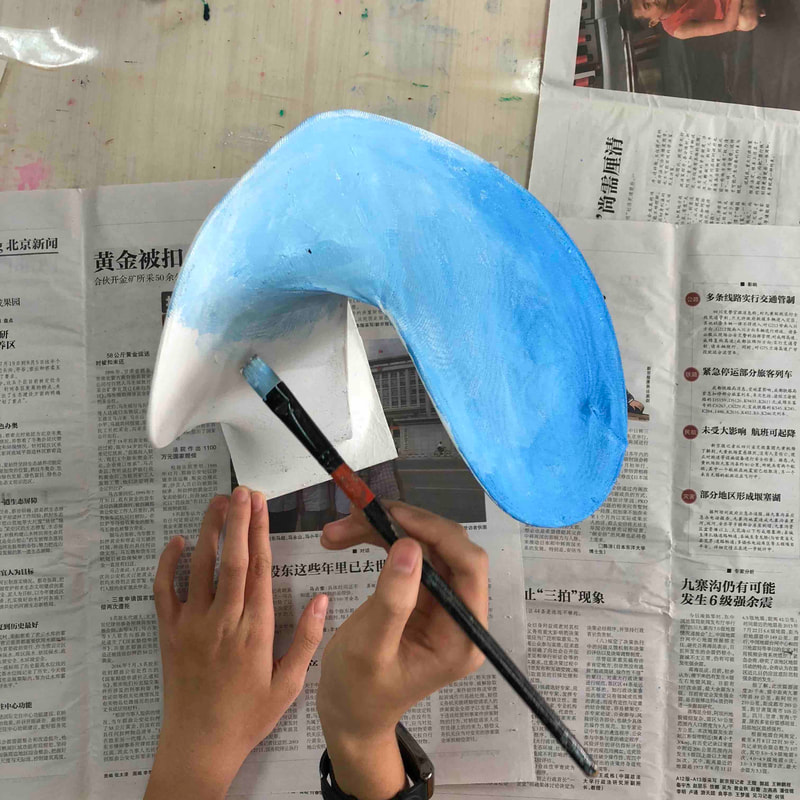
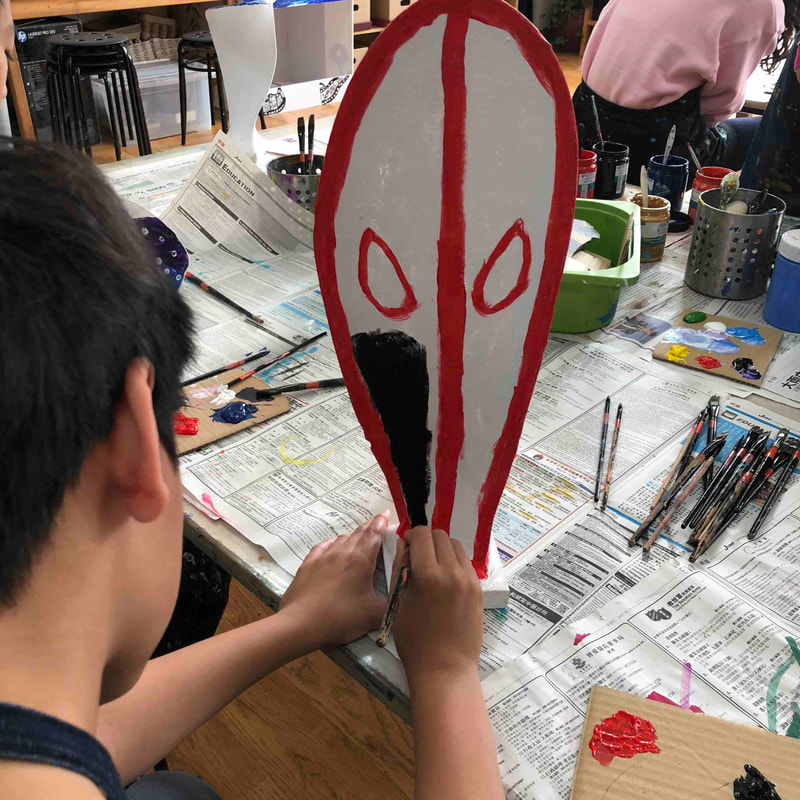
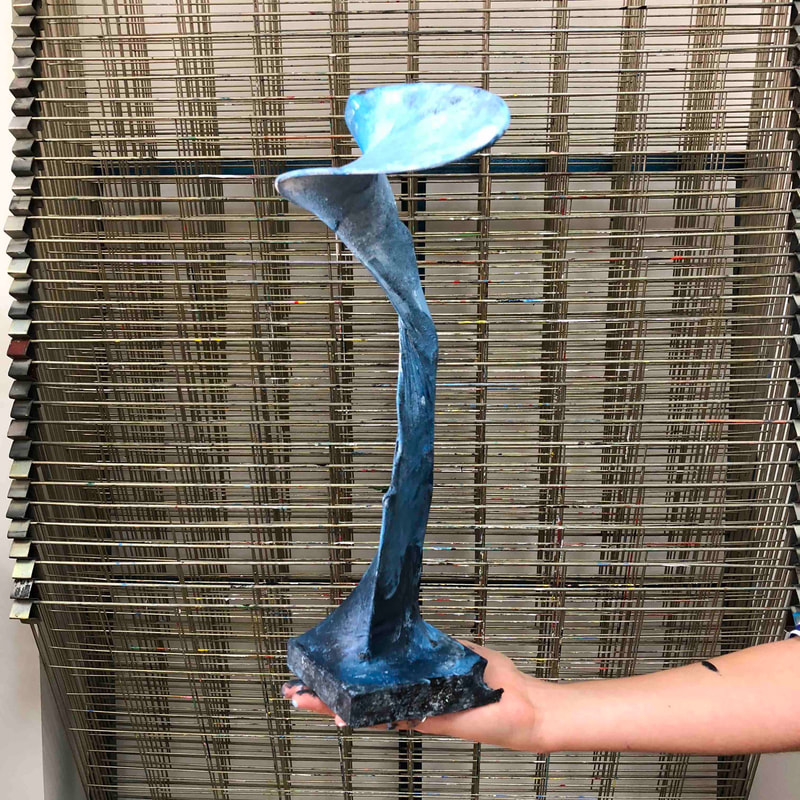
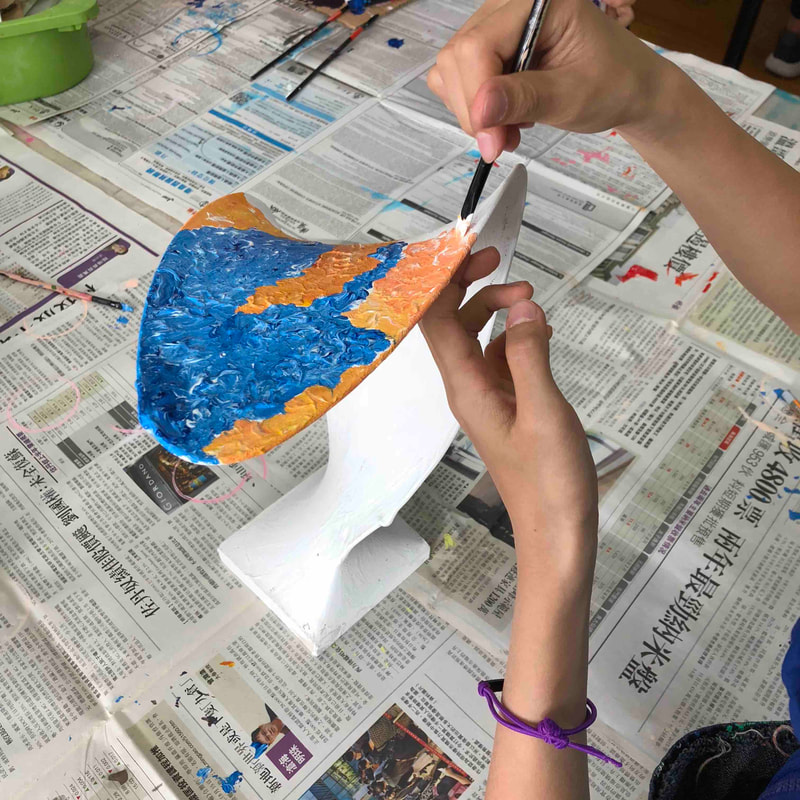
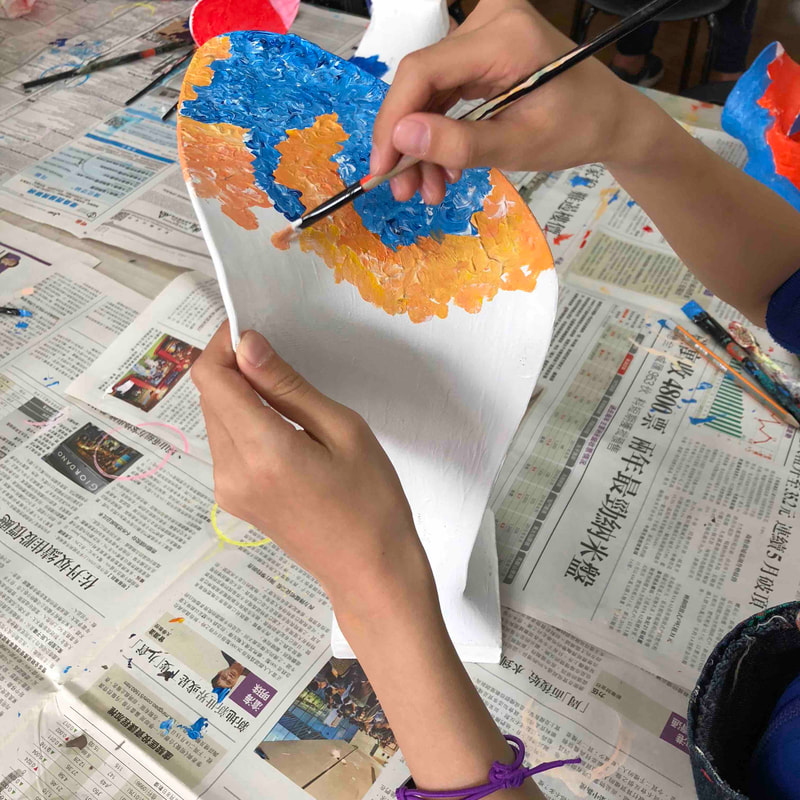
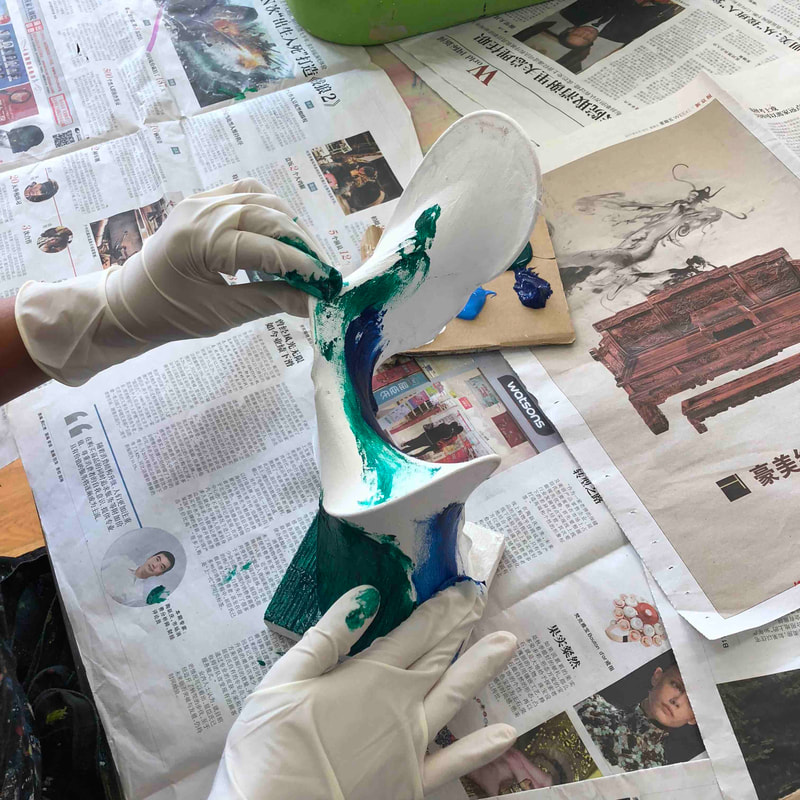
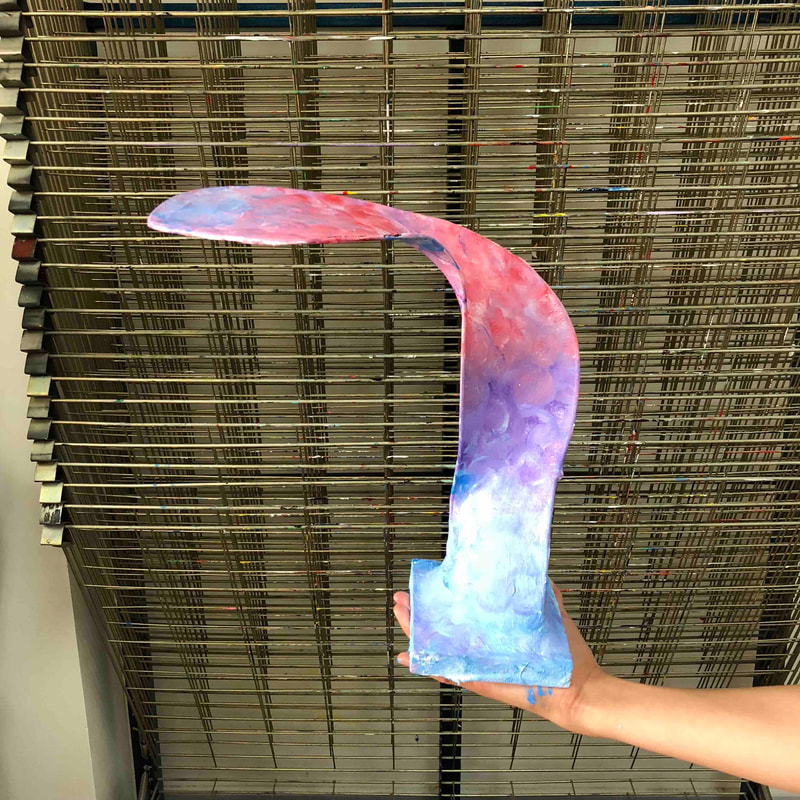
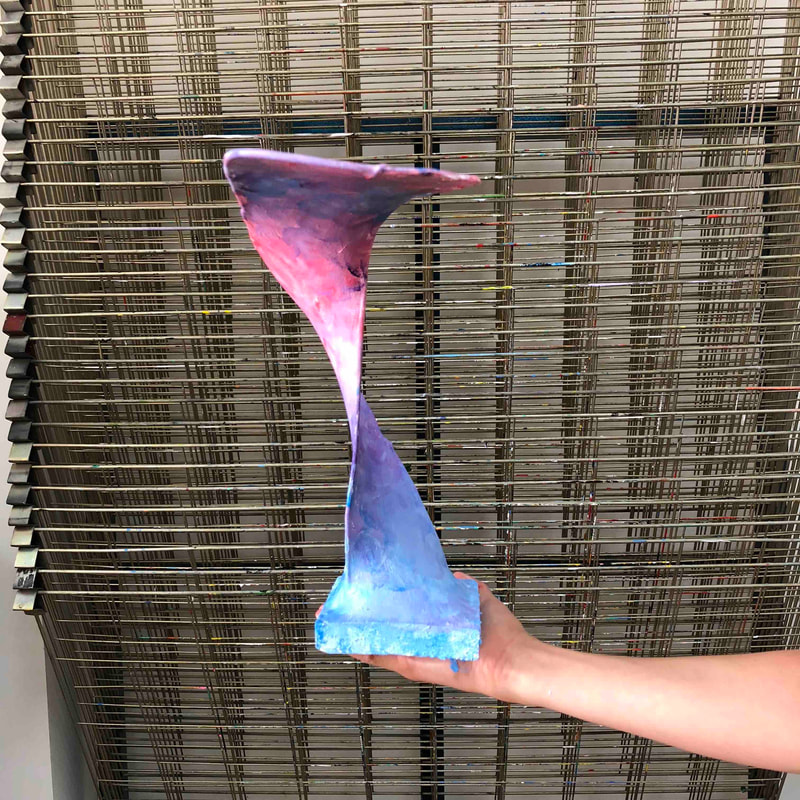
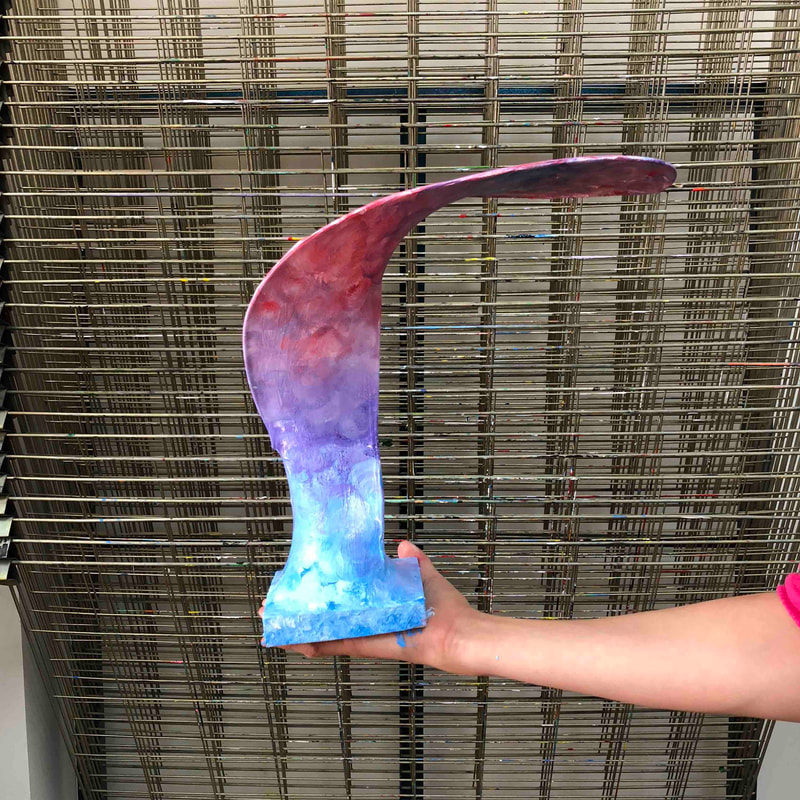
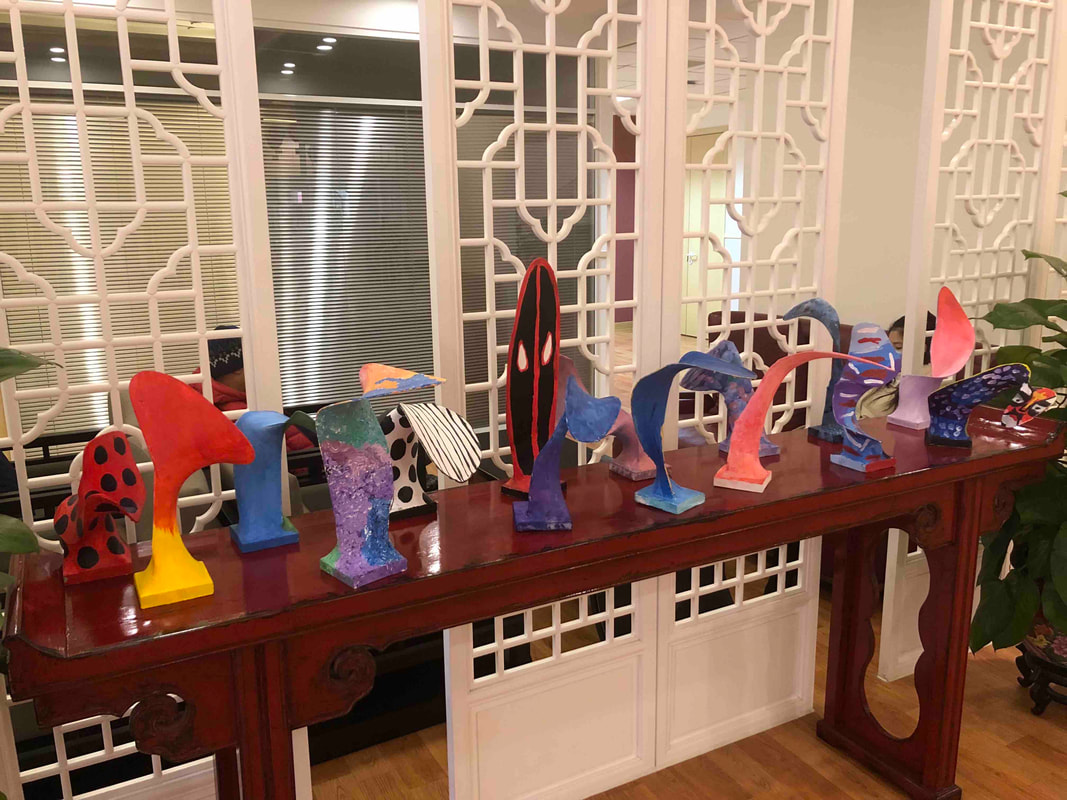
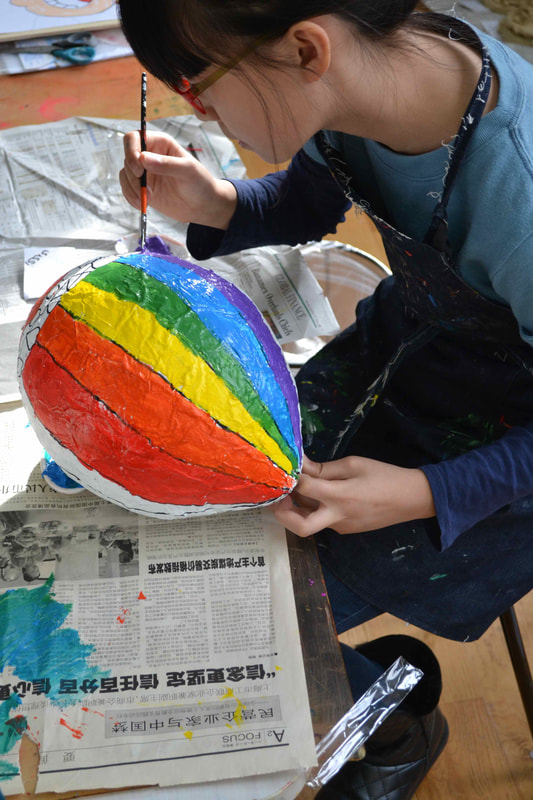
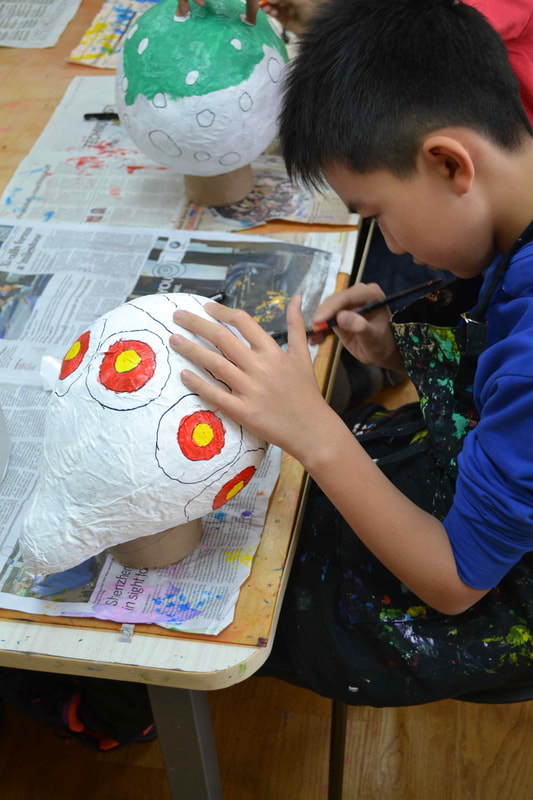
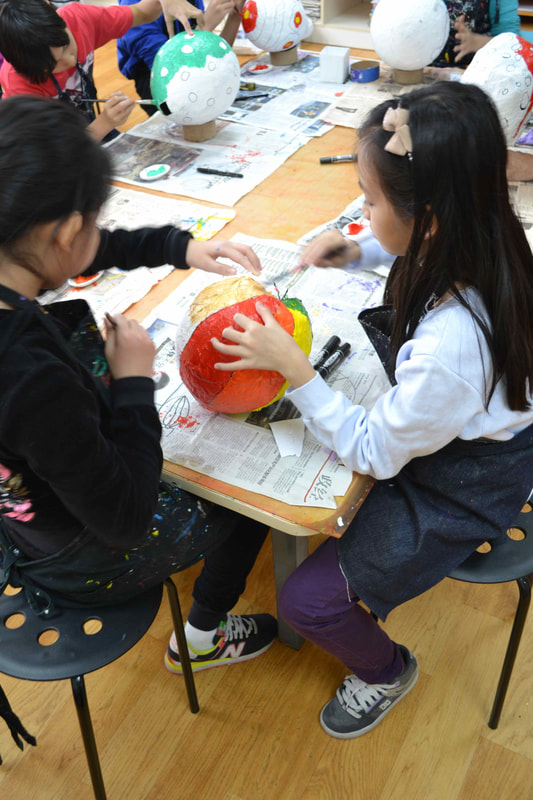
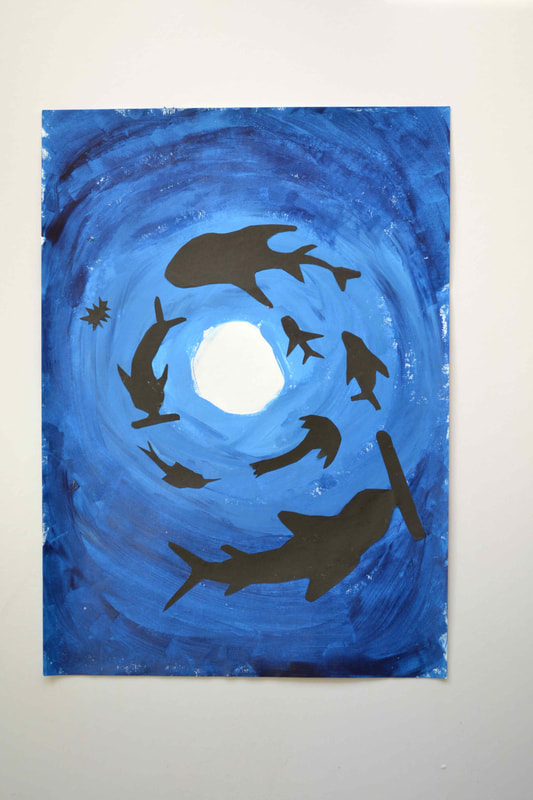
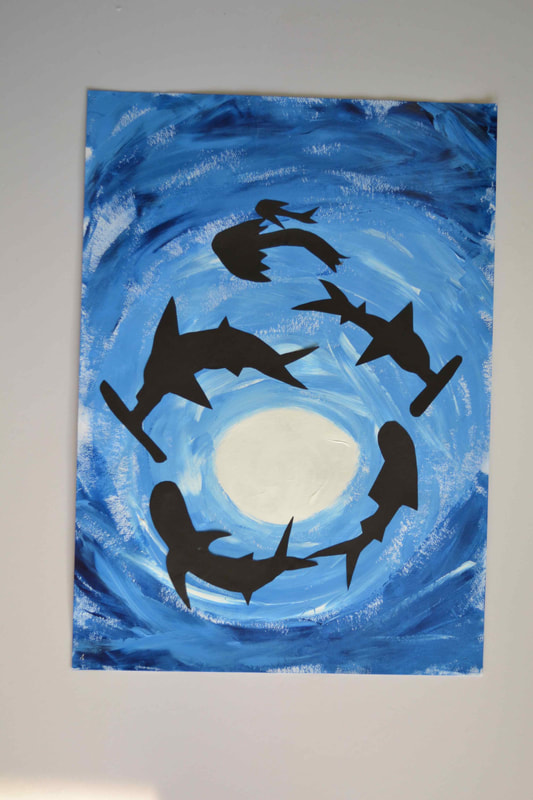
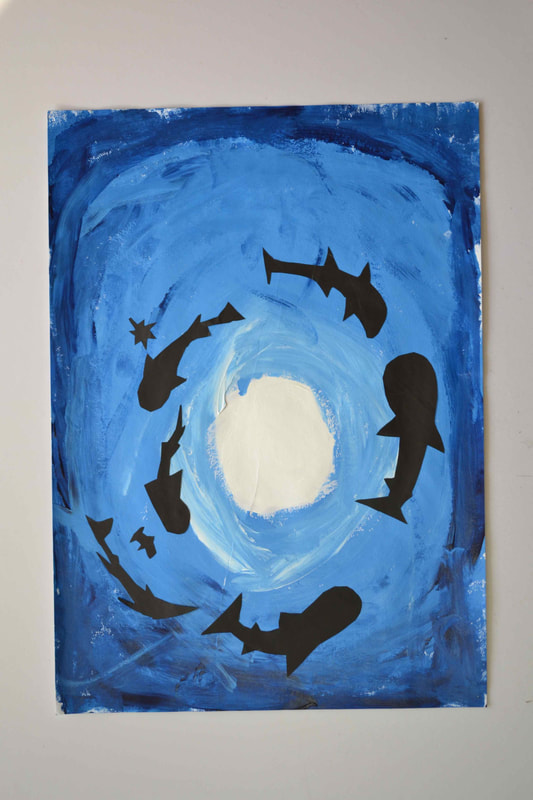
6th graders learned about the Great Seurat and Pointillism! June came up with a new art movement... Fingerism! (check the video below) Our Grade 4 students were studying the Ice Age, so we decided to transform the corridor into an Ice Cave. It's been also freezing lately, probably the coldest days we've had in 20 years here in Beijing, and feels like even inside the school. So, here's what we did: we took some recycled paper from last year's Early Human cave project and got creative. We repainted those papers using acrylic paint and sponges to give them an icy, cave-like look. Now, our corridor looks like a cool ice cave, adding a unique touch to the school environment! It's as if we've stepped back into the Ice Age right here in our school corridors. This is one of my favorite projects ever! Materials: Wood block, hanger, woman sock and acrylic paint. Here you can see some of the projects we have done during this past wild times! We were working online for at least 6 months! Today was set up day in the school, first day (without students) first week of 2020-2021. I am really looking forward to see the students! In the meantime you can enjoy some of the work from last academic year. Grade 6 started today their project about Pointillism. After discussion about the art movement itself and its biggest artist we started to work on our projects. I am truly amazed on how the students learned about the color theory and the Pointillism technique. Stay tuned for the final result (I can't wait) I was asked to create a group project for a beautiful naked wall in the Middle School lunch room. So I involved G6, G7, teachers, Admin and IT Department. The result is this fantastic mural. It was really interesting to see how the adults were way more excited than the students. Most of them came back just to thanks. I am definetly involving more Adults in future projects. 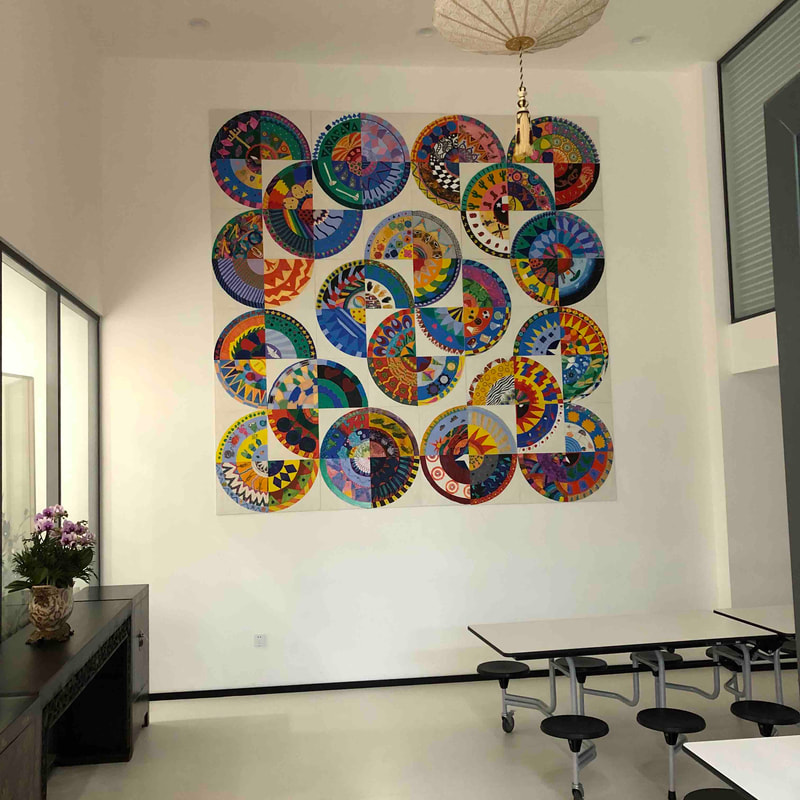 After discussing the color wheel, cool and warm colors, complementary colors, etc... we came up with these fantastic landscapes! We talked about life and work of David Hockney with our Grades 5 and 6. We had a very nice and deep discussion about art, art auctions and the art market after knowing that David Hockney sold one art piece for more than 90 million $. It is also really interesting becasue Hockney is one of the few big artist that is using iPad for creating art. After deep discussion about aboriginal art, its origings and its characteristics, Grades 4 made their very own aboriginal art piece. We played aboriginal music in the background which made the lesson quite special. Printmaking unit 2 day 1. After the first printmaking unit where we carved some foam KD board, we made some collography, where we used recycled materials again to create these plates. On the second lesson, we will use Acrylic paint this time instead of ink and watered down. Stay tuned for the final result! Grades 5 and 6 just studied the wonderful world of Pop Art and everything that surrounds it, not only art. We only talked about two of the greatest pop artists, Andy Warhol of course and Roy Lichtenstein, one of my personal favorites. Our Grades 3 got to know a bit closer the great Van Gogh. After discussion about his life and work they ended up painting these wonderful chairs. For some reason "Bedroom in Arles" was the favourite work from the genius. Kandinsky inspired school wide collaborative project. We got teachers and students involved. After talking and discussing about V. Kandinsky and his colour game we watched a video that shows the life and work of the artist. Depending if student was younger or older age we played one or another video according to the age. Interest fair is coming soon! Lena is working on something quite cool... Can you guess what is about? Stay tuned! Romero Britto inspired all our sixth graders to create these wonderful art works. Romero combines elements of Cubism, Pop Art and Graffiti painting on his work. His lines are very bold and he likes to use very bright colours. We talked about his life and work and after discussion we made these master pieces. Recently we studied about Still Life with our Grade 1. Every year students themselves design a different set up like fruits, vegetables, flowers, art suplies... After discussion about what is Still Life, origins, techniques, etc... they get create their own Grade 3 studied the artwork and technique of the Leroy Niman. We decided to use acrylic paint. Leroy is well known for the use of amazing colours on his paintings. Each grade 3 came up with one wild animal to make on Leroy's style. 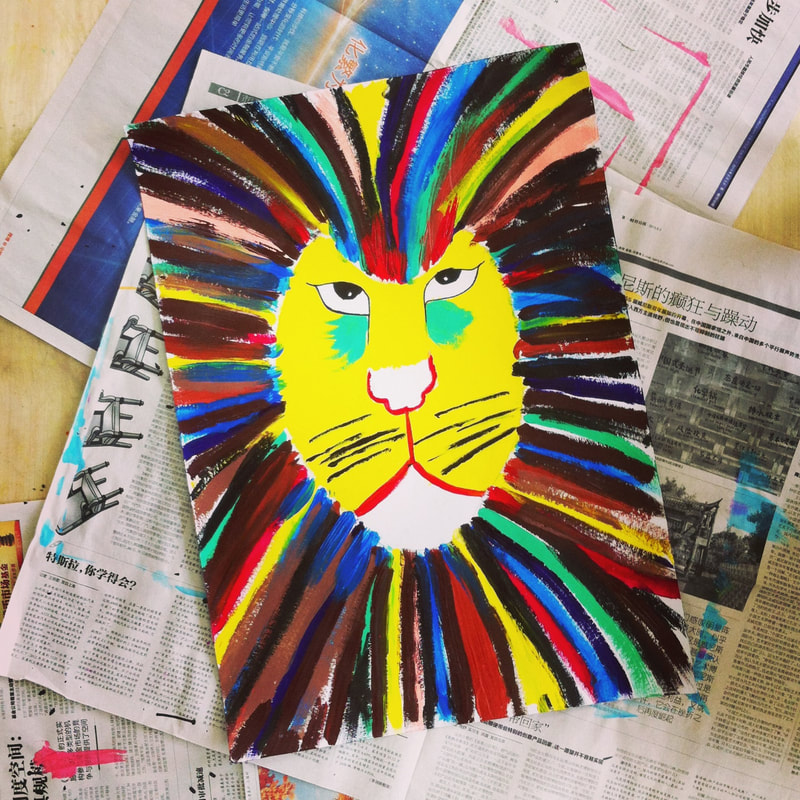 We have Zhong Guo Xin Nian around the corner and this coming new year will be the year of PIG. So we got many different projects going on related to pigs. This is one of them. We made a paper mache flying pig. The main materials used to make the body are used newspaper, plastic bags, toilet paper rolls and masking tape. Once the whole body is built, students cover it with more newspaper stripes impregnated with the paper mache paste. There was one student that really wanted to make it in a different way, not using paper mache but cardboard boxes. He used many different types of boxes and manipulated them to make this amazing pig, his tail can even move! and it's not even half finish. The following lesson teachers painted all in white just to use the time wisely and don't waste a lesson by tghe students. After pigs are painted in white they will design and paint their very own one. Paper mache, one of our favorite techniques! You basically can make anything happen! This time we made a hot air balloon. Unfortunately, I couldn't take any picture of the process because it got quite messy. Basically, we had ready beforehand the paper mache paste and enough newspaper stripes. 2 or 3 layers of wet newspaper stripes on the balloon and few days to let it dry. The coolest part to pop the balloon once the newspaper was dry... Once the balloon is dry and popped we paint it white, so on the second lesson students will have the balloon white, dry and ready to paint their very own design. Our Grades 5 & 6 have been working on a paper mache project. They first designed what they wanted to make on a KD board structure, assembled and then messiness started! We applied our paper mache secret formula on the structure with newspaper stripes (if anyone is interested in the secret formula, just pop by the art room, we will be very happy to share it with you) Next and last lesson was to paint it all. We got letters, numbers, shapes, logos even some book characters! Our Receptions children learned a bit about Mondrian and his artwork, his shapes, his colours, etc... We also found this great video for "introducing" his work a bit more in a different way. After little chat and picture display of Mondrian artwork (they loved his work by the way) we played the video, it was a fun end. So after the video we are all ready and excited to start working on the project! Here you can see the master pieces. Cut and glue skills under control! Day 2. They used any tool they found in the art room to paint their sculptures. Brushes, hands, sponges, stamps, toothbrushes... anything! Some of them decided to create beautiful textures with the paint itself, others just a flat layer, blend the paint, etc... Check all the pictures below and if you have any question about the whole artistic proccess, please leave a comment below in the comment box and I will reply to you as soon as possible. Grade 4 made these hot air balloons of paper mache. We first blew a balloon, they made the paper mache paste. Basically flour and water on the right proportion, we have a little advice for you to get the perfect paste, perfect stickness (if you wanna know just leave a comment below and I will reply happily). Then newspaper stripes, dip them well in the paste and then one by one paste it to the balloon. One problem you might find is how to store the wet balloons, so you have to be ready in advanced. I can also give you couple tips that worked really well with us. We talked with our Grade 2 about tints and shades and we ended up with this amazing views of different sharks and other sea creatures. We basically used, blue acrylic, white and black. Also some black paper to cut out the silhouettes (I love the hammer head sharks) |
Positive, Creative Space.
Archives
December 2023
|


 RSS Feed
