|
We found this superfun book (actually our fantastic librarian did) and we created this 2 lesson project. Day 1: We read the story, painted the background and the paper that we will use to make the rabbit. Next lesson children will retrace some stencils of the parts of the rabbit, cut them and assamble them all (check day 2)
0 Comments
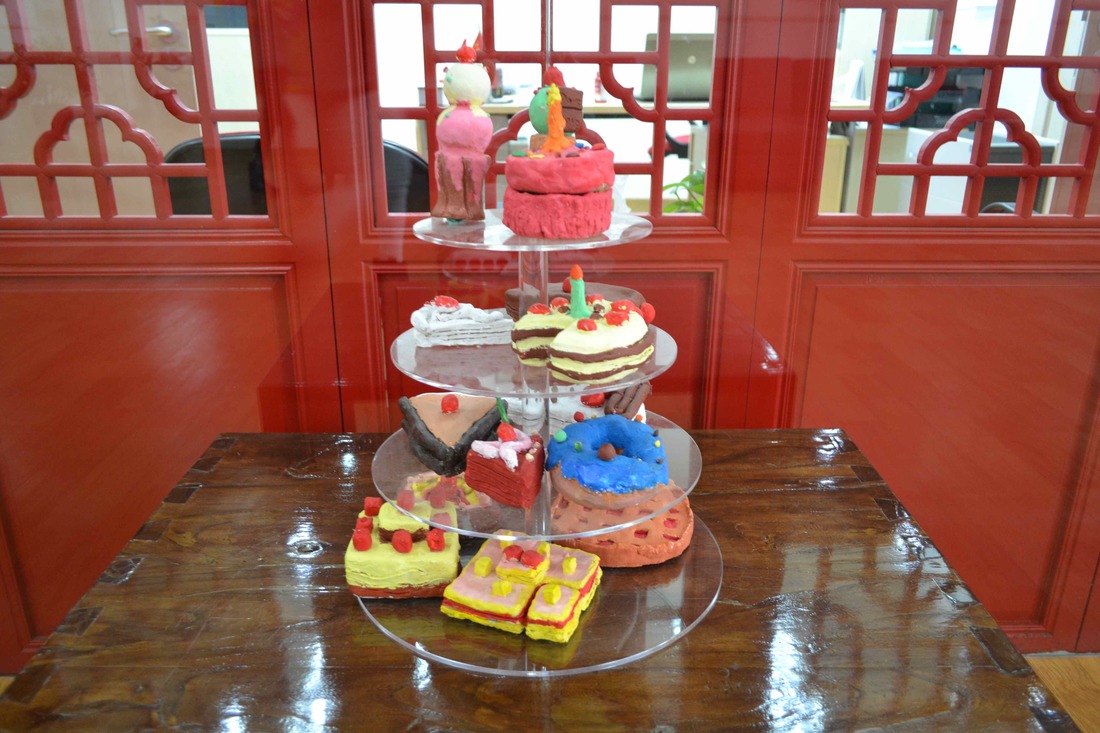
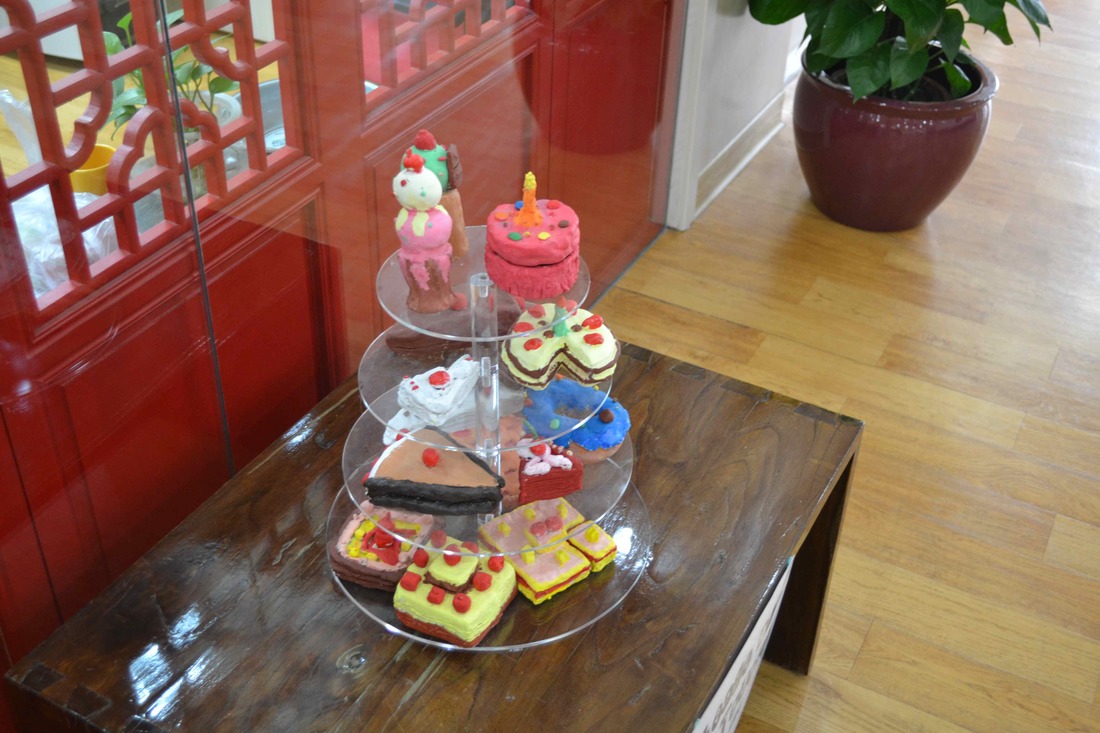
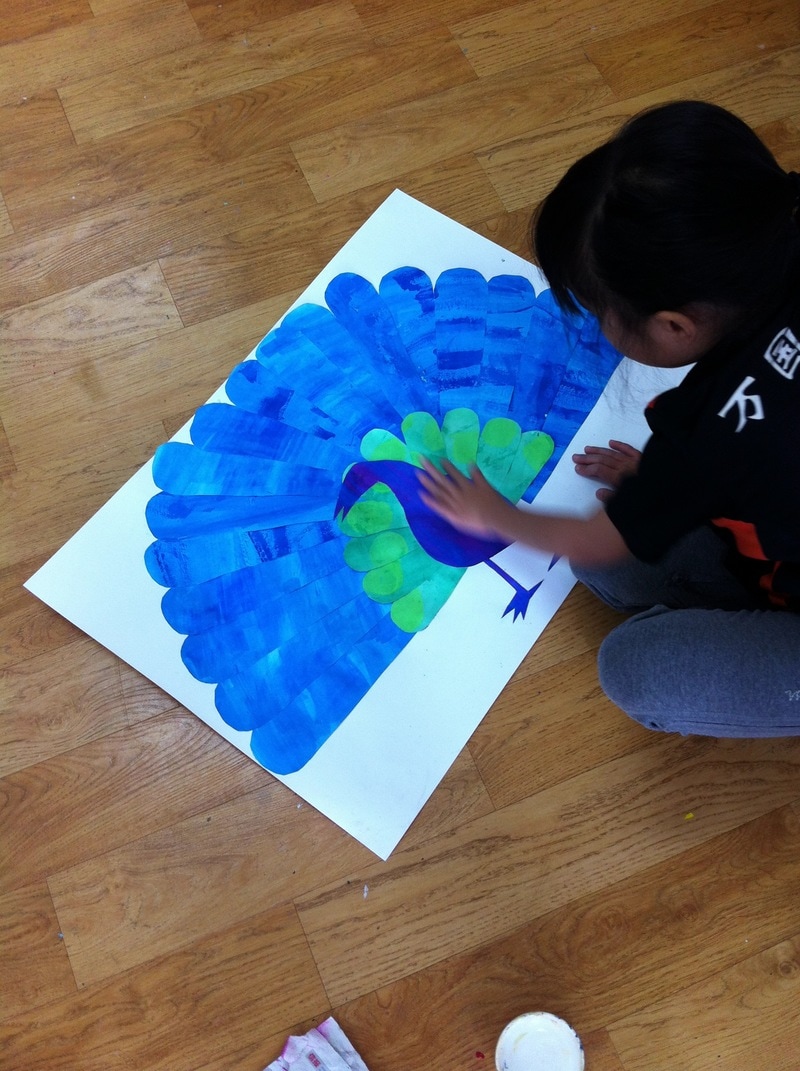
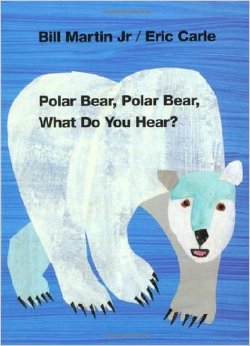
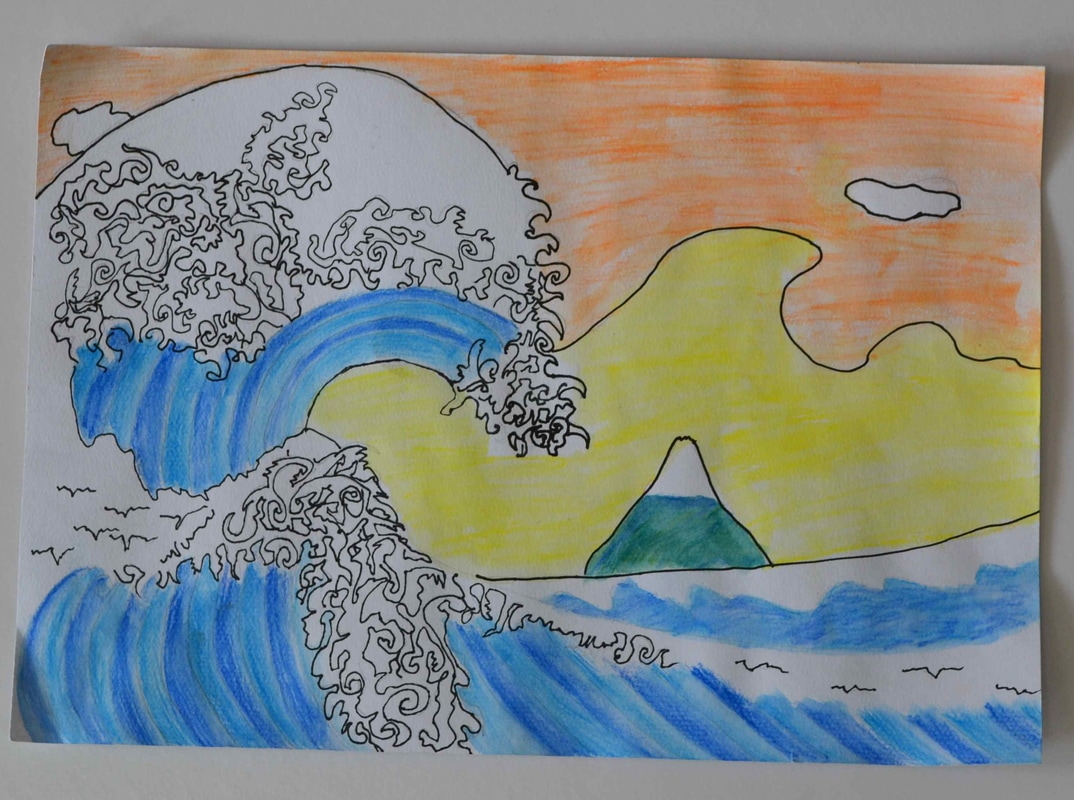
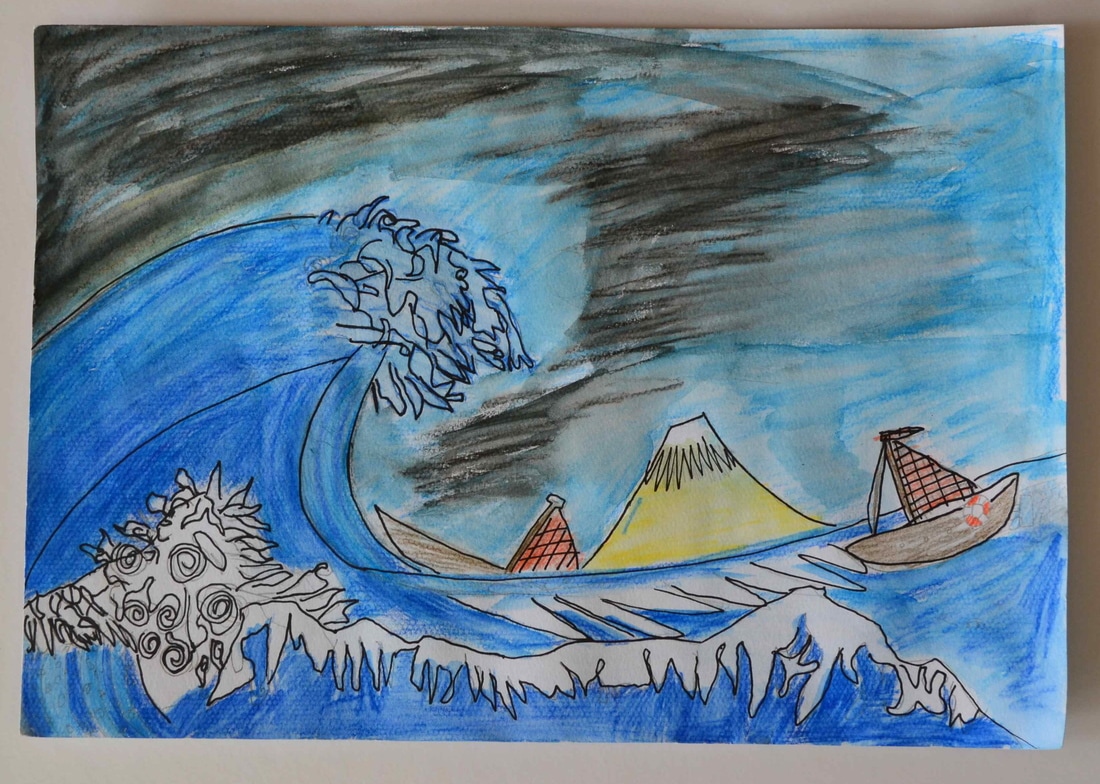
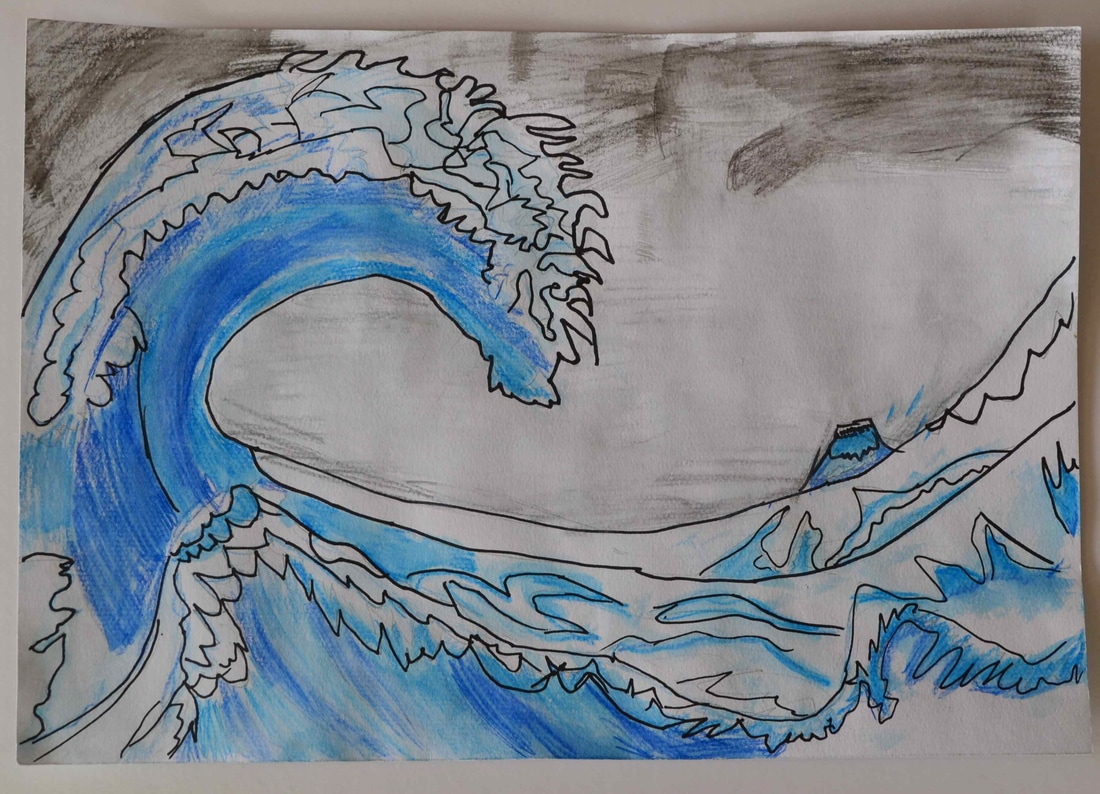
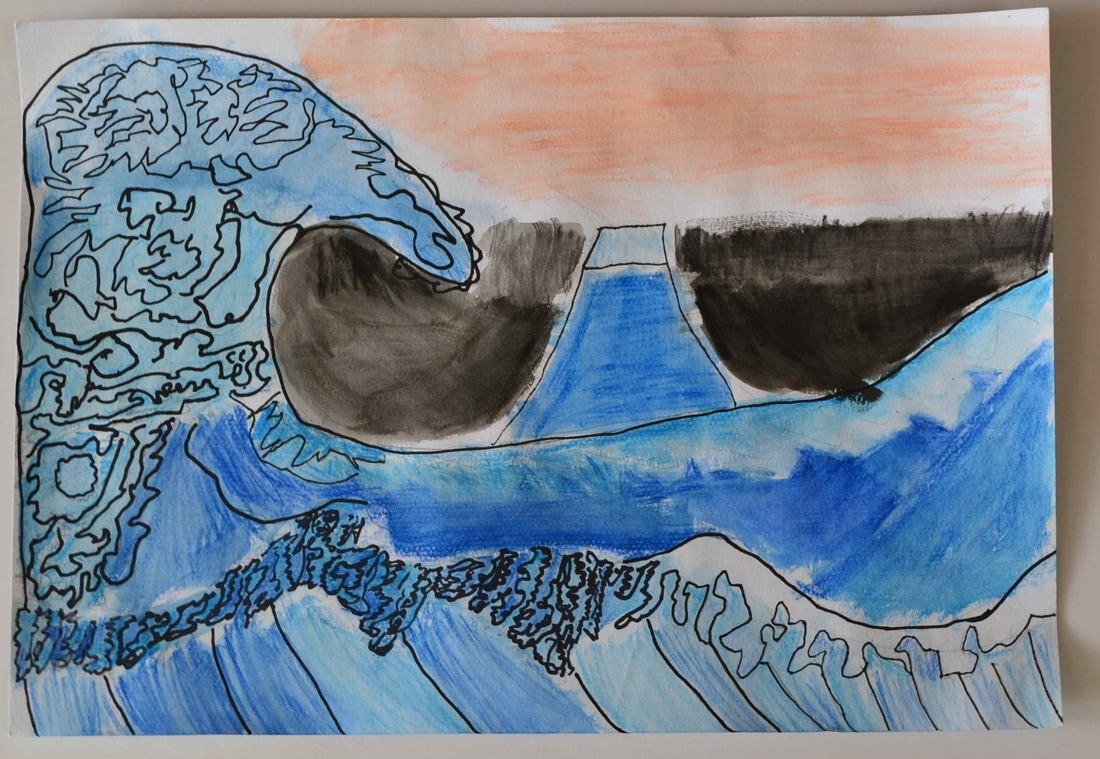
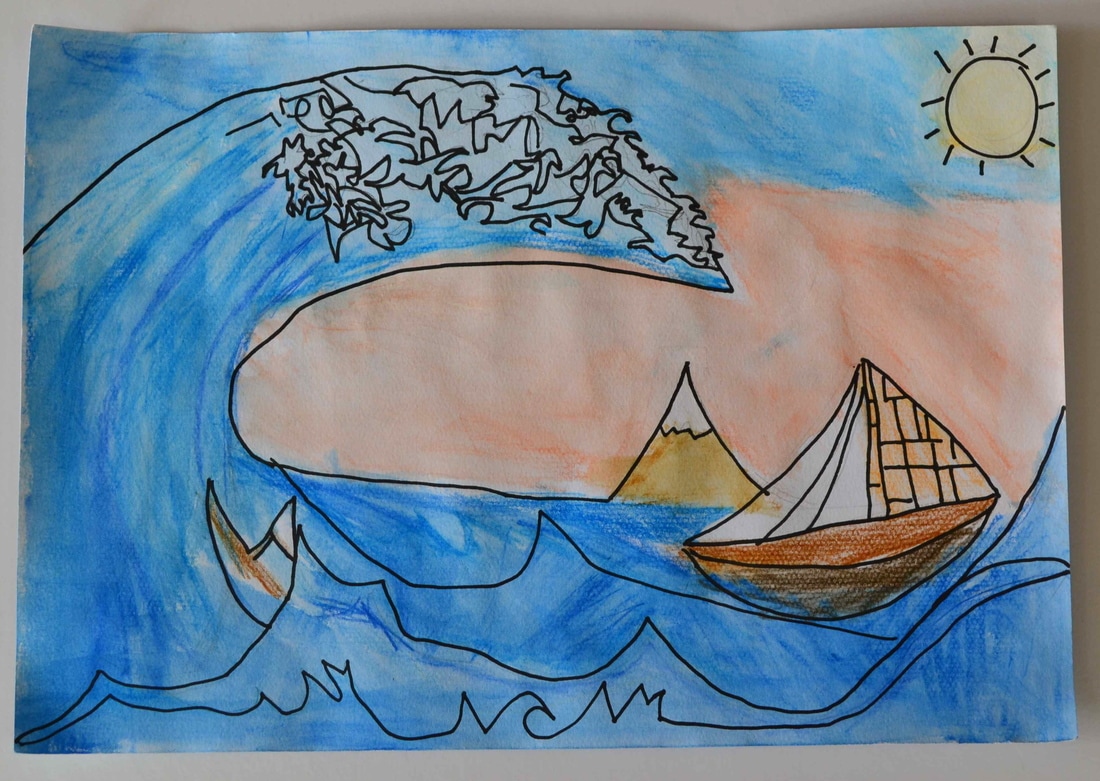
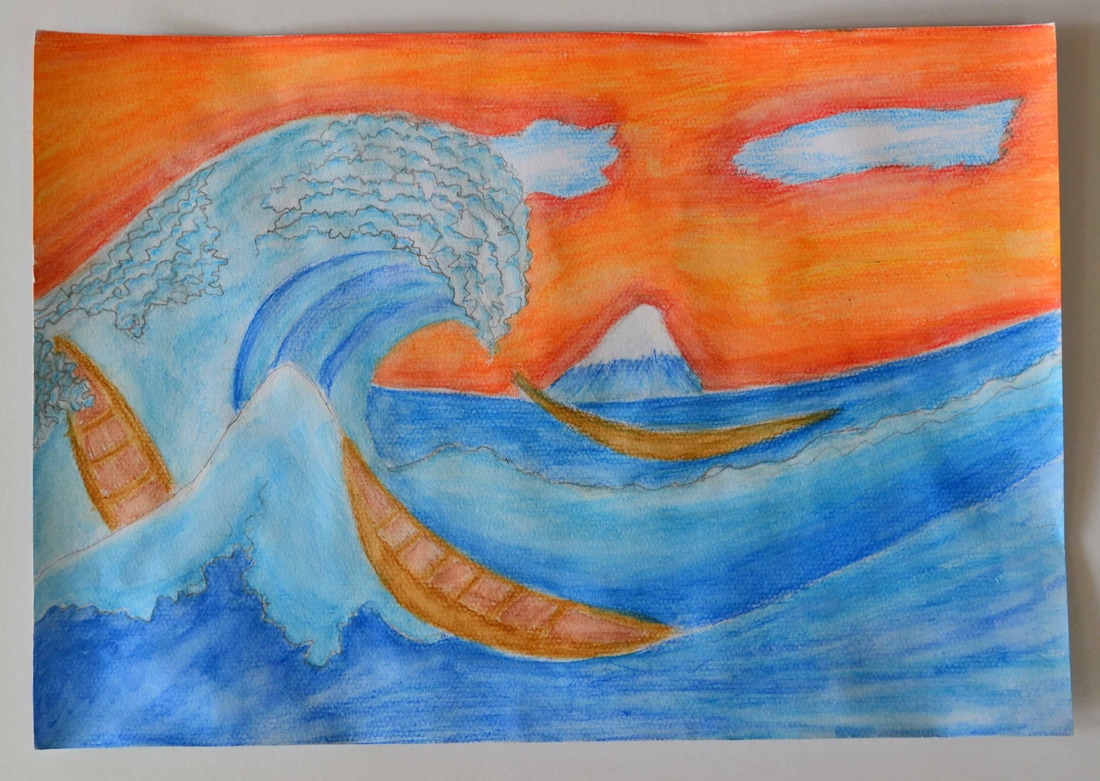
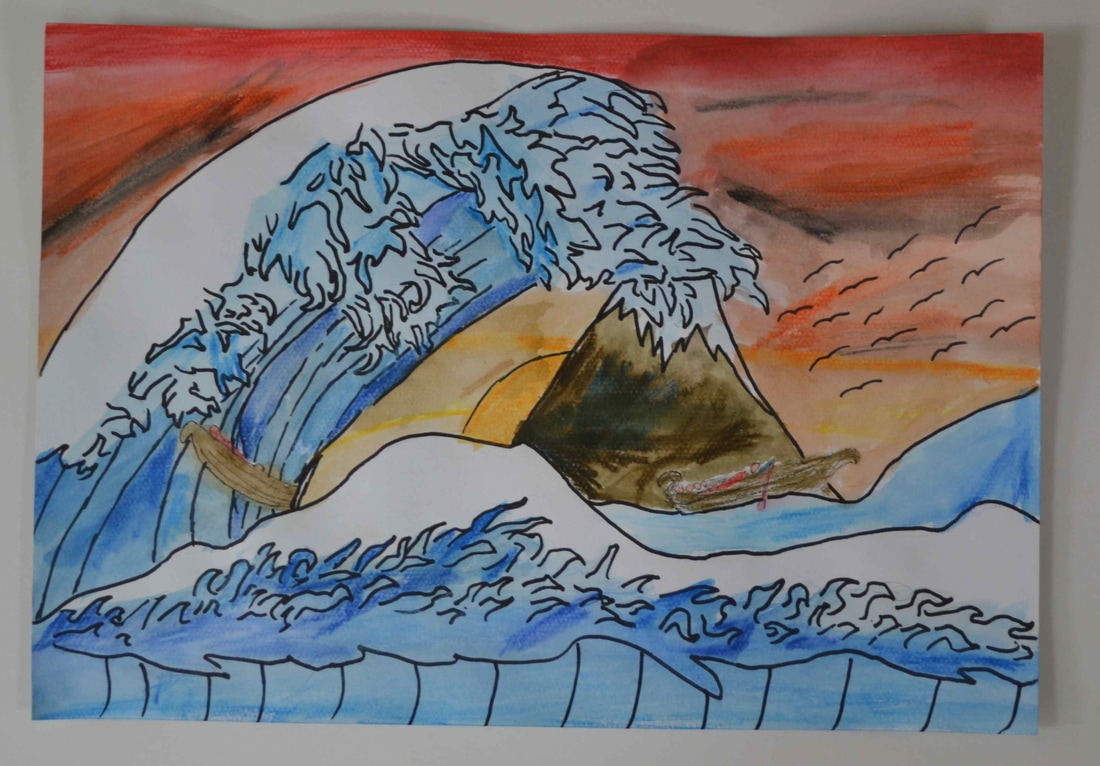
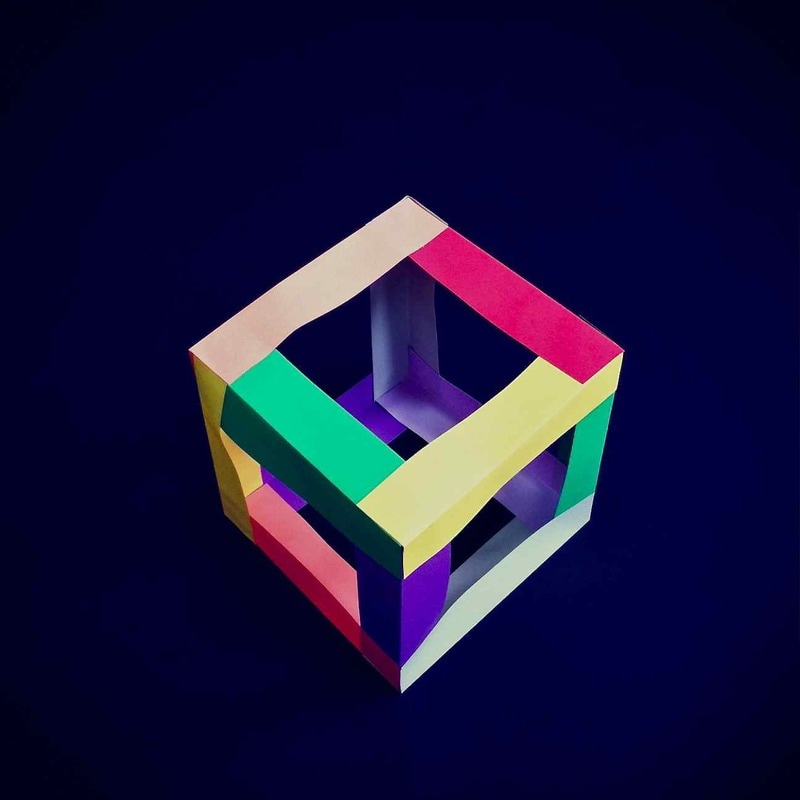
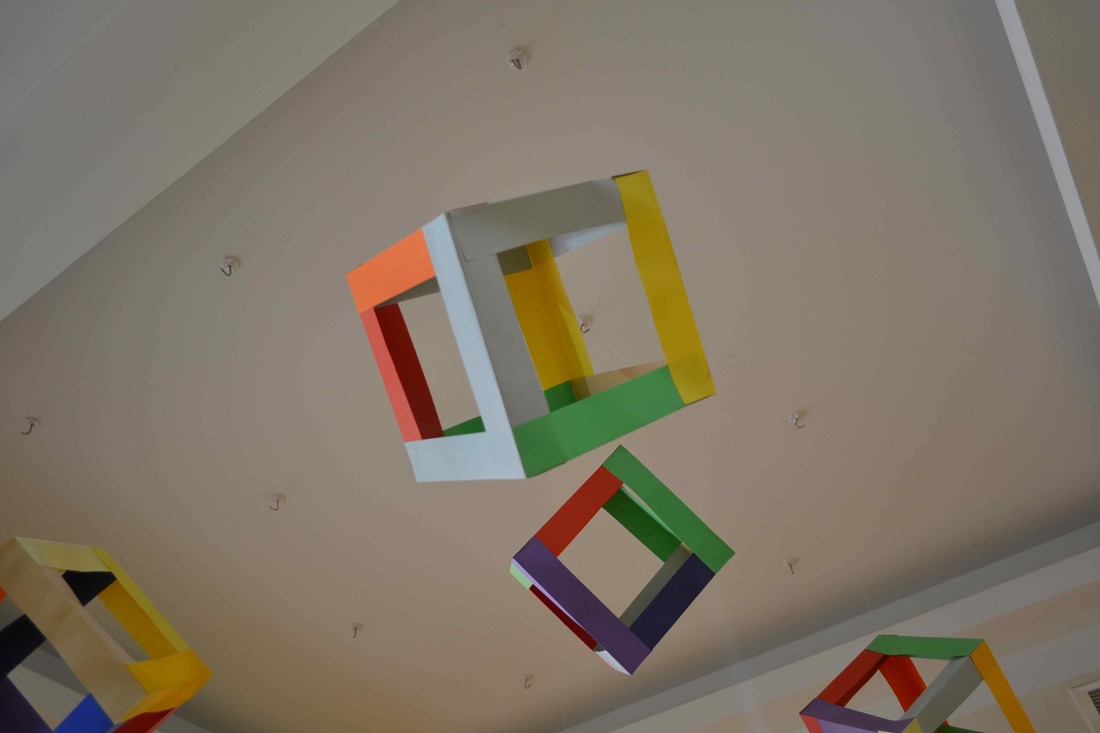
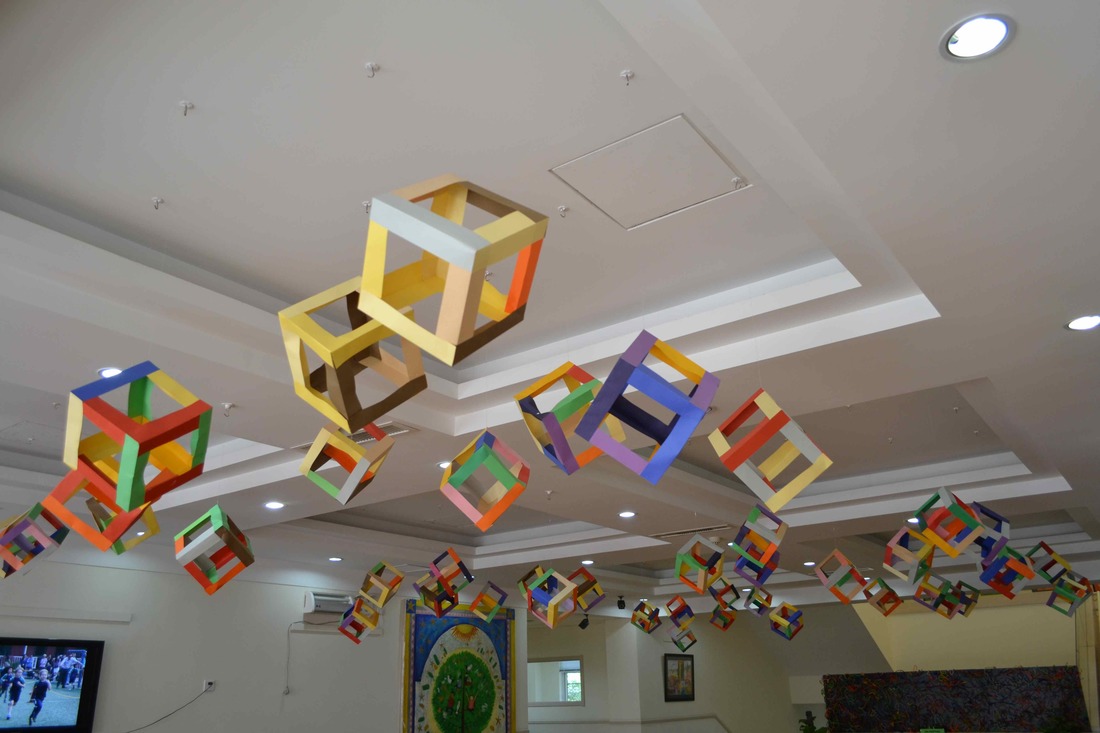
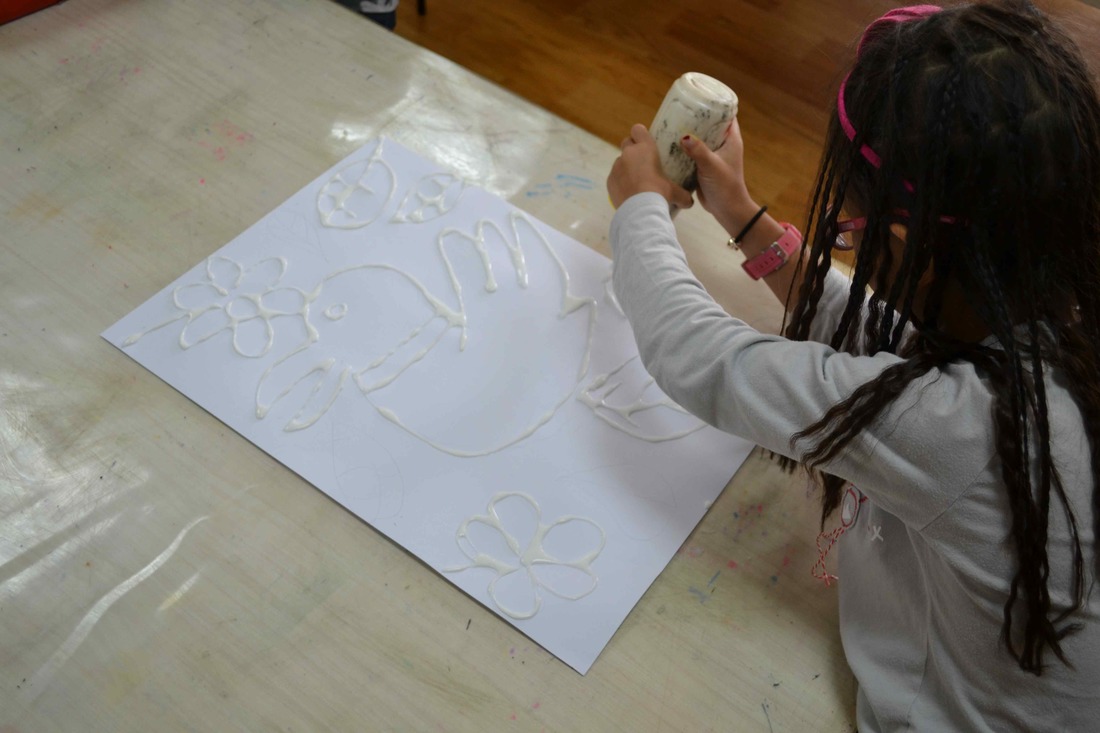
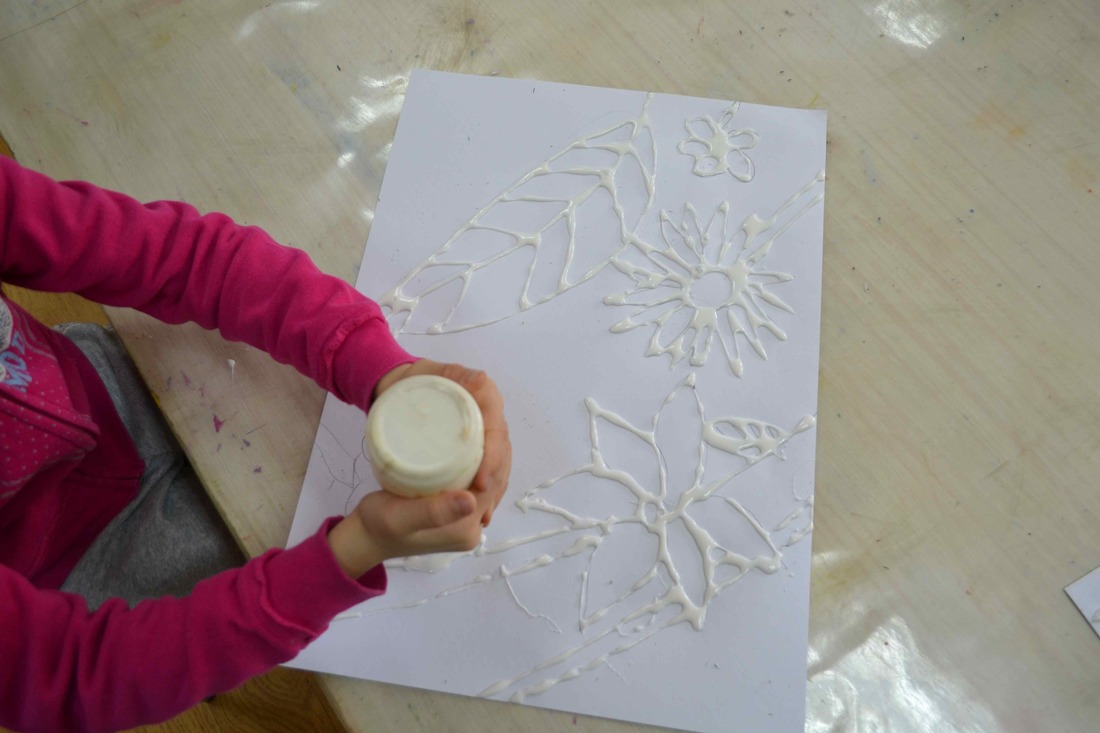
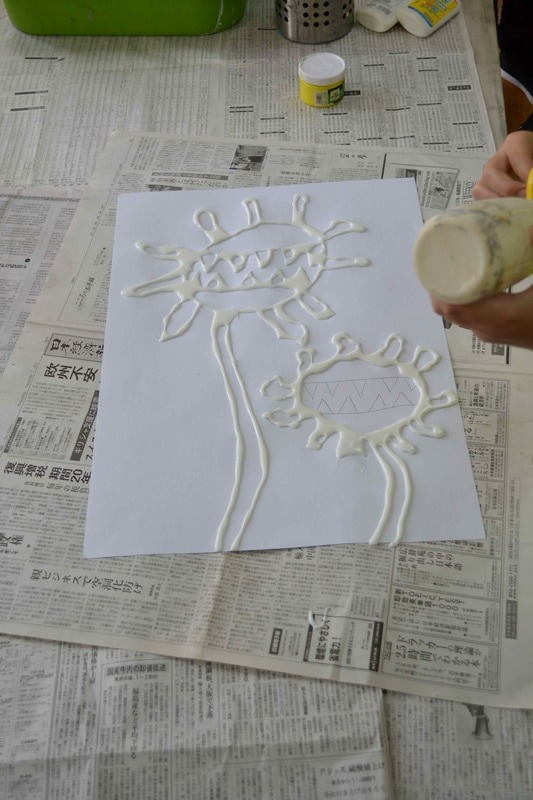
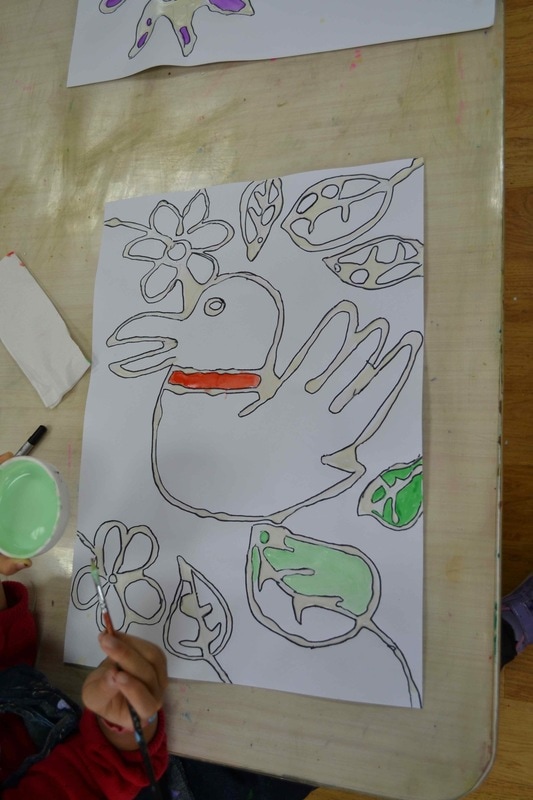
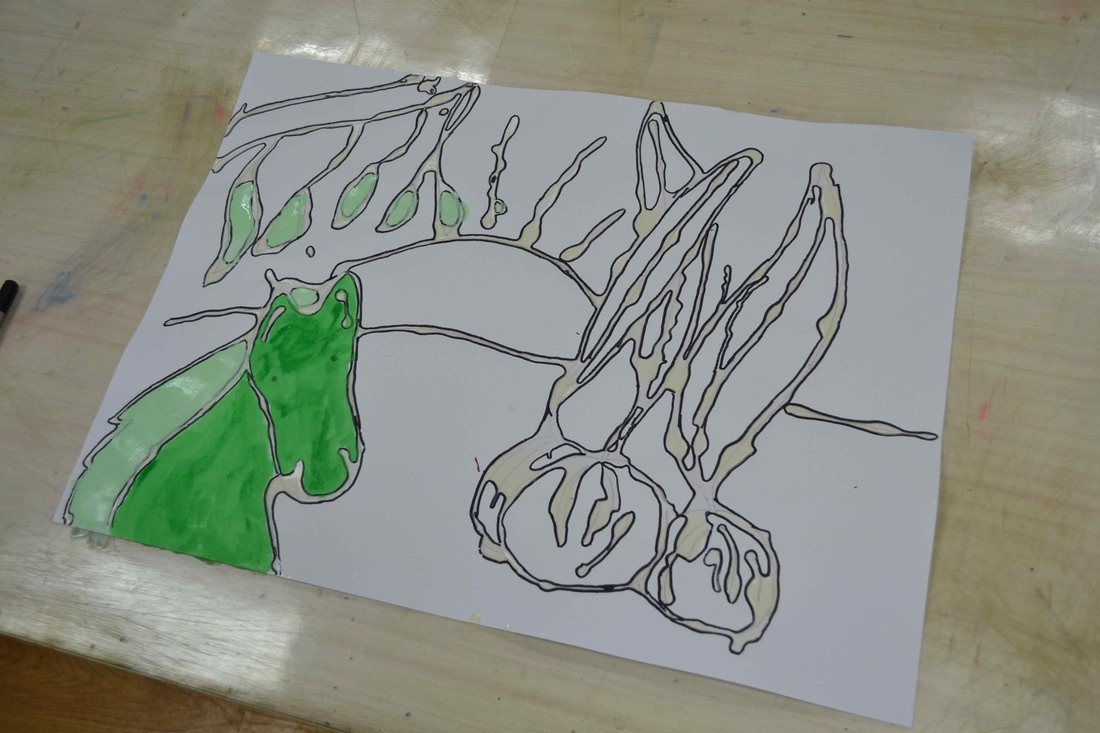
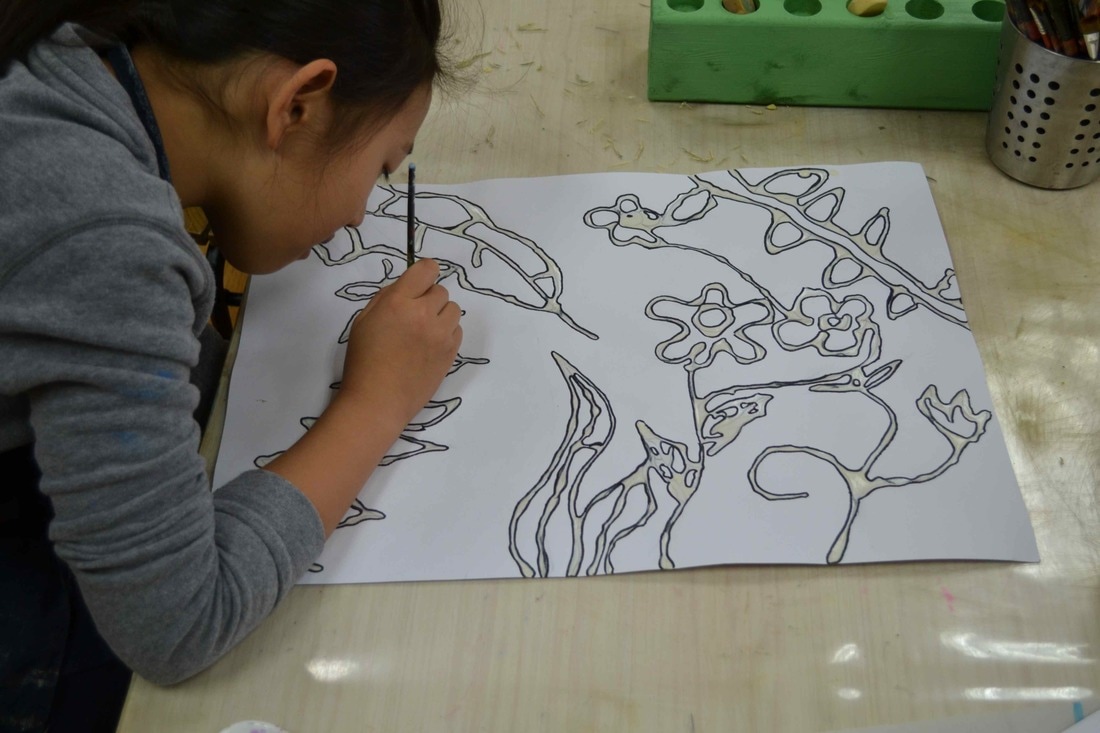
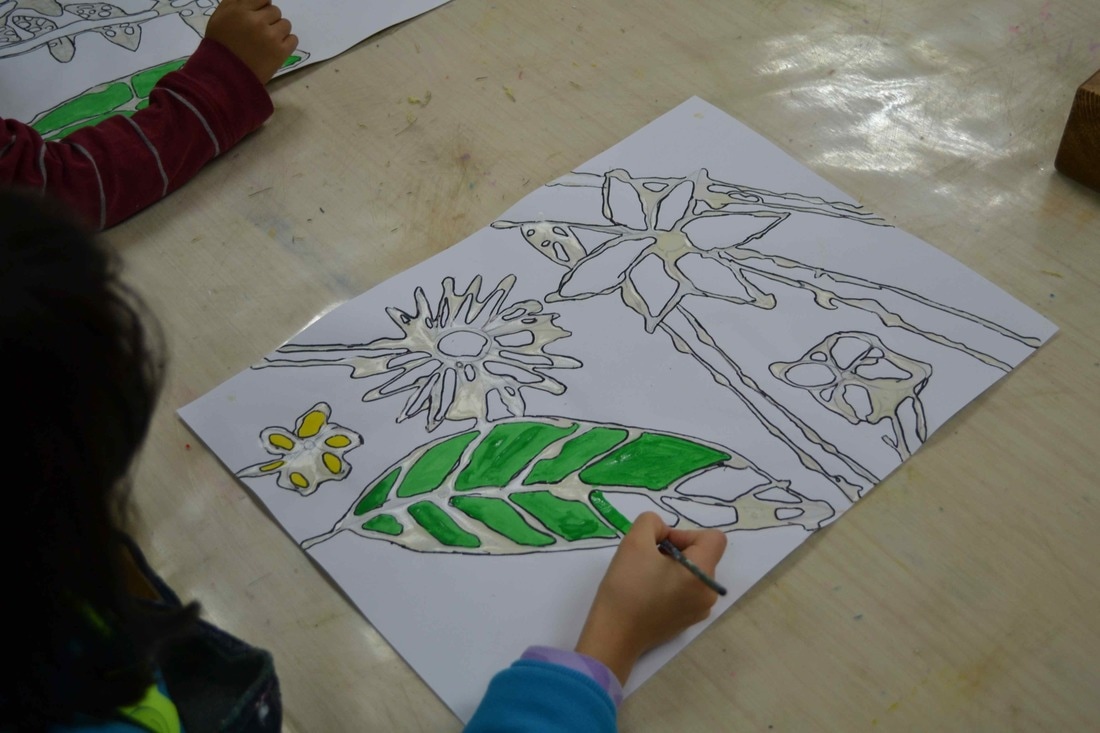
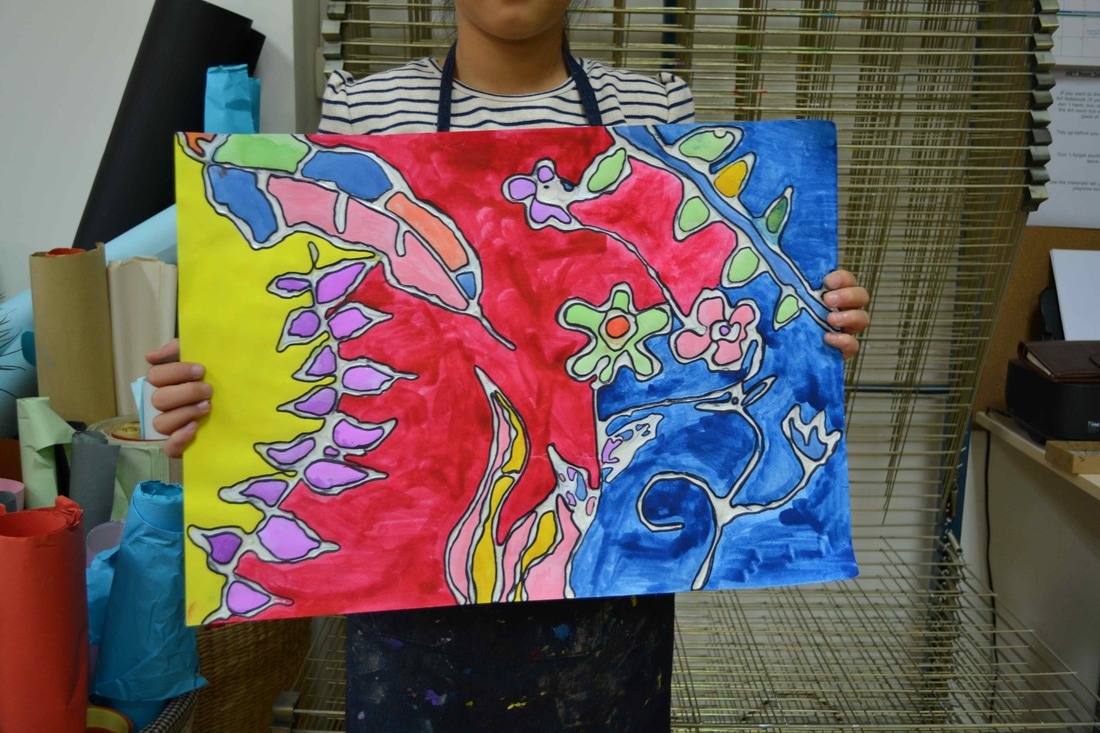
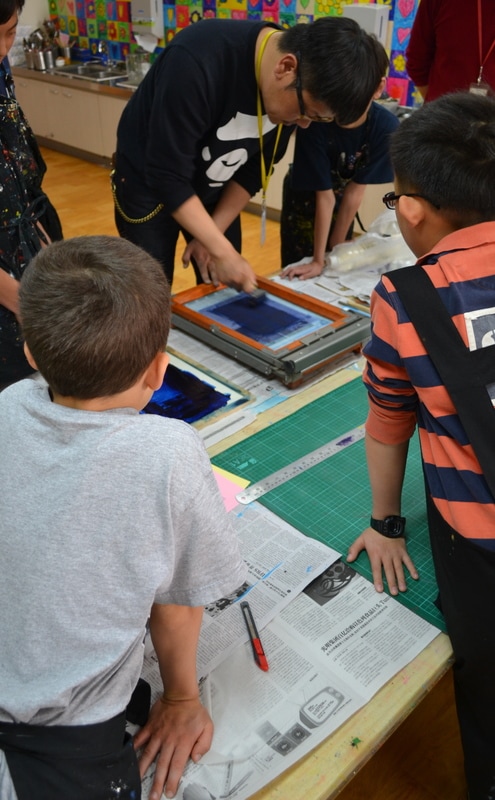
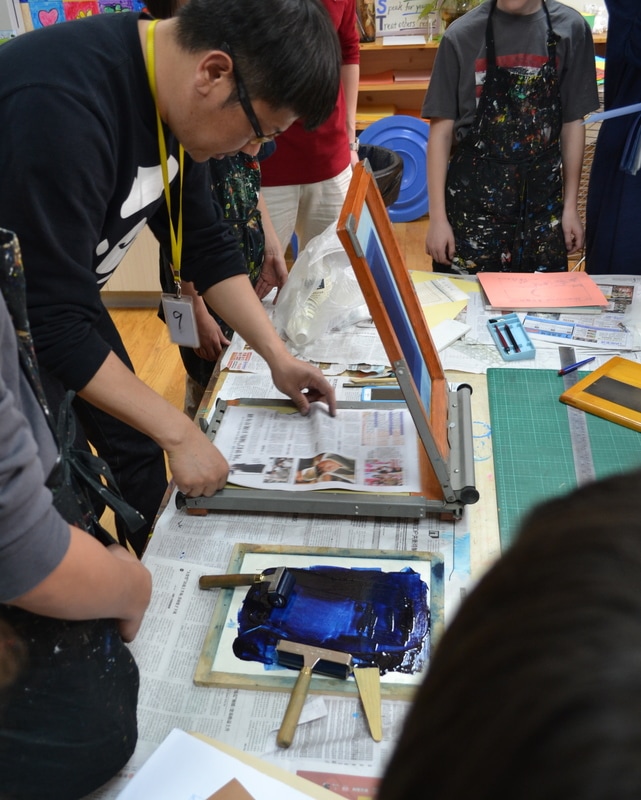
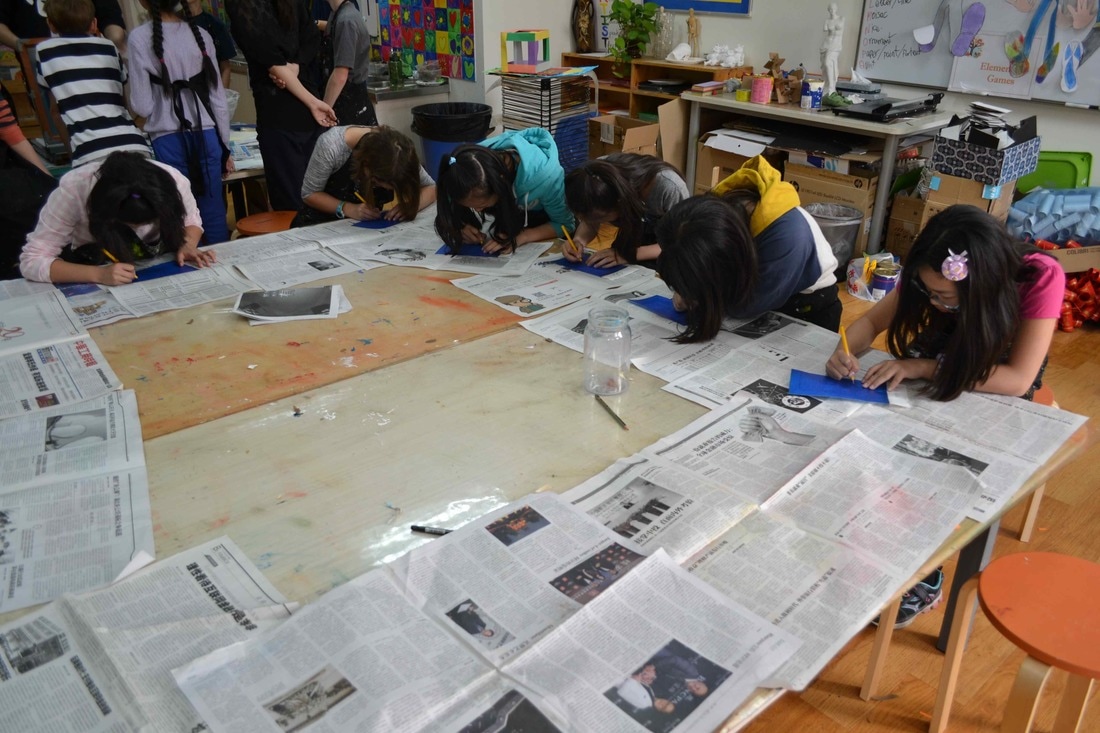
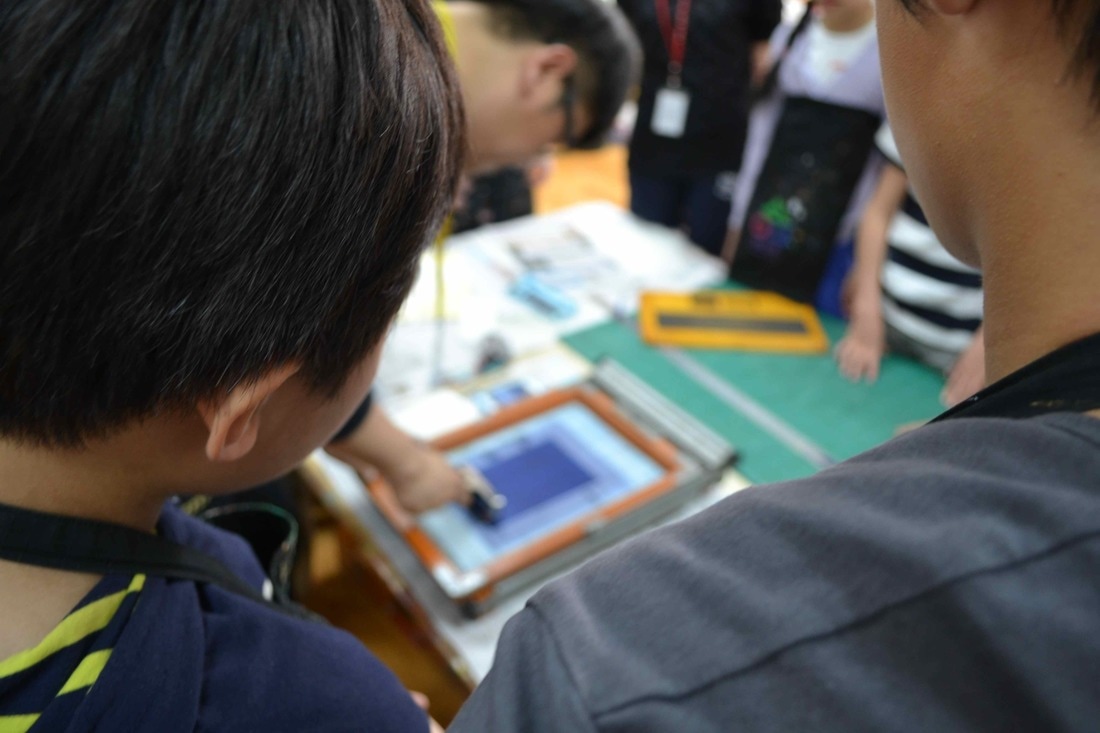
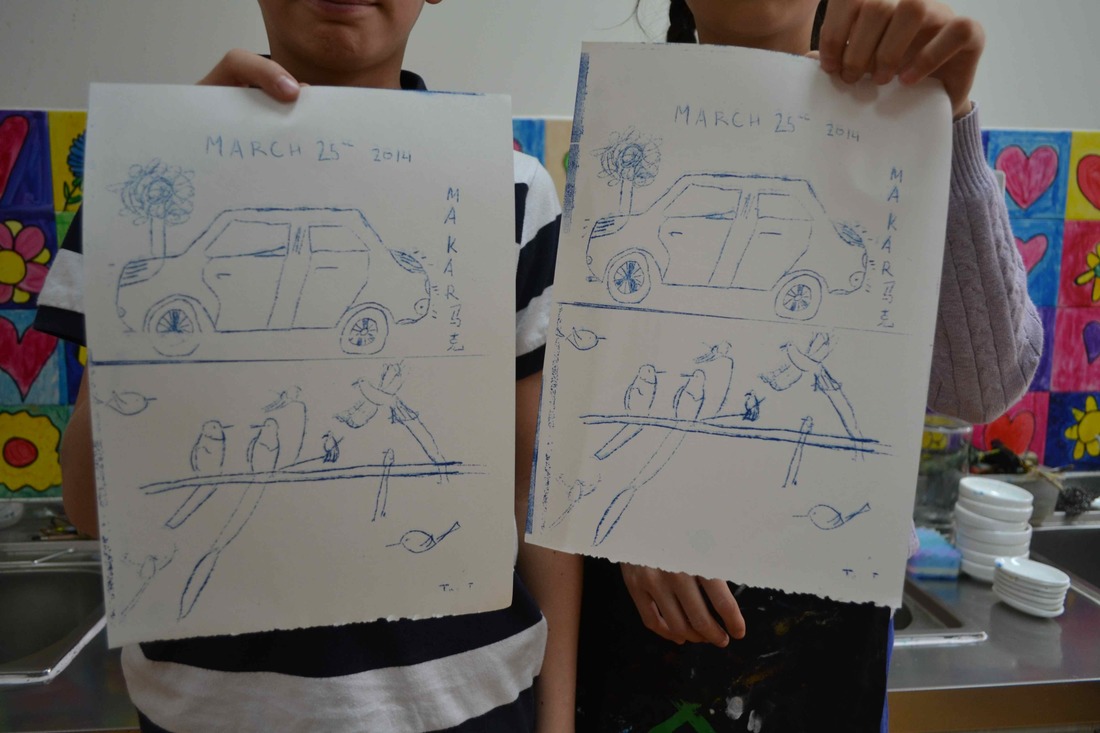
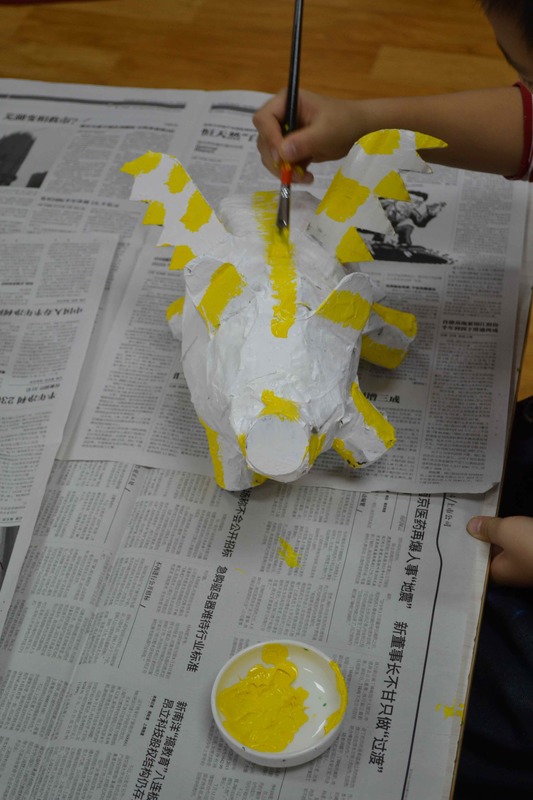
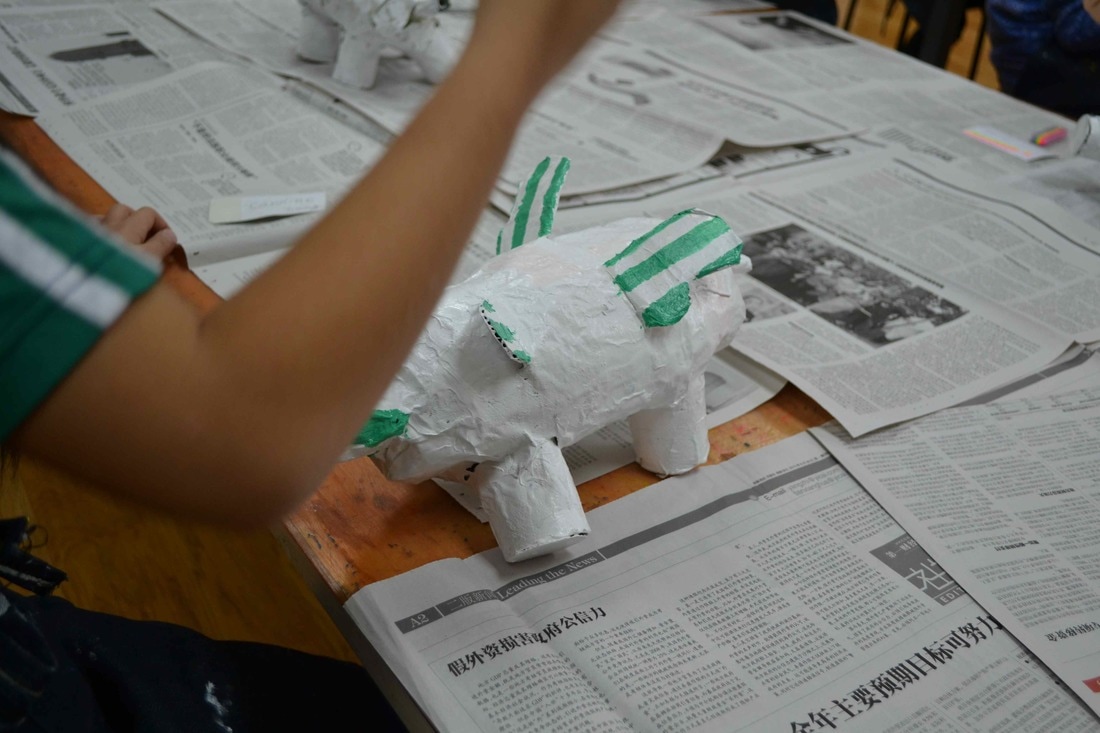
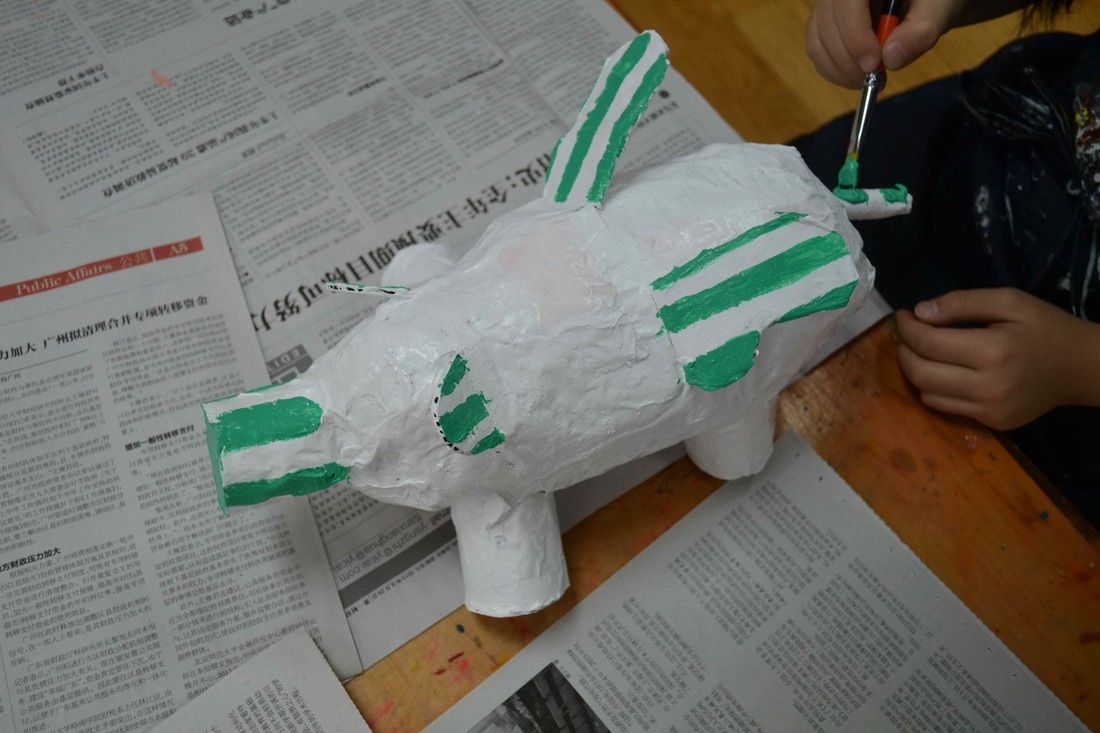
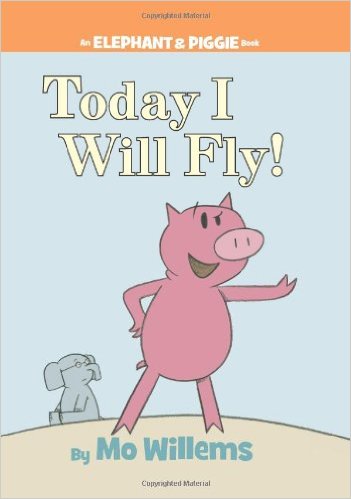
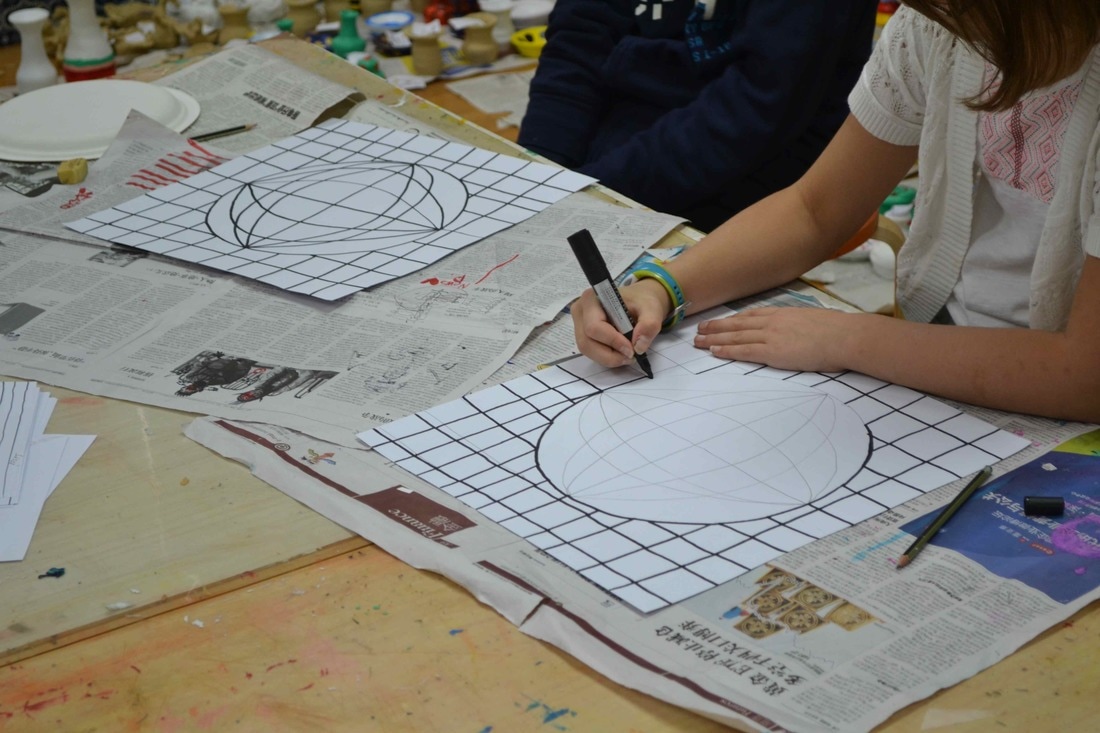
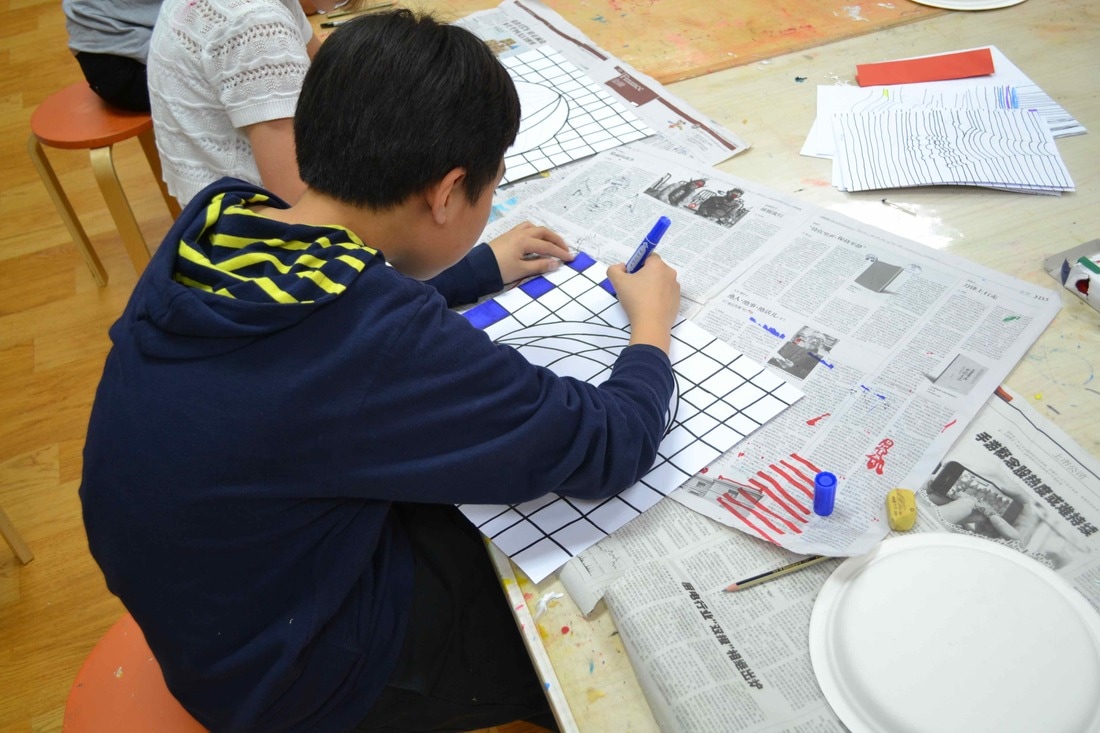
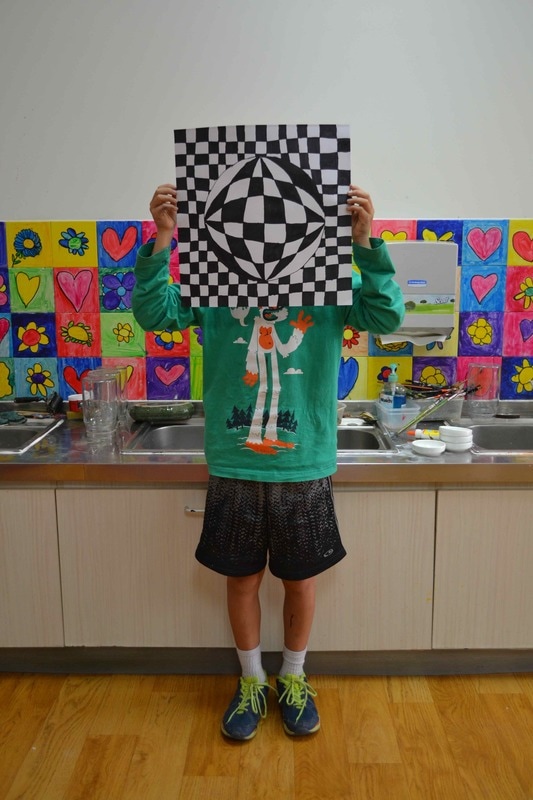
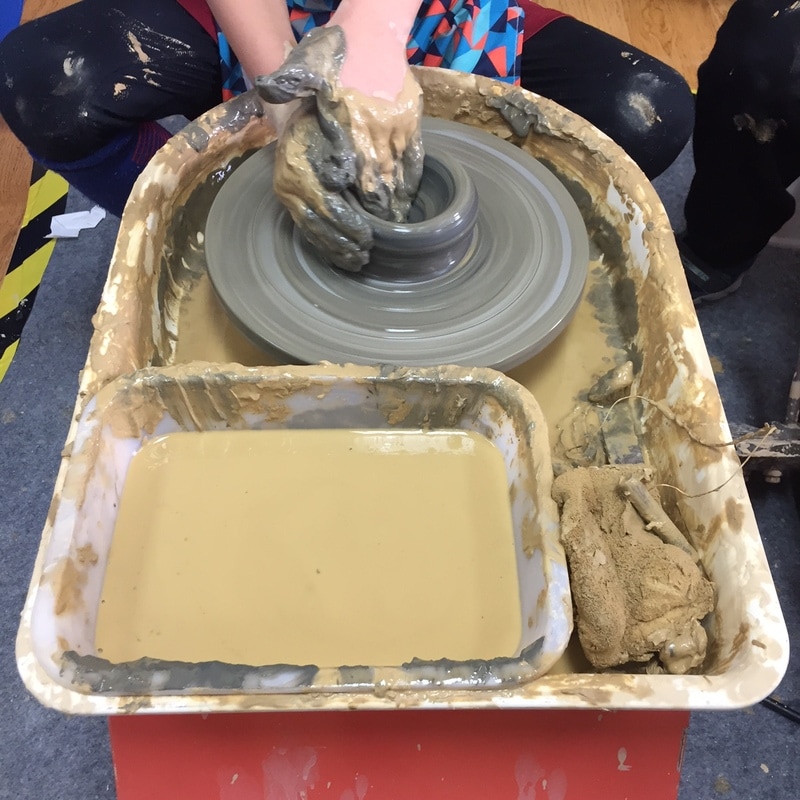
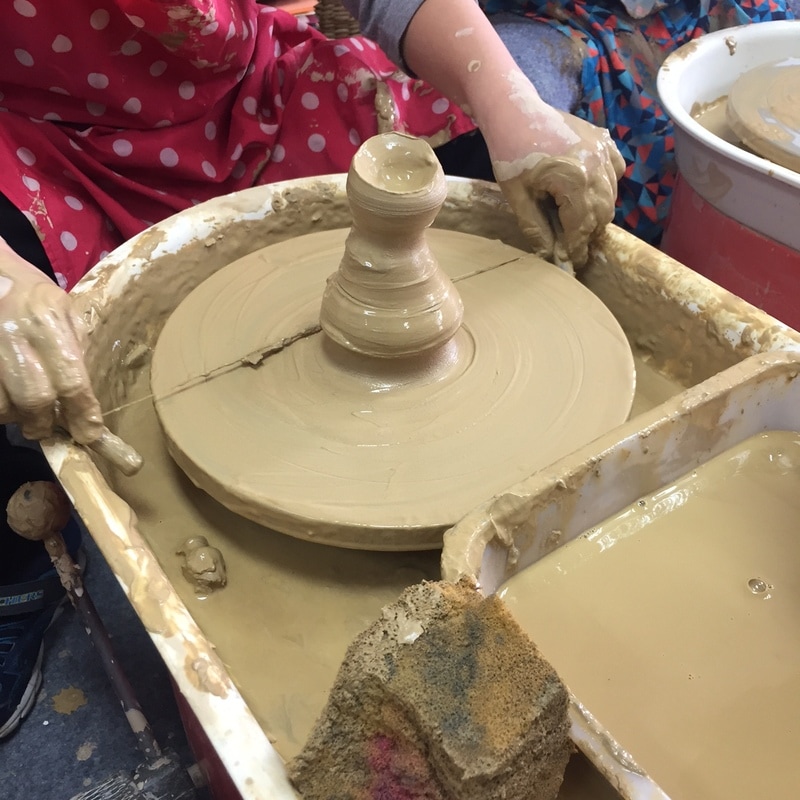
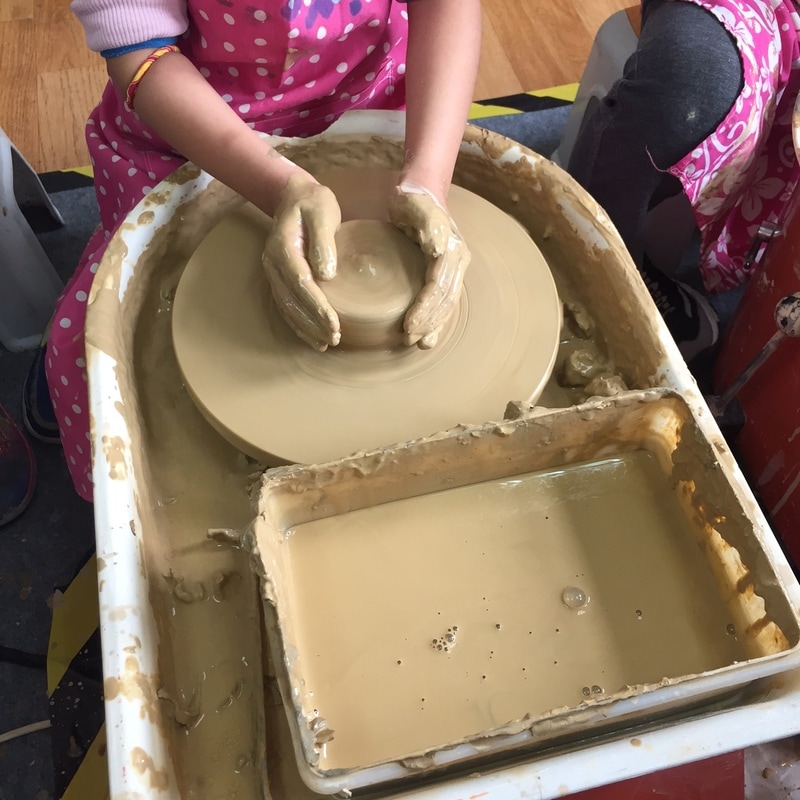
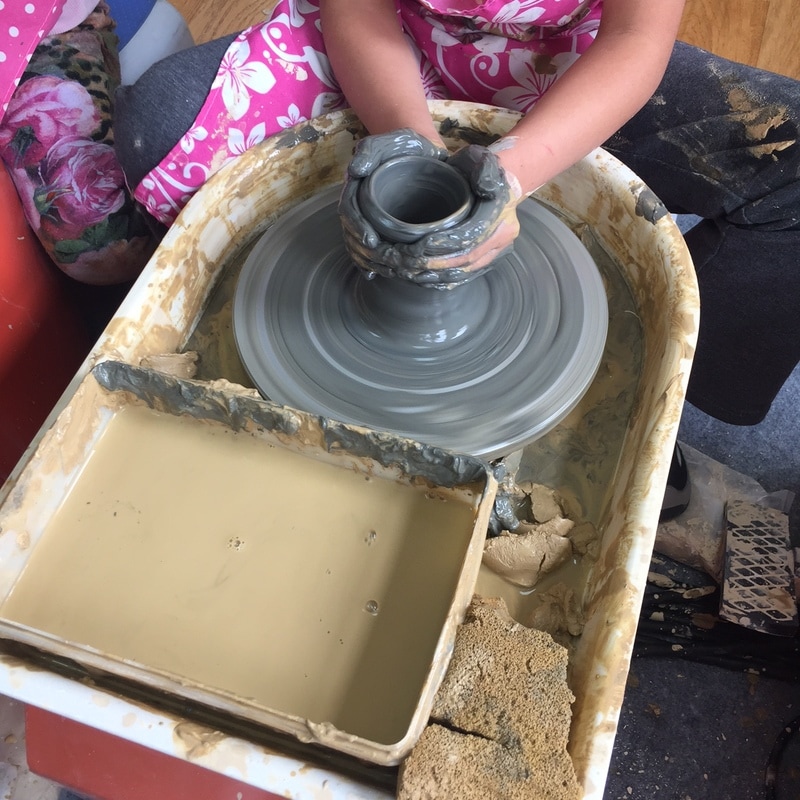
Recently we have been talking with our 5th & 6th graders about Still Life, Wayne Thiebaud and his delicious work; He is well known for painting different types of cakes, ice-creams, pastries, etc… His work inspired us to create these yummy clay desserts. We all love Eric Carle and his wonderful world. This time was the turn of the book "Polar bear, polar bear, what do you hear?" It's such a fun book. We made few stencils so the students trace, cut and glu on previously painted papers. Here's Caroline in action! I was really lucky to be in the right place in the right time. I was brought to the Kunstherbst in beautiful Berlin and there were a fantastic exhibition called "From Hockney to Holbein". There were displayed more than 400 works of art of international significance from the Würth Collection, which is one of the largest private collections in Europe. We came in pretty late so there no visitors at all. My favourite room by far was this magic red room with 4 Hockneys, one per wall. Great Hokusai. It was a beautiful project where we have learnt about the artist himself, new techniques, new vocabulary, Japan, etc... Children were amazed of how amazing their own work looked like. We made a very simple but effective project with our second graders in the paper unit. Basically we just need 12 paper strips, the more colourful the better, glue stick and good paper folding skills. Paper, pencil, white glue, black marker and watercolour that´s all we needed. We first worked on an A4 paper our design. Although some of the students drew also on the big paper we realized that was not a very good idea because once the glue is dry you can see the pencil through the dry glue, but even like that all the artwork looked amazing!! We were so lucky to receive the visit of a mimeograph artist. For those who doesn´t know what is mimeograph, it is a printing art. We first got to listen to the very interesting history of the art of mimeograph. Then we had a live demonstration, it was pretty impressive! After we made our very own designs and after that we passed directly to the action. Third graders had a messy but superfun paper mache lesson. We found this storybook that fits perfectly the idea we had in mind, a flying pig! Firtst thing was to make the body of the pig with newspaper, plastic bags and masking tape. After that, we found some cardboard and time for ears and wings, again masking tape. Second lesson is the big day. The secret is to have everything perfectly organized so you don´t waste a second. Basically newspaper strips and paper mache paste. Third and last day. Painting day. The result was really impressive and the display of them was amazing. we hung them all up at the main lobby. Our first graders have been talking about the differences between landscapes, seascapes and cityscapes. After our class discussion they made these beautiful artwork. Picture: Aston Technique: Watercolour 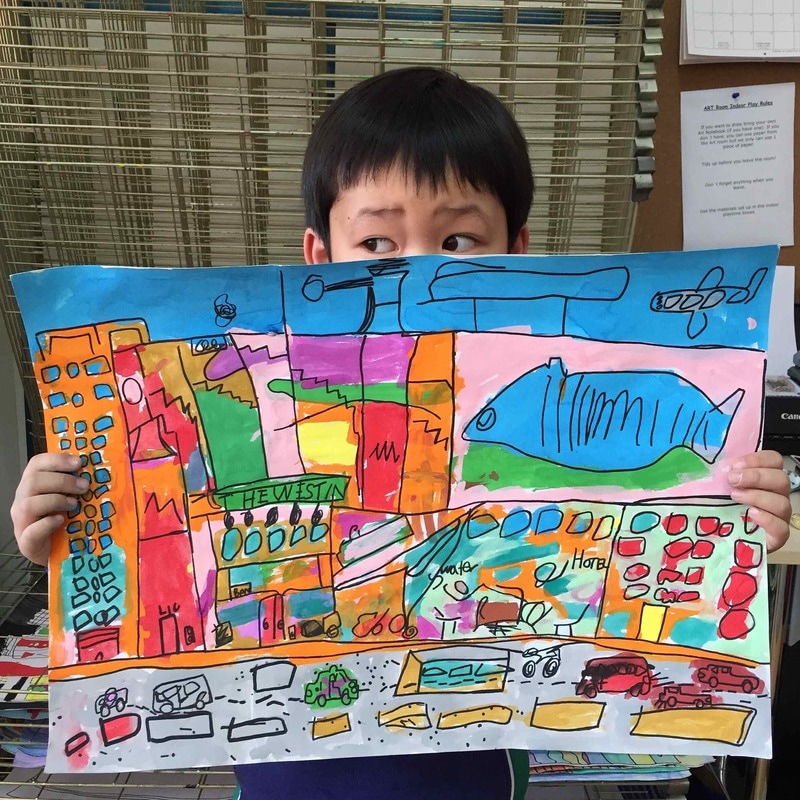 Our oldest grades learned about Optical Art and its biggest artists. It was really fun to discuss about M.C. Escher´s work. We also talked about the great Victor Vasarely and discussed about his work. I was lucky enough to see one Escher´s exhibition live in Madrid and it was a truly experience. One of the most expected weeks of the year! All the grades have the chance to experience to work with clay in a clay wheel. Depending on the grade, the difficulty level is higher or lower. All the students from reception until Grade 6 get to work with the wheel. This lesson is a good fun. It could be done with any grade. This time was the youngest turn. We first talked and discussed a bit about Mr. Pollock and his artwork, We also saw him making some art and then we got into action. Something very important is to cover everything and when I say everything I mean everything. We watered down few acrylics that we previously chose and we used brushes (handle) and some chopsticks (I love how many uses chopsticks have, we always got loads in the artroom) for the paint dripping. It was such a fun project and the result was stunning. The key is to choose the right colours and to find the best balance between water and paint. 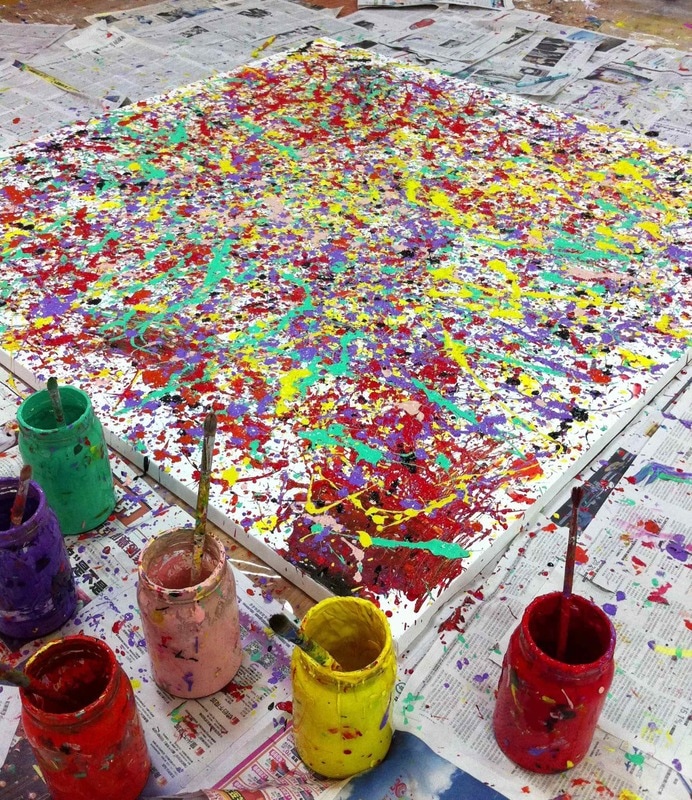 |
Positive, Creative Space.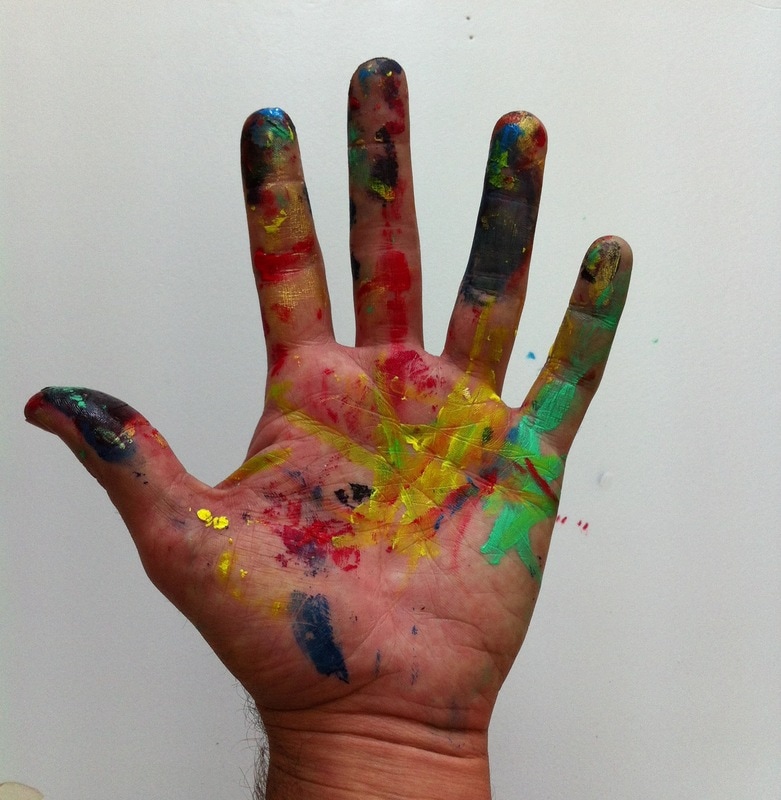
Archives
December 2023
|


 RSS Feed
