|
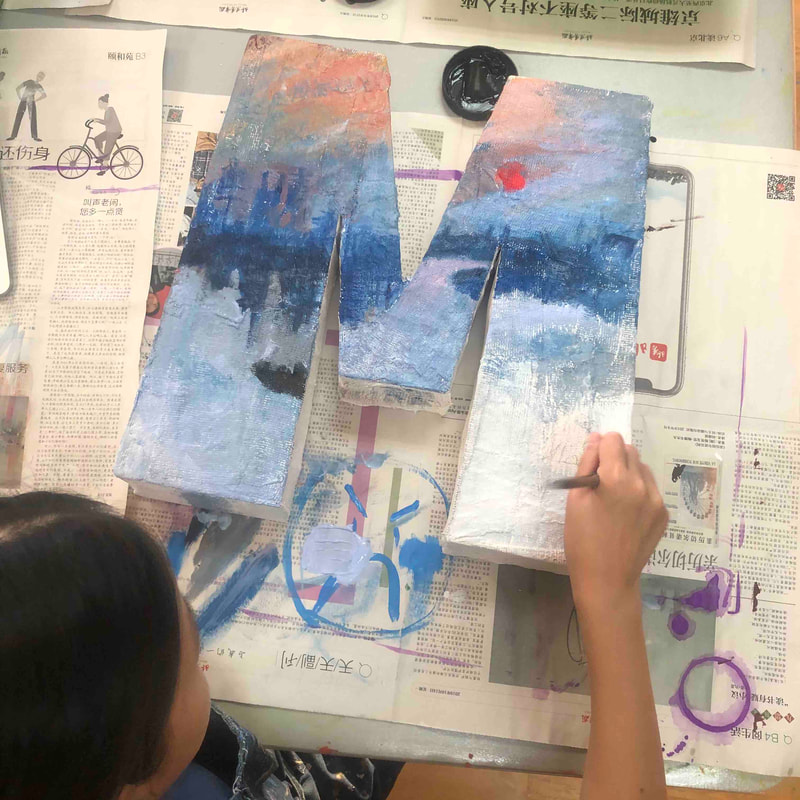
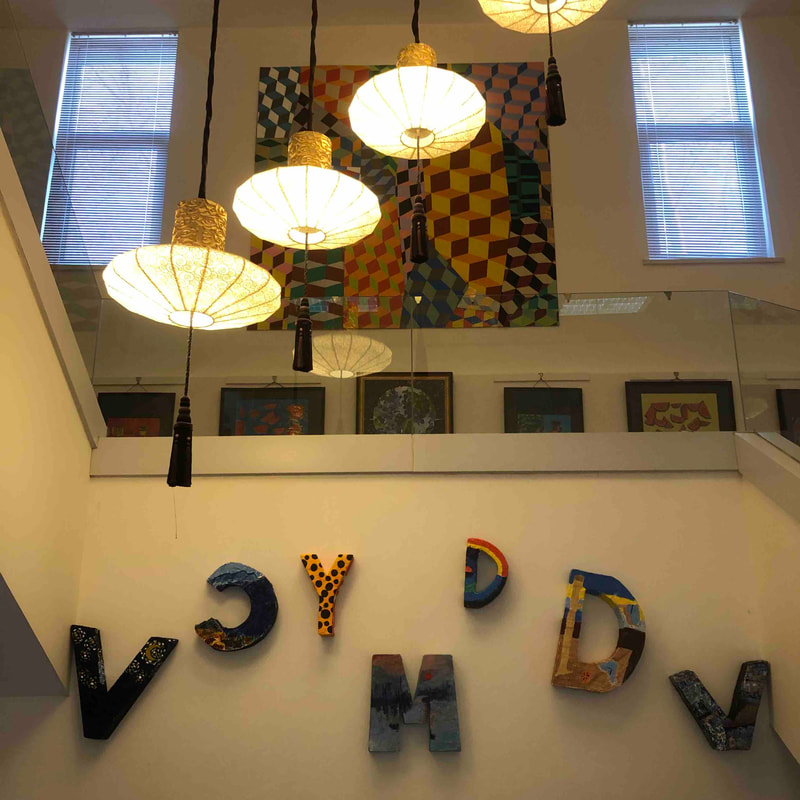
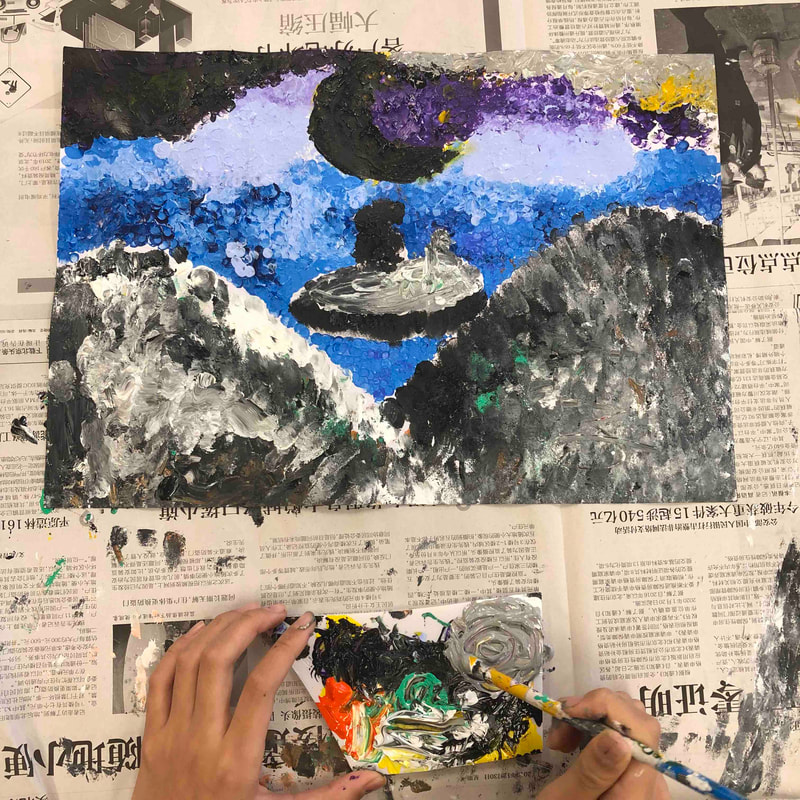
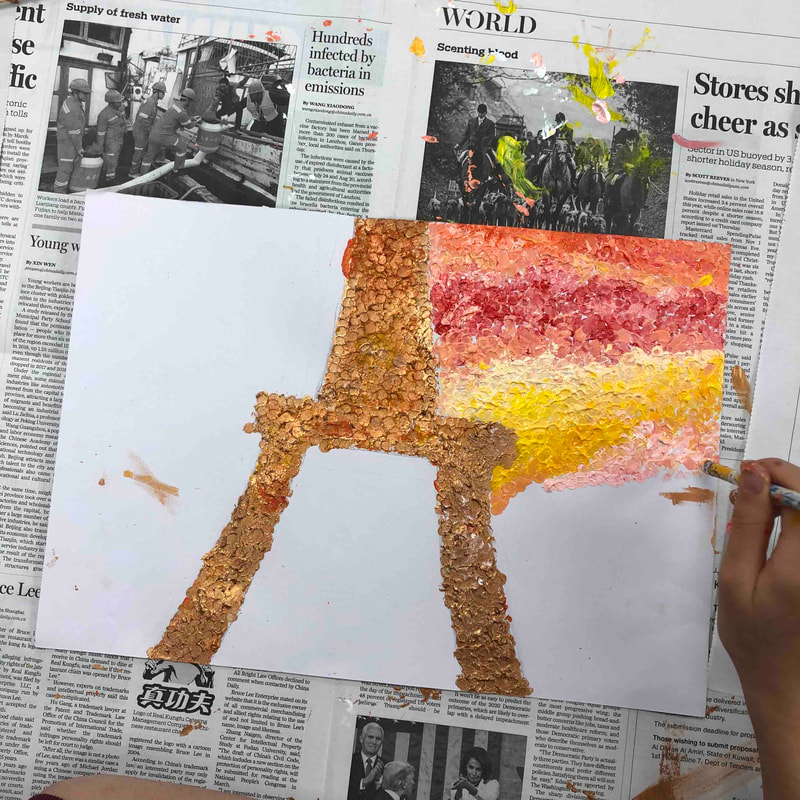
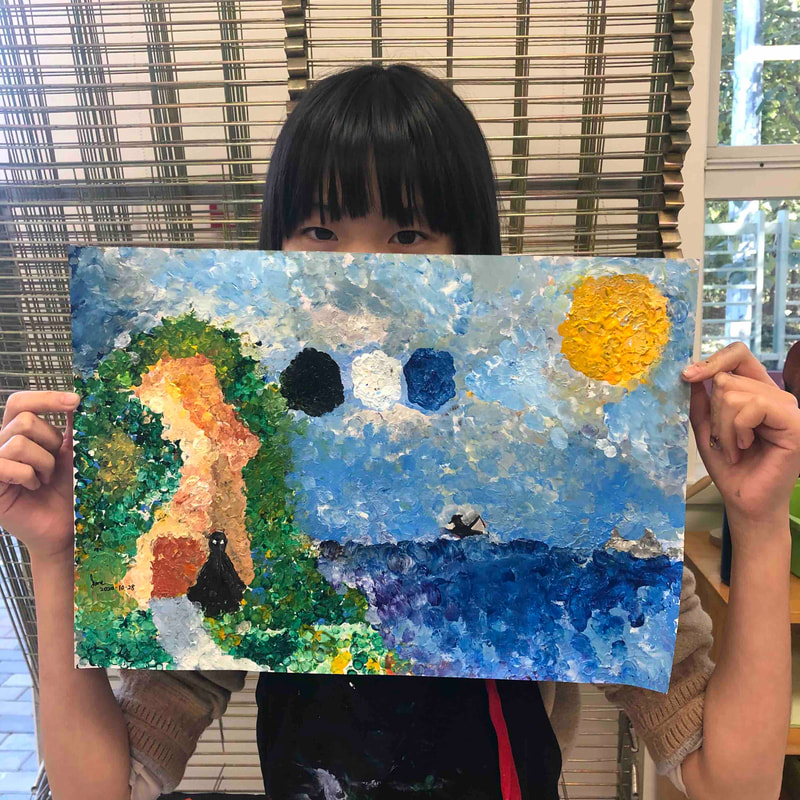
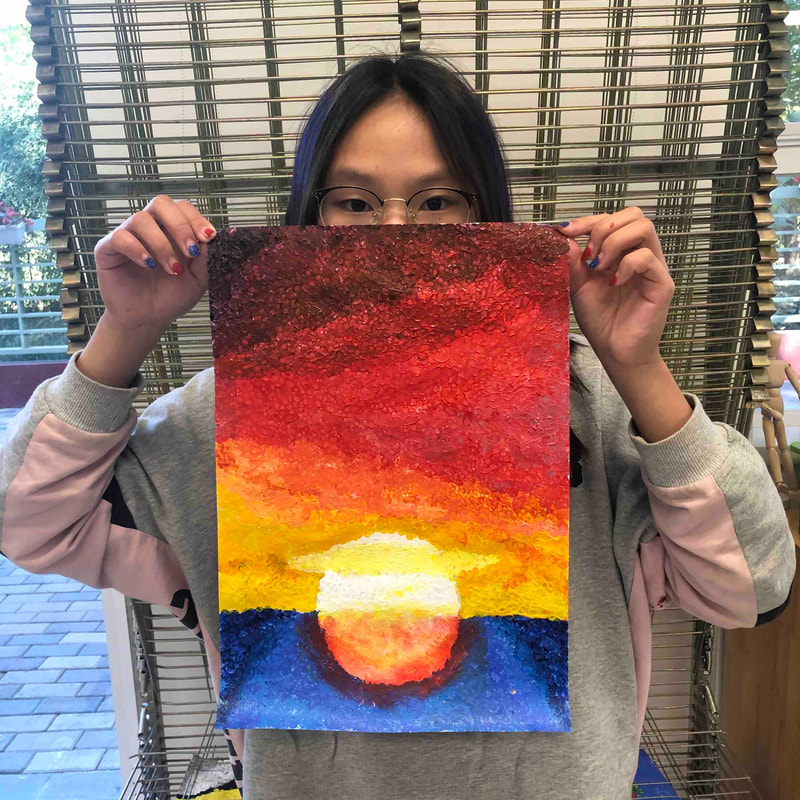
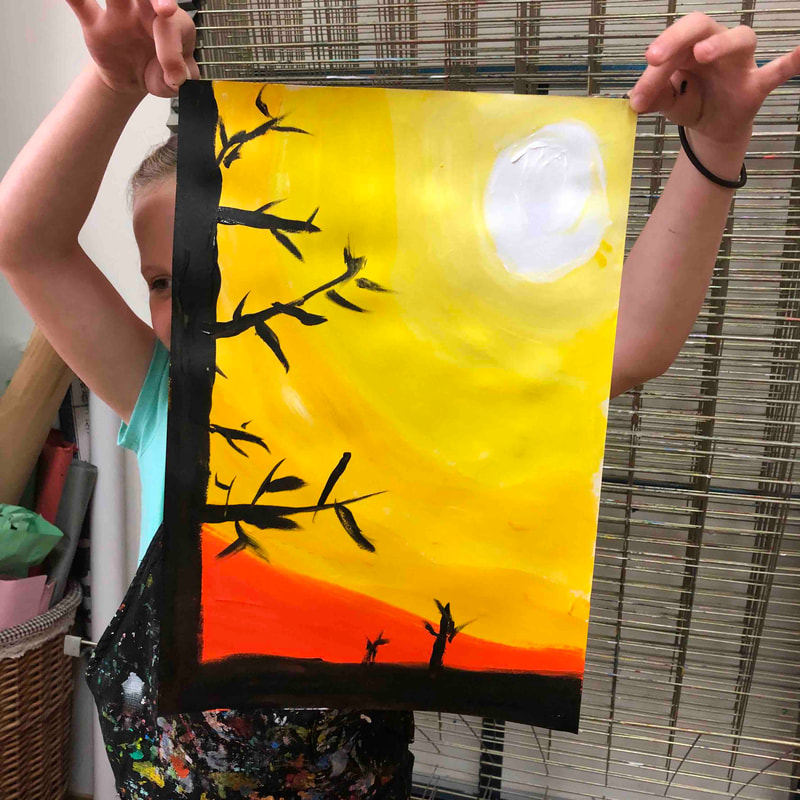
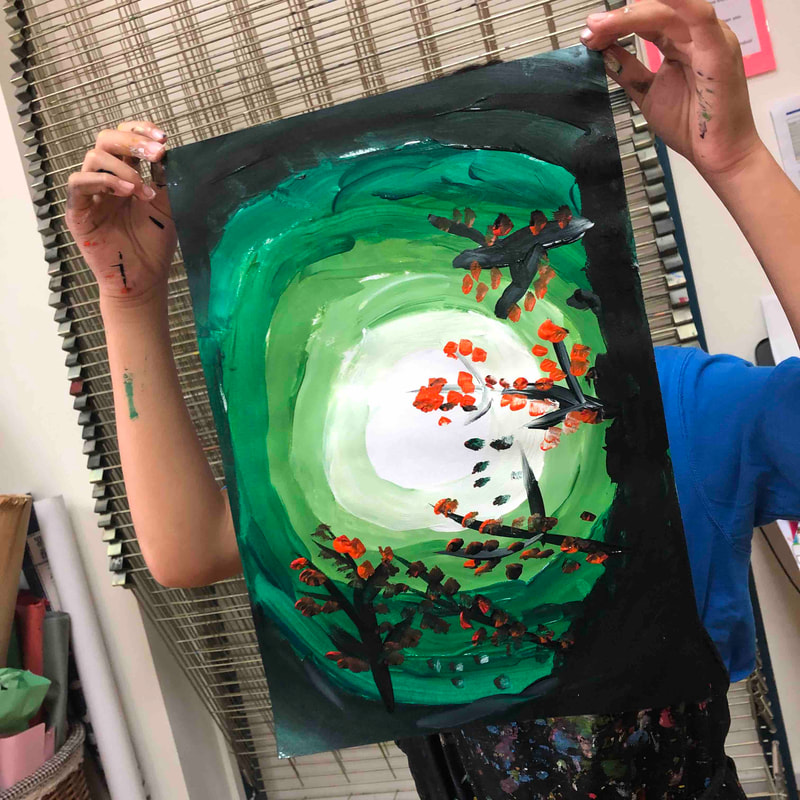
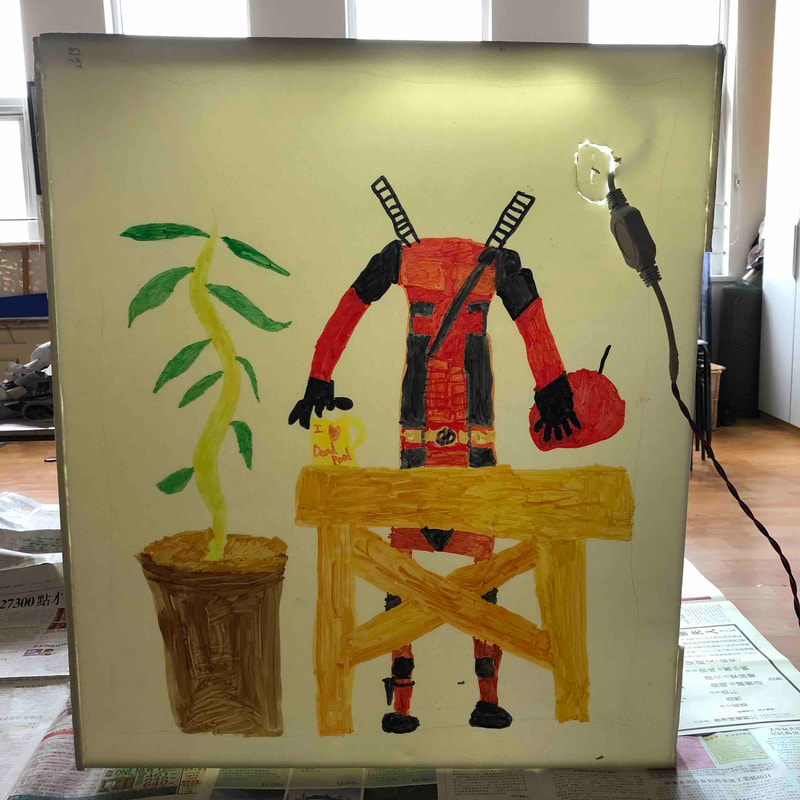
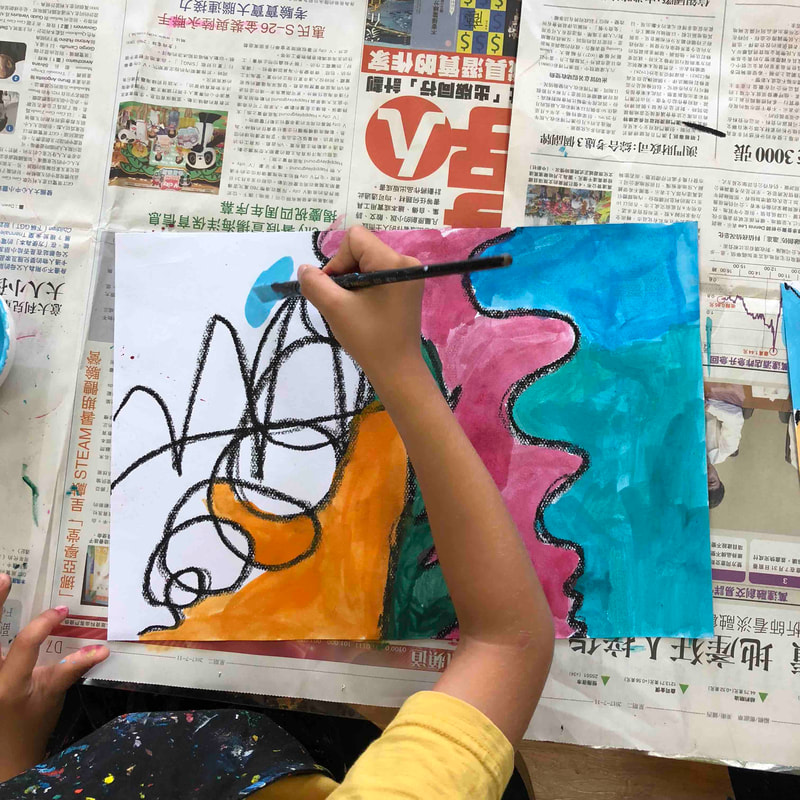
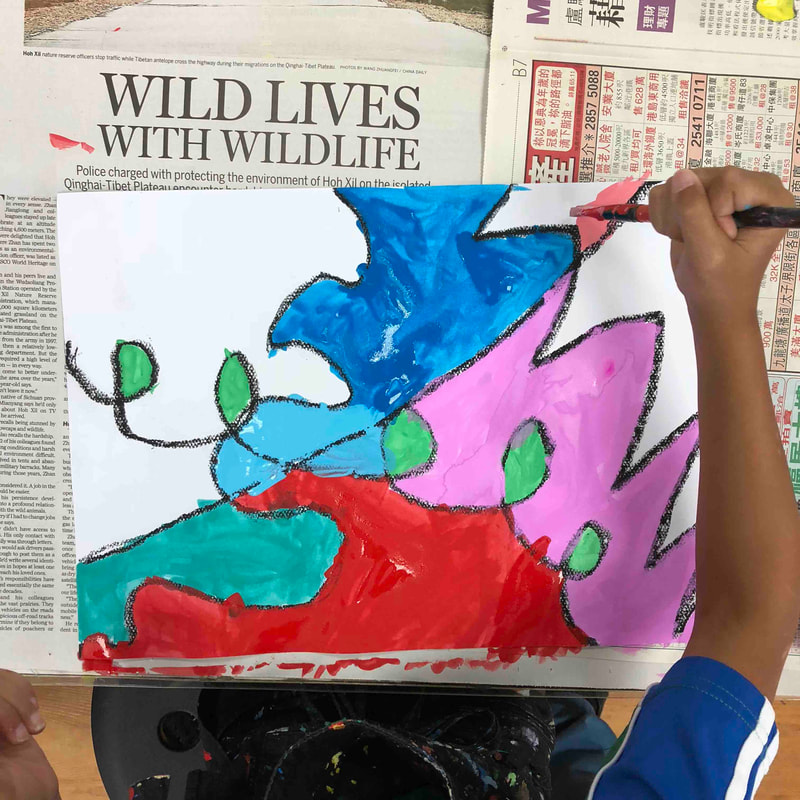
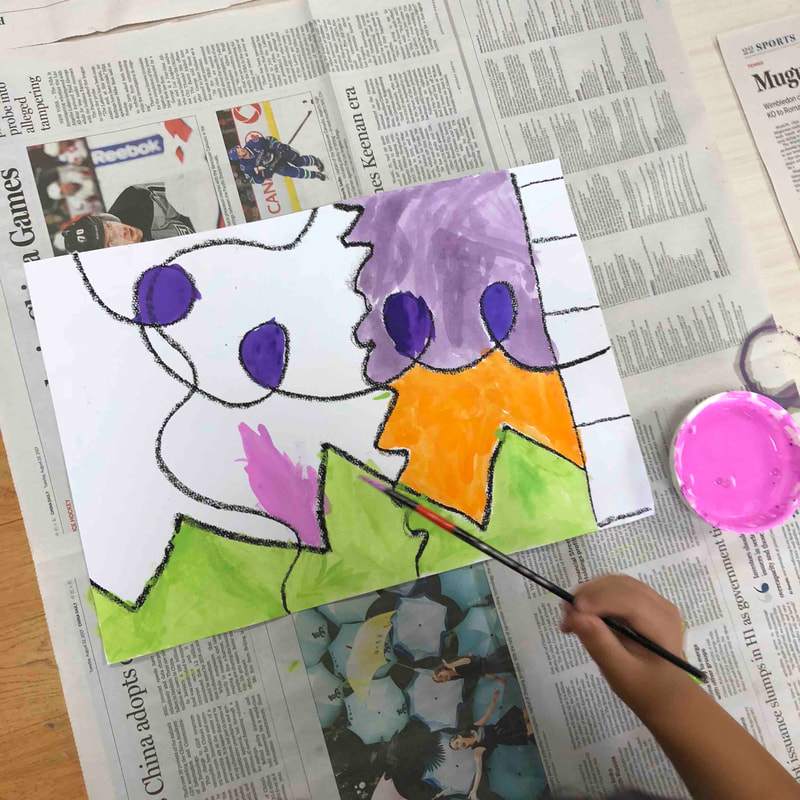
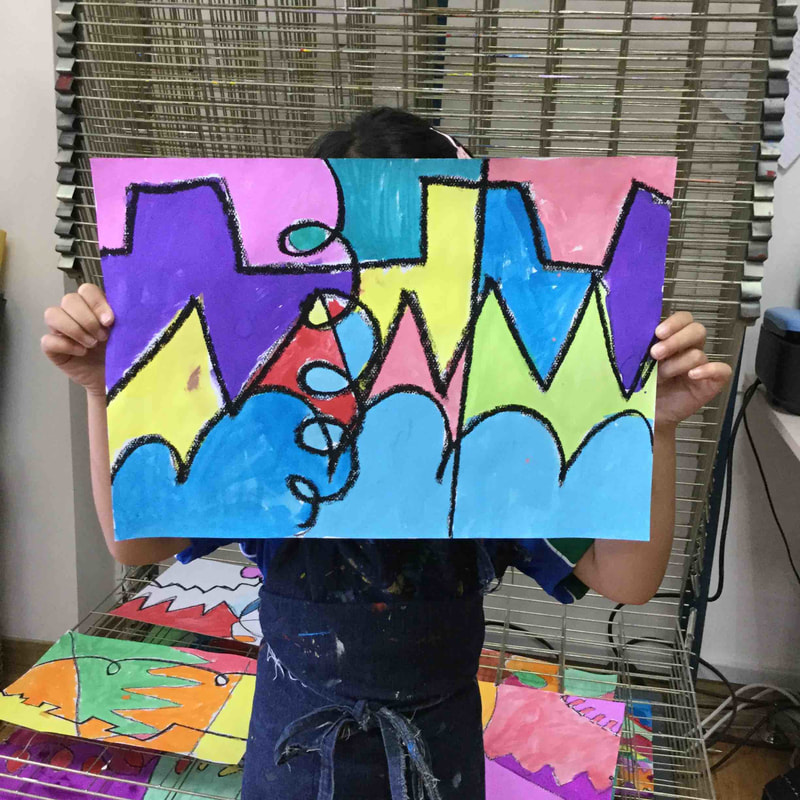
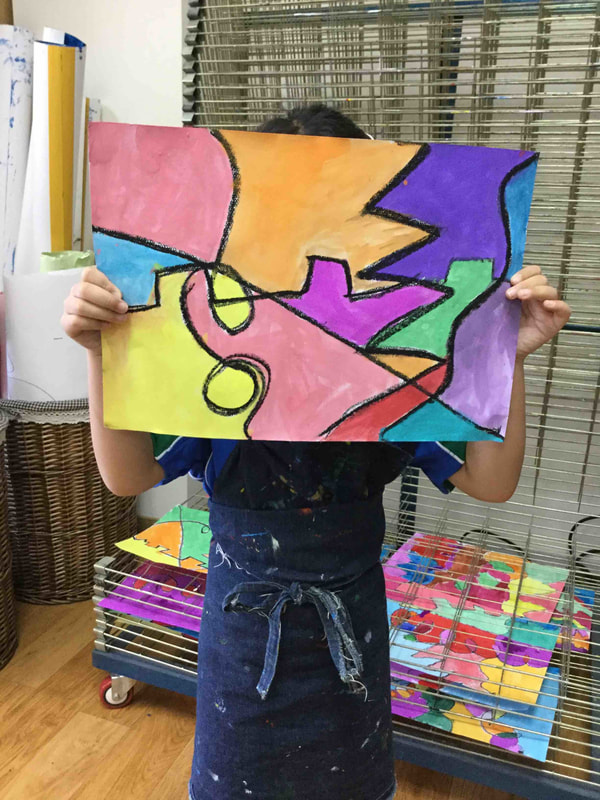
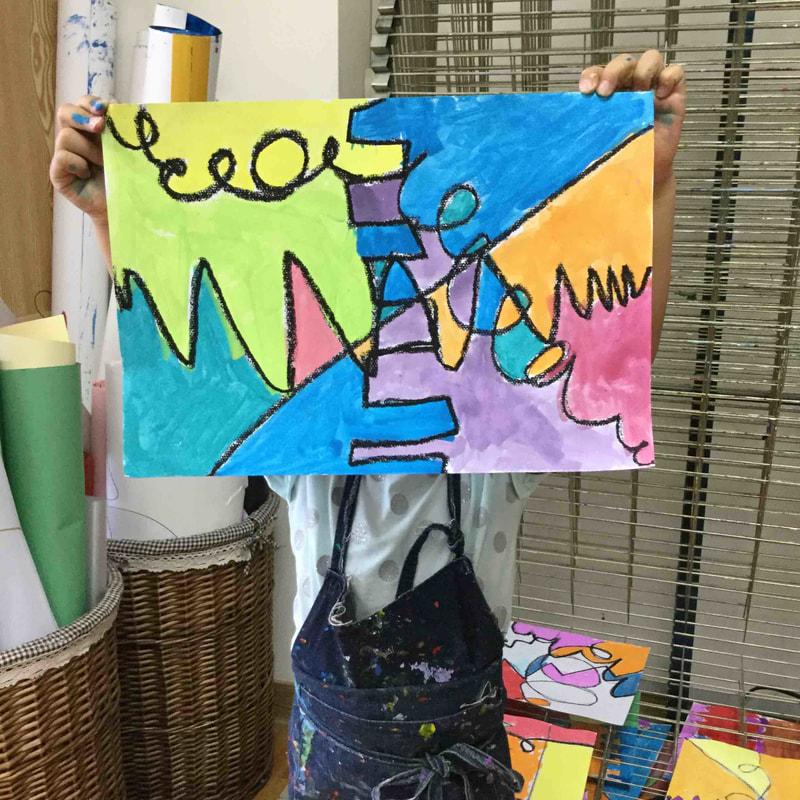
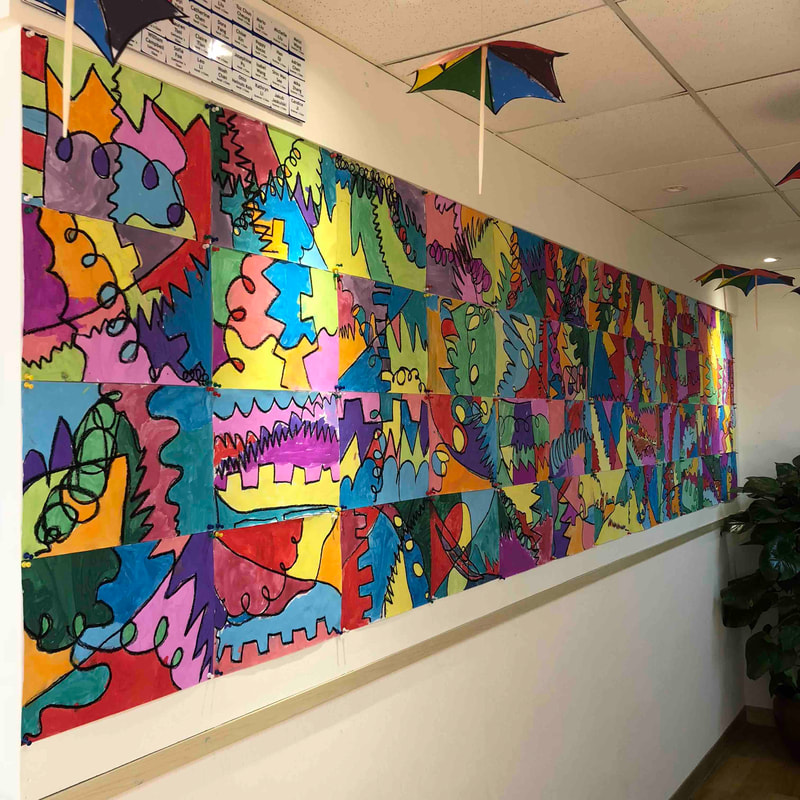
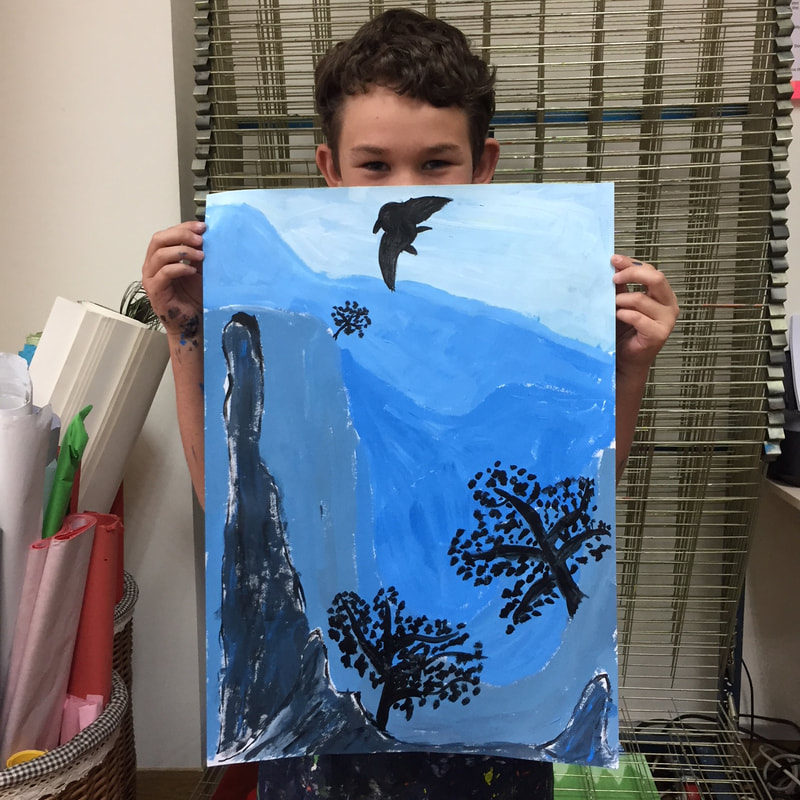
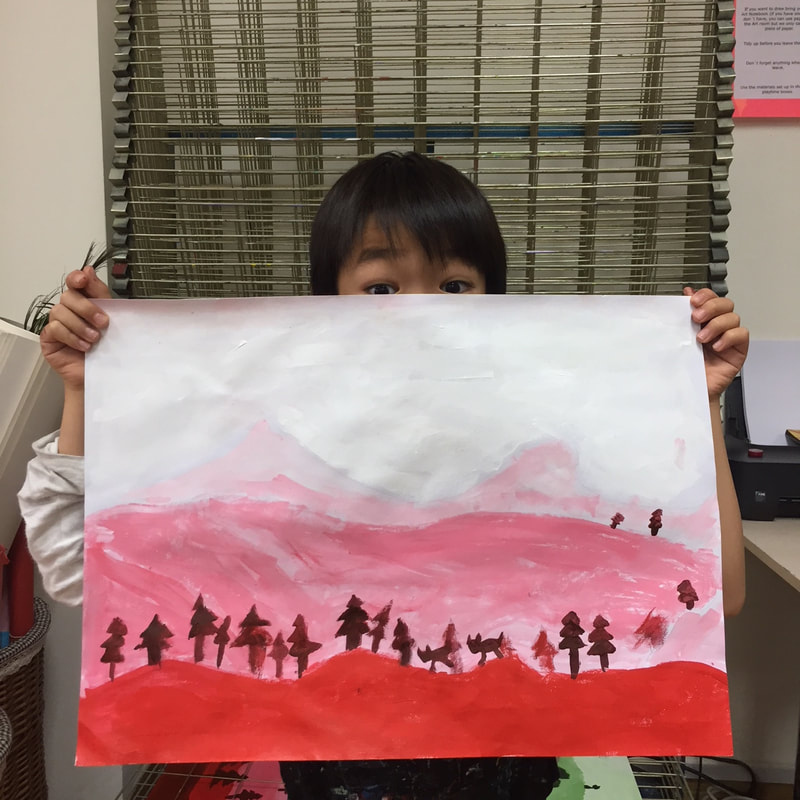
Students in grades 6 and 7 selected their beloved artist and crafted a magnificent masterpiece. Can you take a guess at the chosen artist by the initial letter represented? The painting shown looks a lot like one of the artist's famous masterpieces.
0 Comments
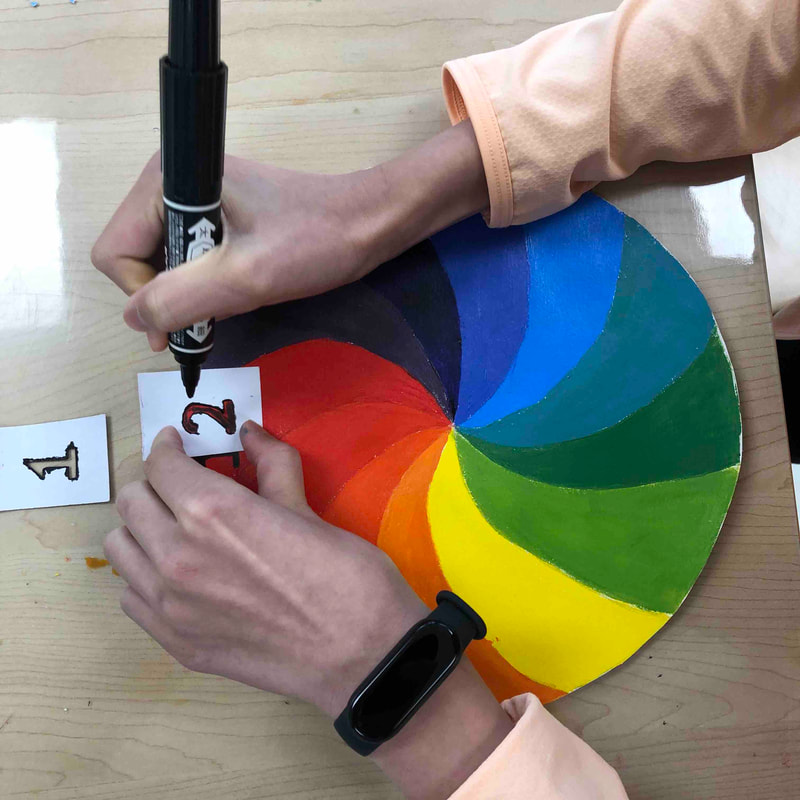
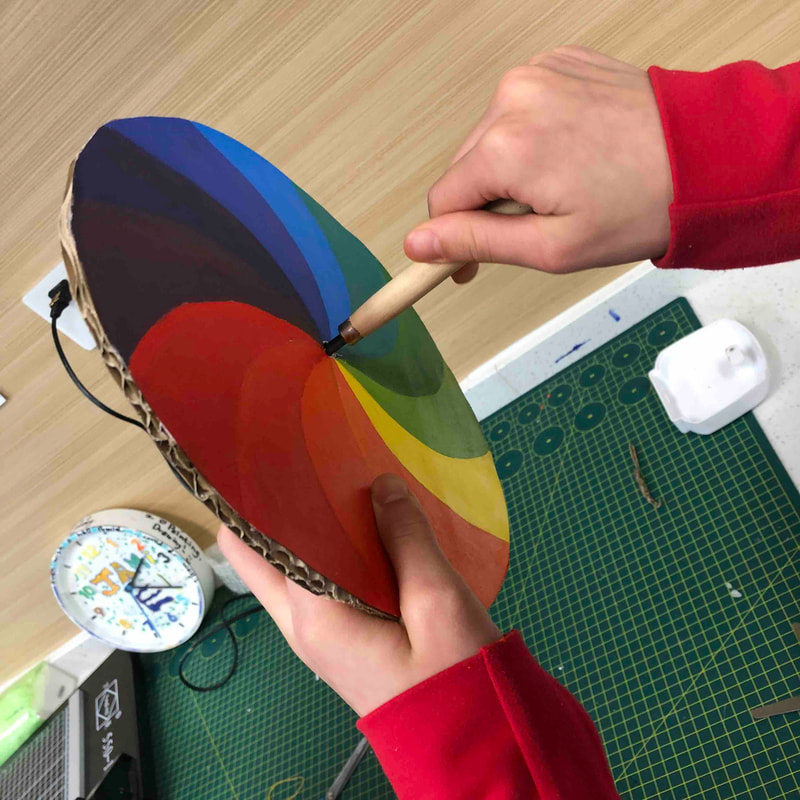
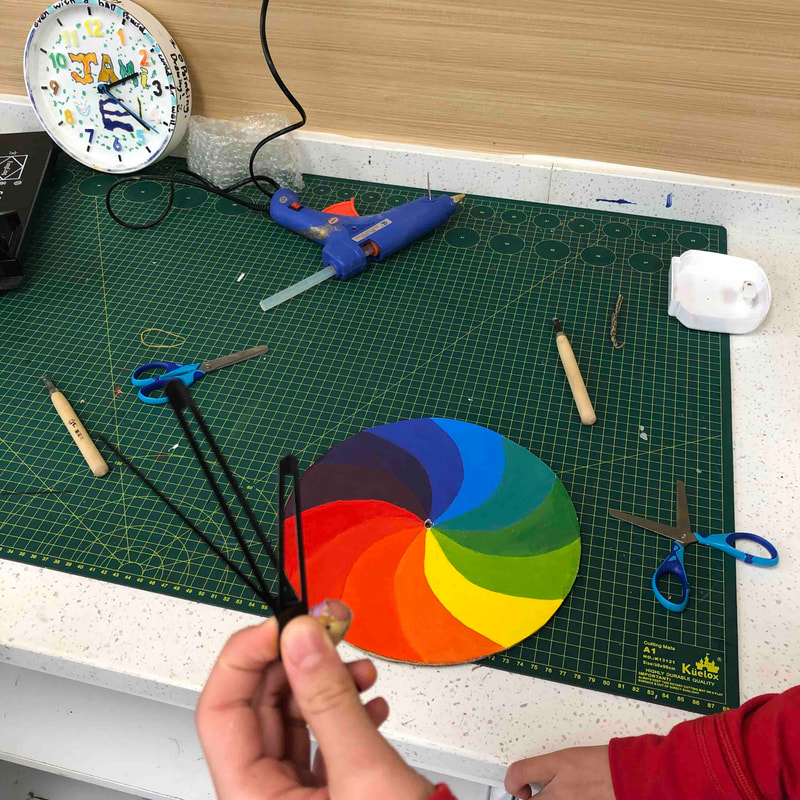
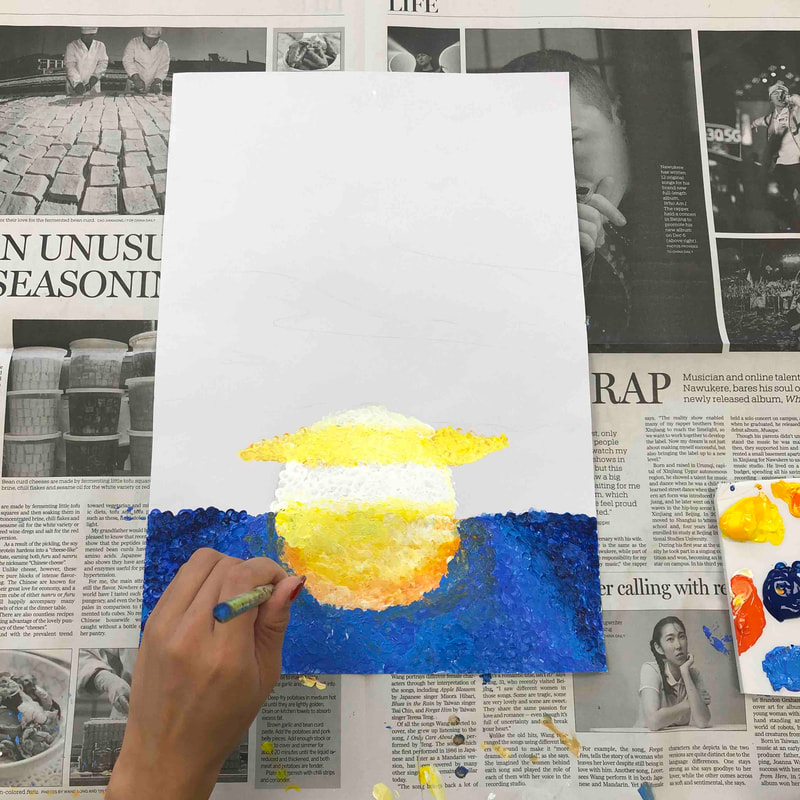
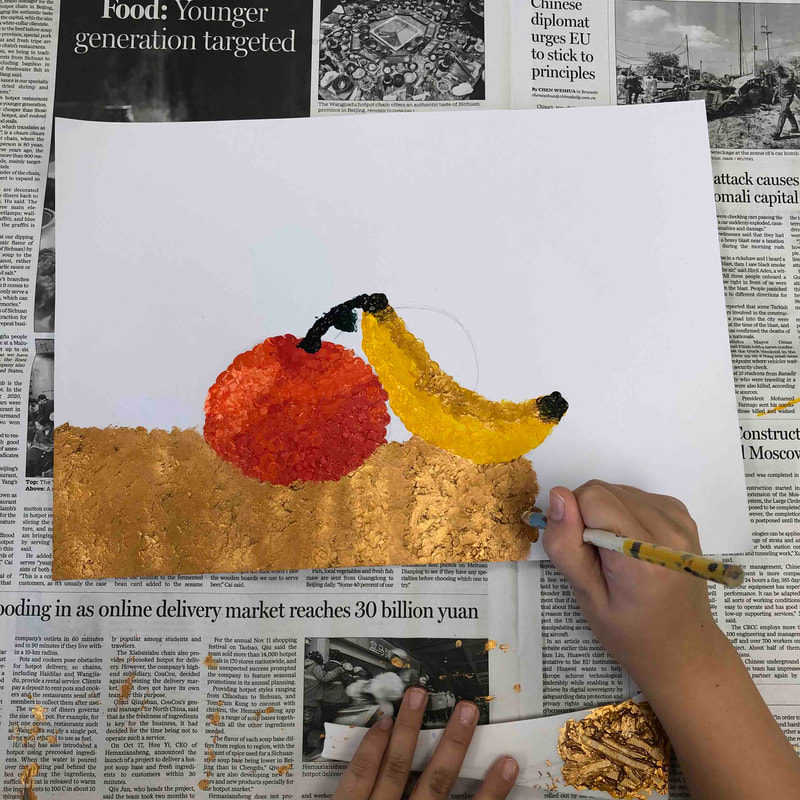
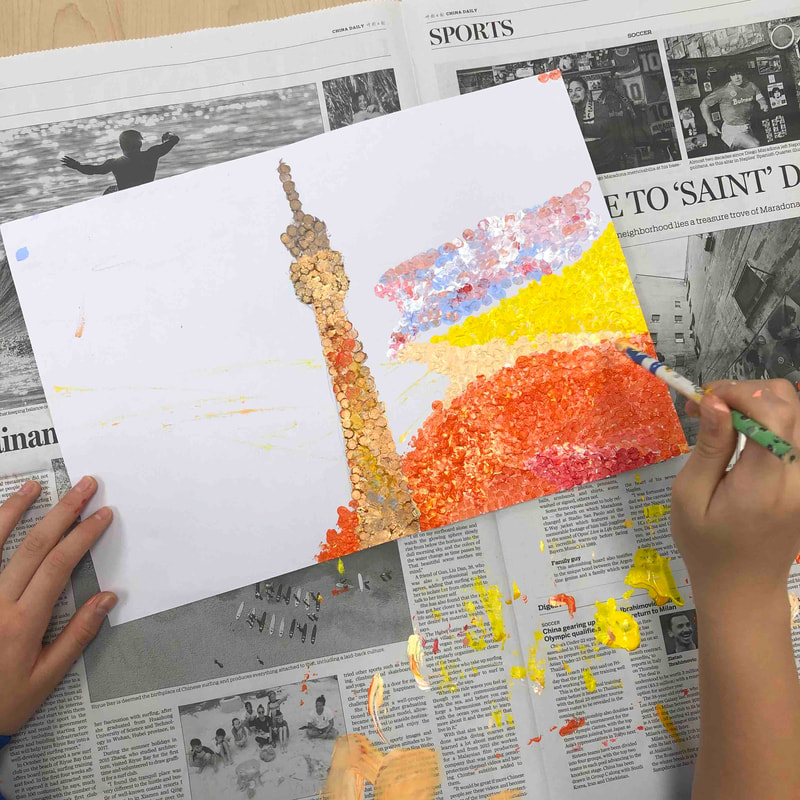
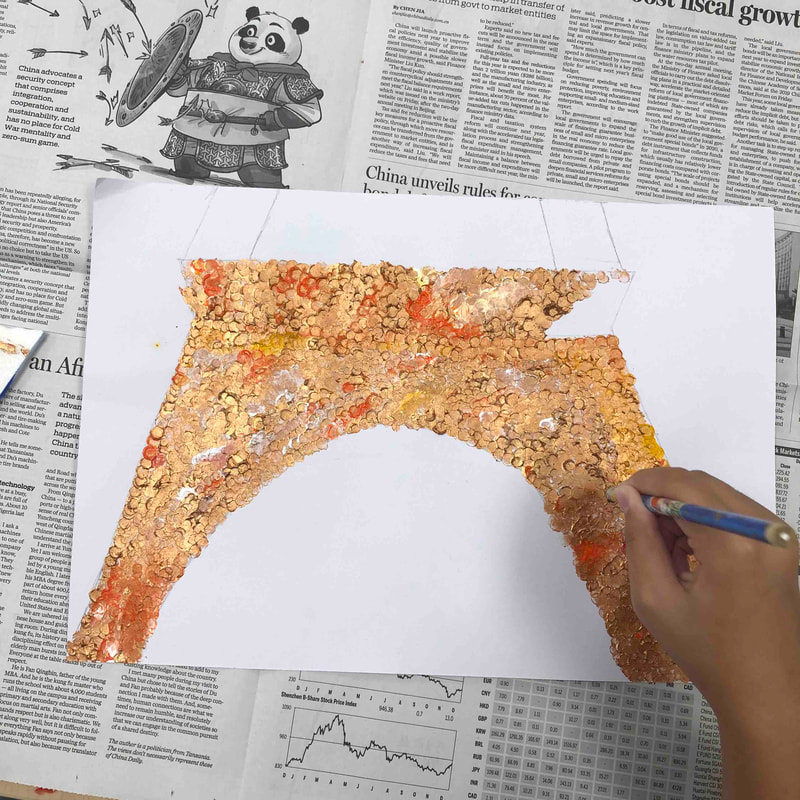
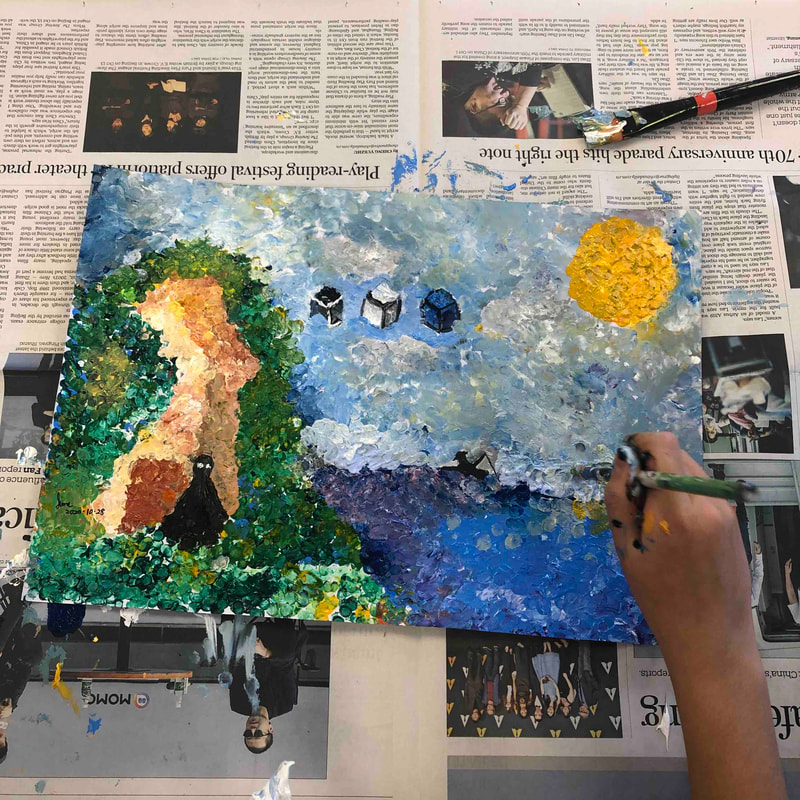
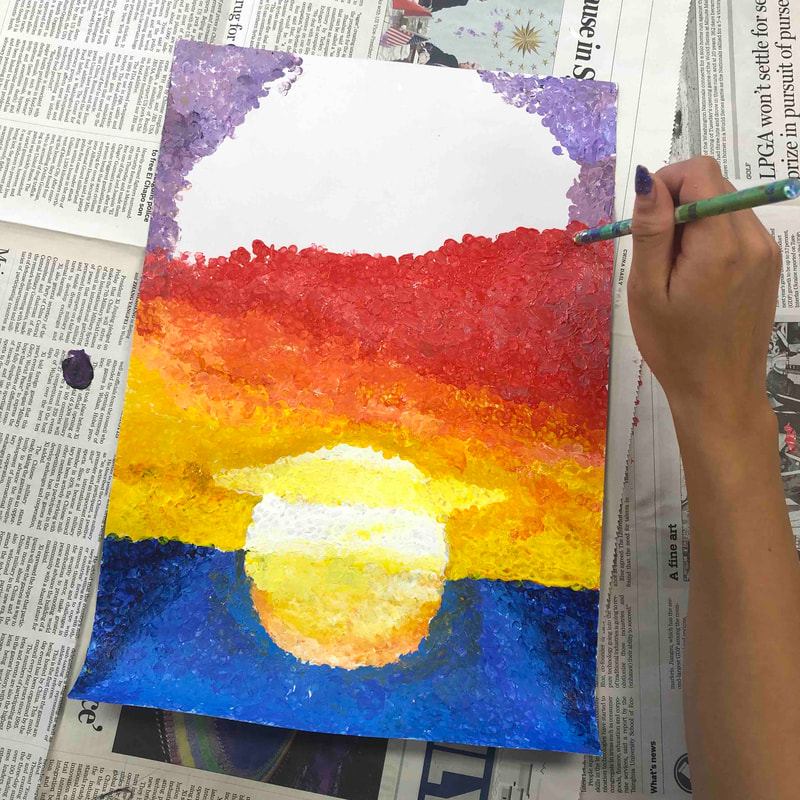
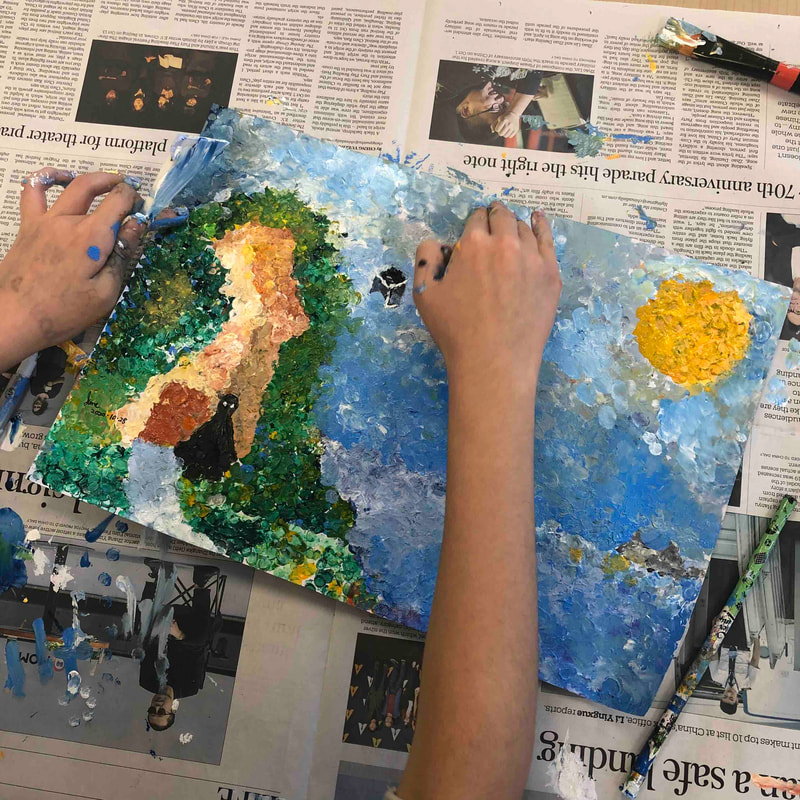
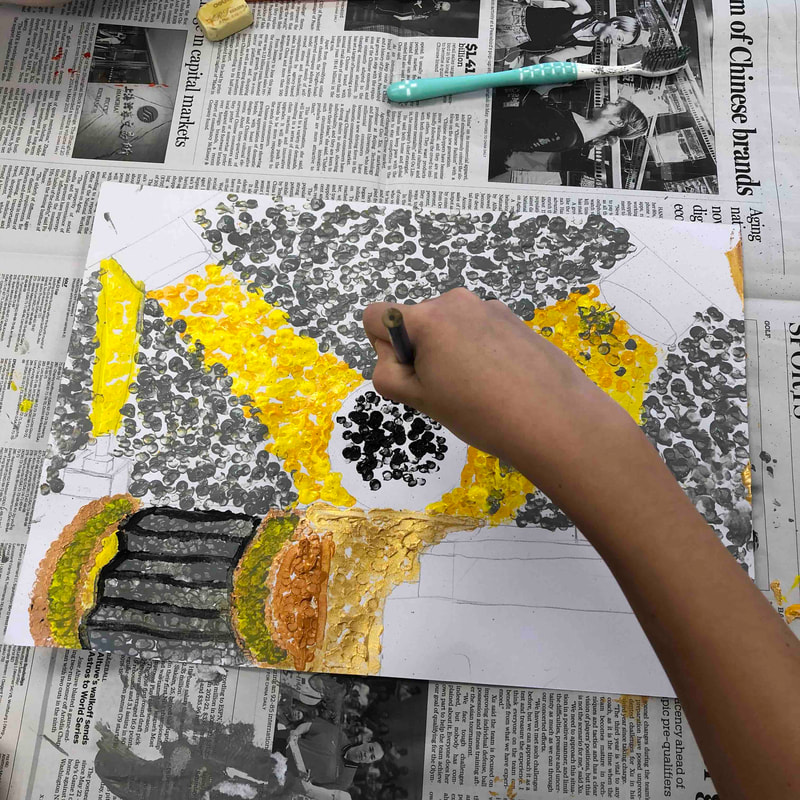
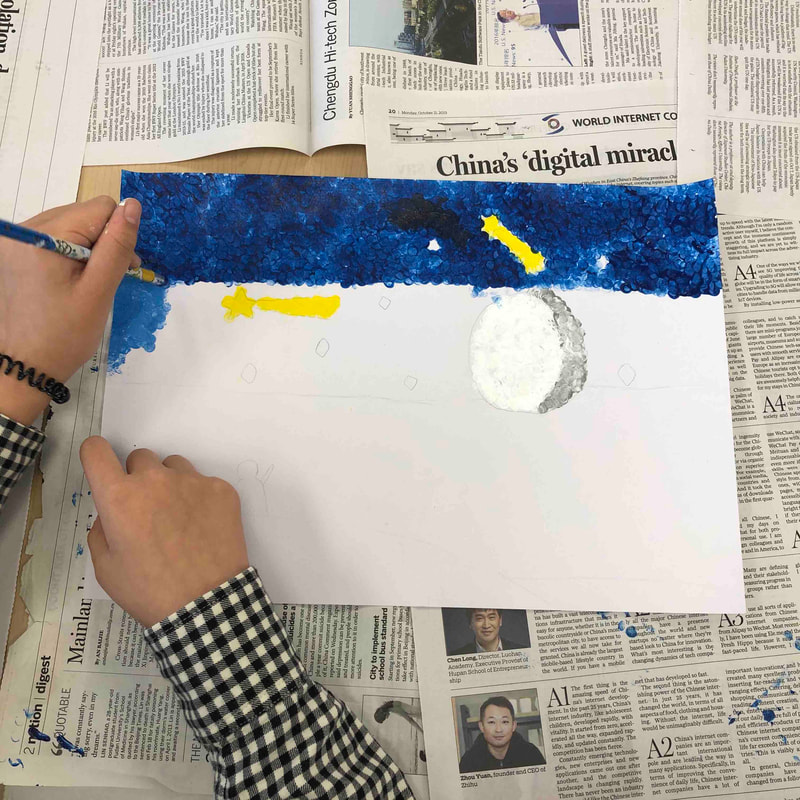
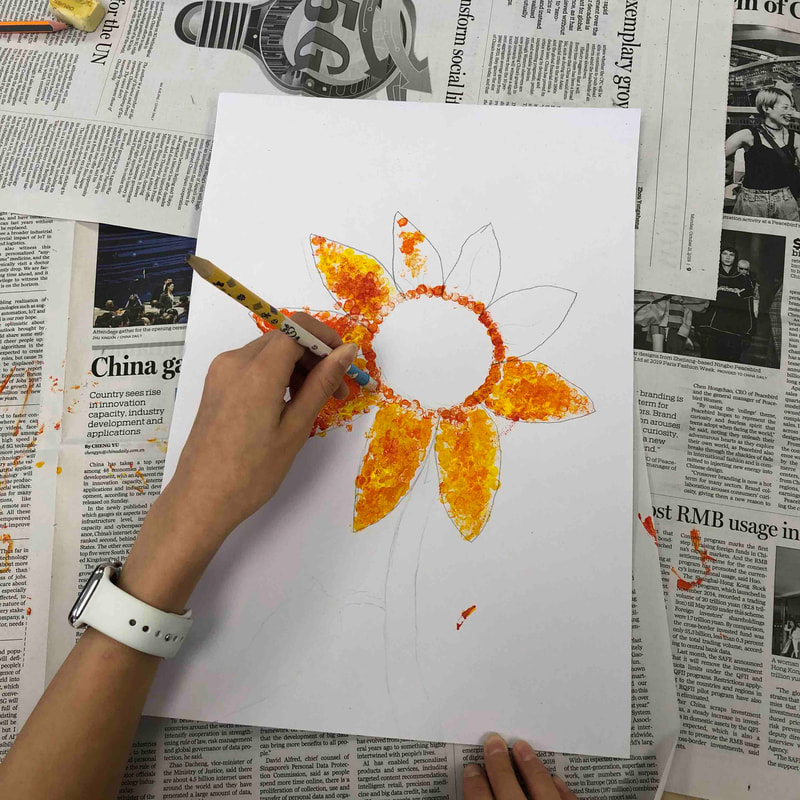
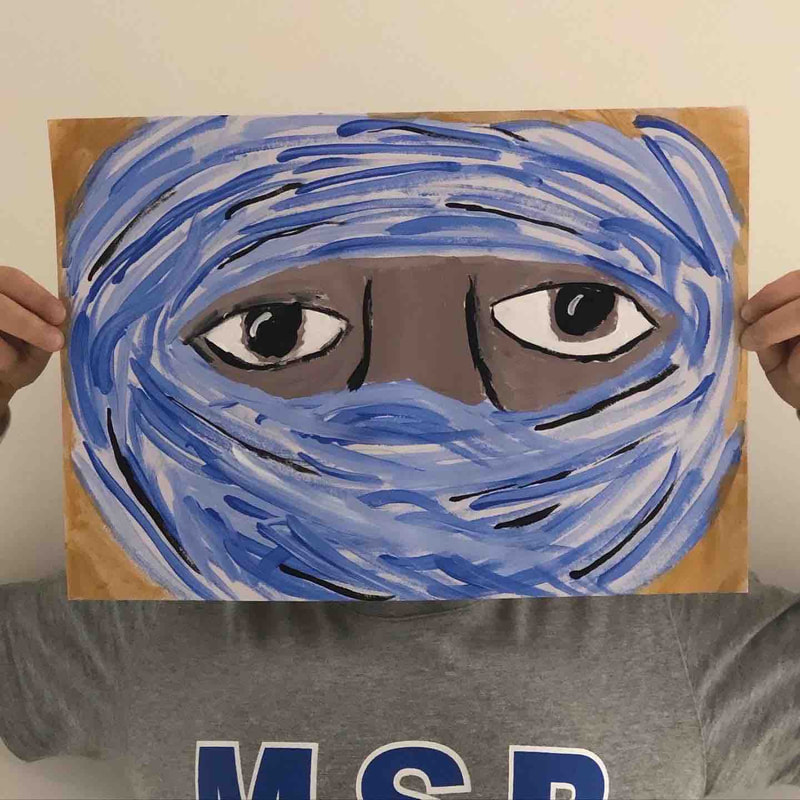
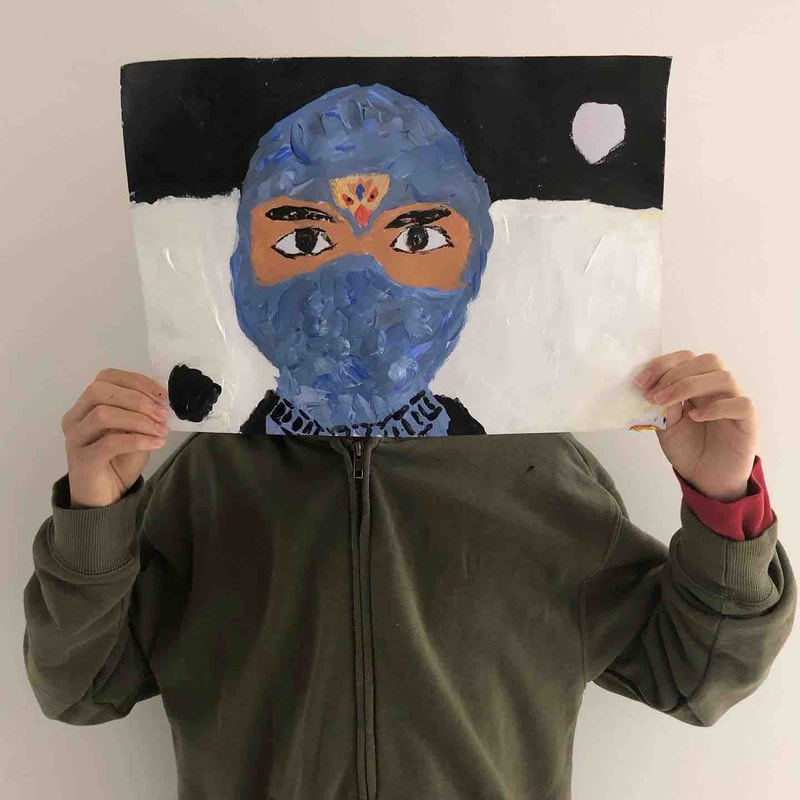
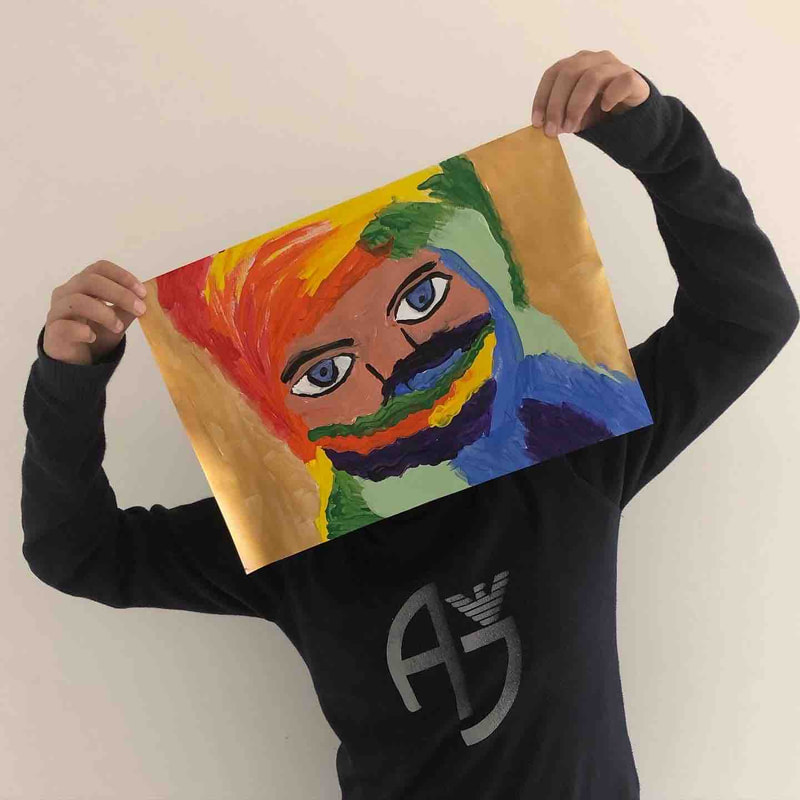
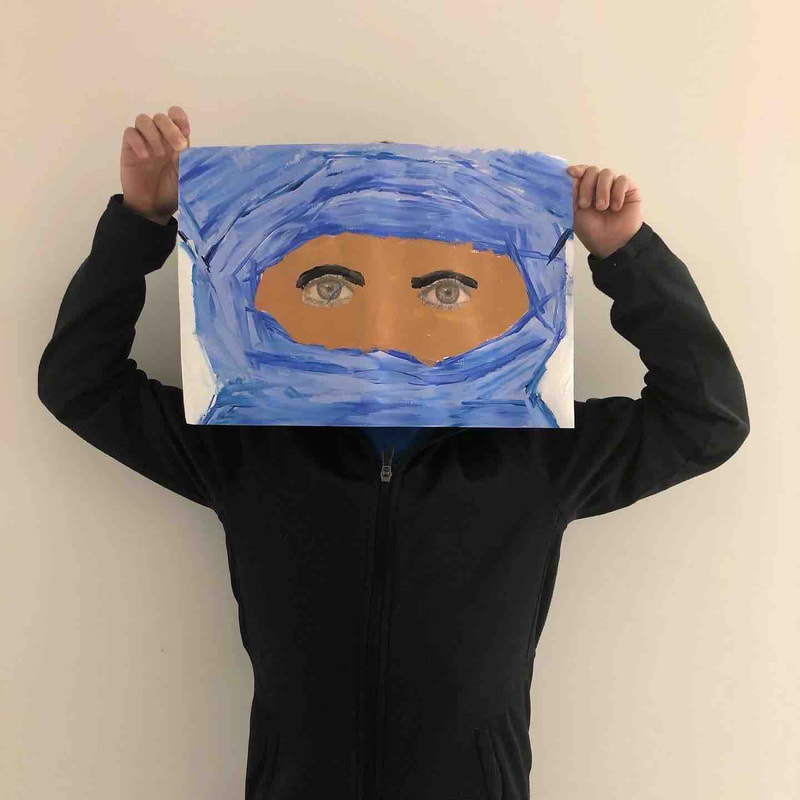
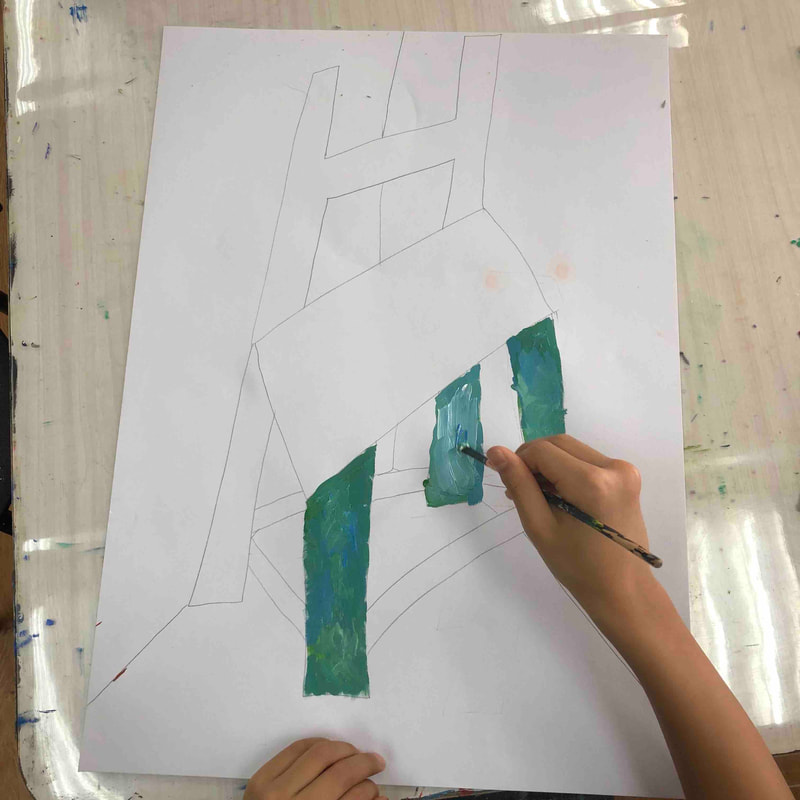
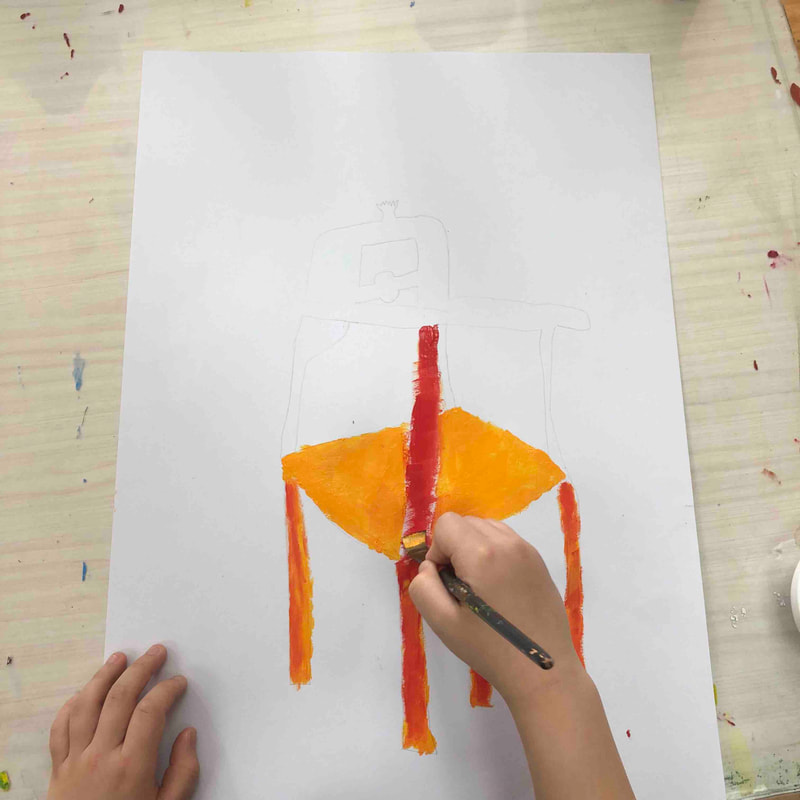
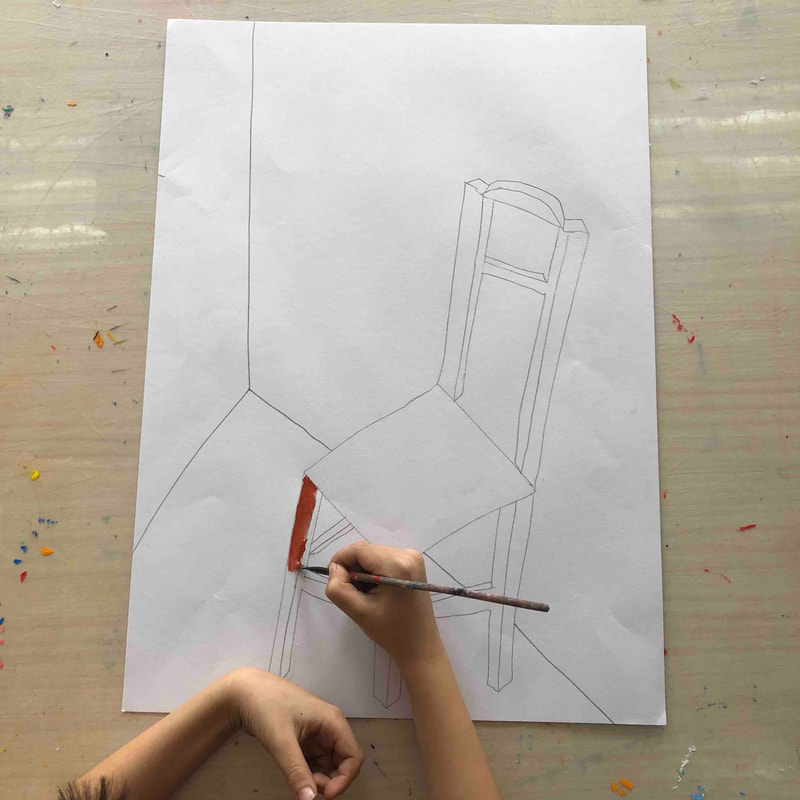
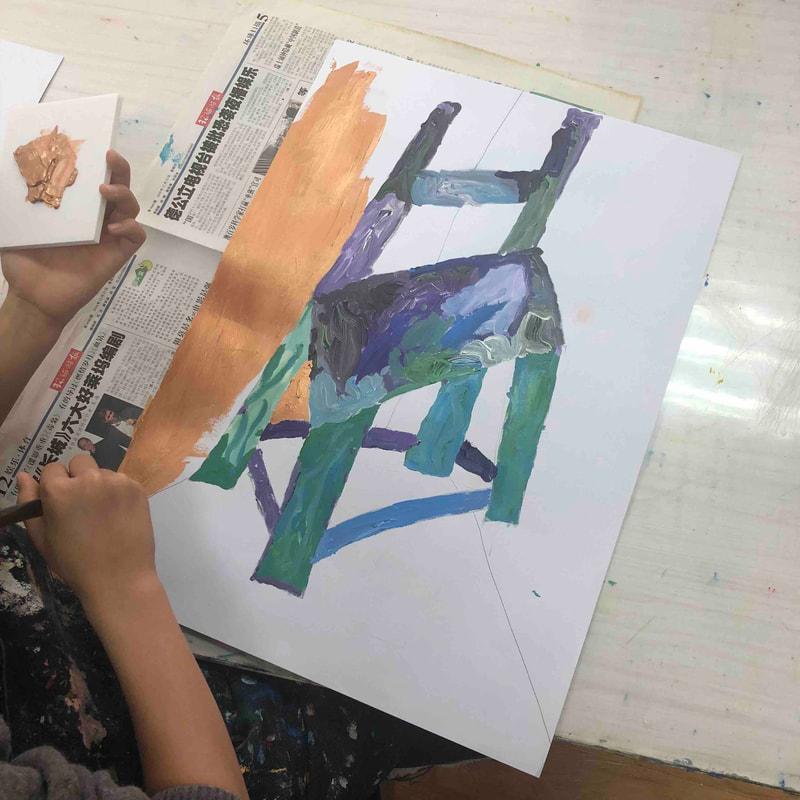
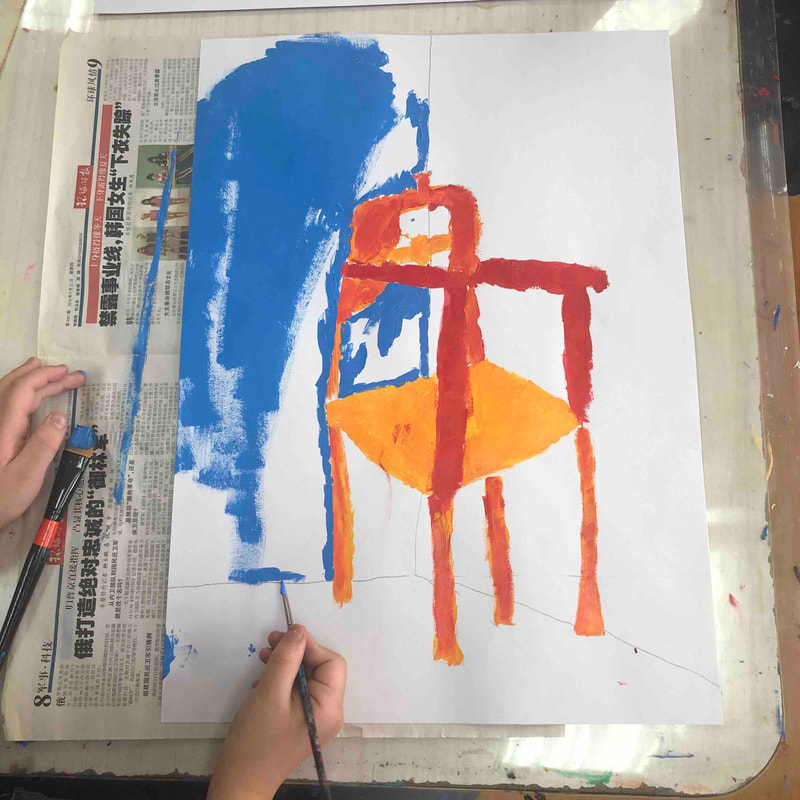
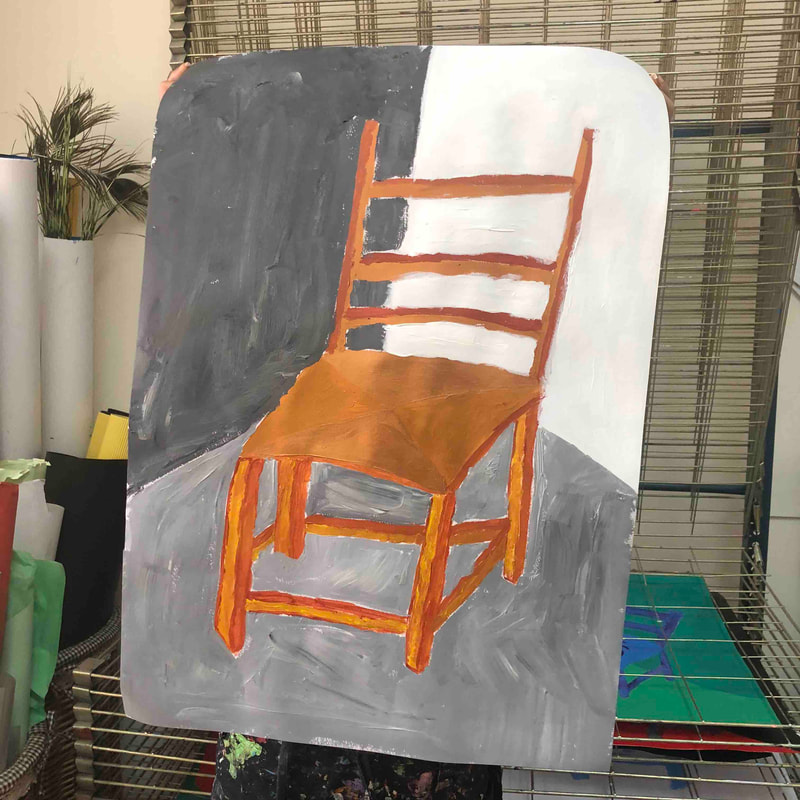
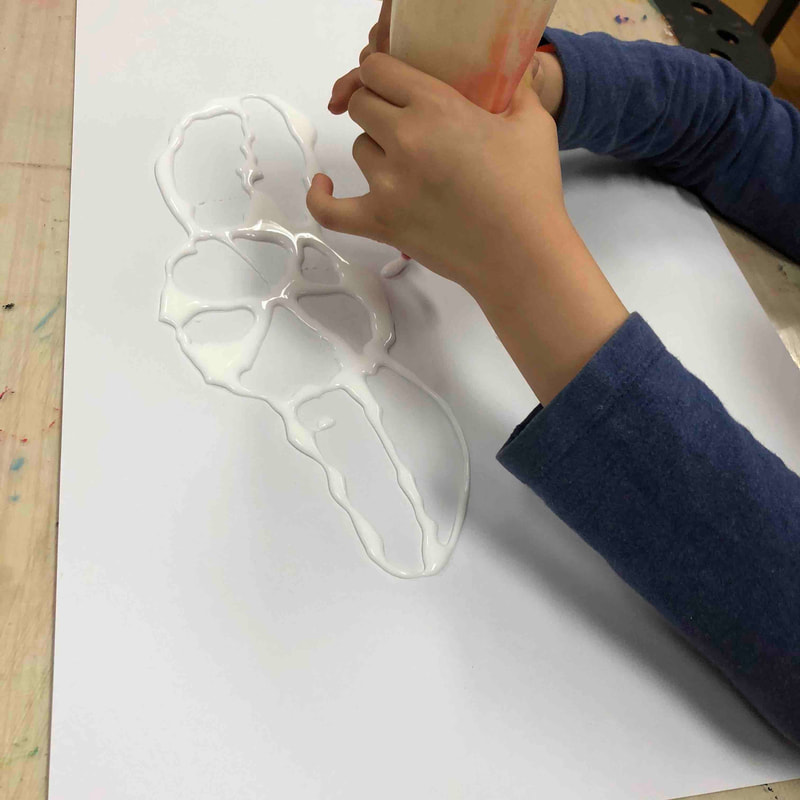
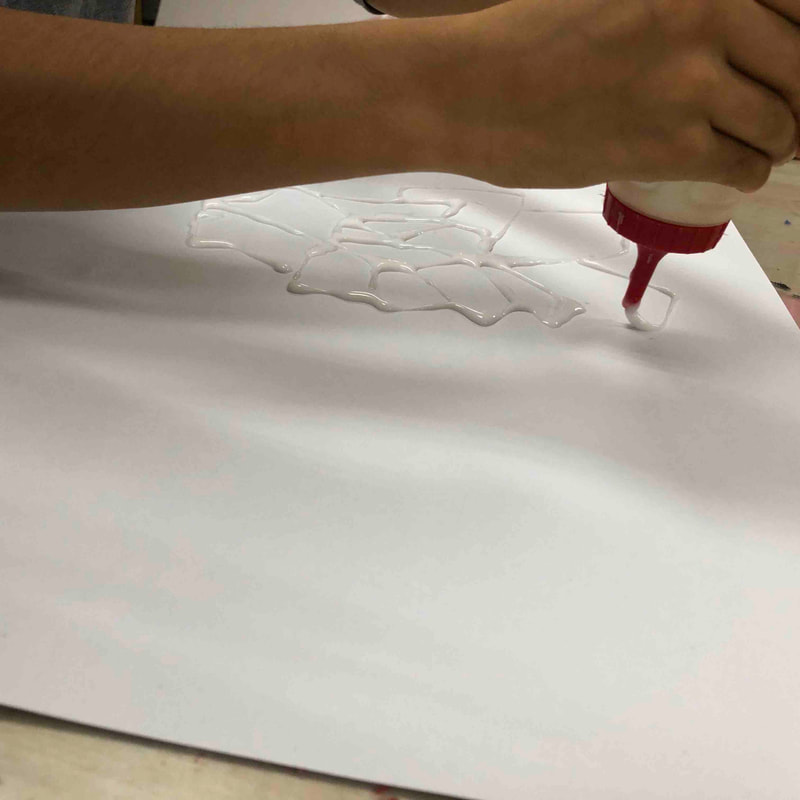
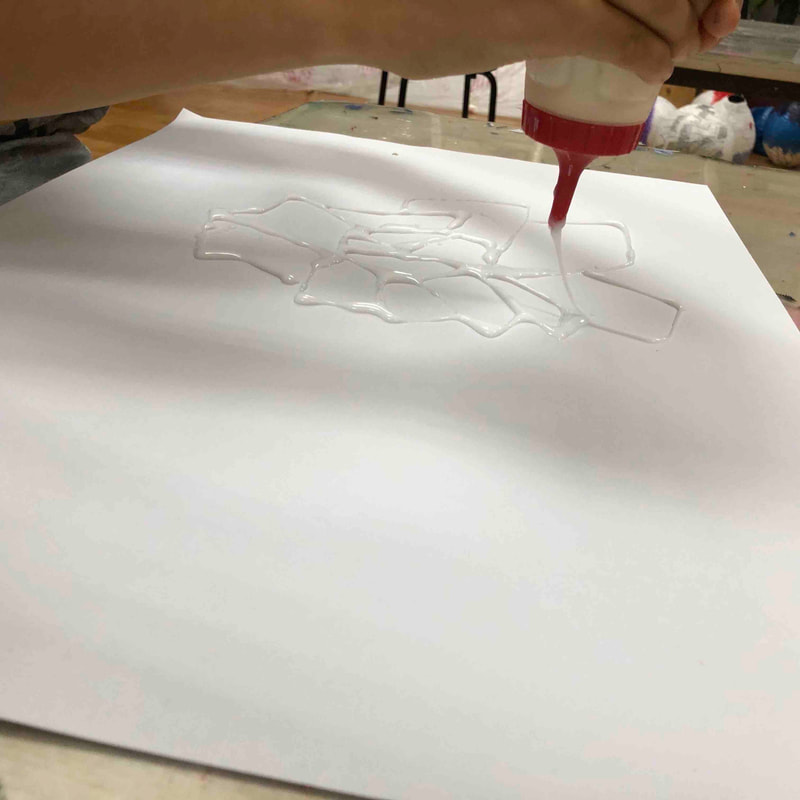
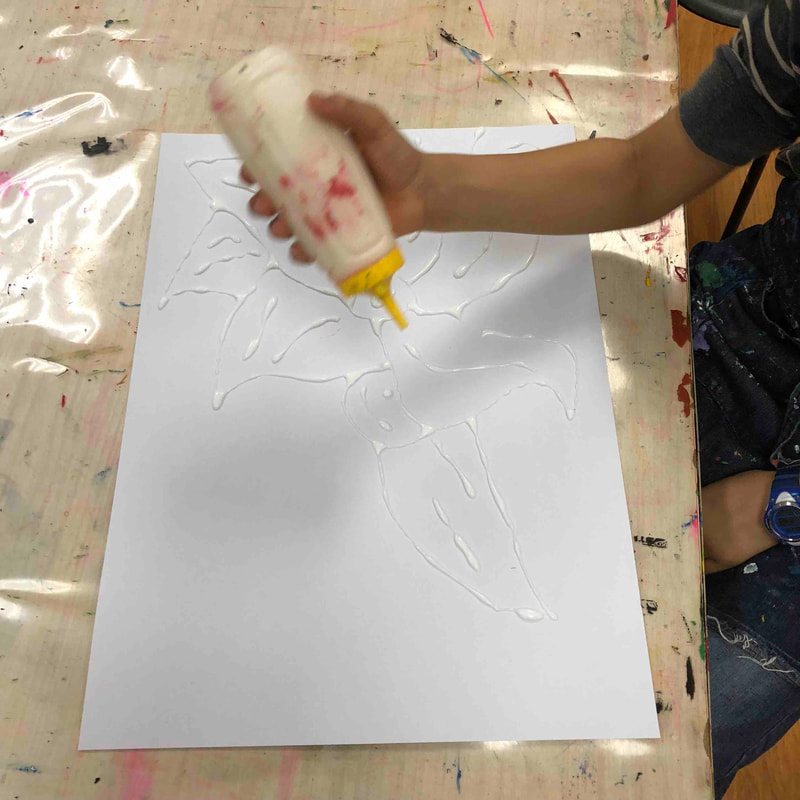
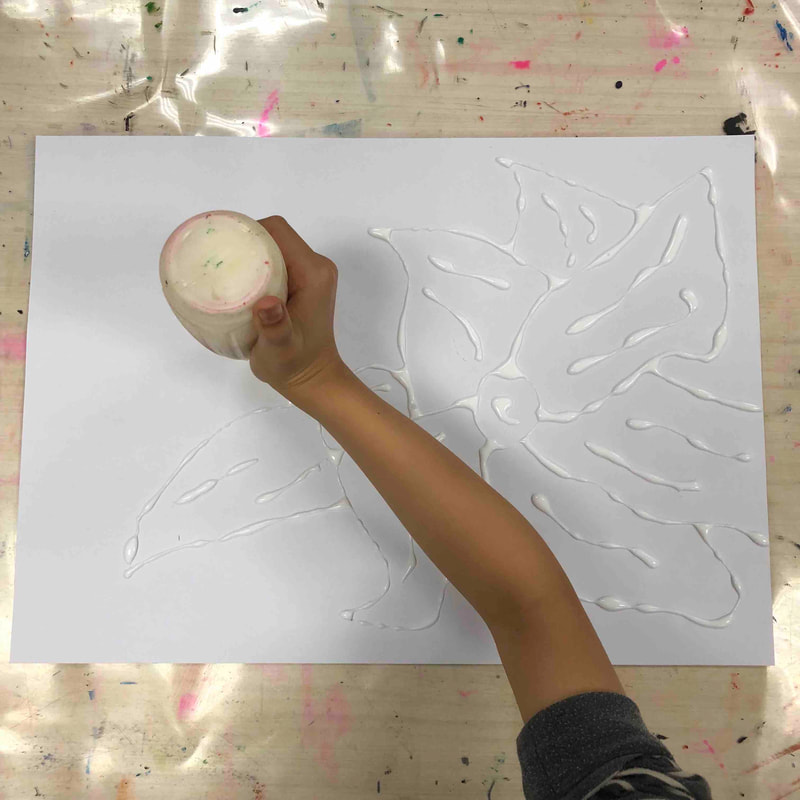
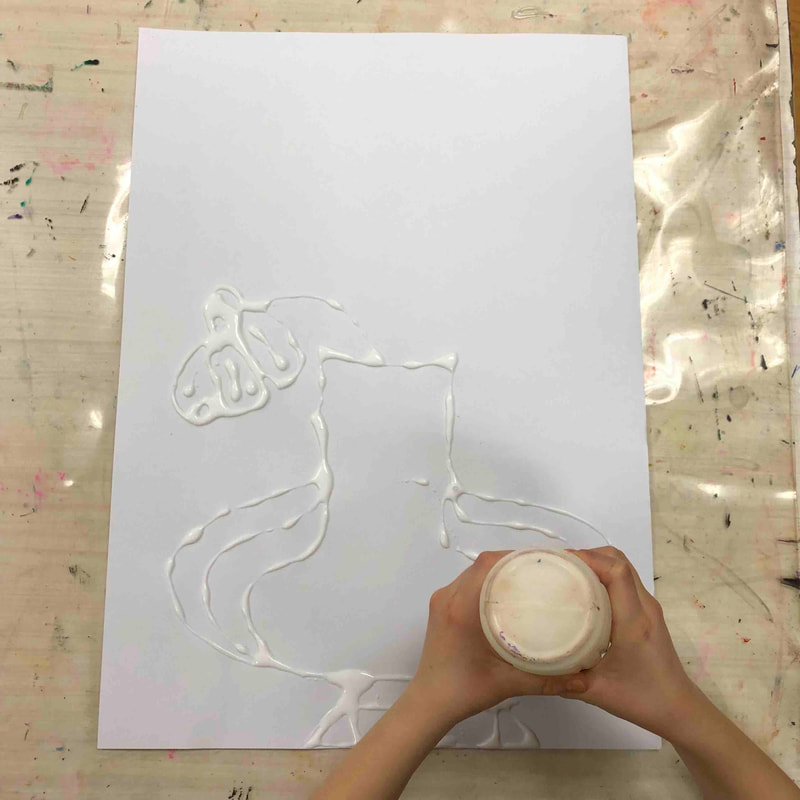
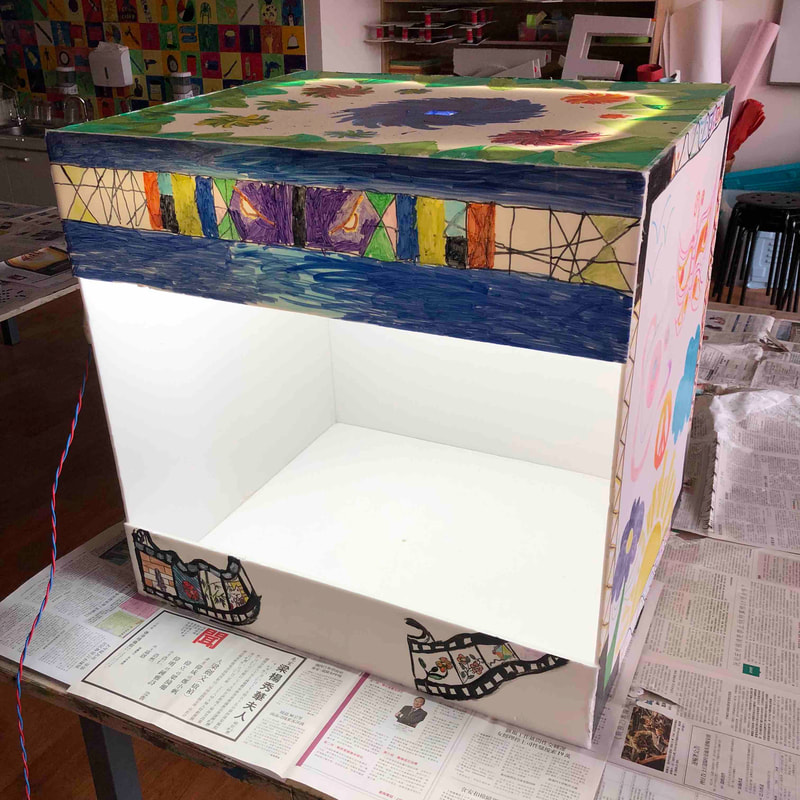
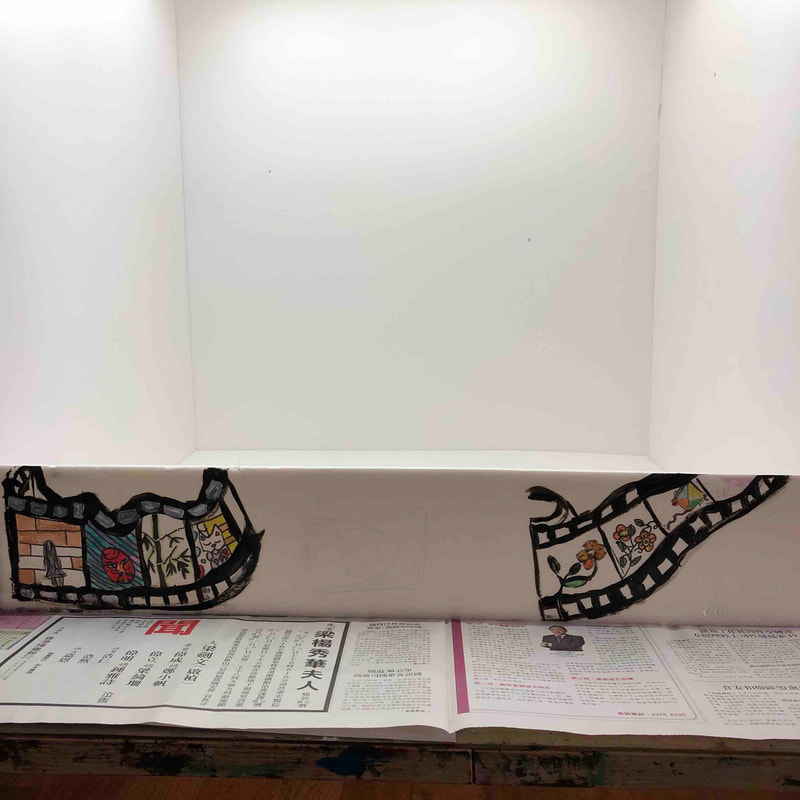
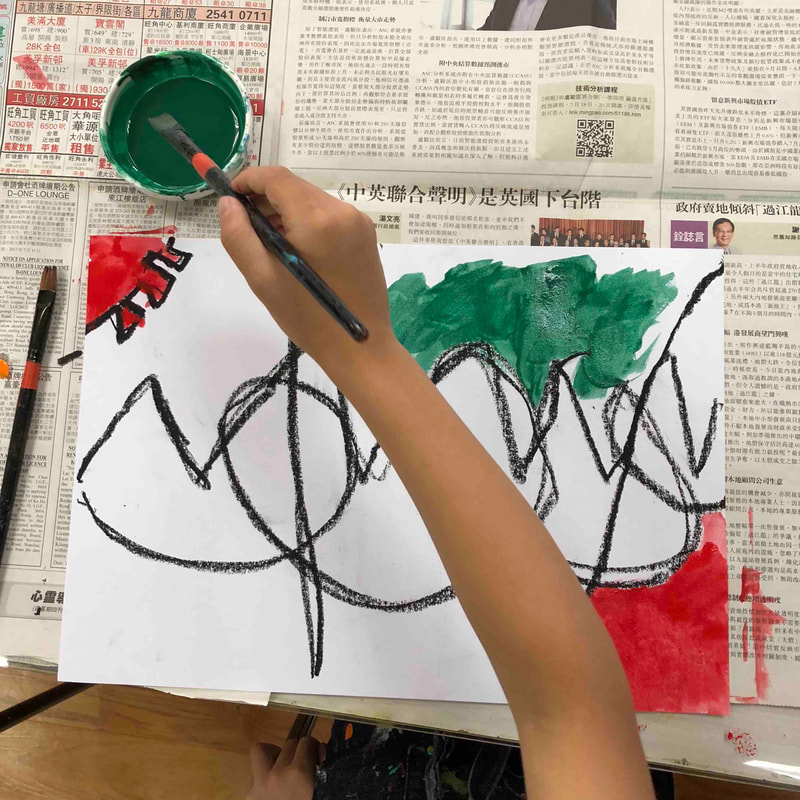
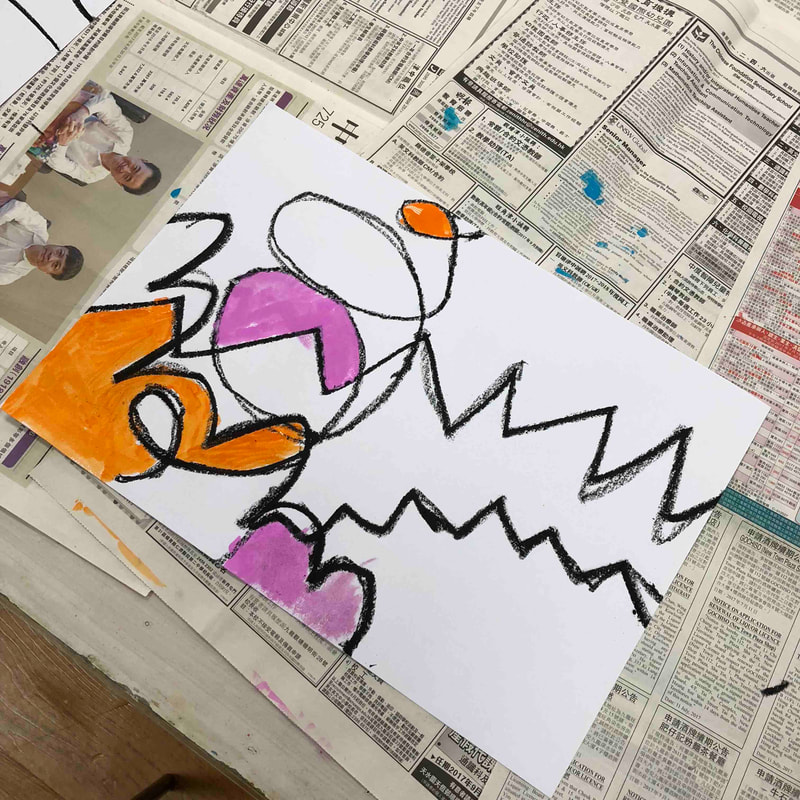
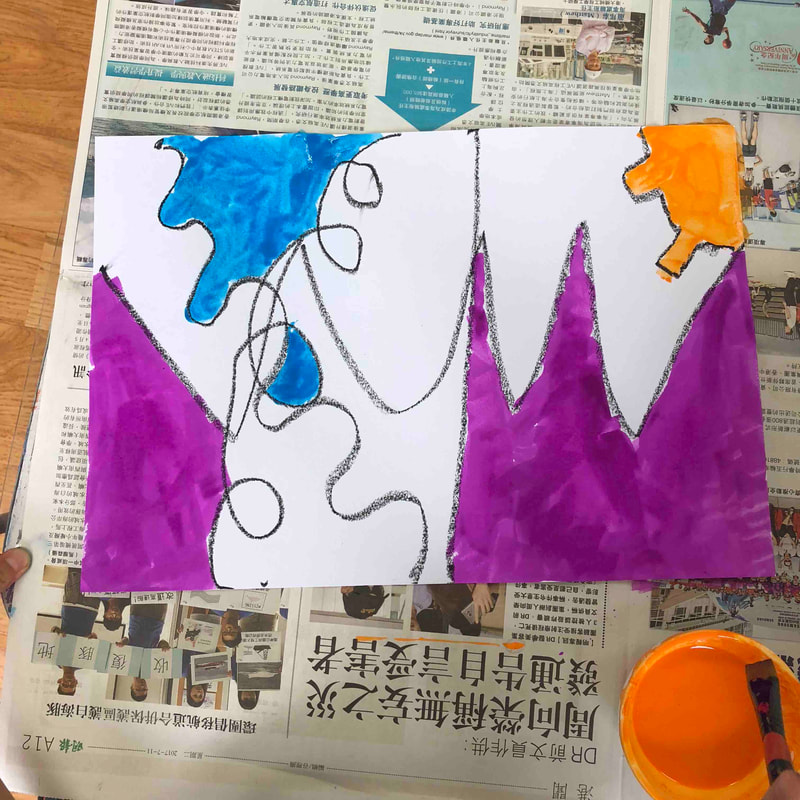
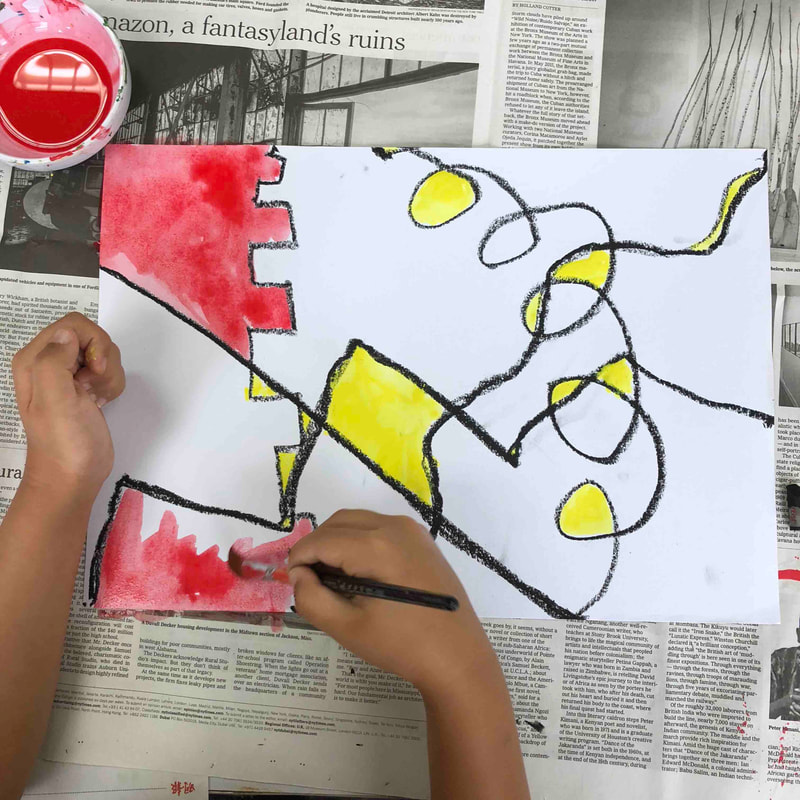
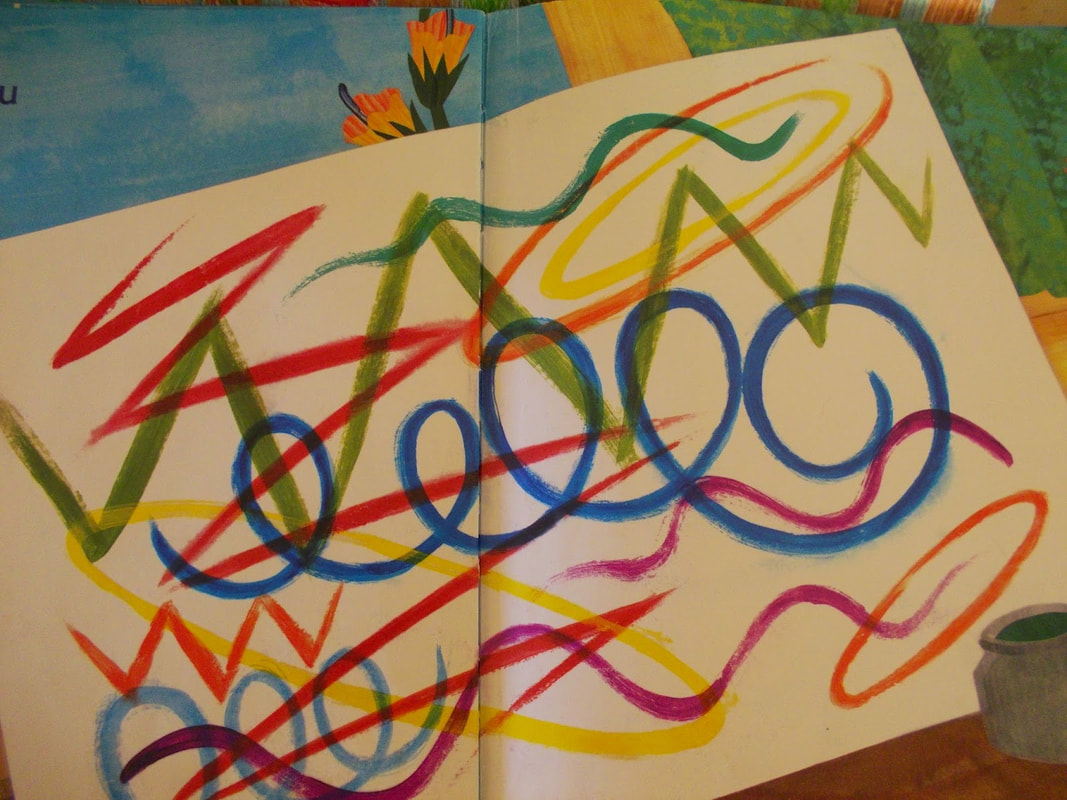
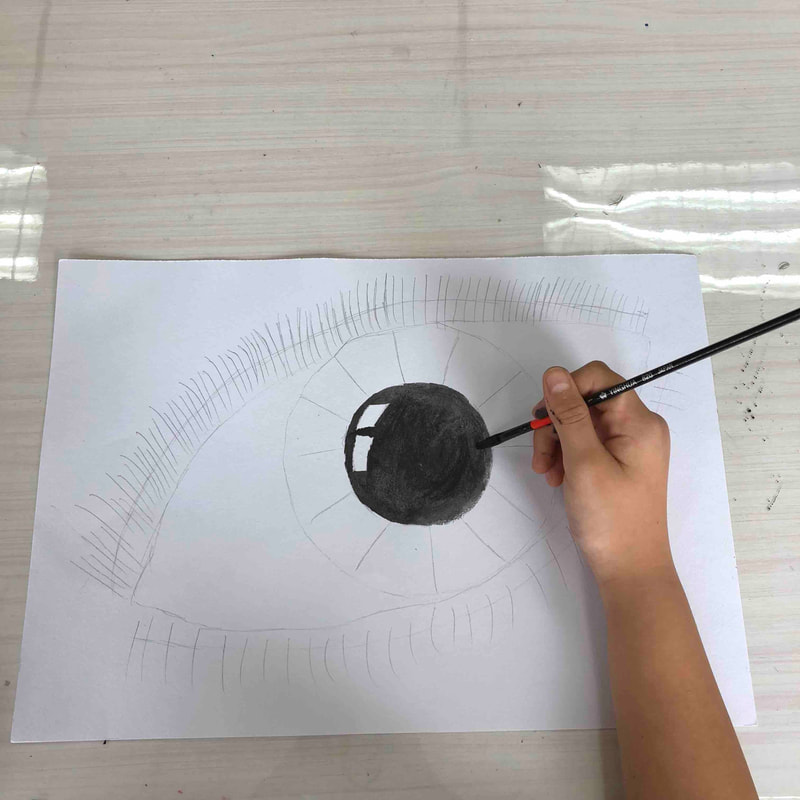
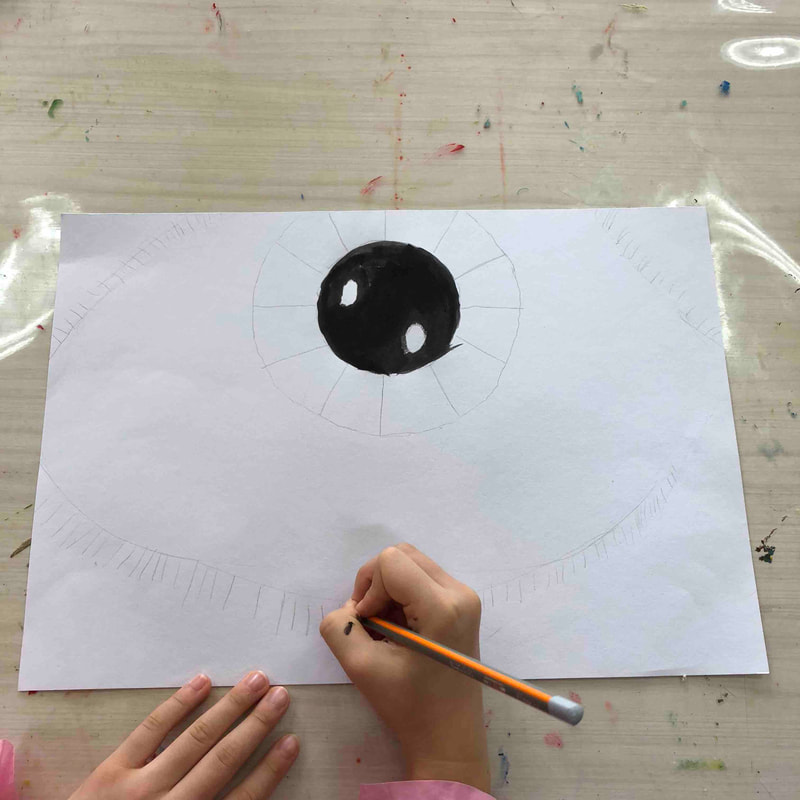
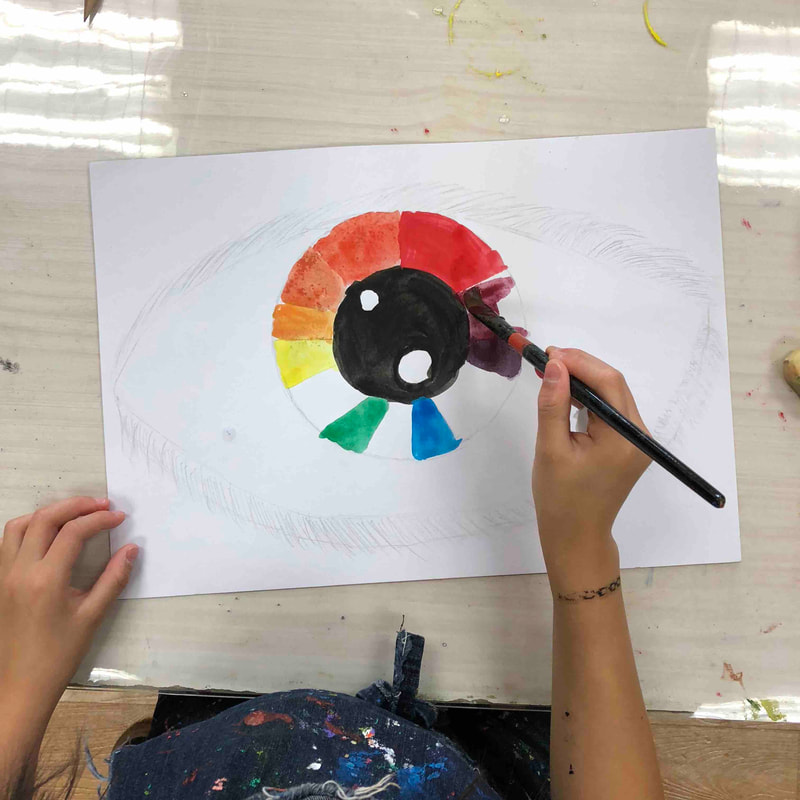
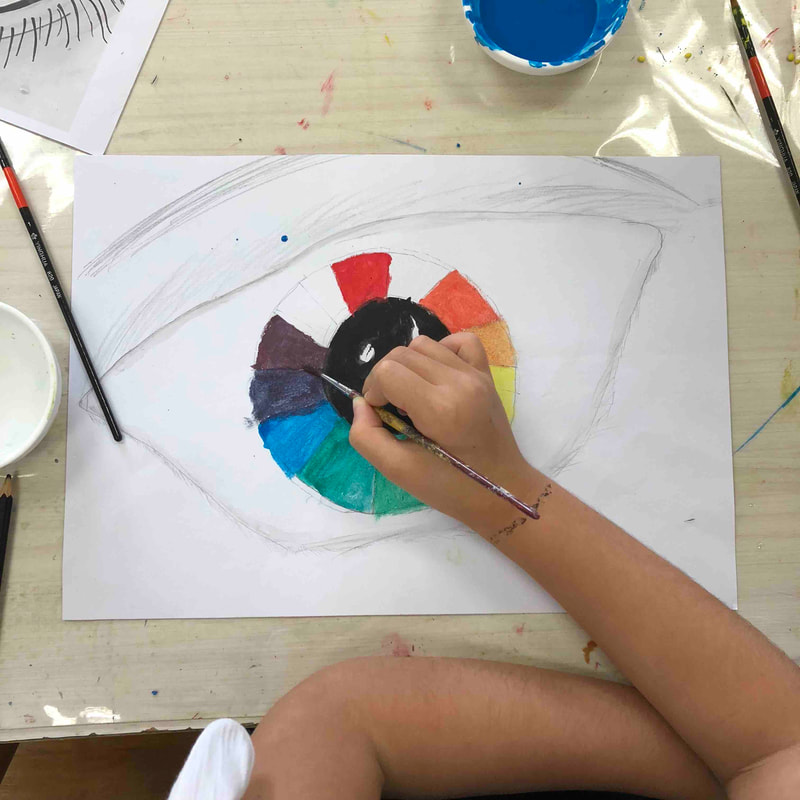
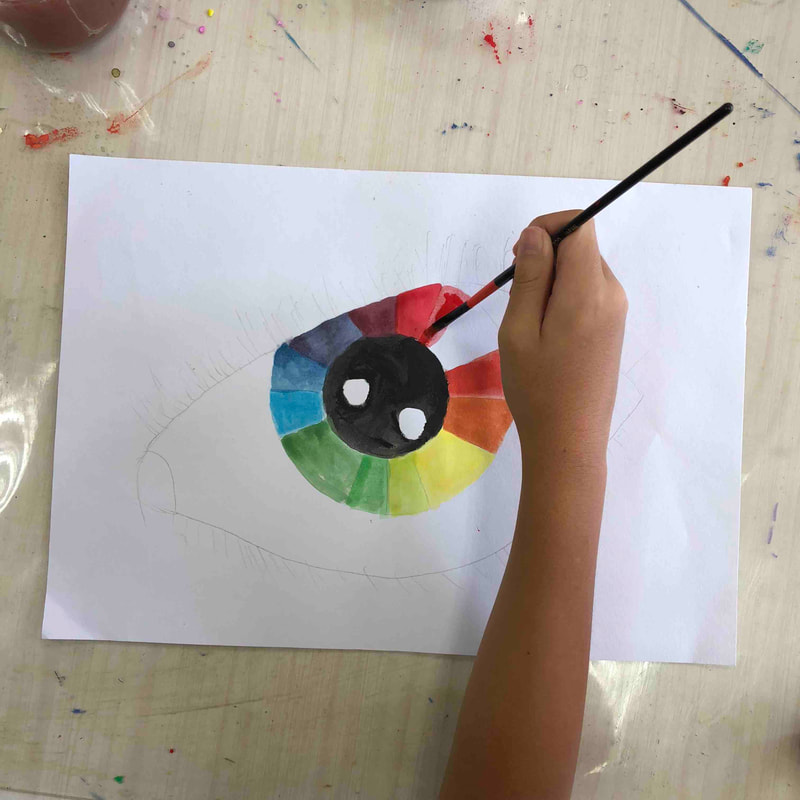
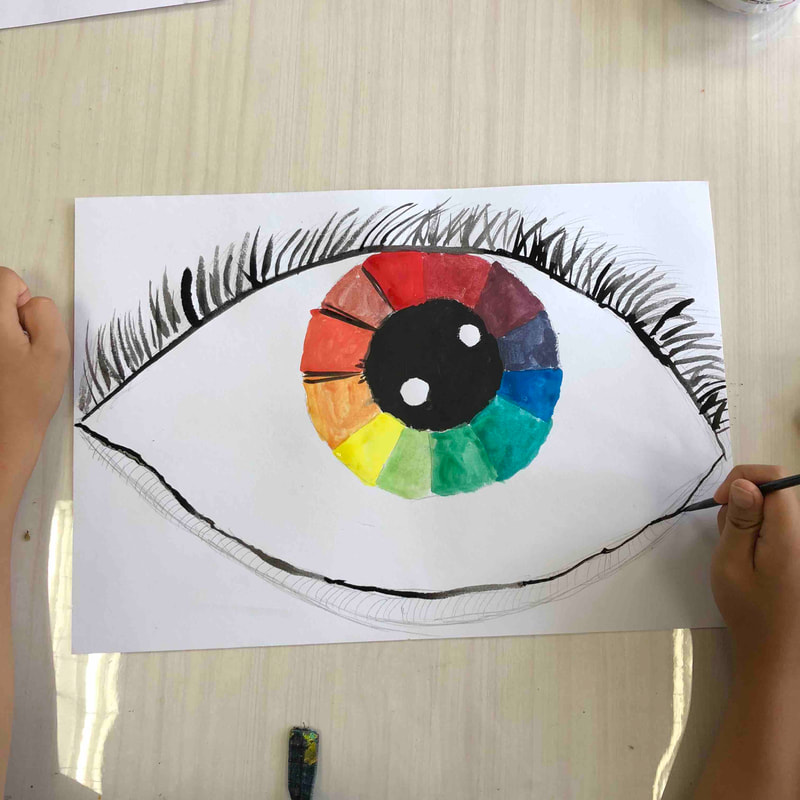
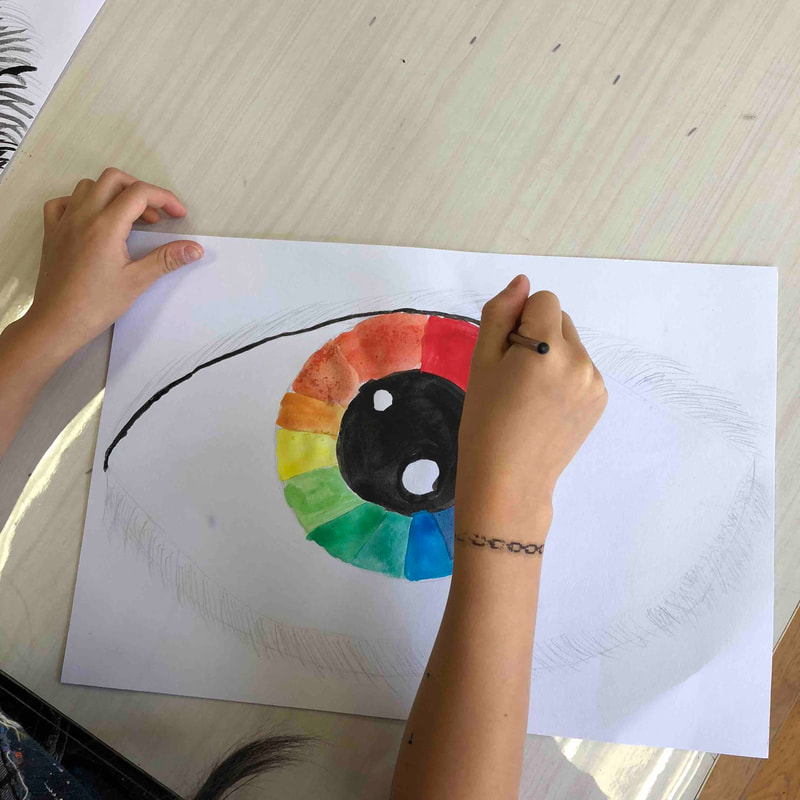
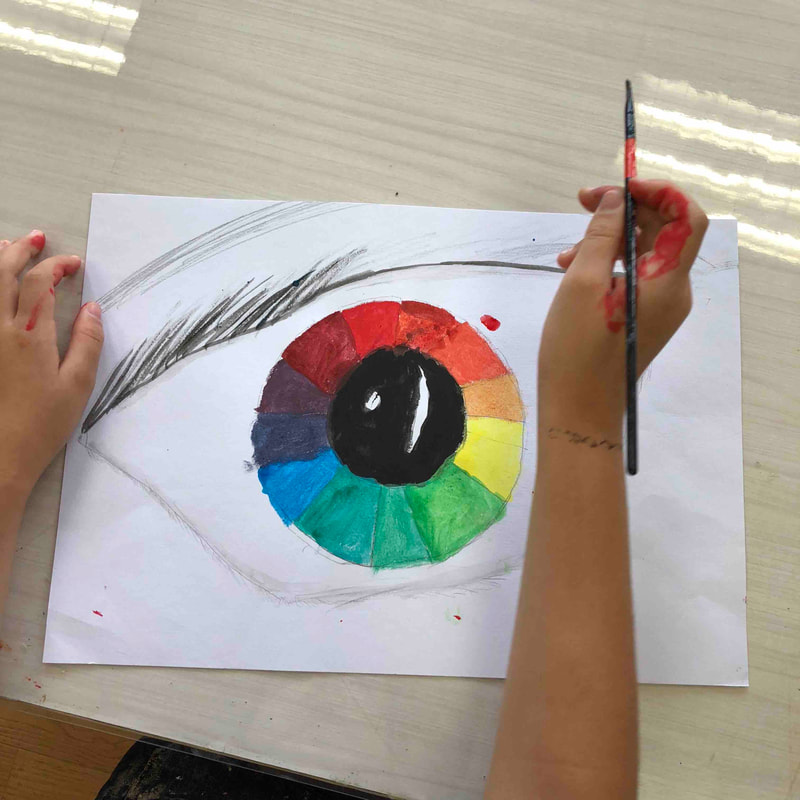
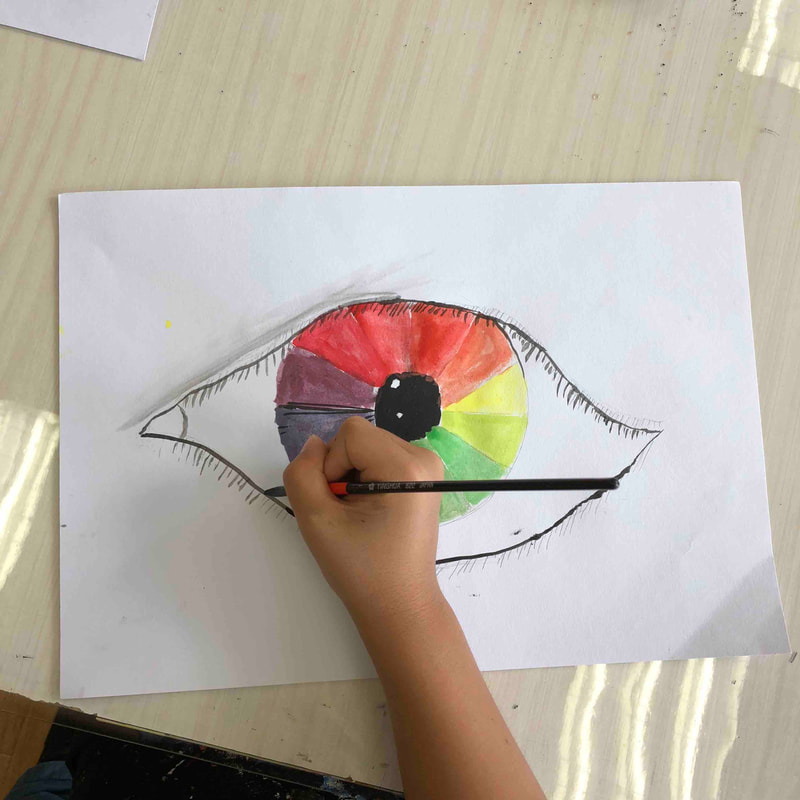
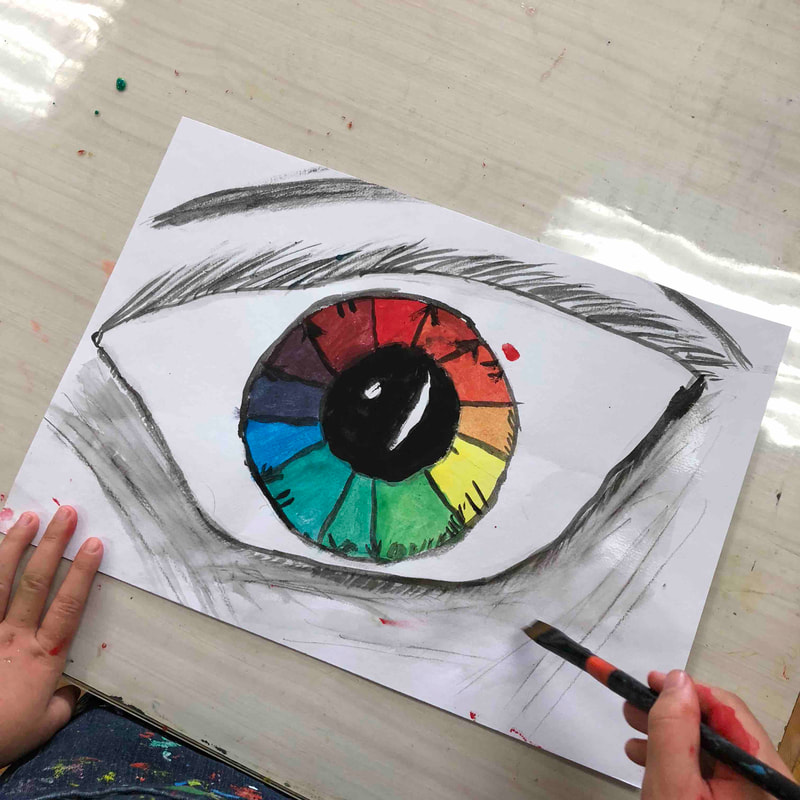
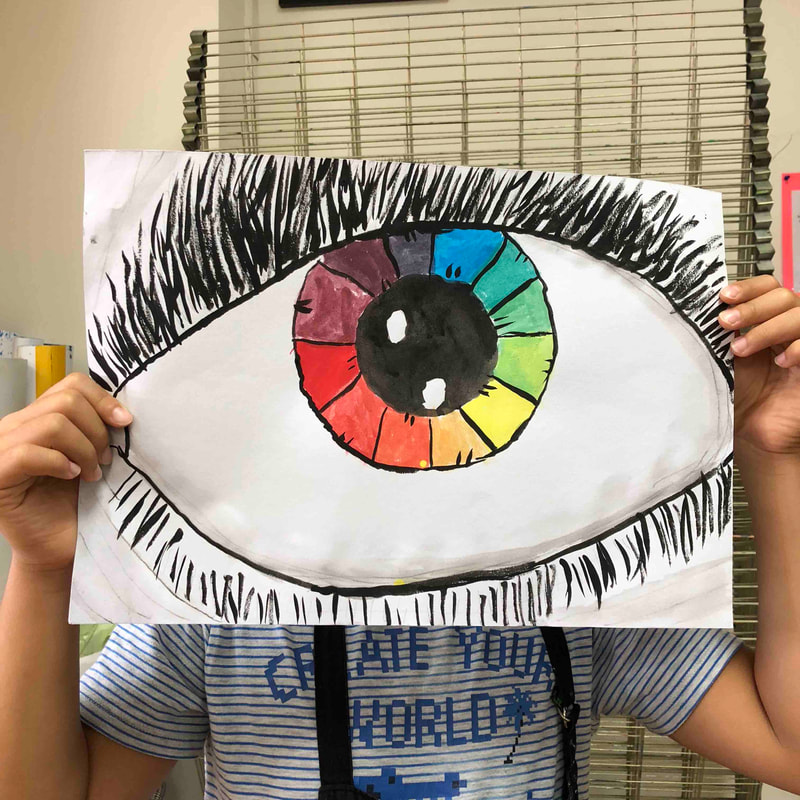
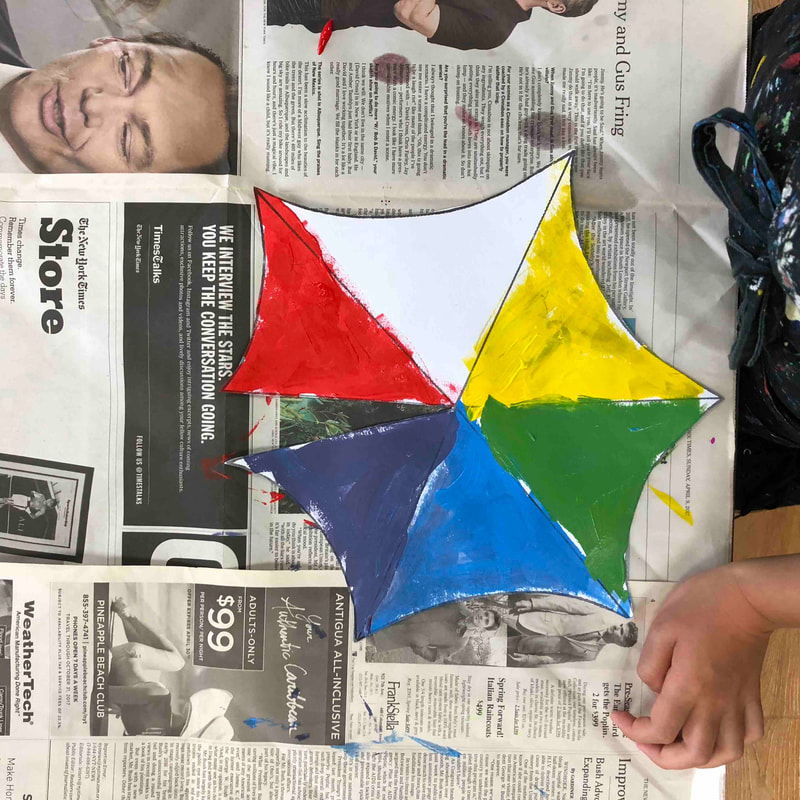
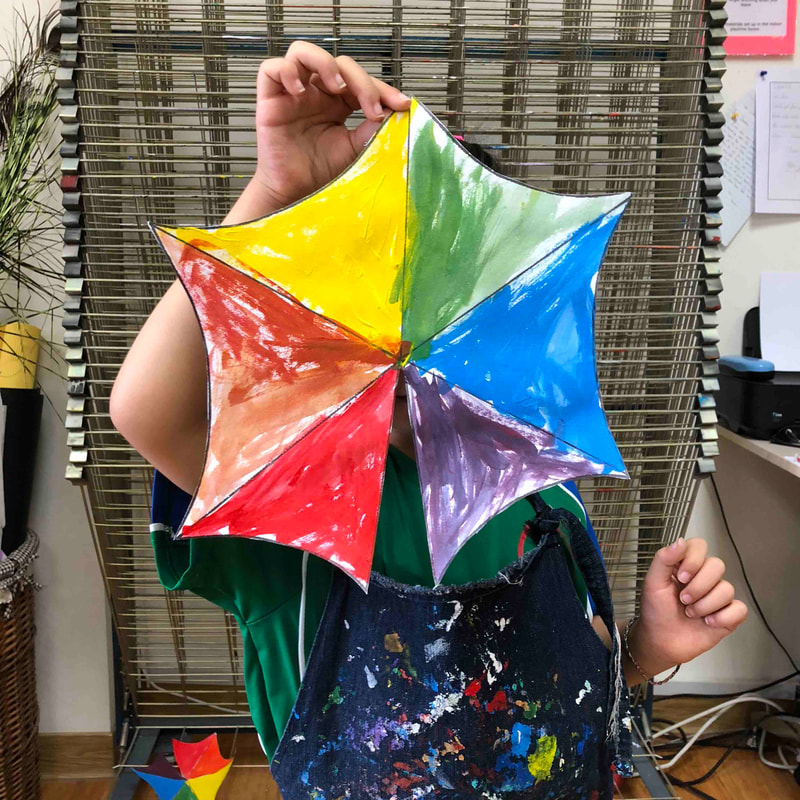
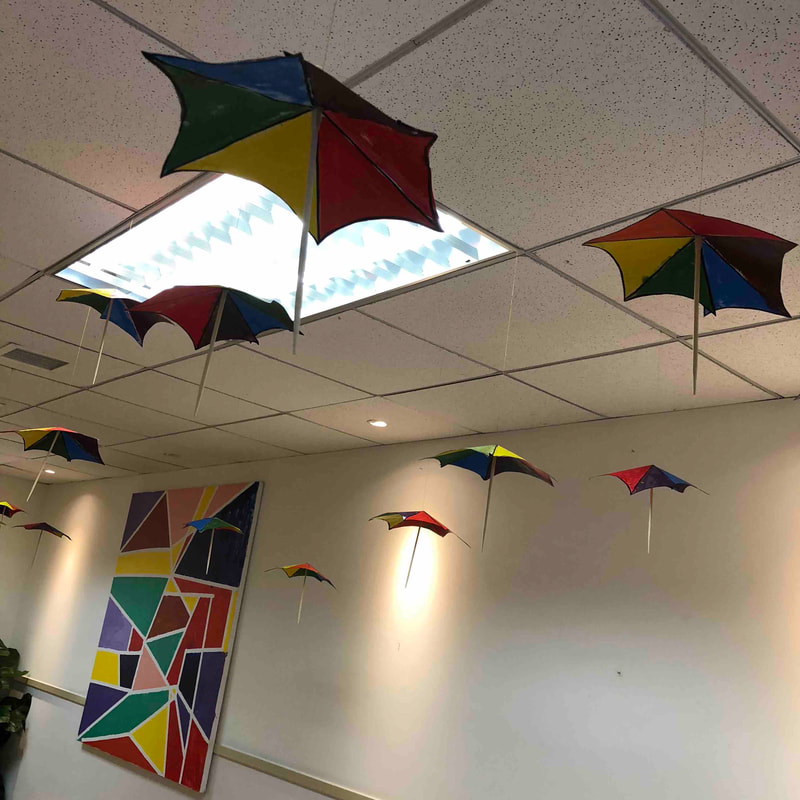
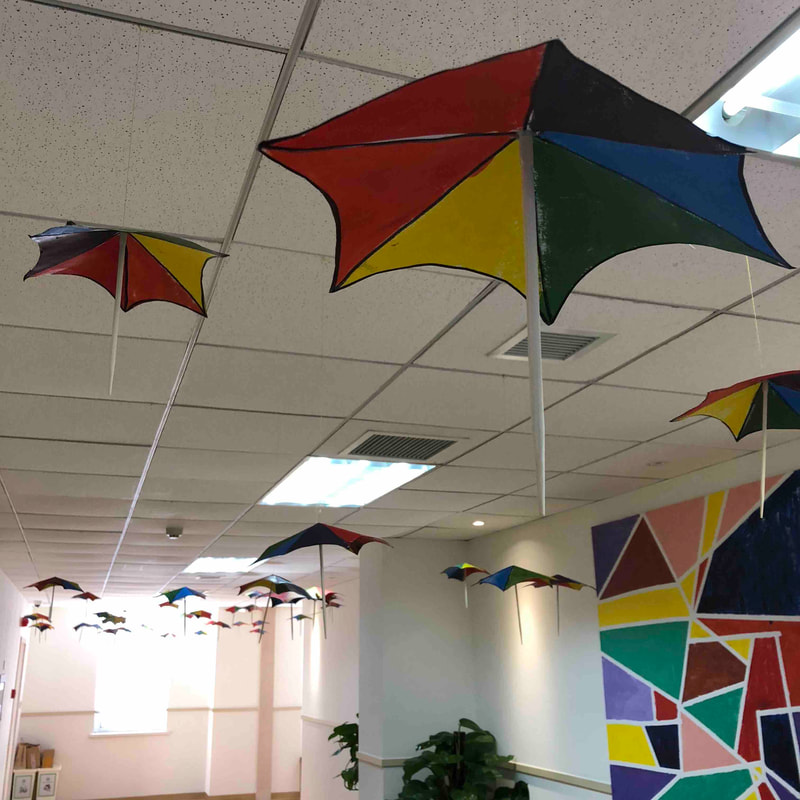
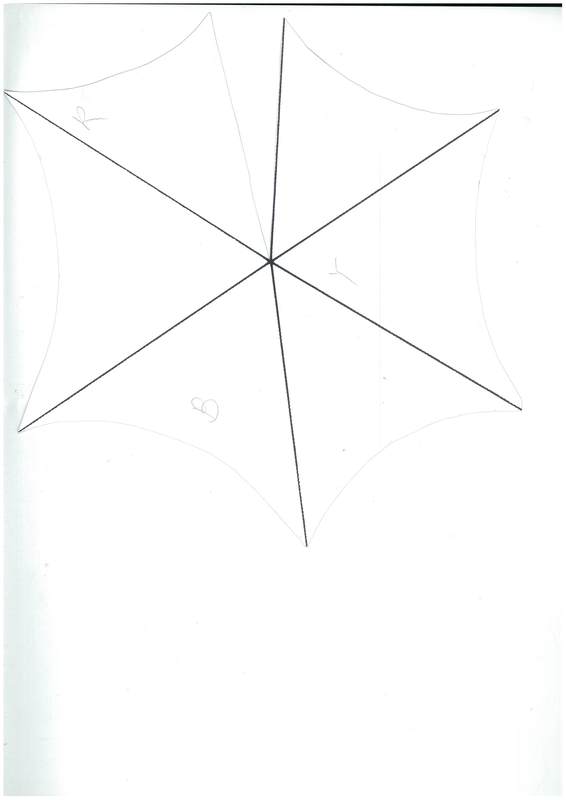
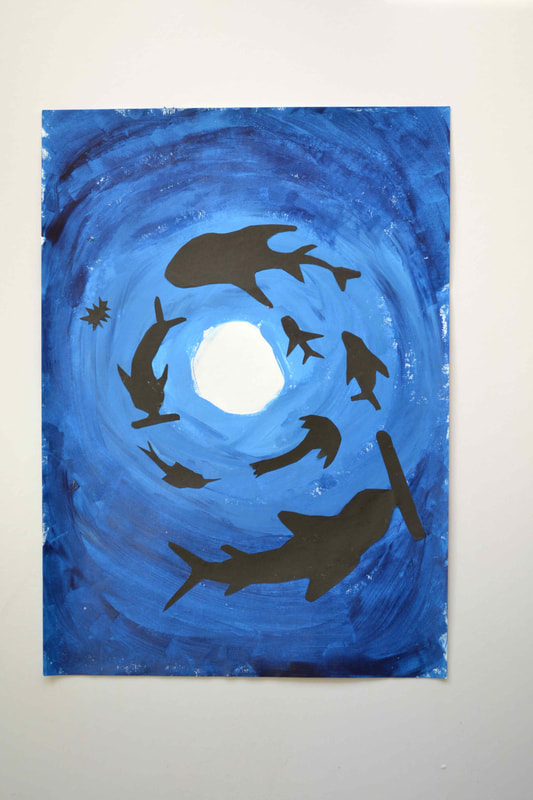
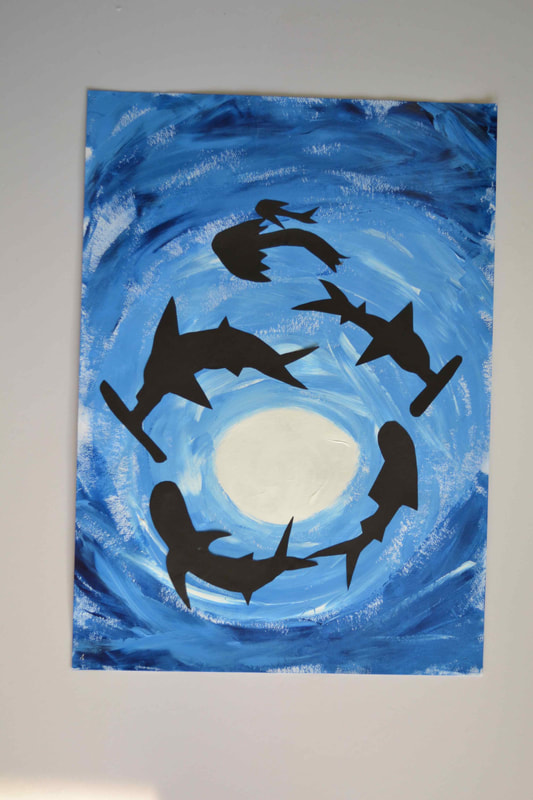
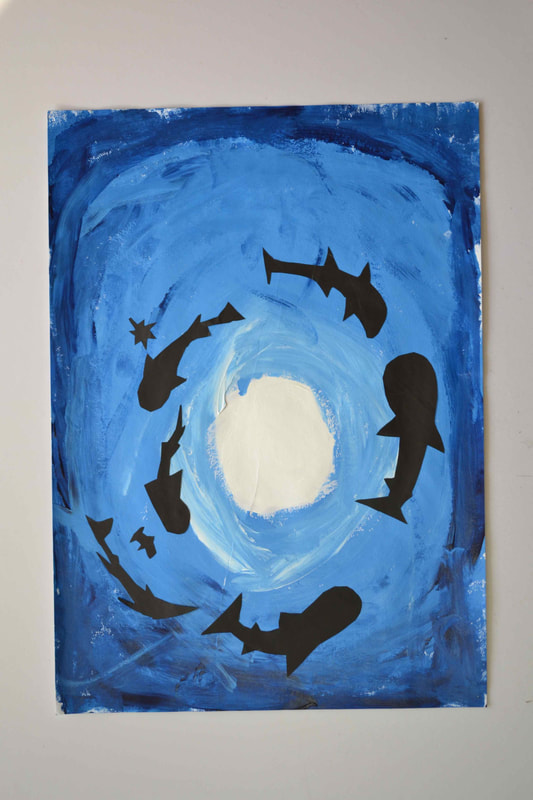
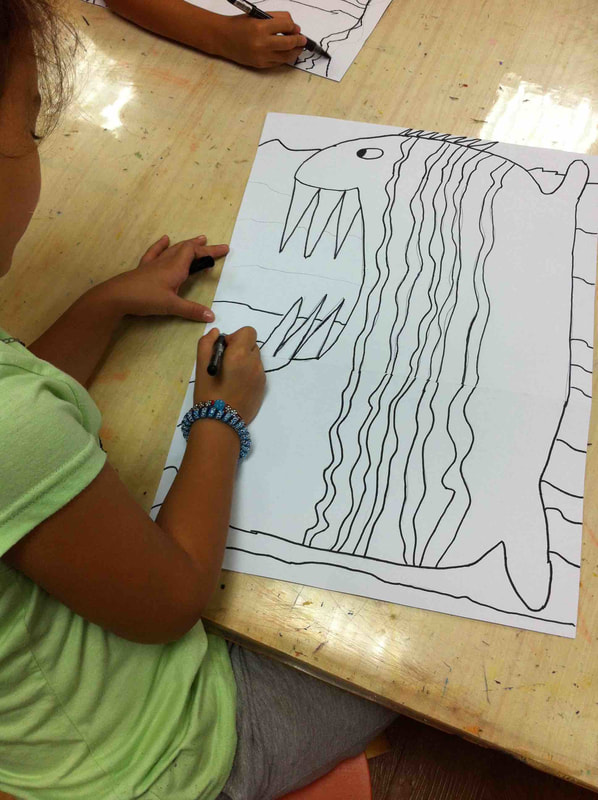
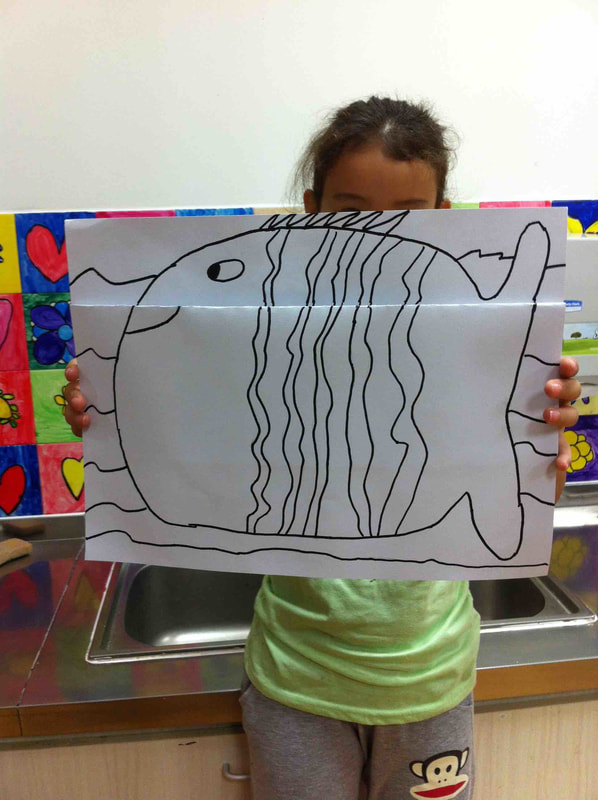
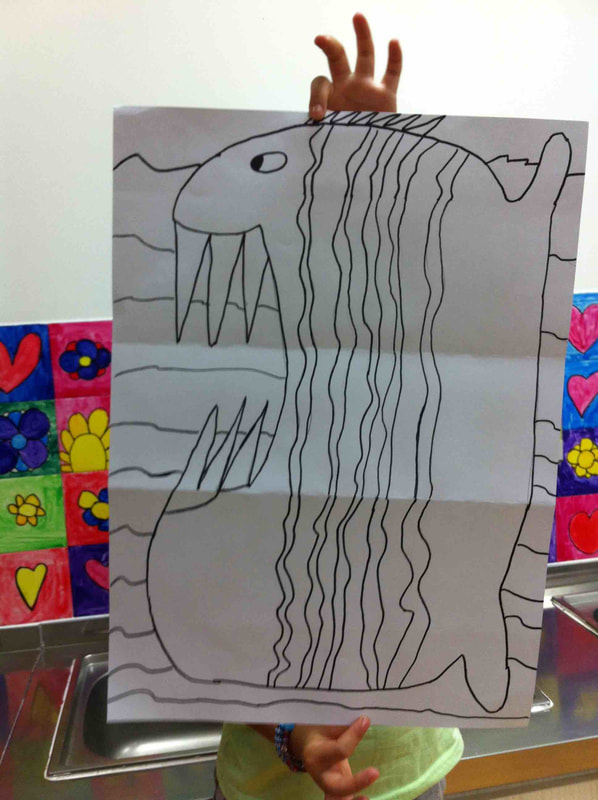
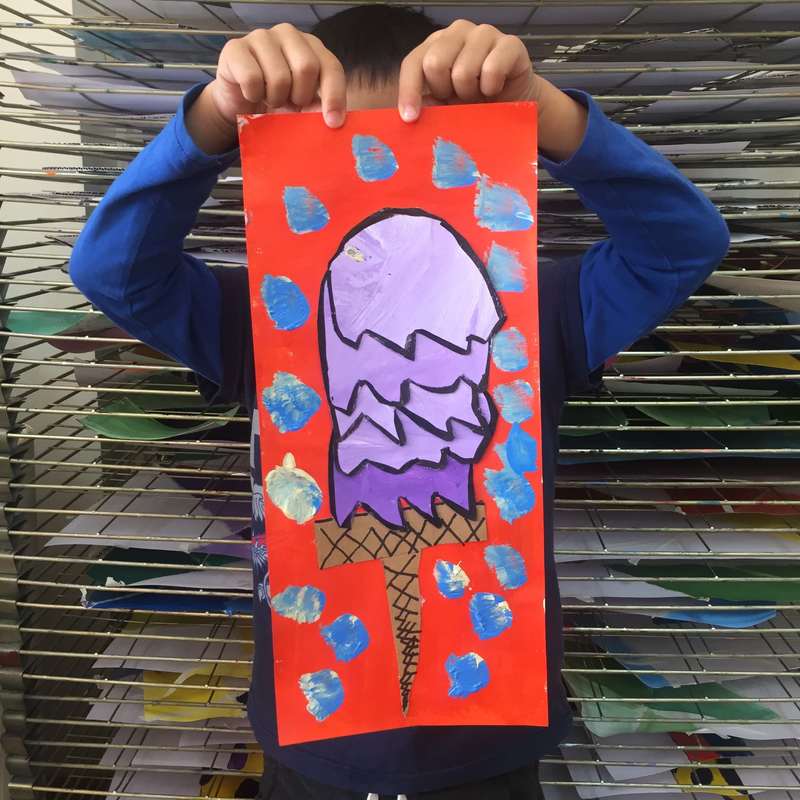
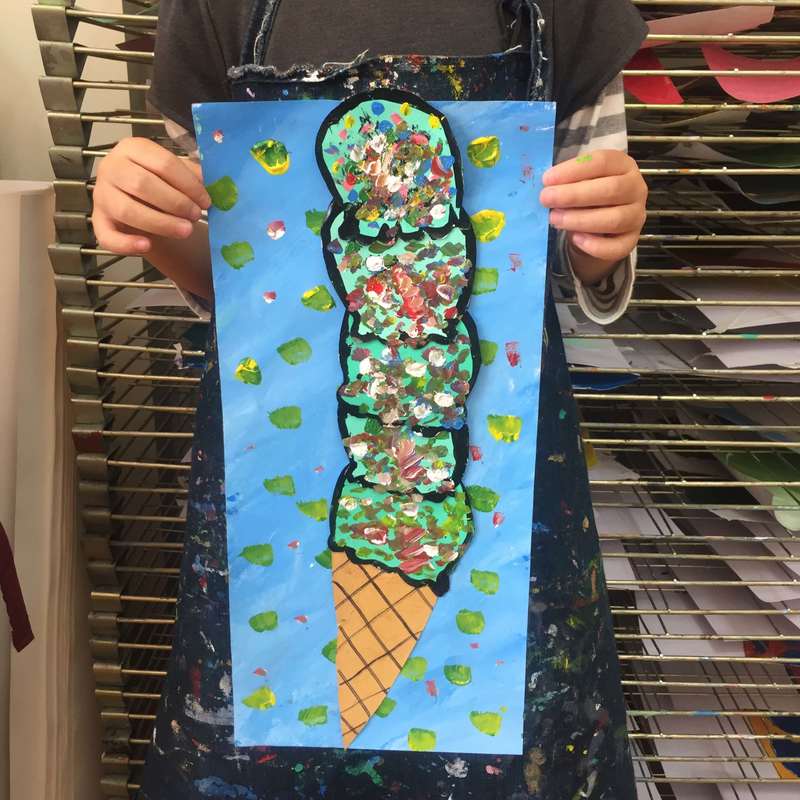
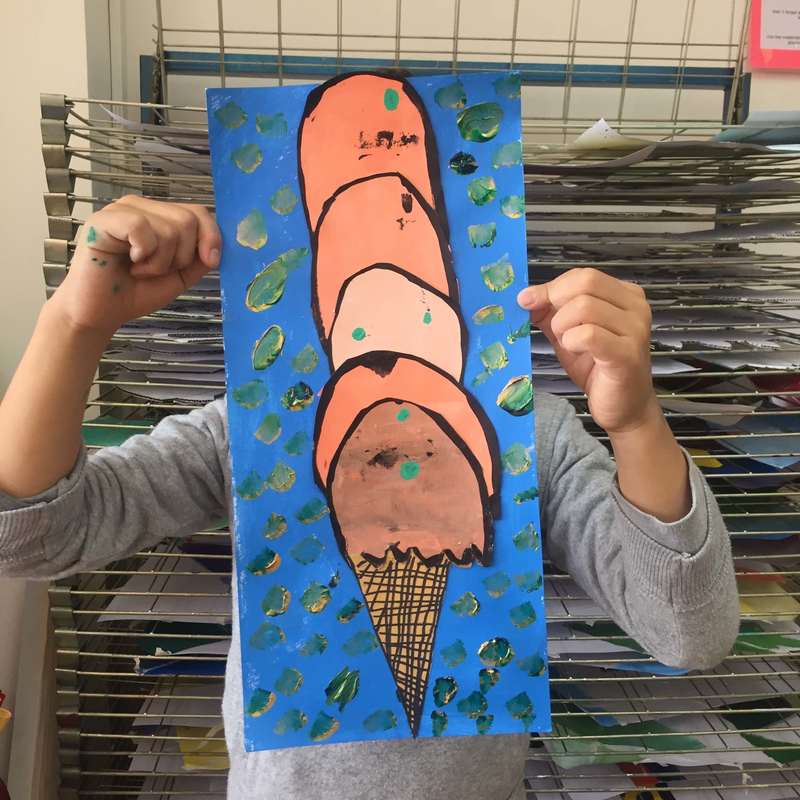
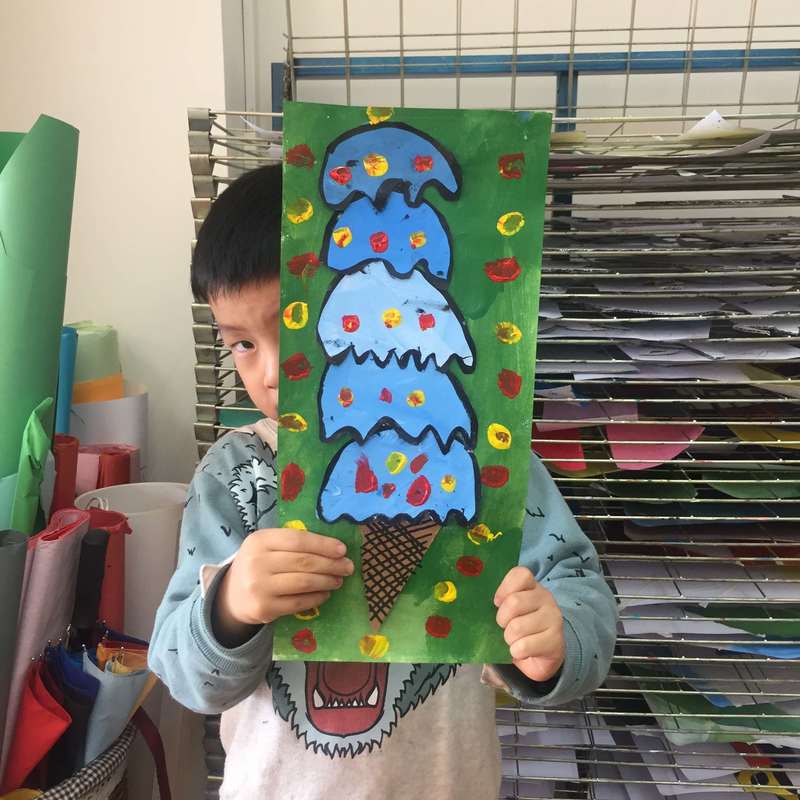
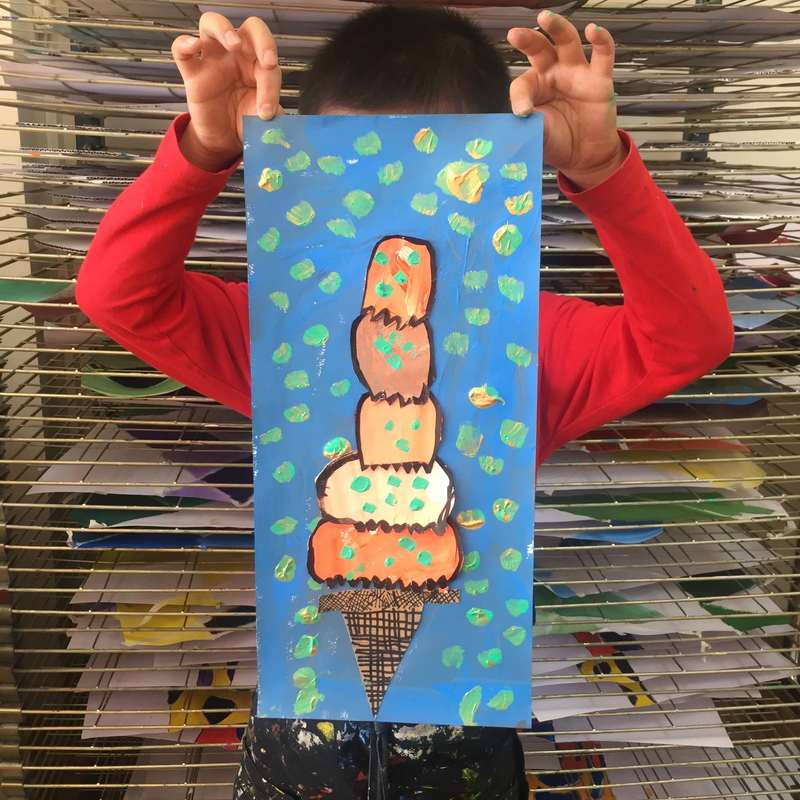
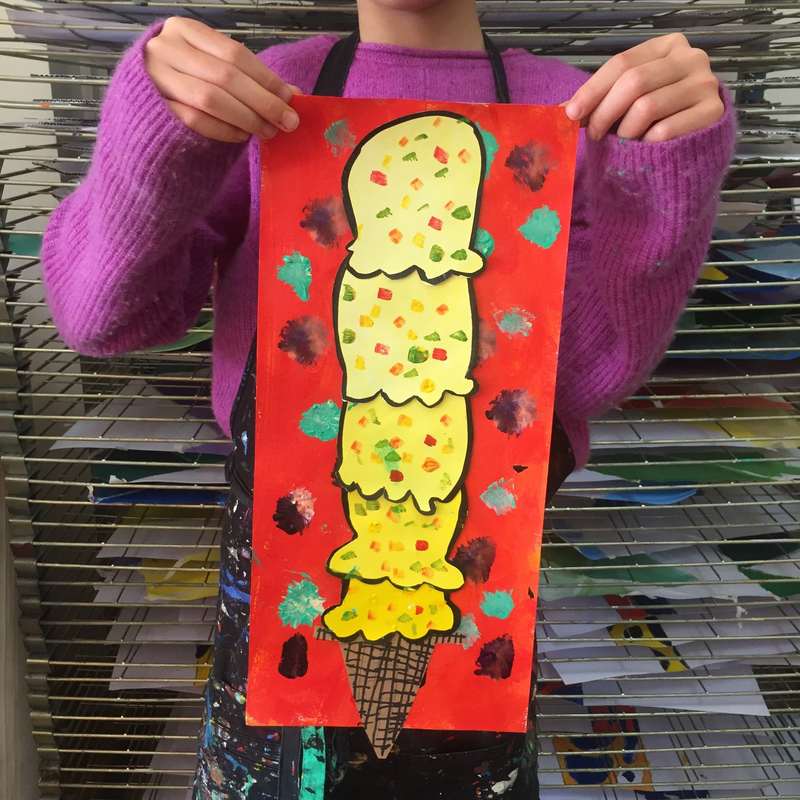
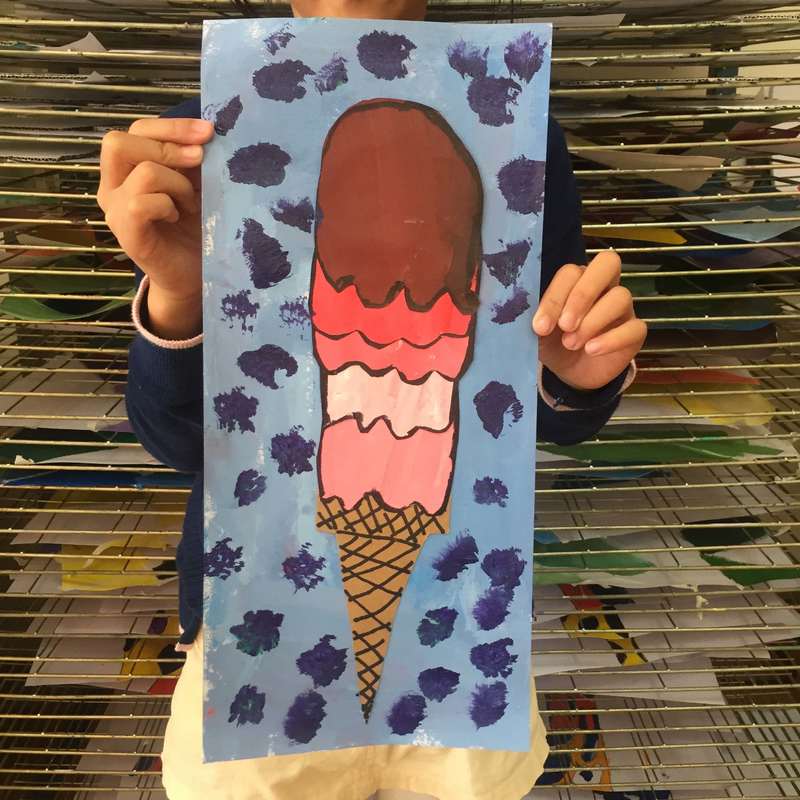
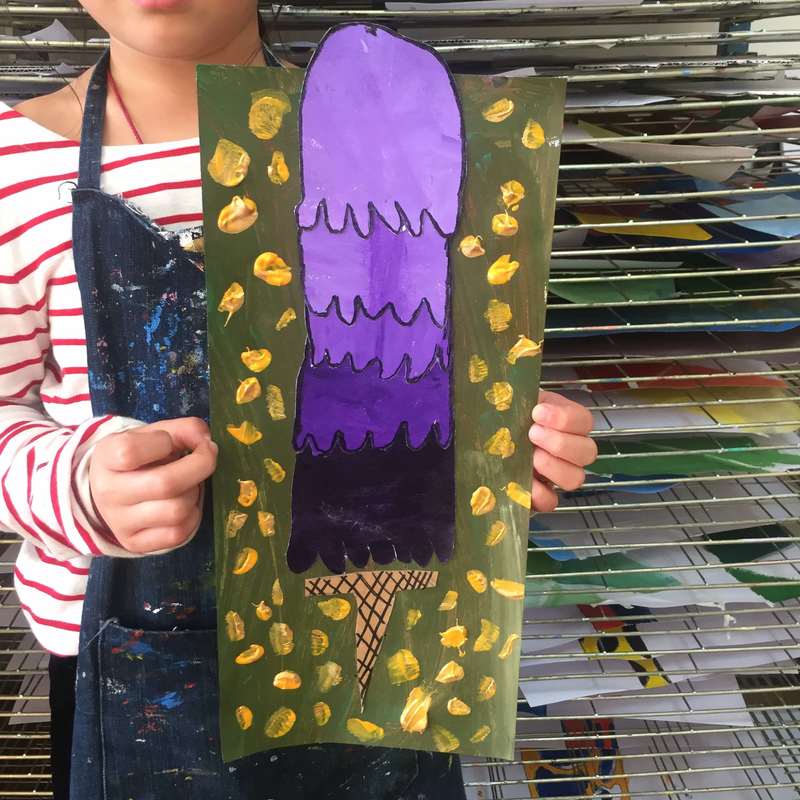
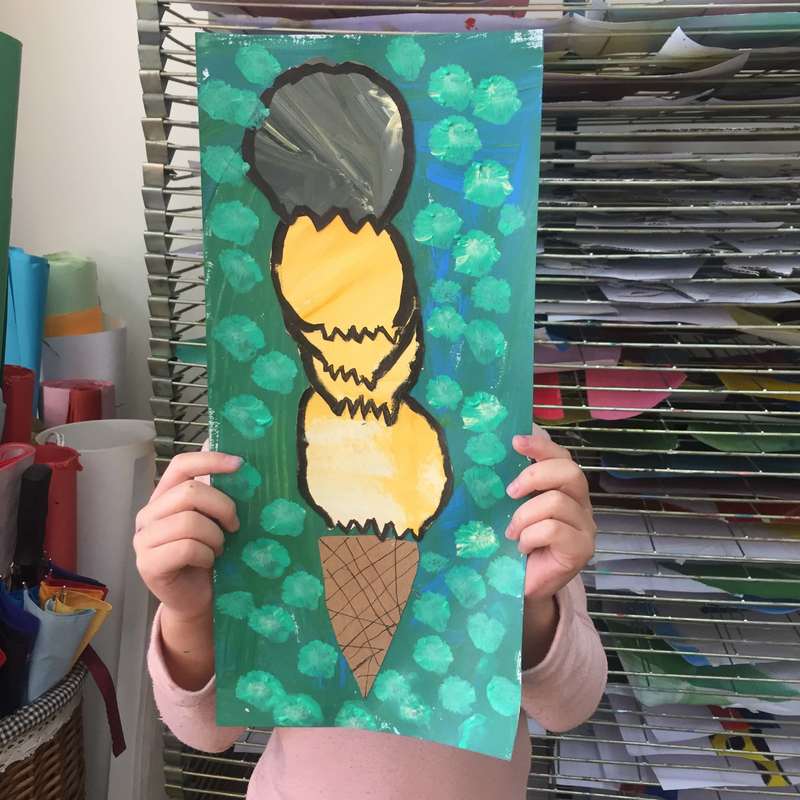
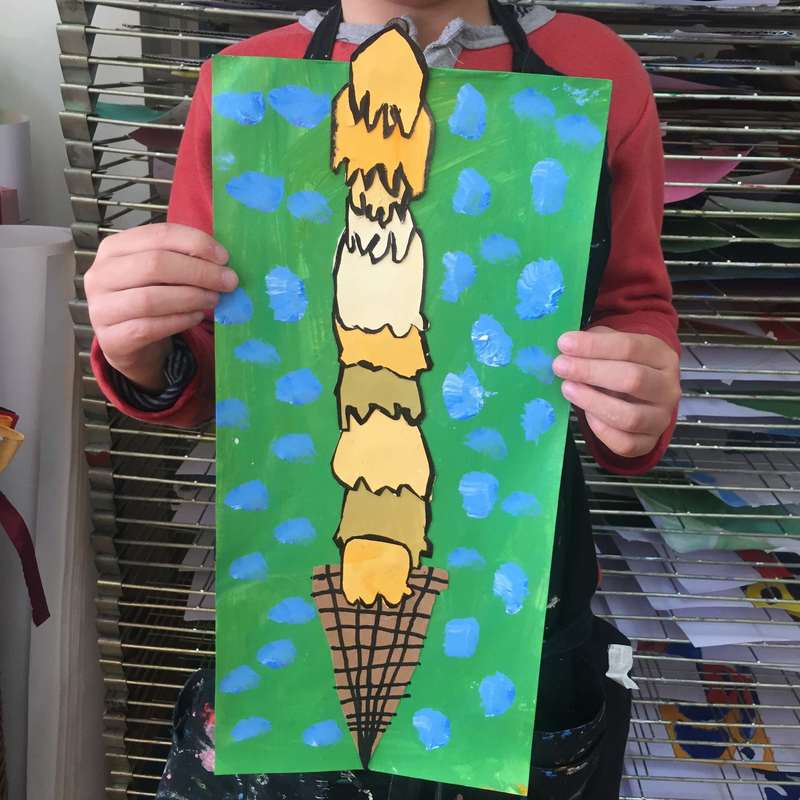
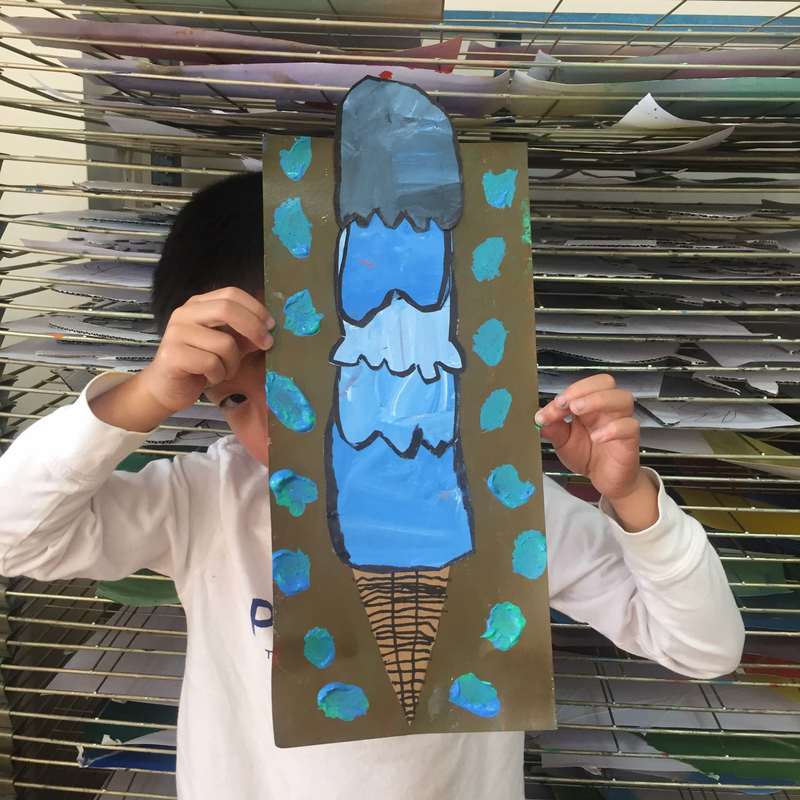
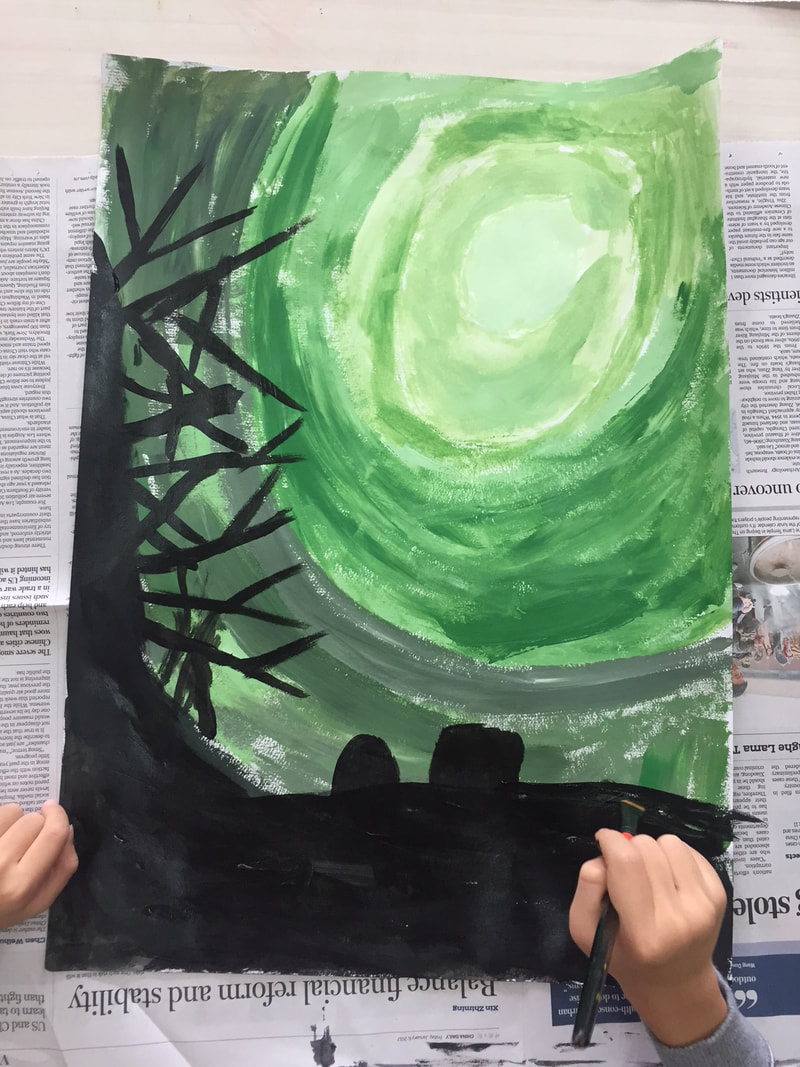
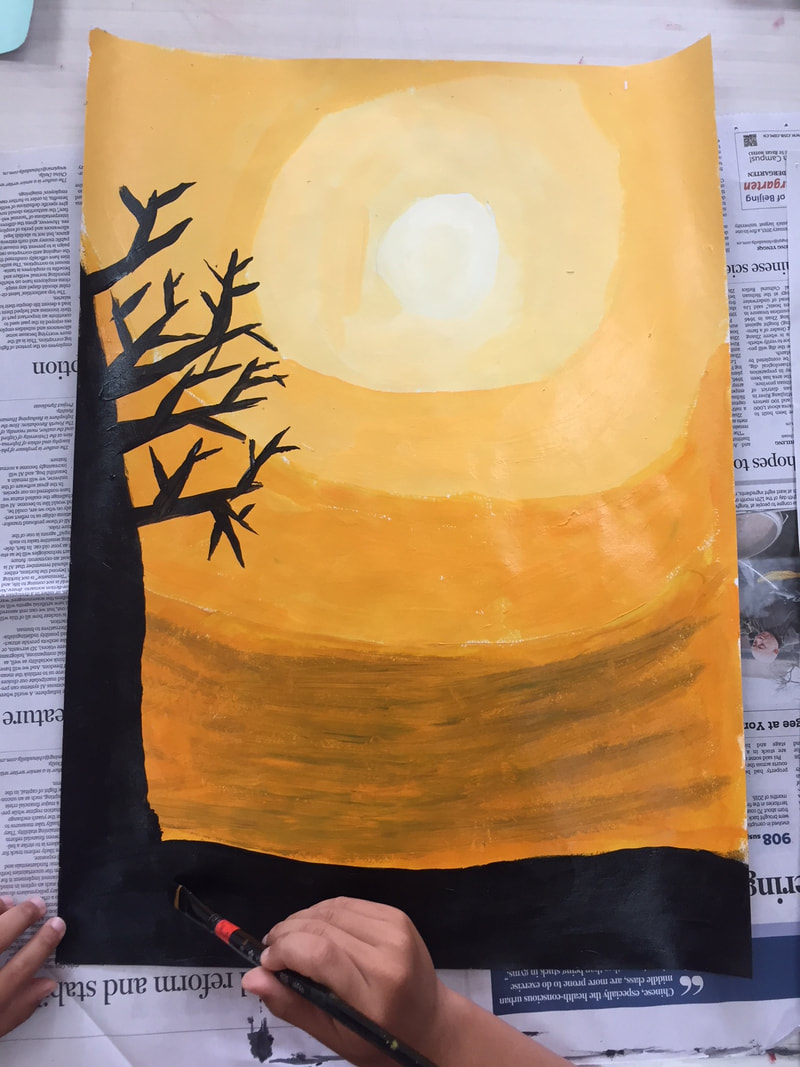
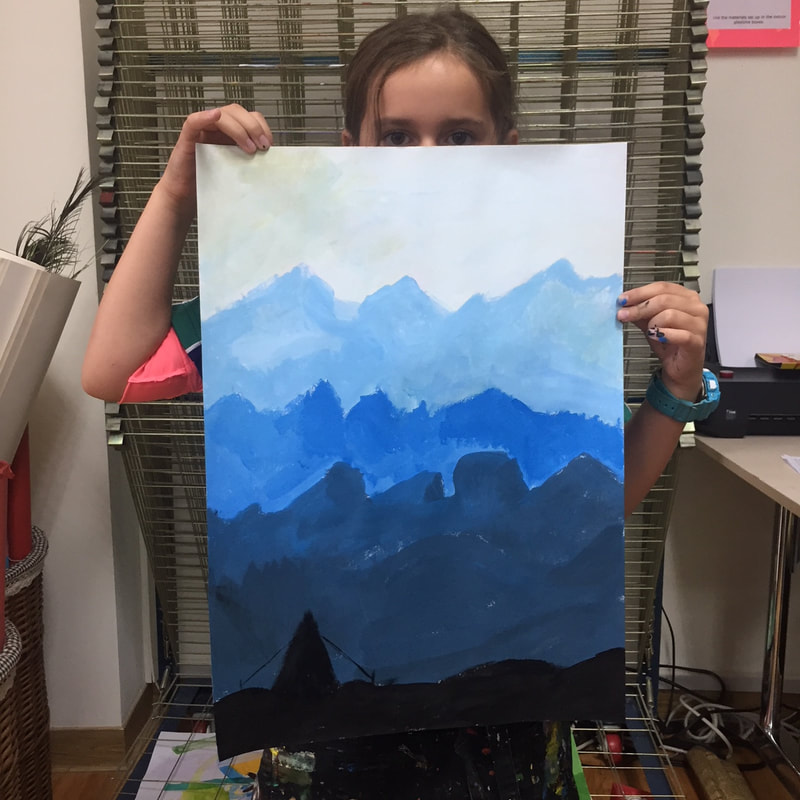
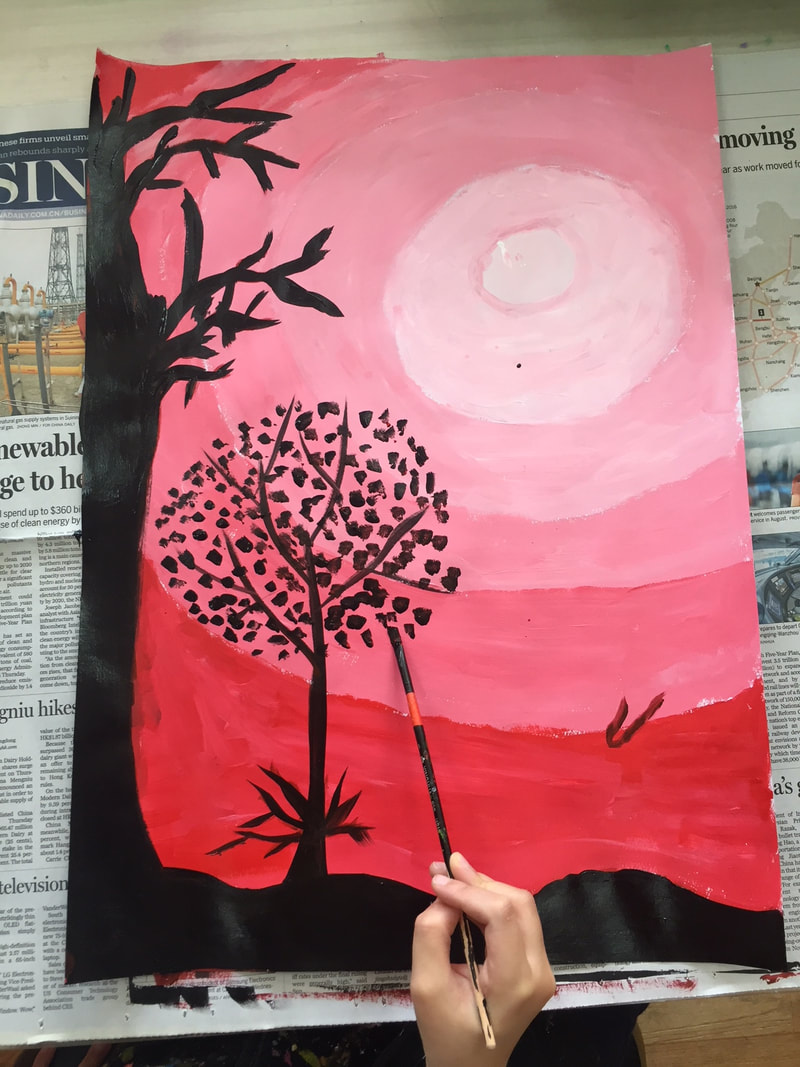
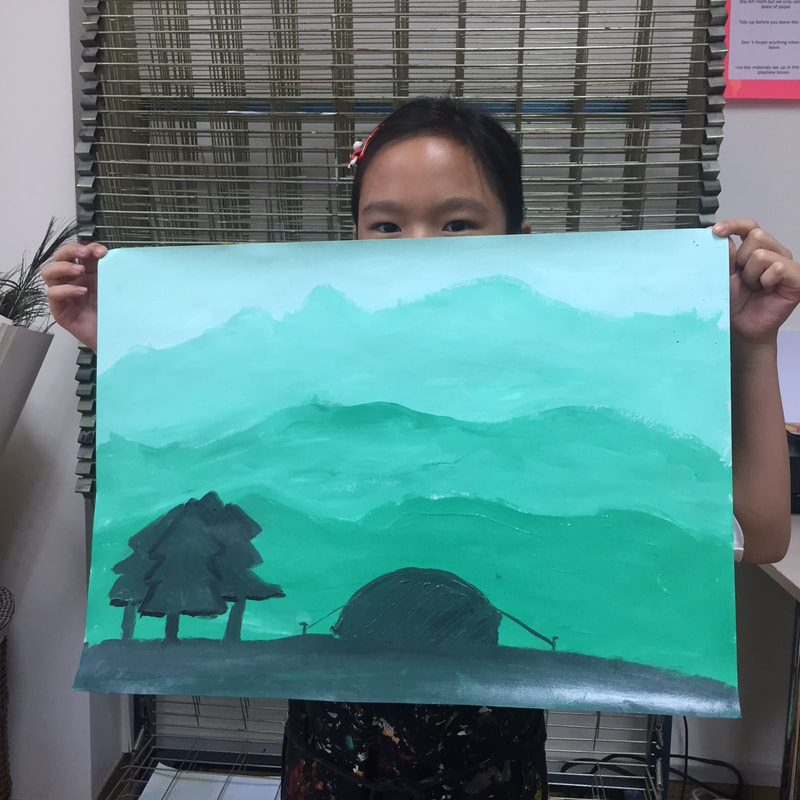
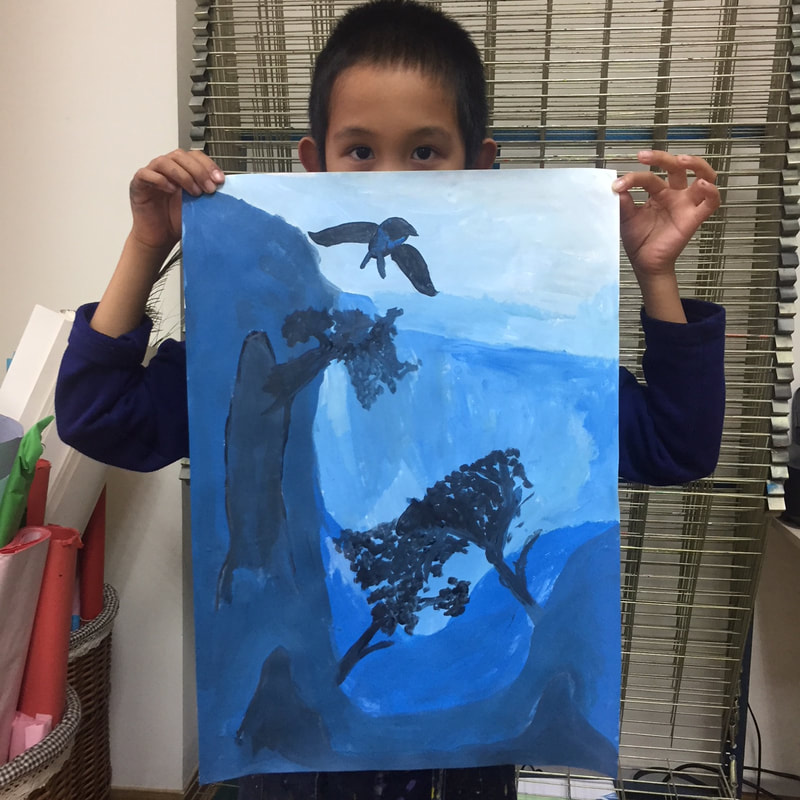
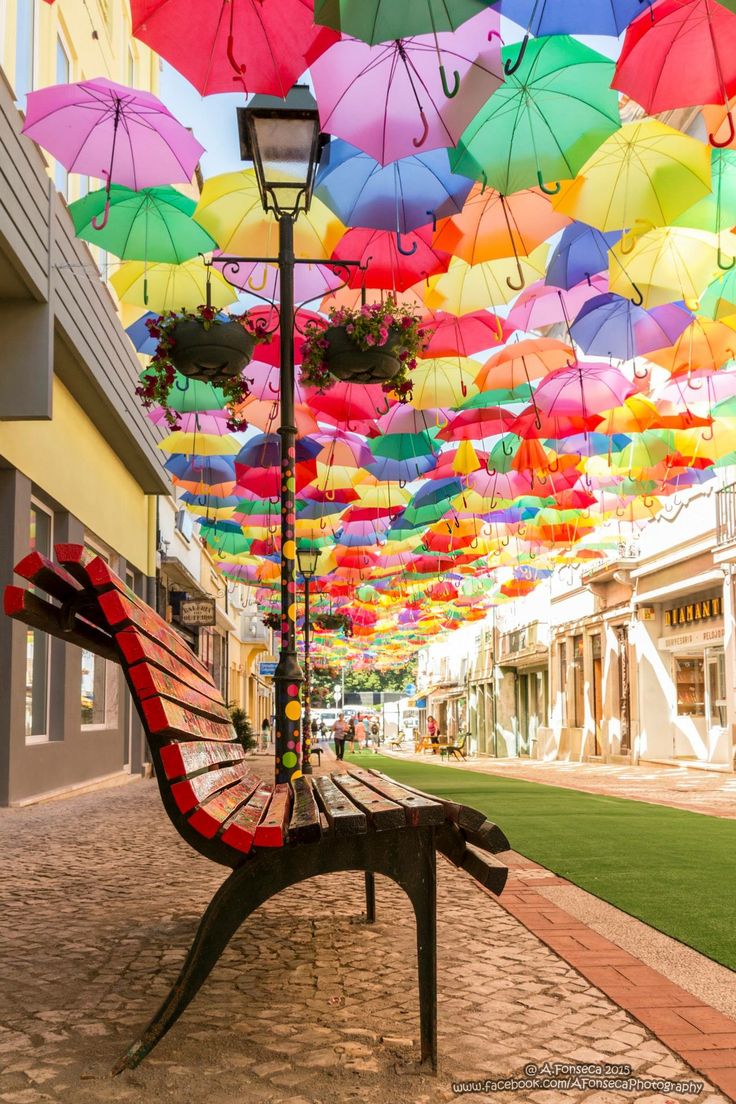
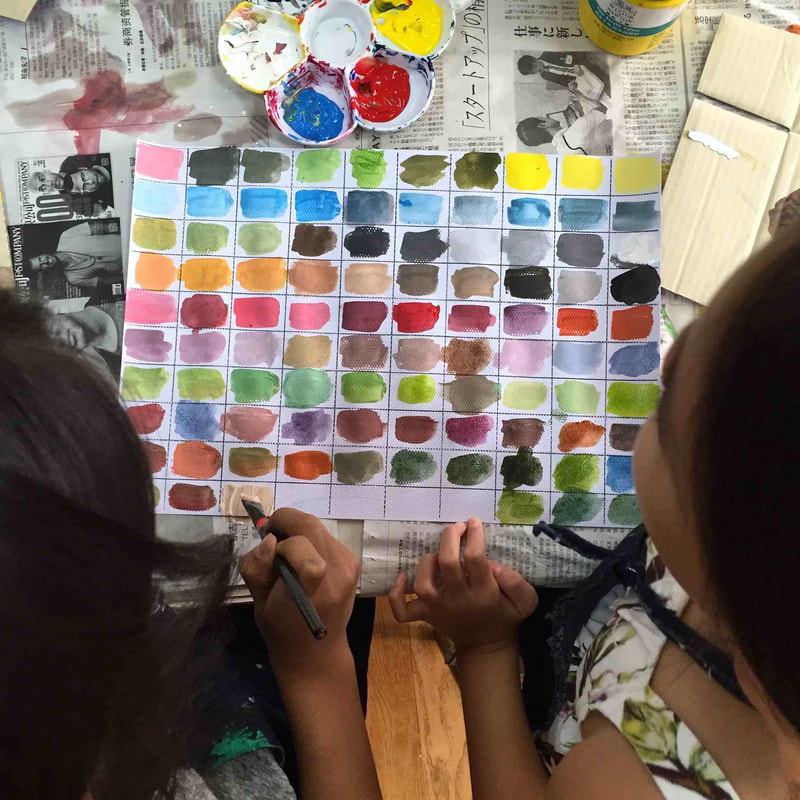
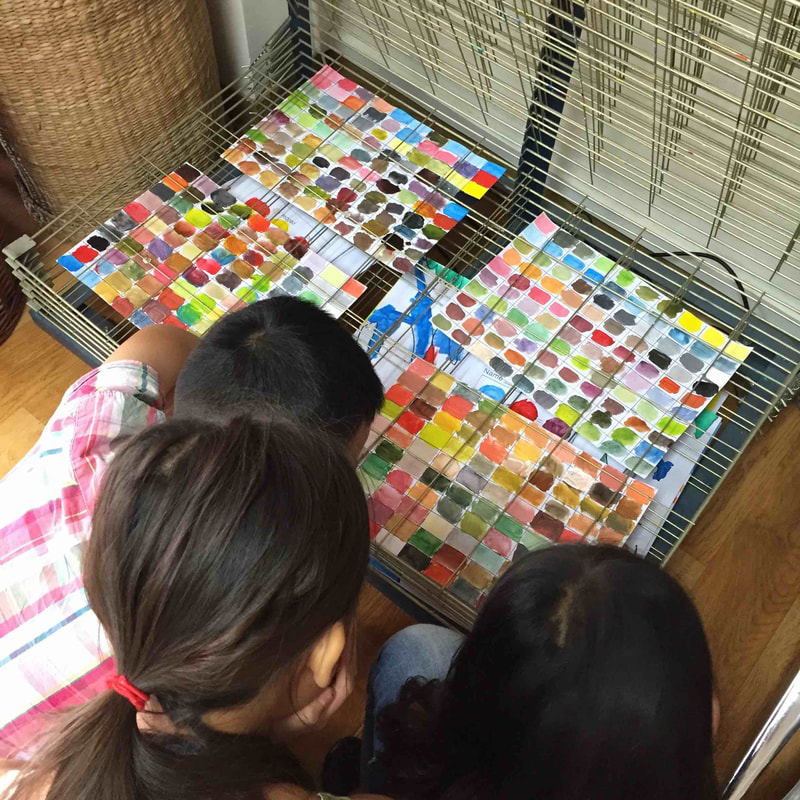
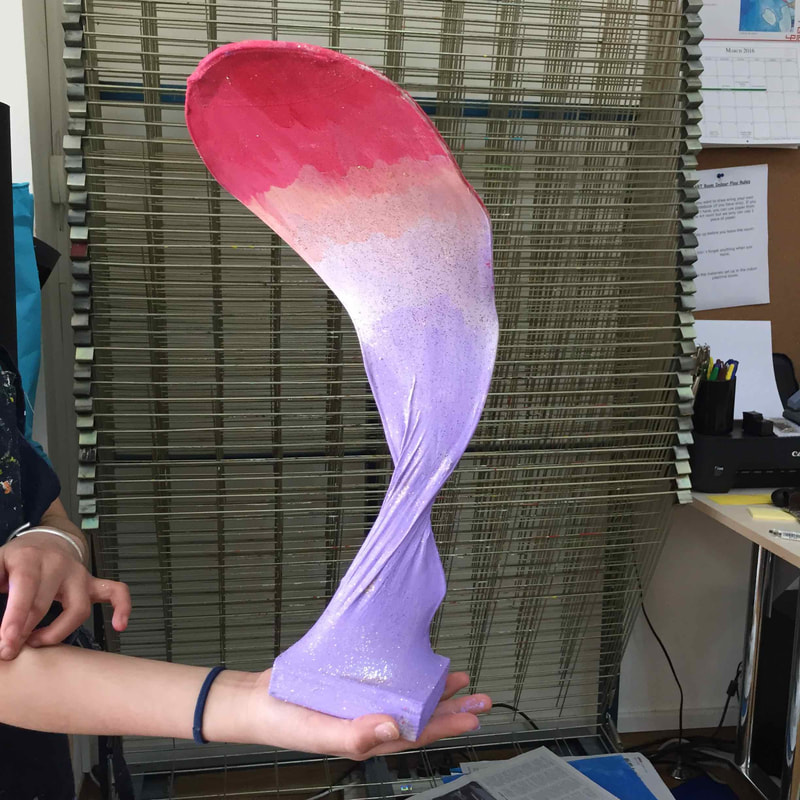
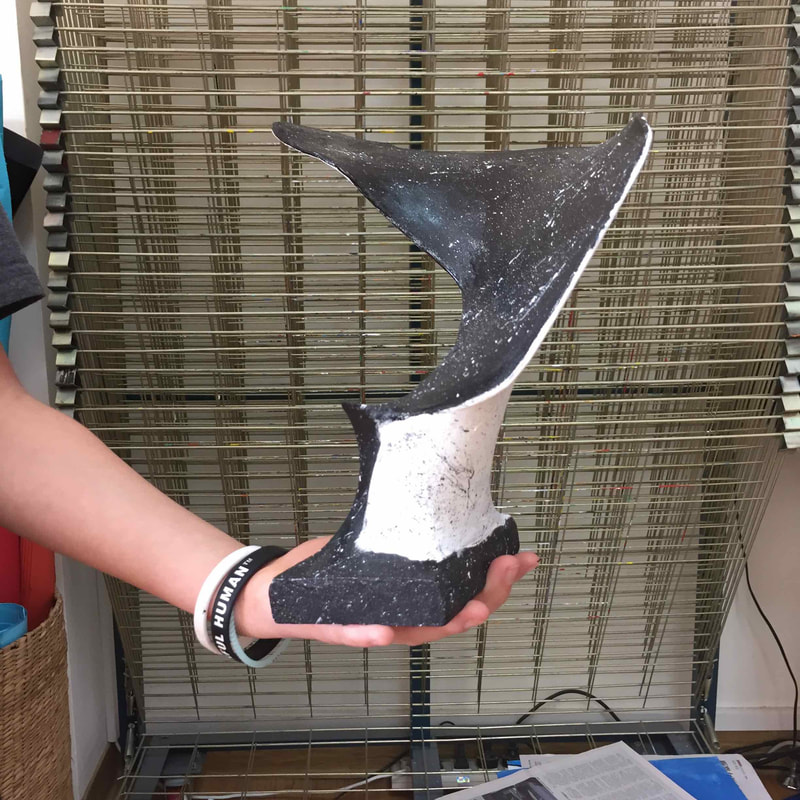
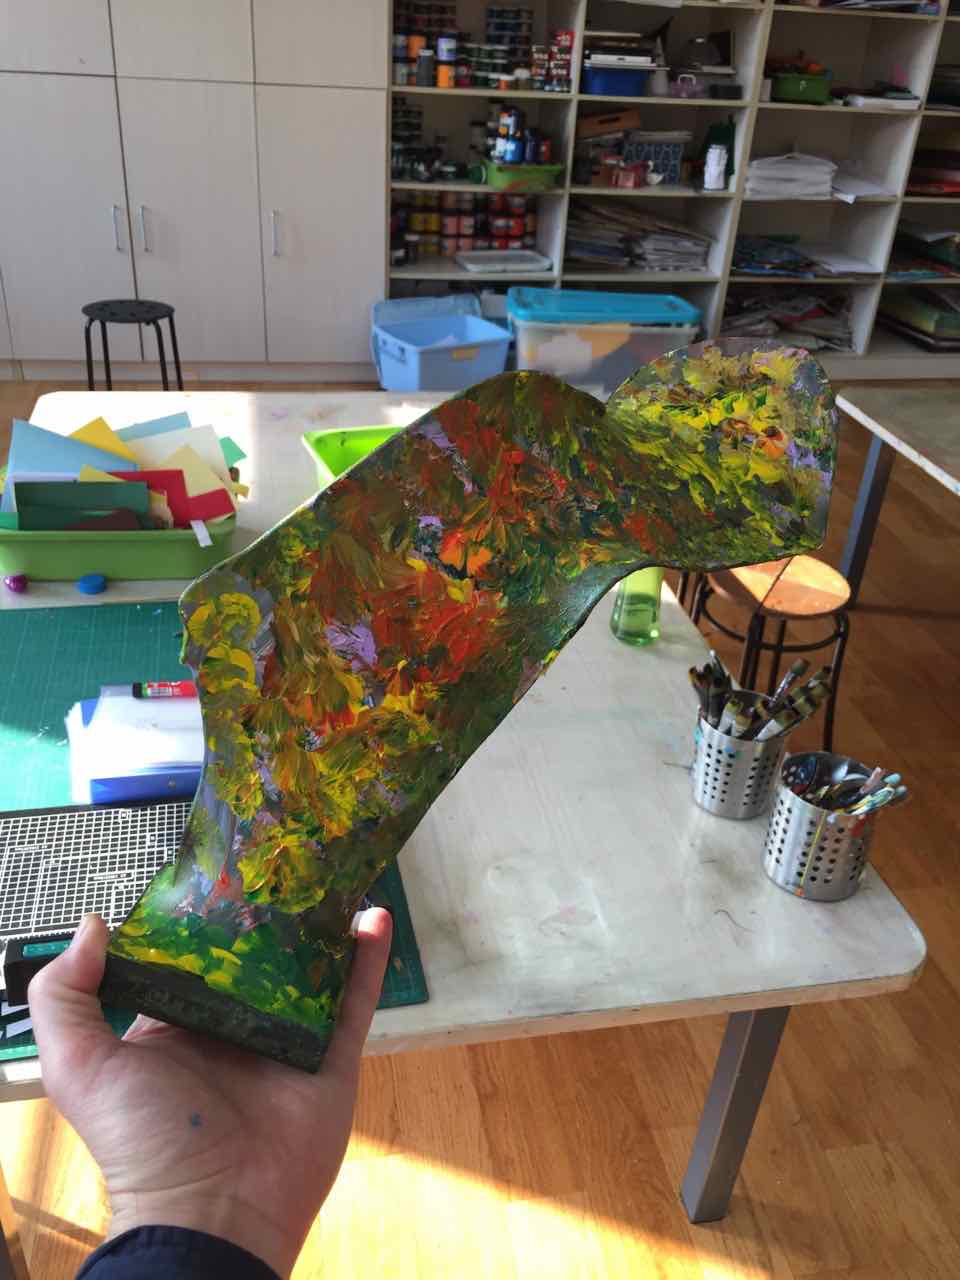
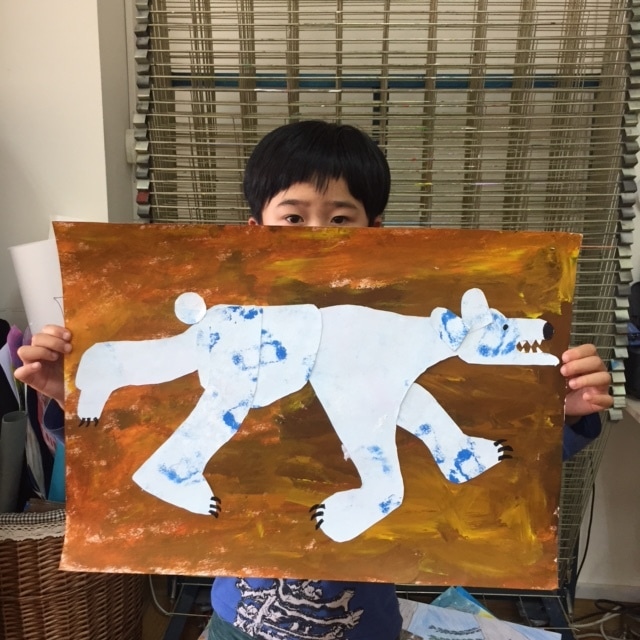
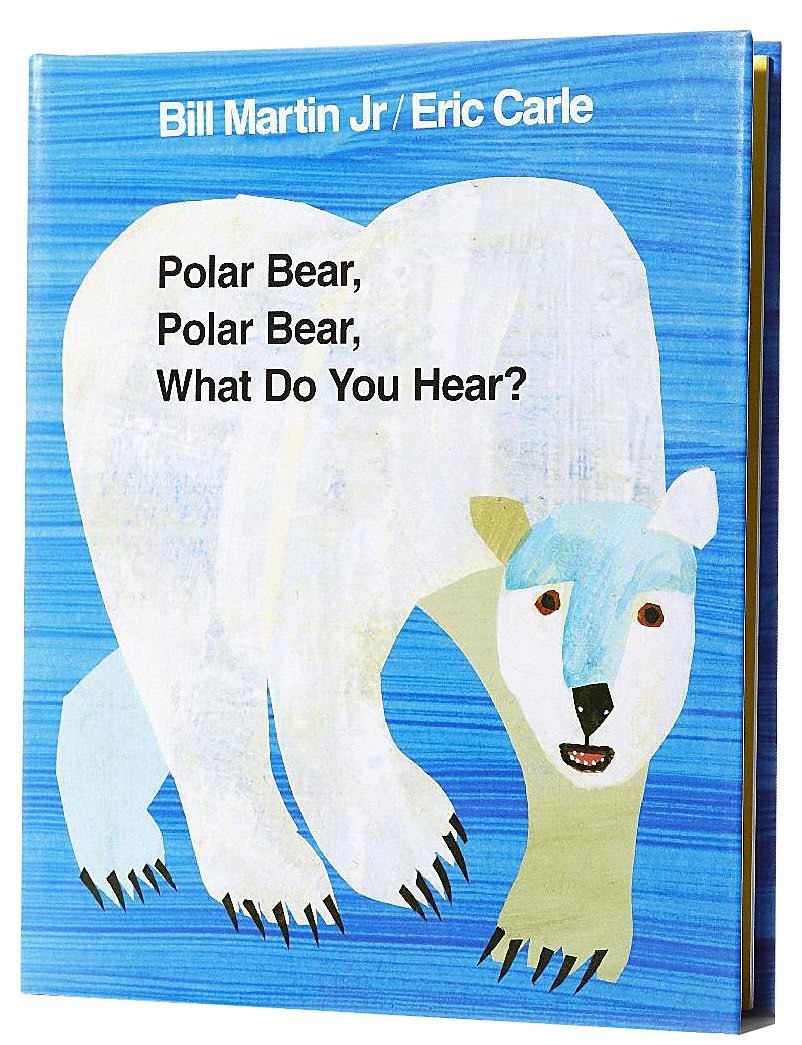
We just built a color wheel clock! After discussing in depth about the color wheel and the relation between the colors, we came up with this idea! 6th graders learned about the Great Seurat and Pointillism! June came up with a new art movement... Fingerism! (check the video below) Grade 6 started today their project about Pointillism. After discussion about the art movement itself and its biggest artist we started to work on our projects. I am truly amazed on how the students learned about the color theory and the Pointillism technique. Stay tuned for the final result (I can't wait) I am pretty excited with this unit about Nomadics and Tuaregs. I was lucky enough to live in the Morocco desert for some time and get to know about Tuareg's lifestyle. On the first day, we talked about a whole lot of stuff about Tuaregs. It was exciting because students knew about them, they worked in their home classroom beforehand and some of them even made a presentation about them, so it was extra interesting because we had a pretty cool discussion. We watched two very short videos about Tuareg Music. The first one about traditional music and the second one was about more contemporary music (actually one of my favourite bands) After discussing the color wheel, cool and warm colors, complementary colors, etc... we came up with these fantastic landscapes! When is cleaning up time and we get a wee bit too much fun 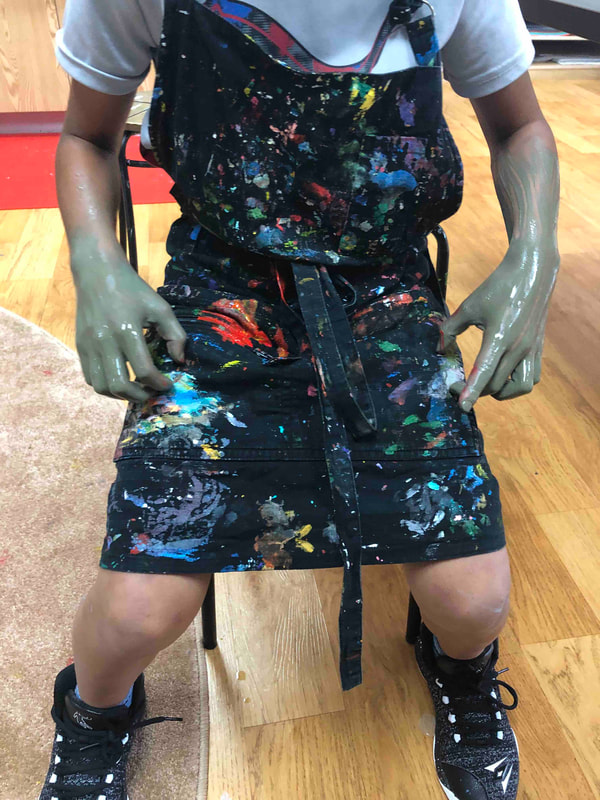 Our Grades 3 got to know a bit closer the great Van Gogh. After discussion about his life and work they ended up painting these wonderful chairs. For some reason "Bedroom in Arles" was the favourite work from the genius. Grade 3 studied the artwork and technique of the Leroy Niman. We decided to use acrylic paint. Leroy is well known for the use of amazing colours on his paintings. Each grade 3 came up with one wild animal to make on Leroy's style. 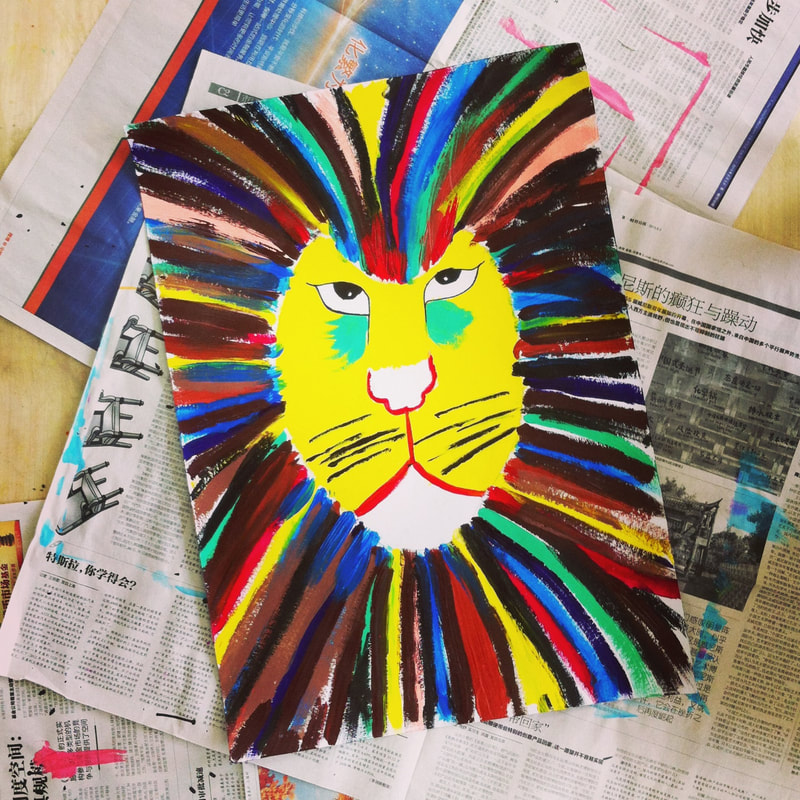 Grade 3s were exploring about new drawing techniques. This time they used white glue for outlining their drawing. Once the glue gets dry the line stays just perfect for the watercolour action. Portable homemade lightbox photography studio made by students, for students. Get ready, some high quality pictures coming! Talking about lines with the youngest. We read the book Little Green as an introduction of the lesson, which was perfect. After the book we talk about the lines world. It was so fun because they come up with some unique names for the lines like "Great Wall line' or "Elephant line" . Some of the finished works remind me somehow to some works of Joan Miró. There are loads of ways of making the colour wheel fun. Depending on age / grade you can make it more or less difficult. In previous posts you can see how we made some basic primary and secondary colour wheel umbrellas. Here we take it one step further. Besides of talking about primary, secondary and tertiary colours we add the close-up of a beautiful eye. We just talked about the colour wheel with the youngest of the school, Reception. We basically talked about the basic colour wheel, Primary and Secondary colours and we ended up making these wonderful umbrellas. I also uploaded the model that we used for them to paint. We made one and then created a stencil to speed up a bit the proccess. We talked with our Grade 2 about tints and shades and we ended up with this amazing views of different sharks and other sea creatures. We basically used, blue acrylic, white and black. Also some black paper to cut out the silhouettes (I love the hammer head sharks) We were talking with our grades 3 about Op Art and how we can trick our eye. There are many different types of Op Art and Laura came up with this ingenious way There are many ways to show the oil crayon resistance to water. This time they chose one animal to do underwater. Depending the brand of oil crayons the resistance will work better or worse. My advice is to test them in advance so you won't get any surprise. 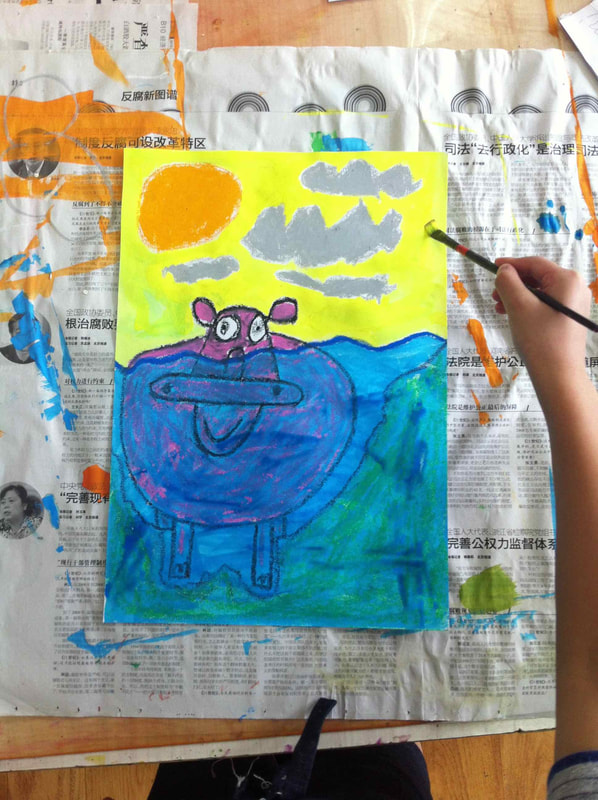 Our Grades 1 were talking about how we tint and shade a colour. After discussion we ended up making these yummmmy 5 and 6 scoops ice creams!! 4th graders have been working with colours during last lessons. We learned in-depth, among other things, the relation between the colours themselves in the colour wheel and also new vocabulary. This project was about tinting and shading. Isabella and Oil. Isabella is a 5th grader that absolutely loves art and loves to try new things and get challenged. Here one of her latest masterpieces. What she doesn't like the most? to wash up brushes after lessons (especially the oily ones). 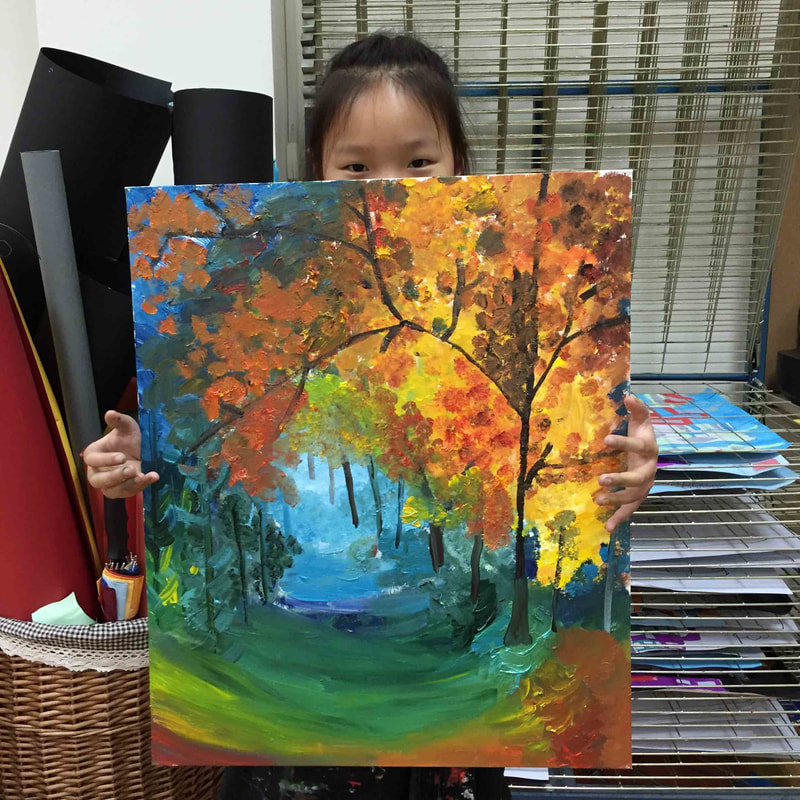 Our reception children have been experimenting with the primary and secondary colours and its relation between themselves. Different Portuguese cities like Coimbra, Águeda... inspired us to create these beautiful primary and secondary coloured umbrellas! Grades 4 were challenge to make 100 colours using only the 3 primary colours, black and white. To make this sculpture we just need, one metal hanger, one pair (in this case just one leg of the pair) of tights, a small wood block for the base and acrylic paint. Final result is always really cool. Again the great Eric Carle. We made a painted paper lesson, it is such a fun technique, messy but fun. We first read the story, then we made the background paper and the polar bear paper. We used sponges, it is a very effective and fast technique and students love it so much. We limited the amount of colours to choose for the background to only 2. Second day we trace the parts of the polar bear (stencils previously made) on the back side of the white painted paper, cut them and glue them to the background. Picture Alex holding his master piece This lesson is a good fun. It could be done with any grade. This time was the youngest turn. We first talked and discussed a bit about Mr. Pollock and his artwork, We also saw him making some art and then we got into action. Something very important is to cover everything and when I say everything I mean everything. We watered down few acrylics that we previously chose and we used brushes (handle) and some chopsticks (I love how many uses chopsticks have, we always got loads in the artroom) for the paint dripping. It was such a fun project and the result was stunning. The key is to choose the right colours and to find the best balance between water and paint. 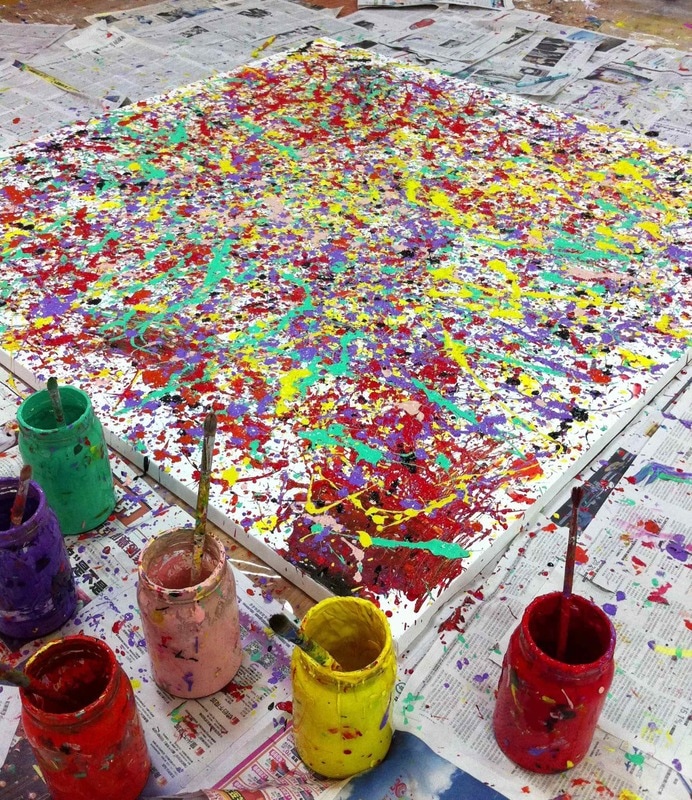 |
Positive, Creative Space.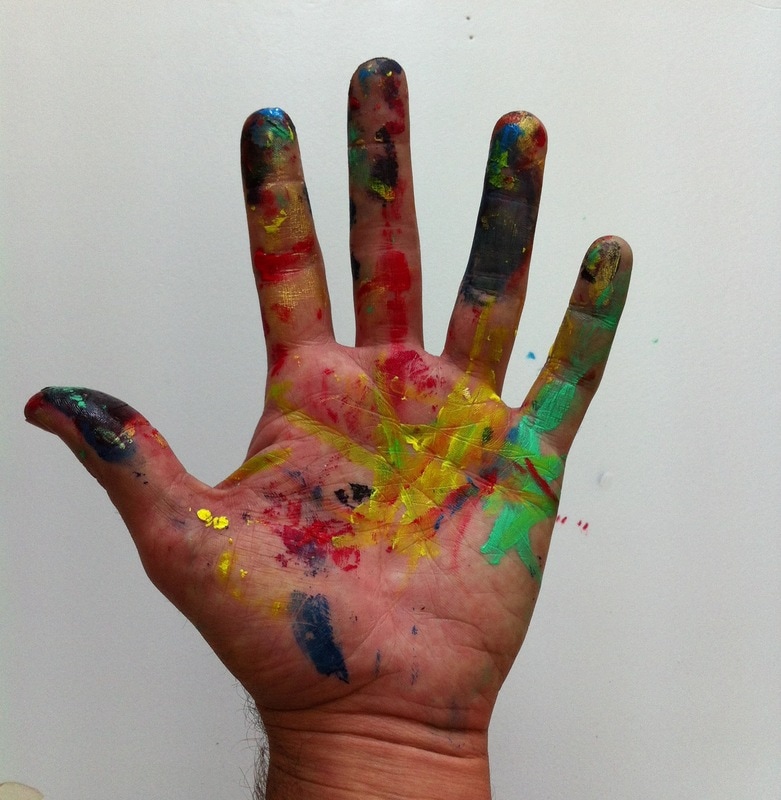
Archives
December 2023
|


 RSS Feed
