|
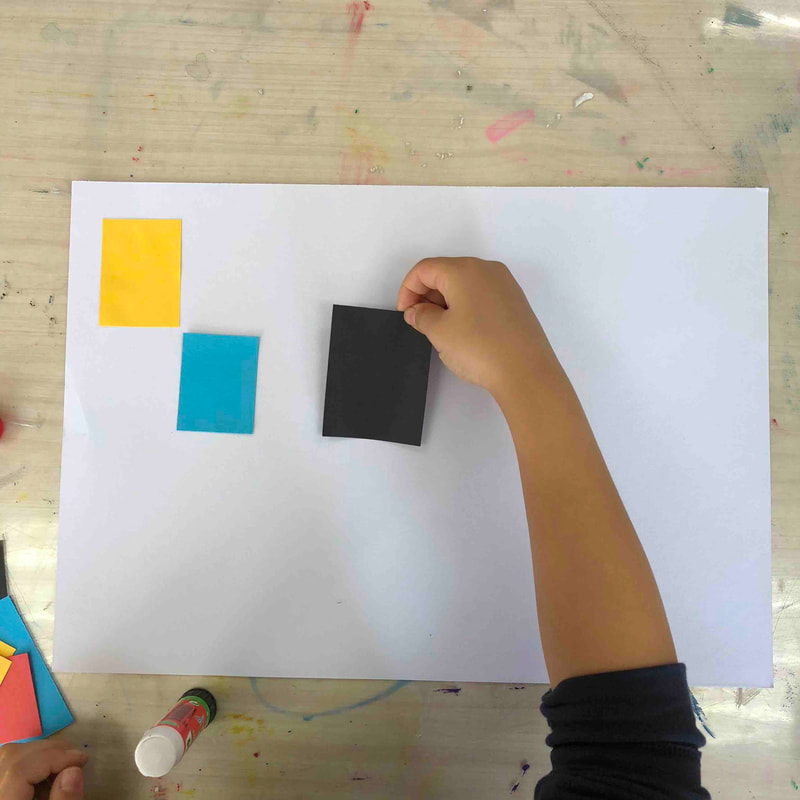
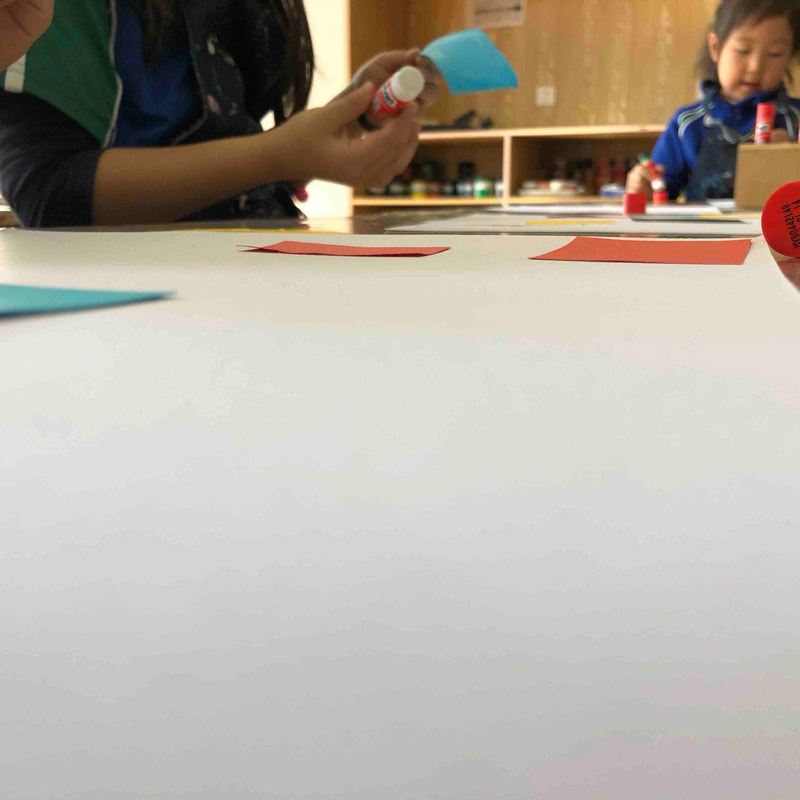
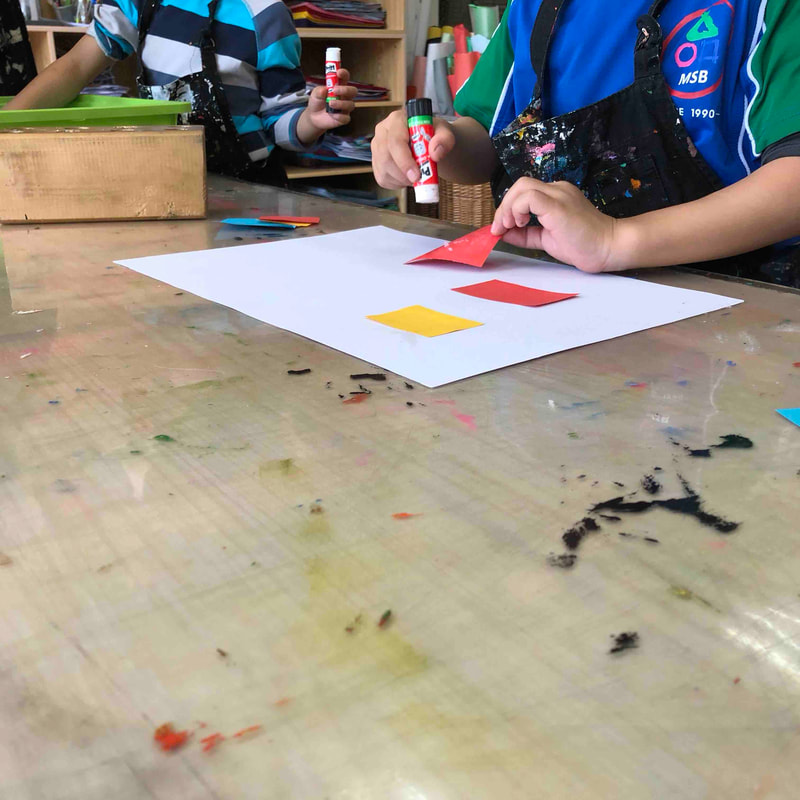
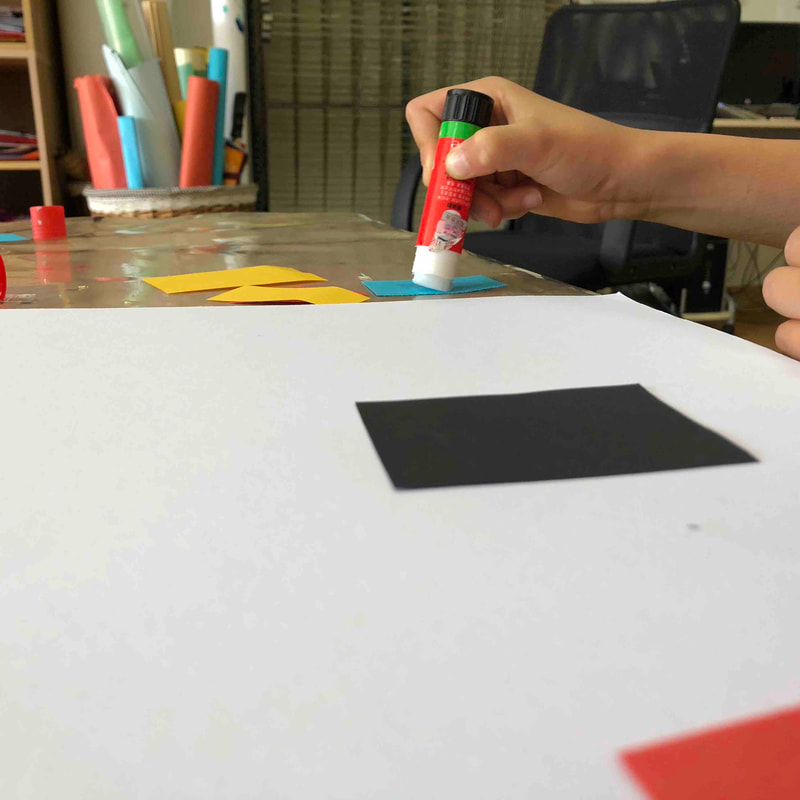
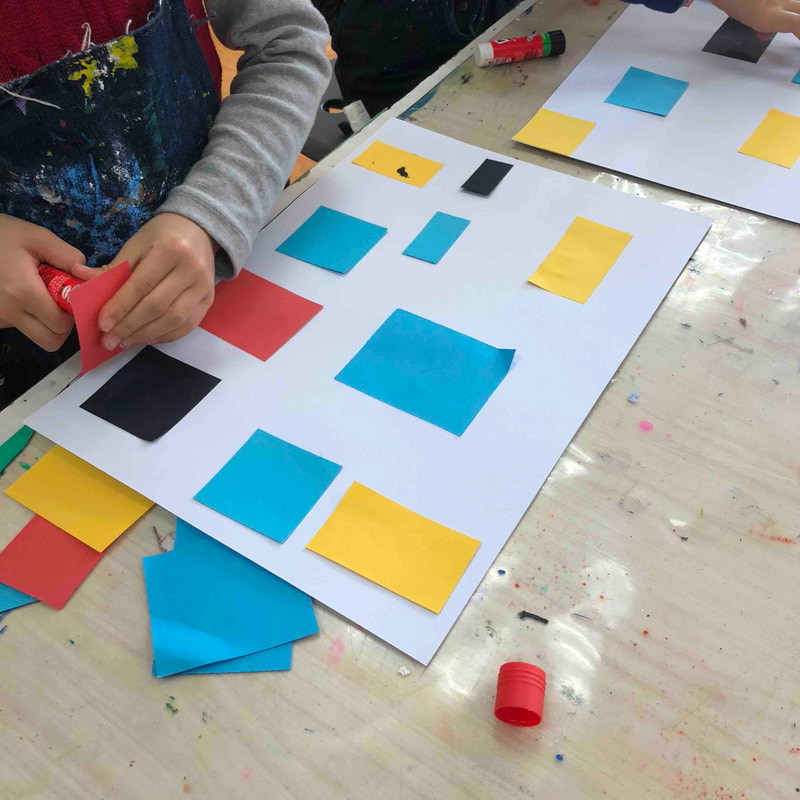
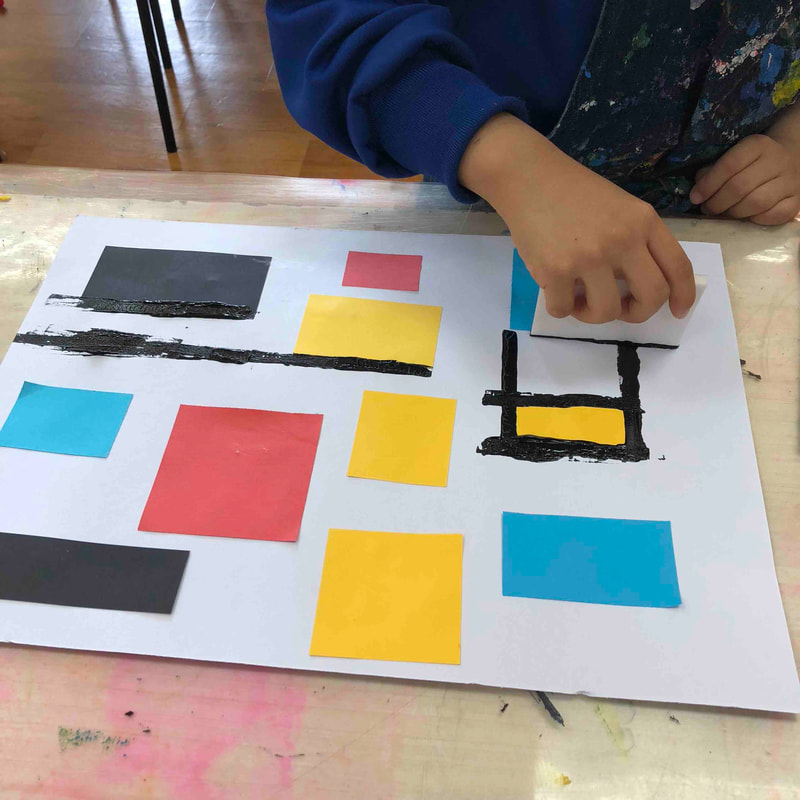
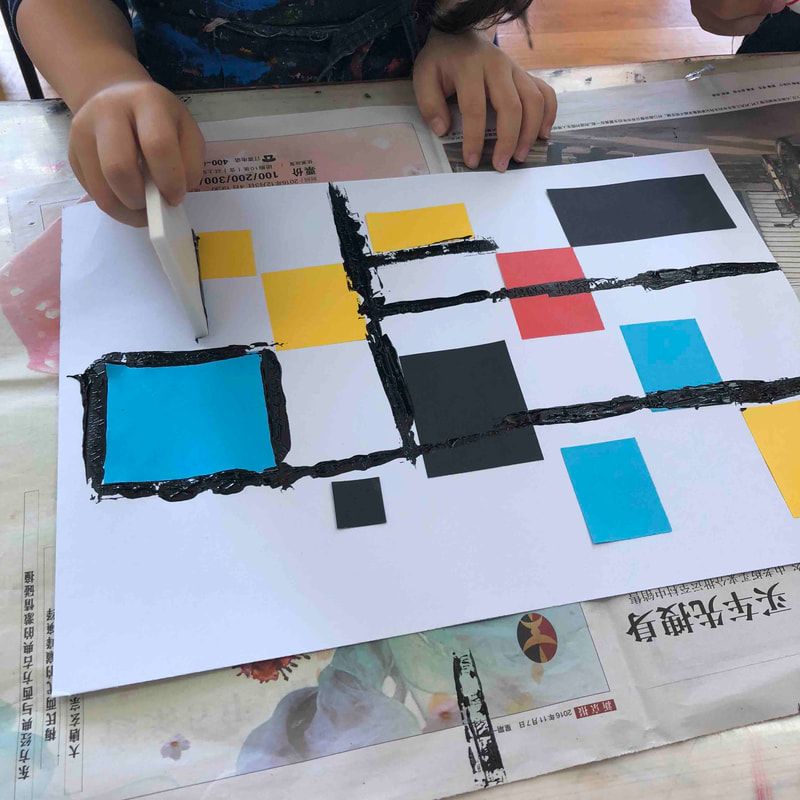
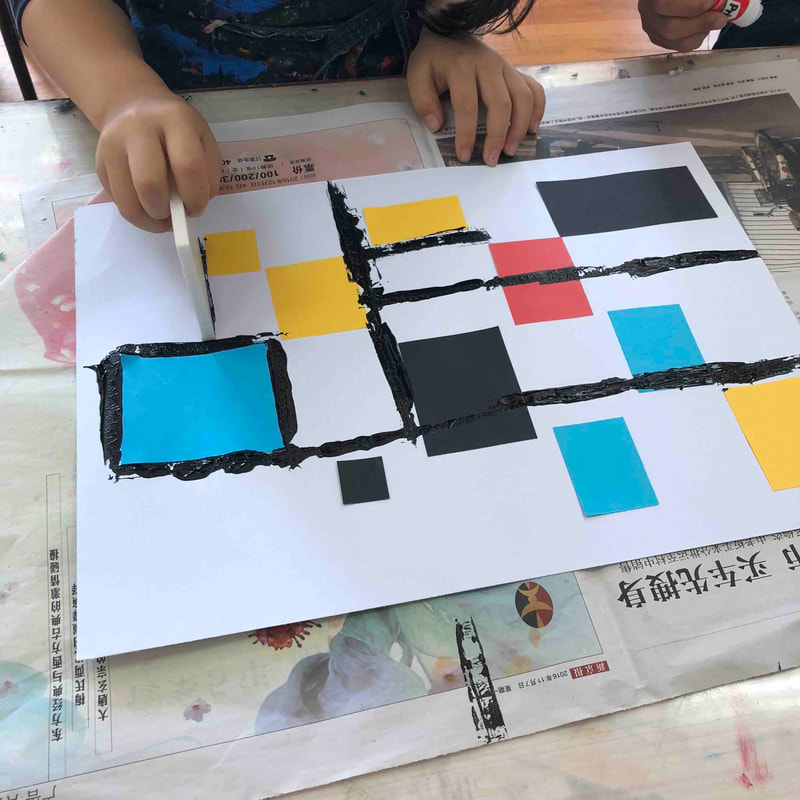
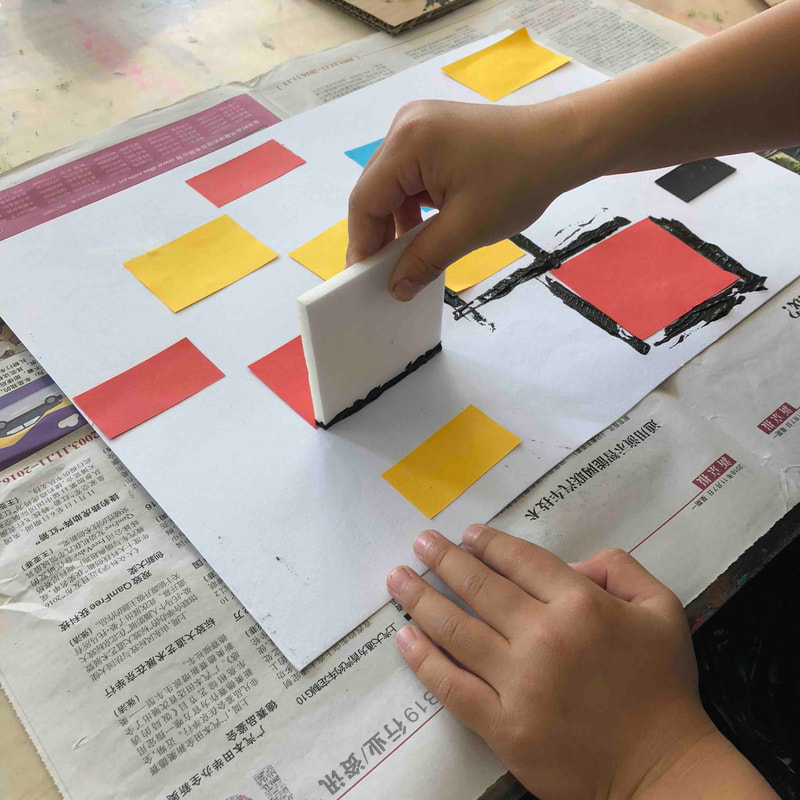
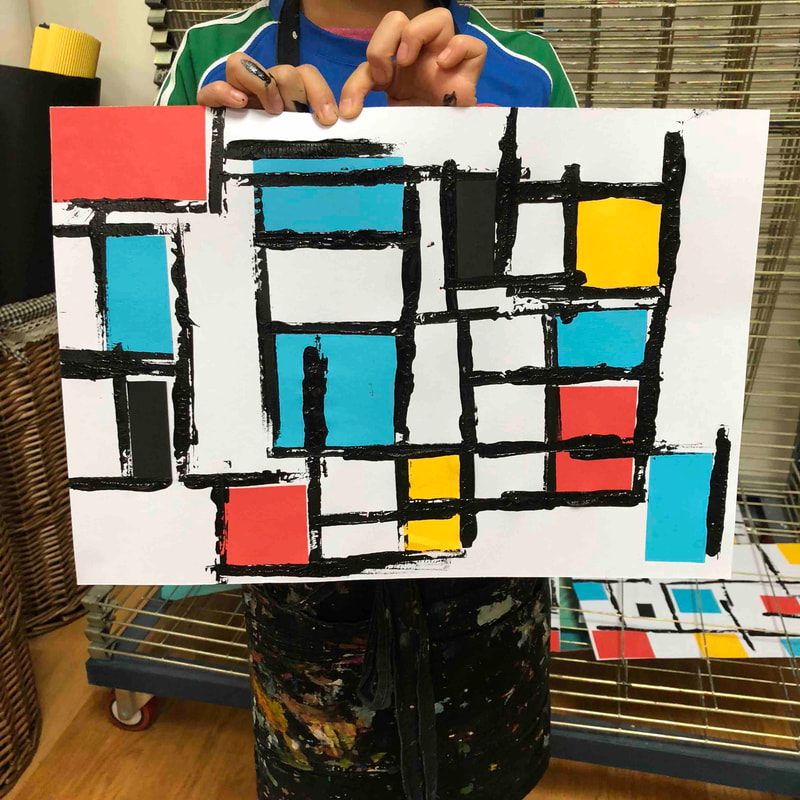
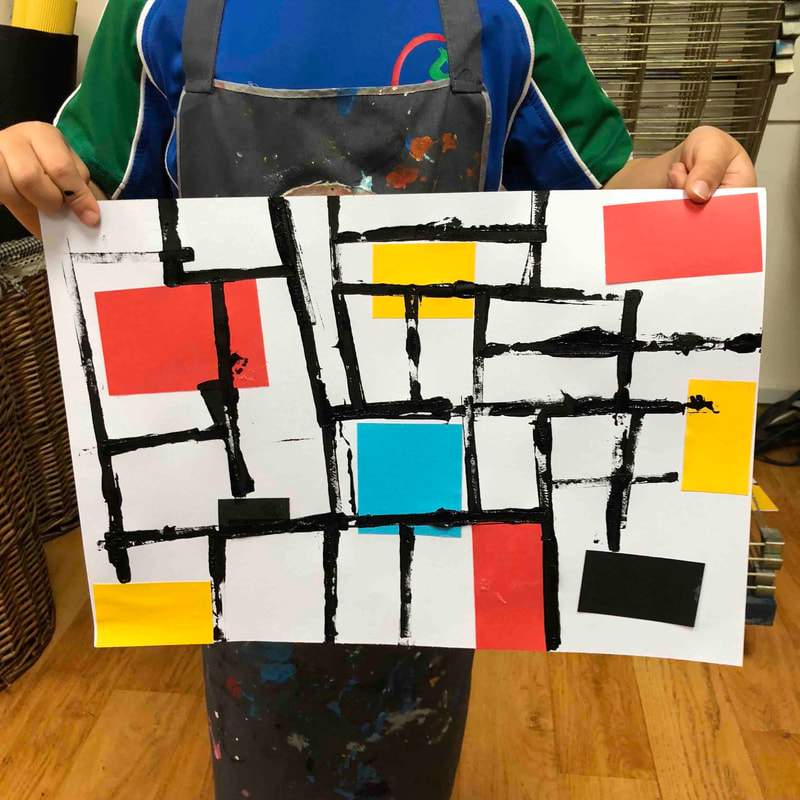
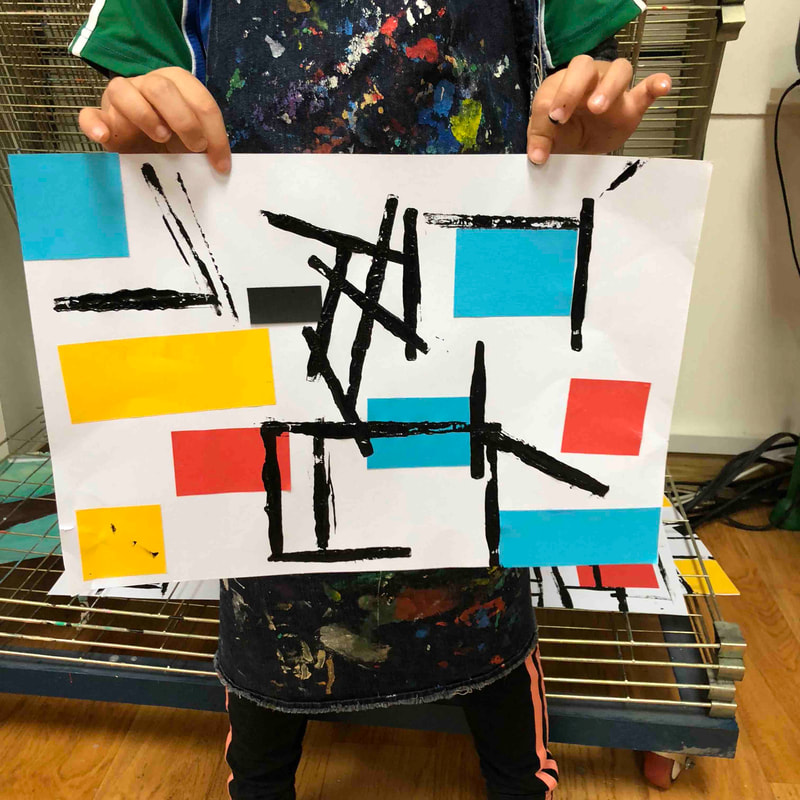
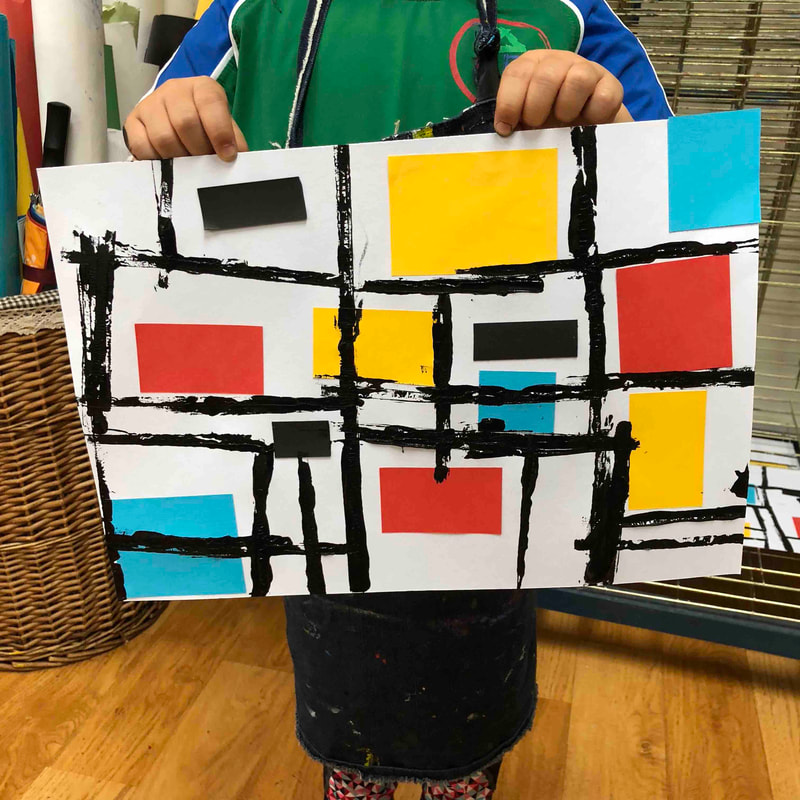
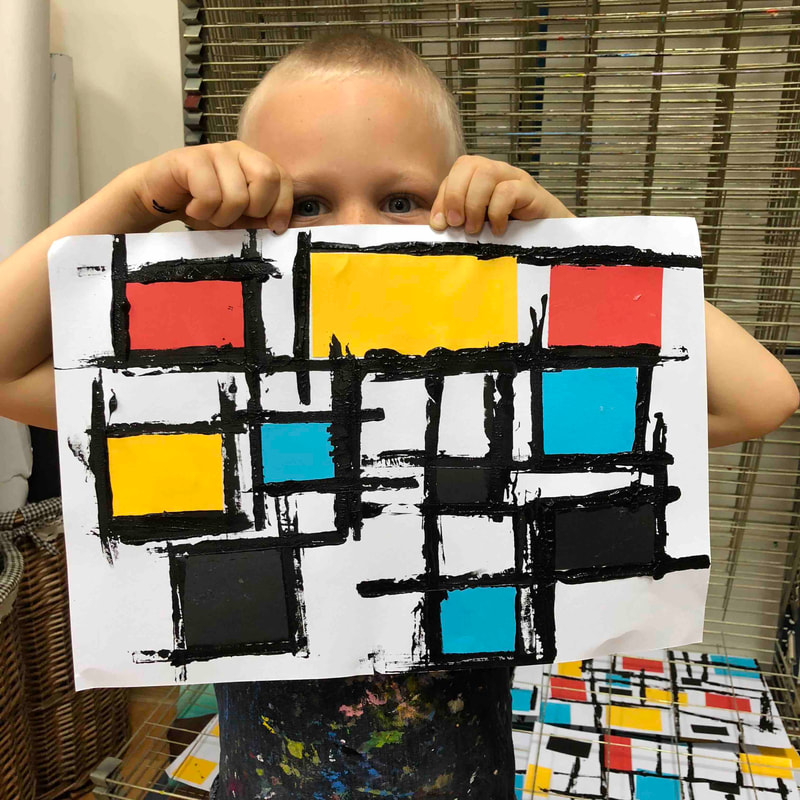
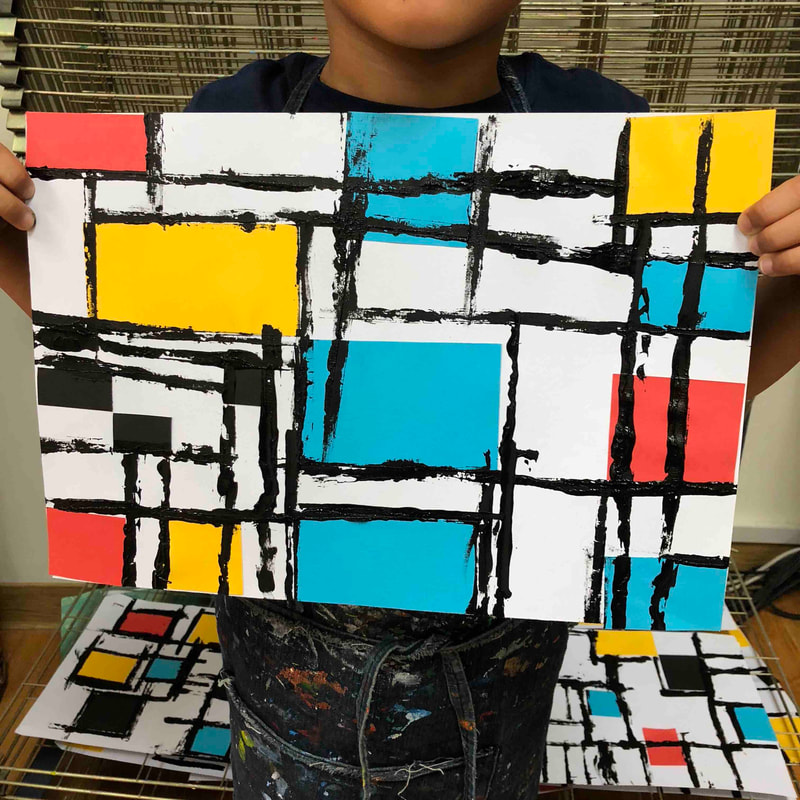
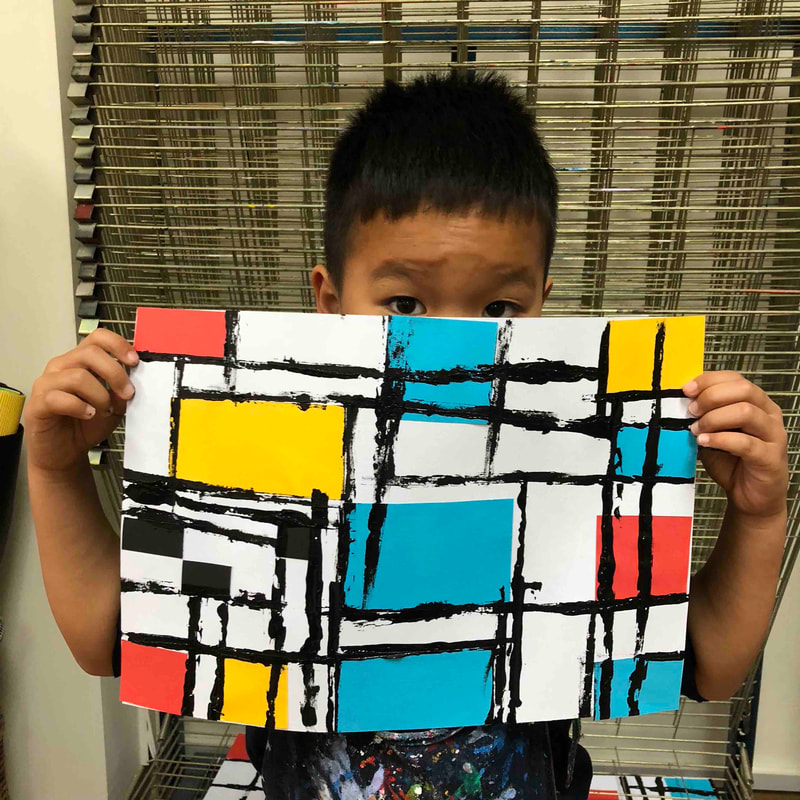
Our Receptions children learned a bit about Mondrian and his artwork, his shapes, his colours, etc... We also found this great video for "introducing" his work a bit more in a different way. After little chat and picture display of Mondrian artwork (they loved his work by the way) we played the video, it was a fun end. So after the video we are all ready and excited to start working on the project! Here you can see the master pieces. Cut and glue skills under control!
0 Comments
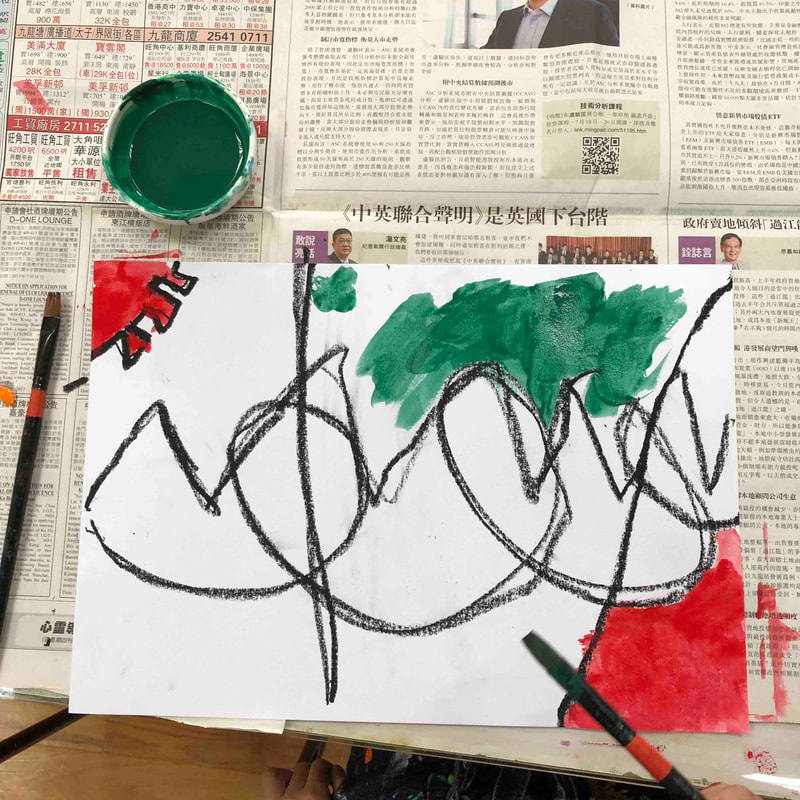
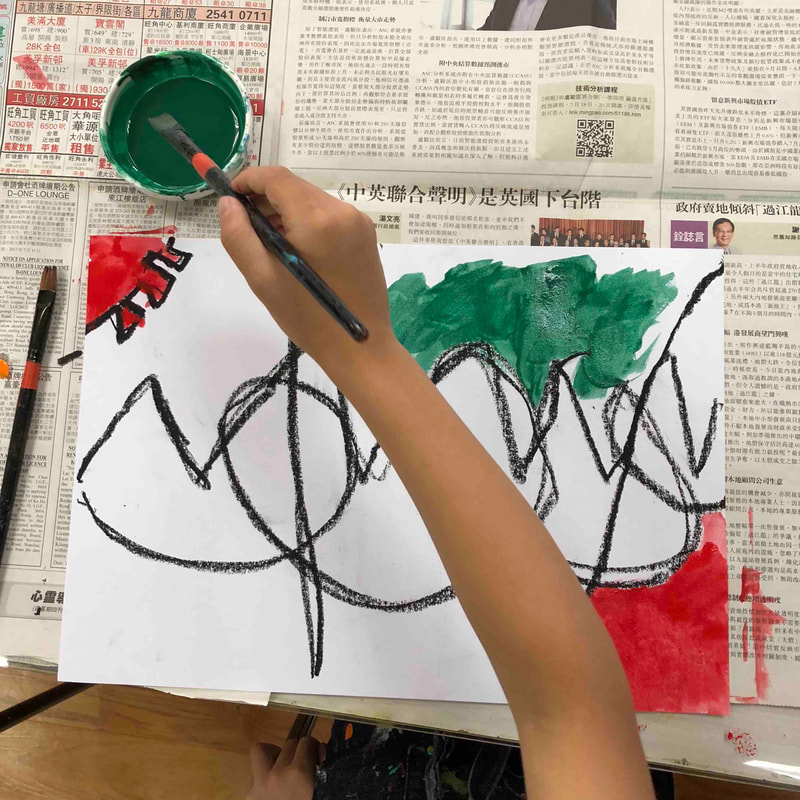
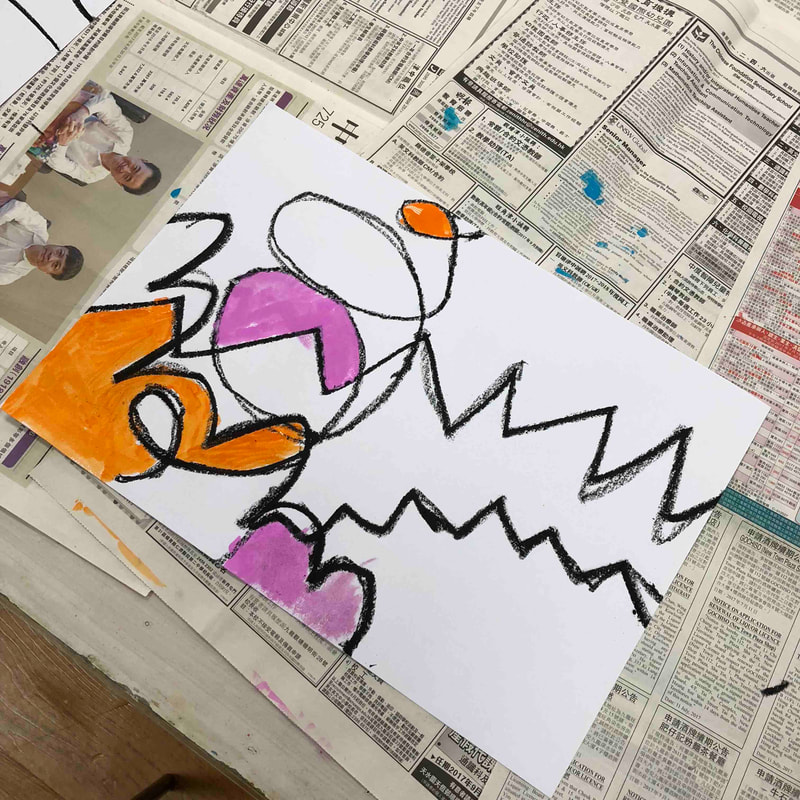
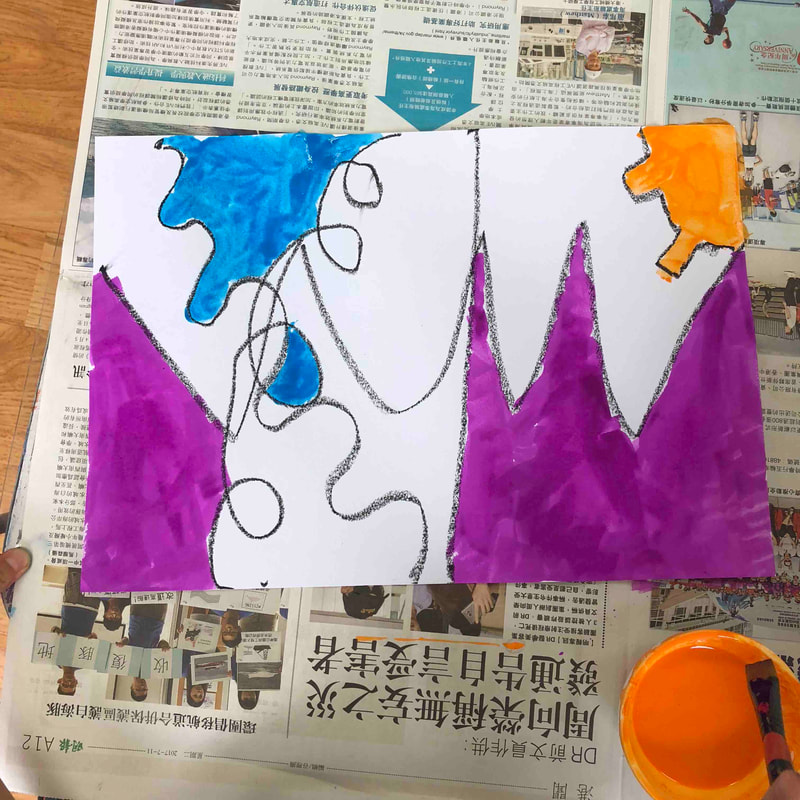
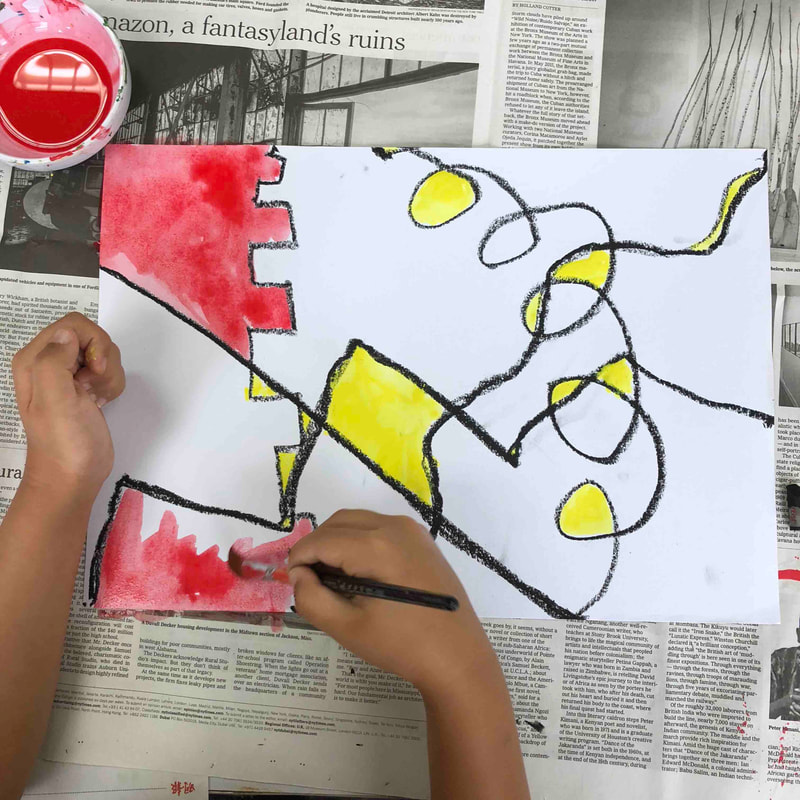
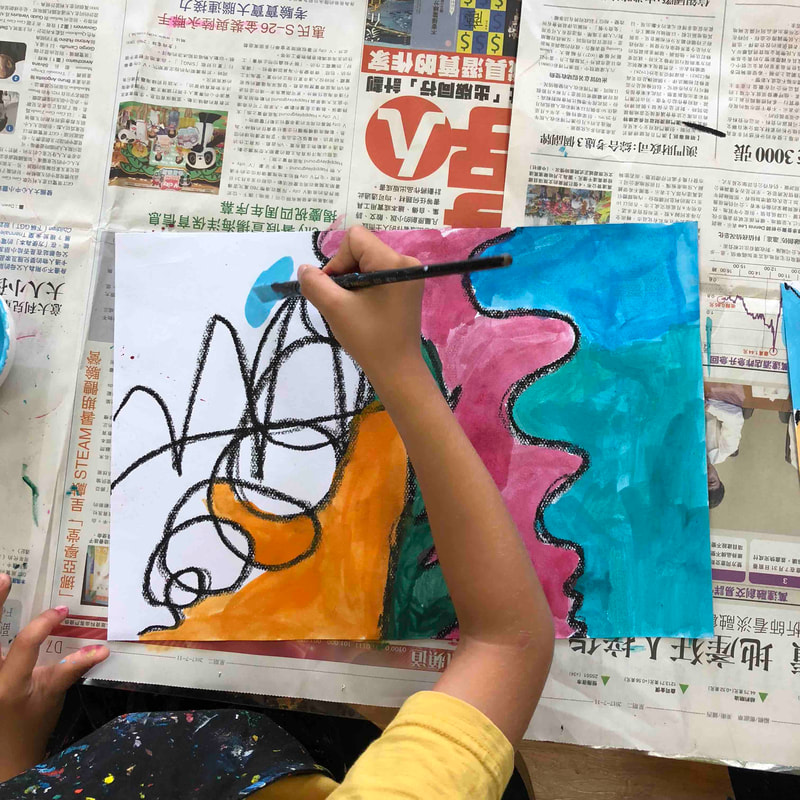
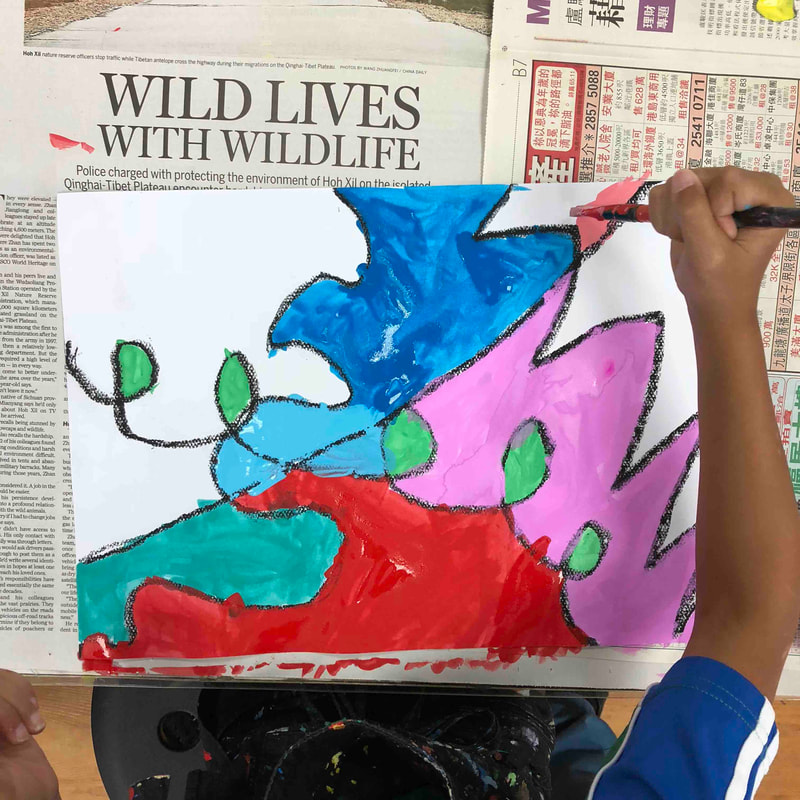
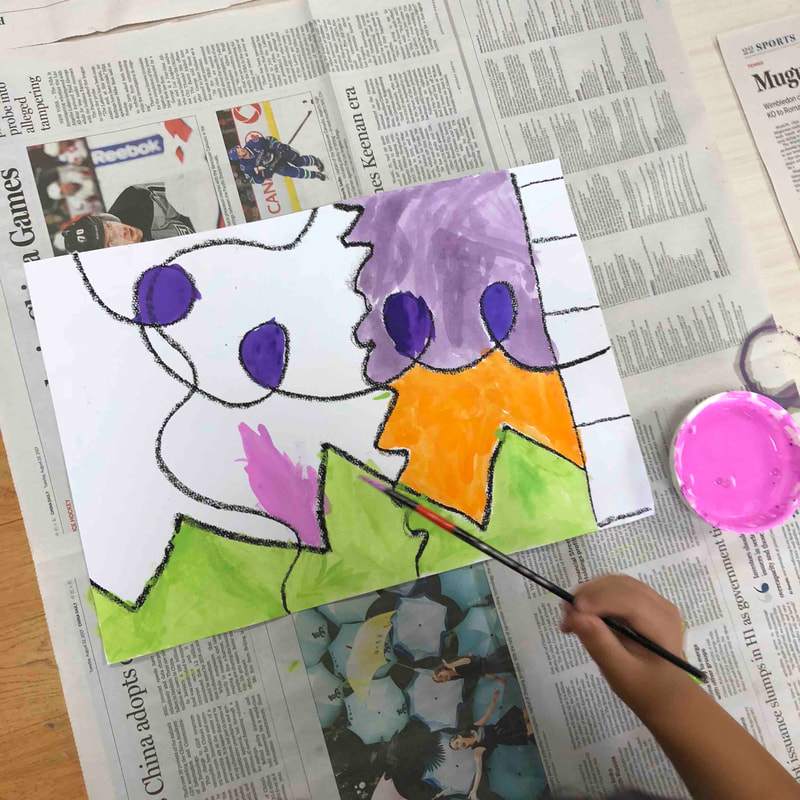
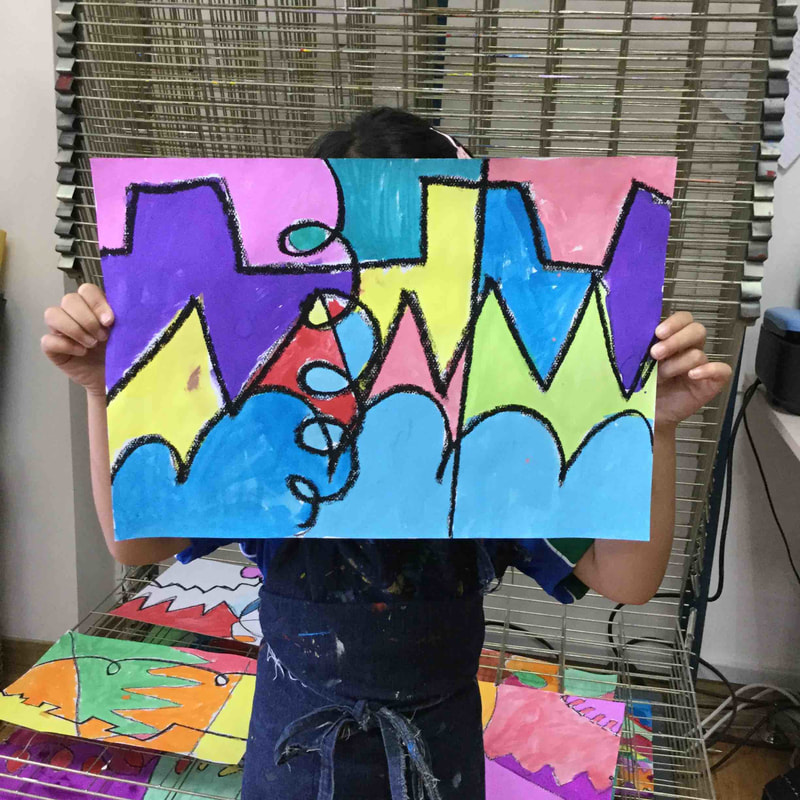
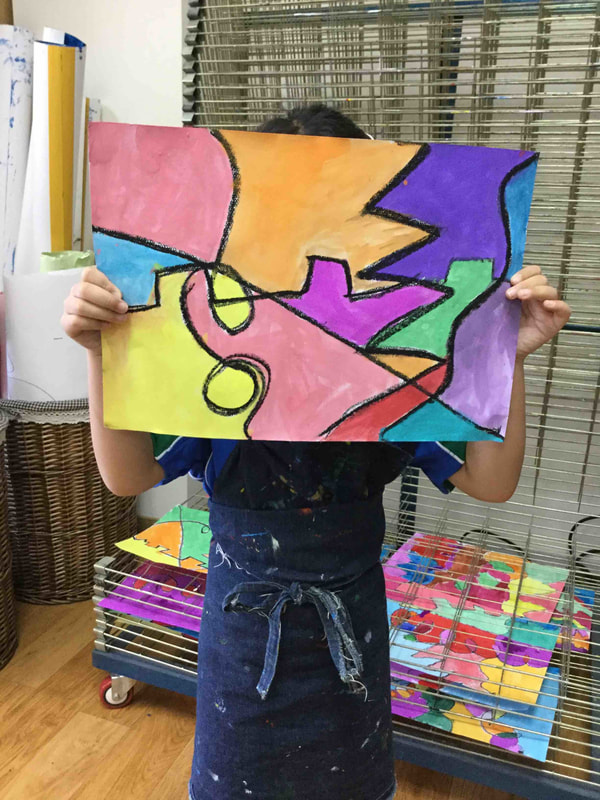
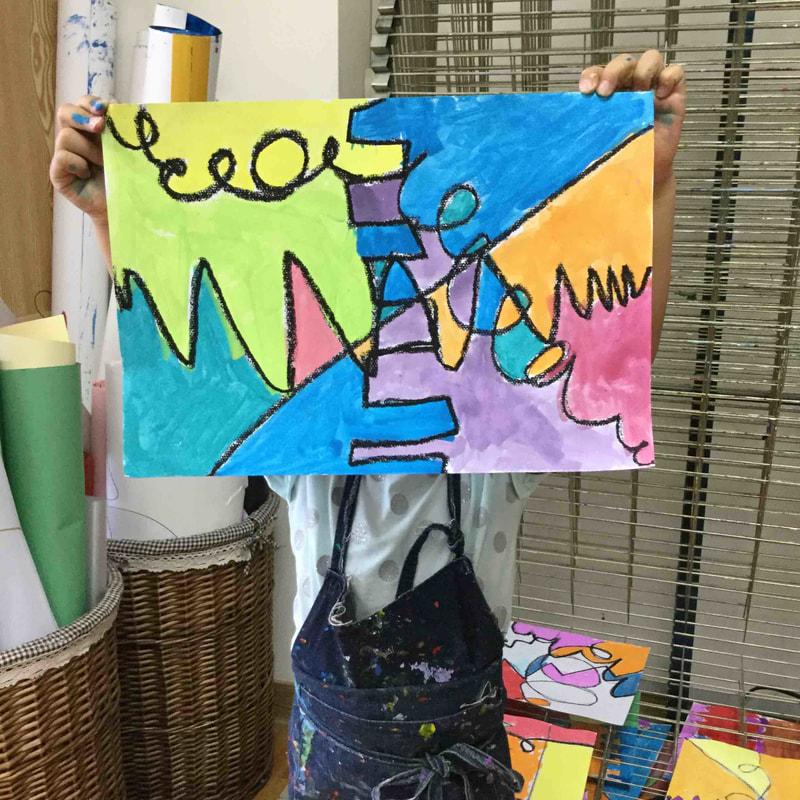
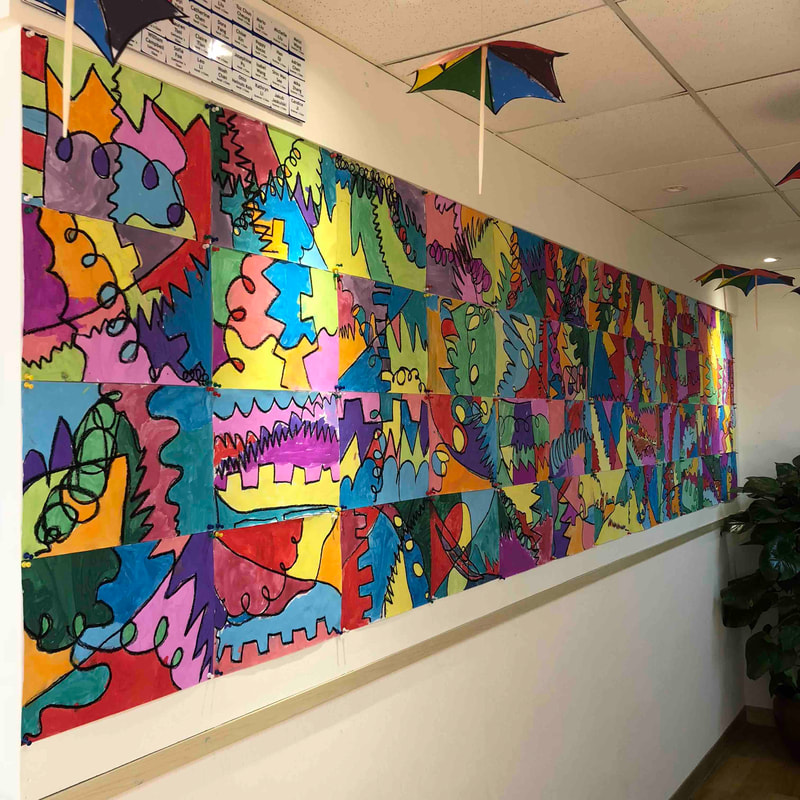
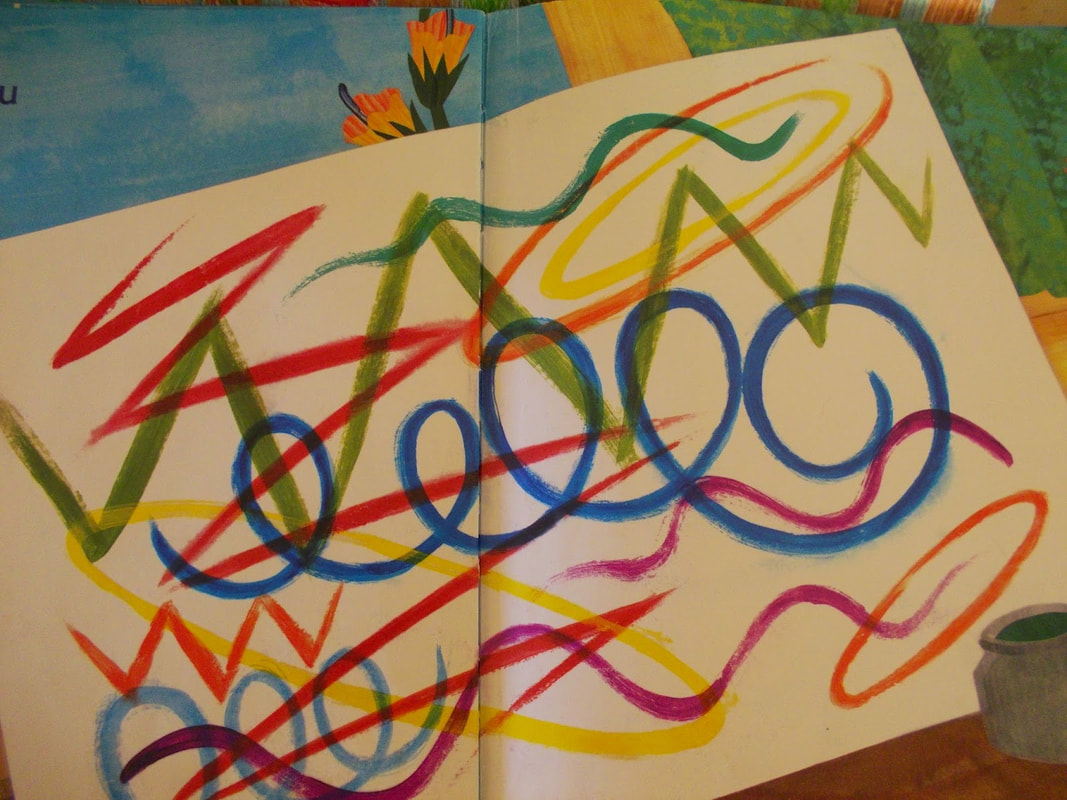
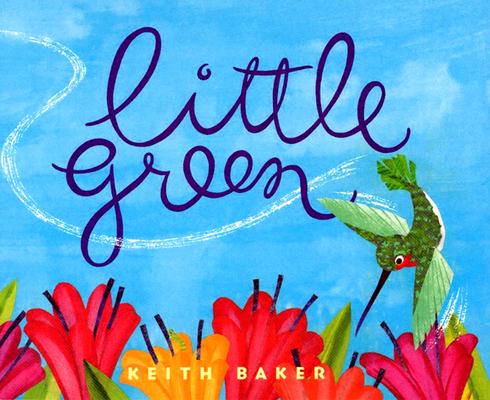
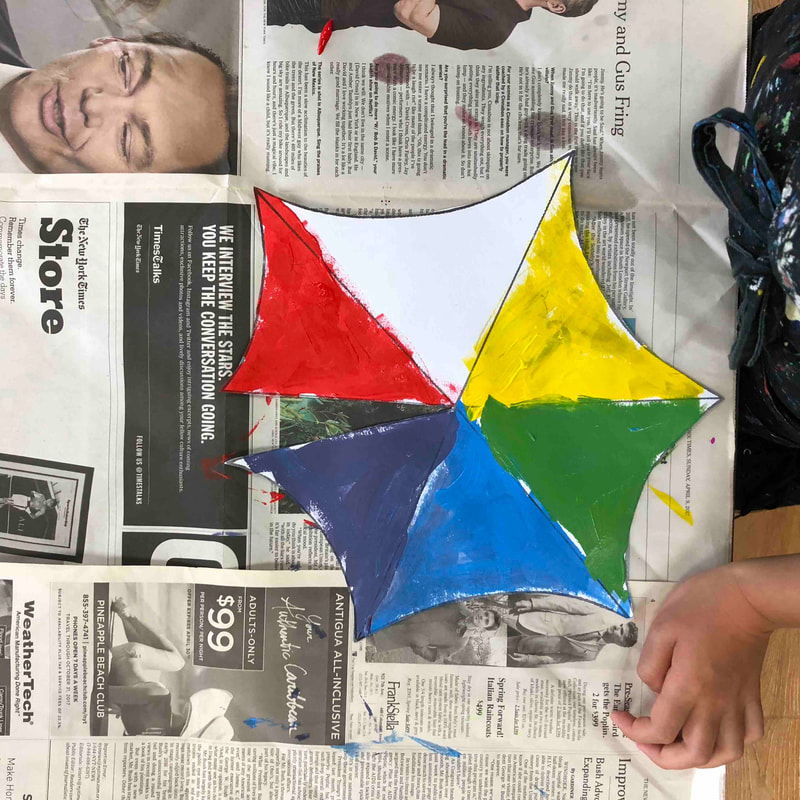
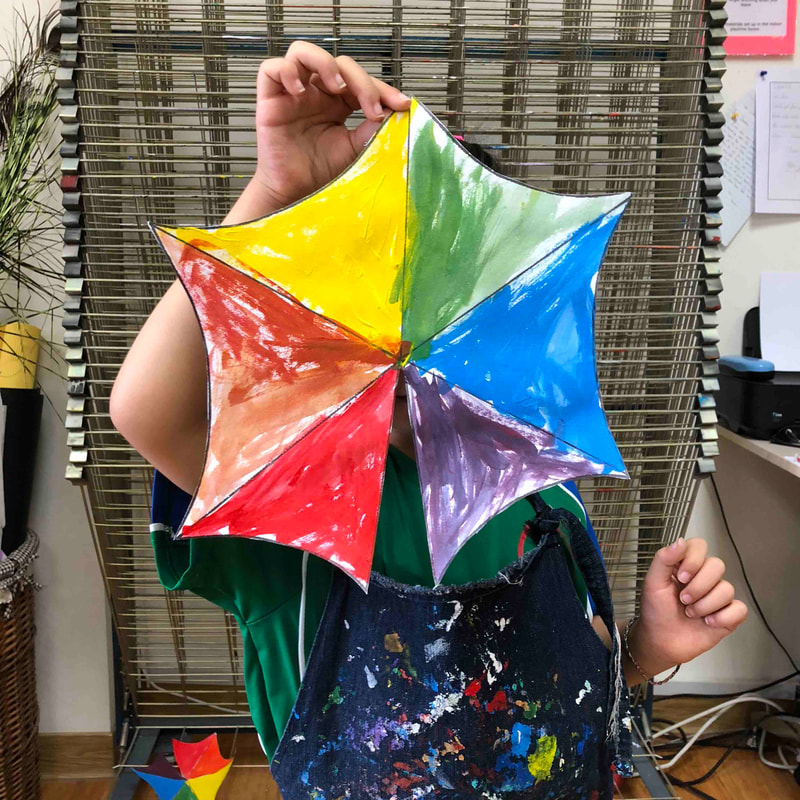
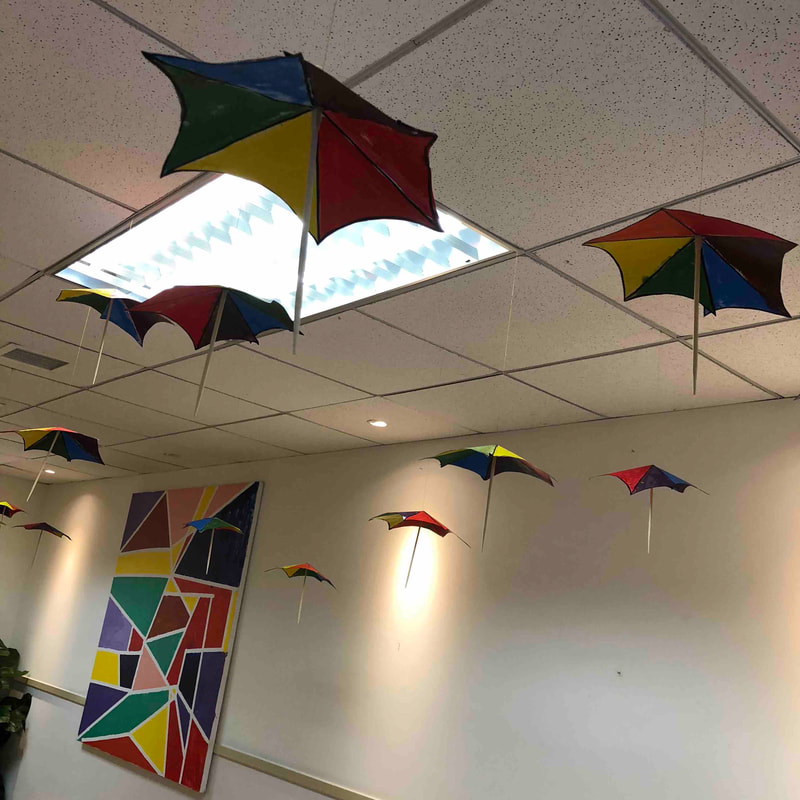
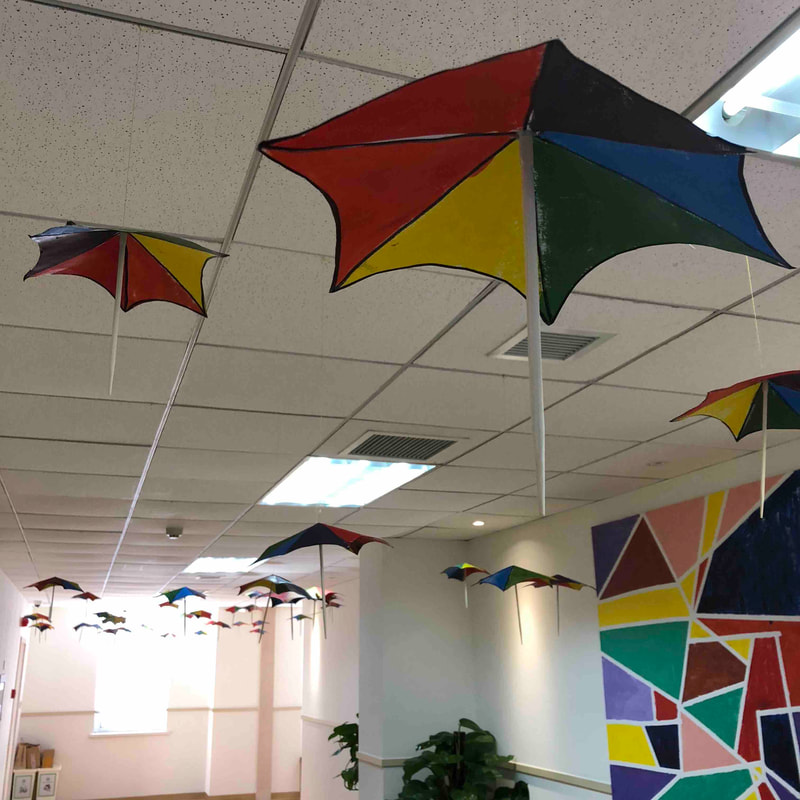
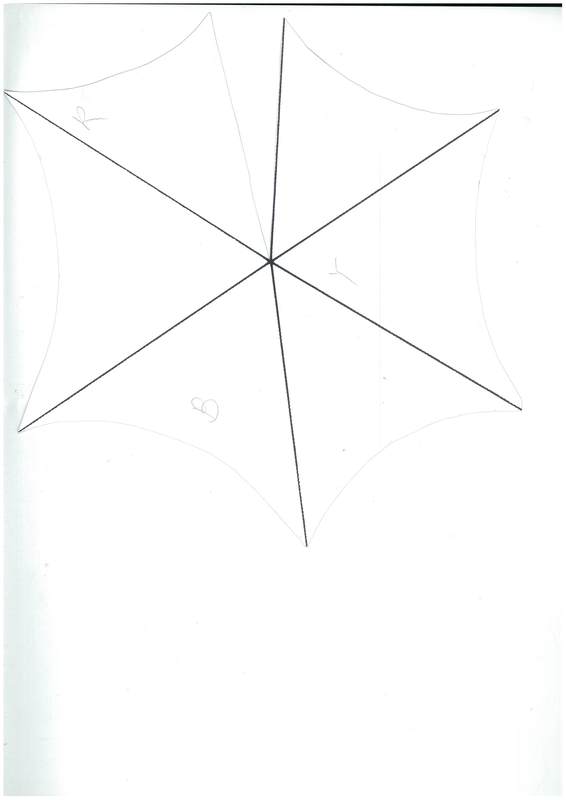
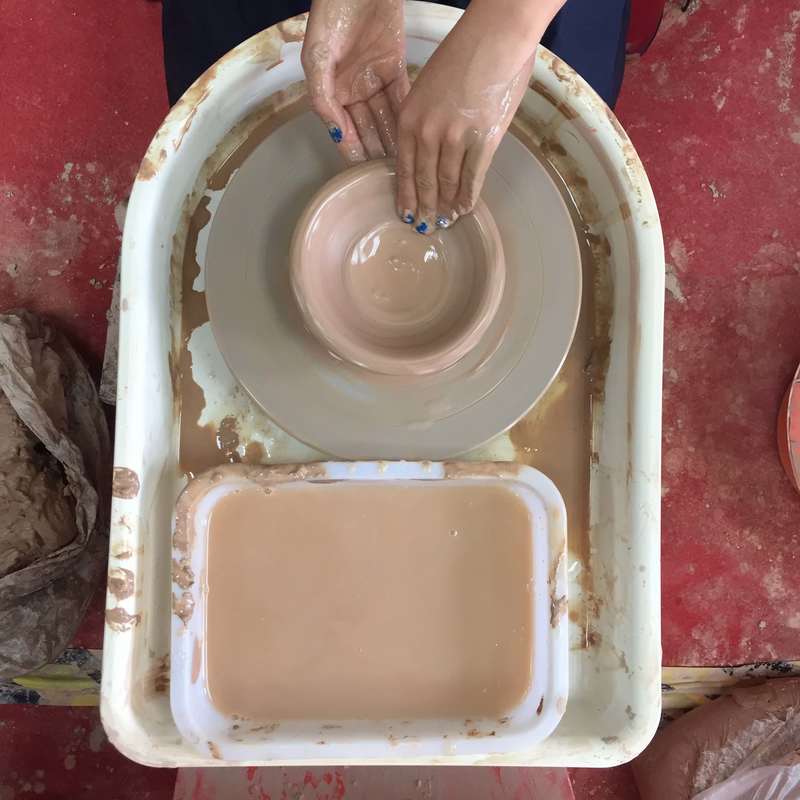
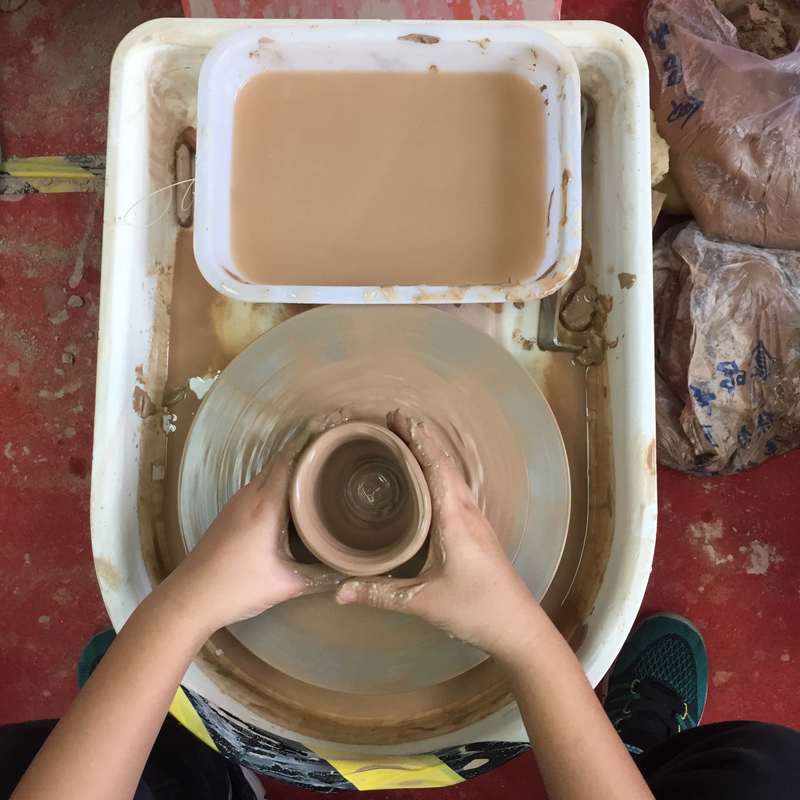
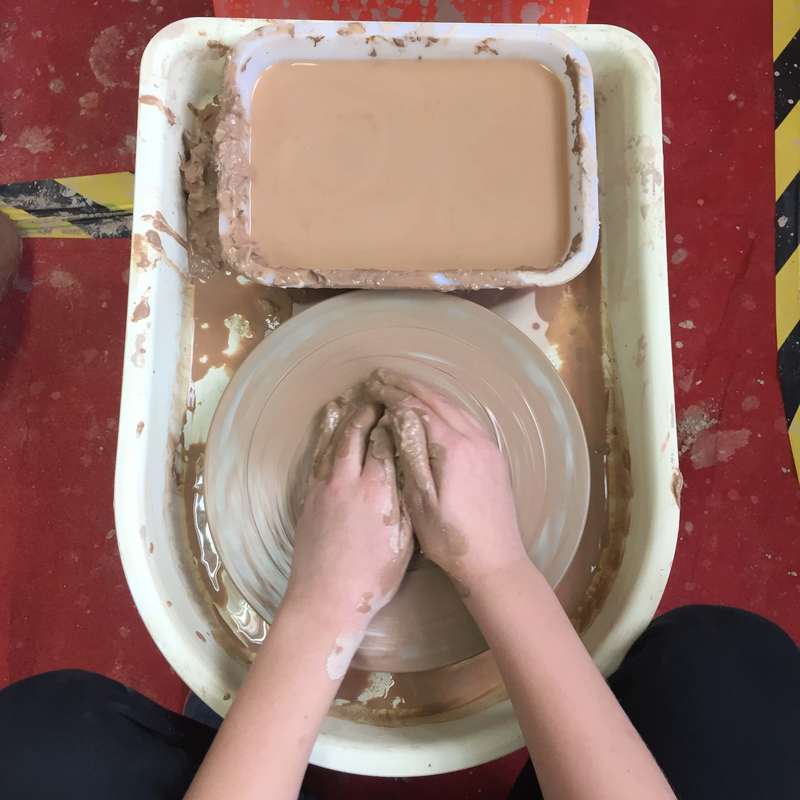
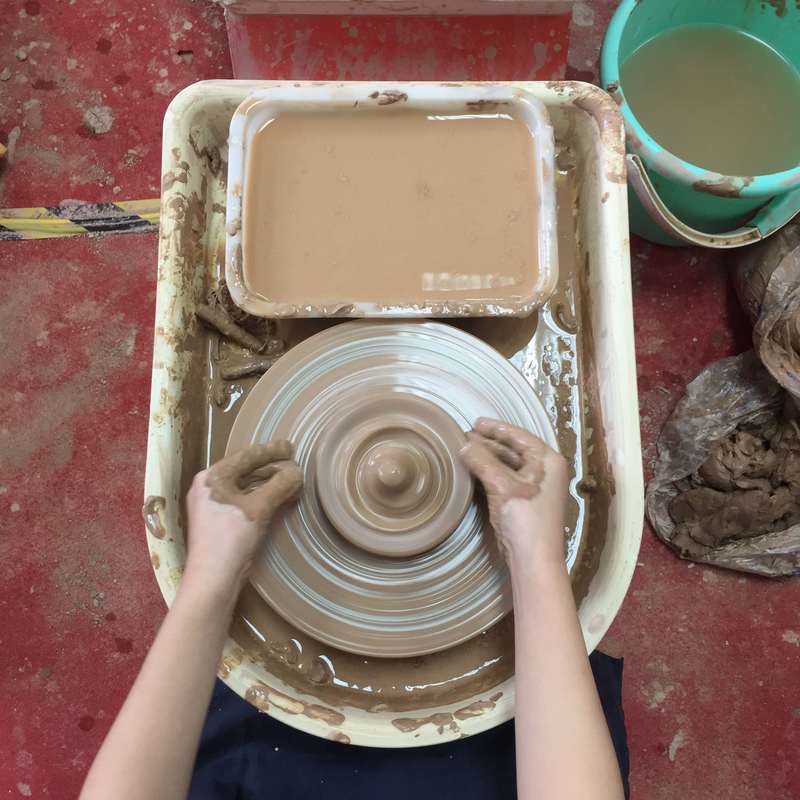
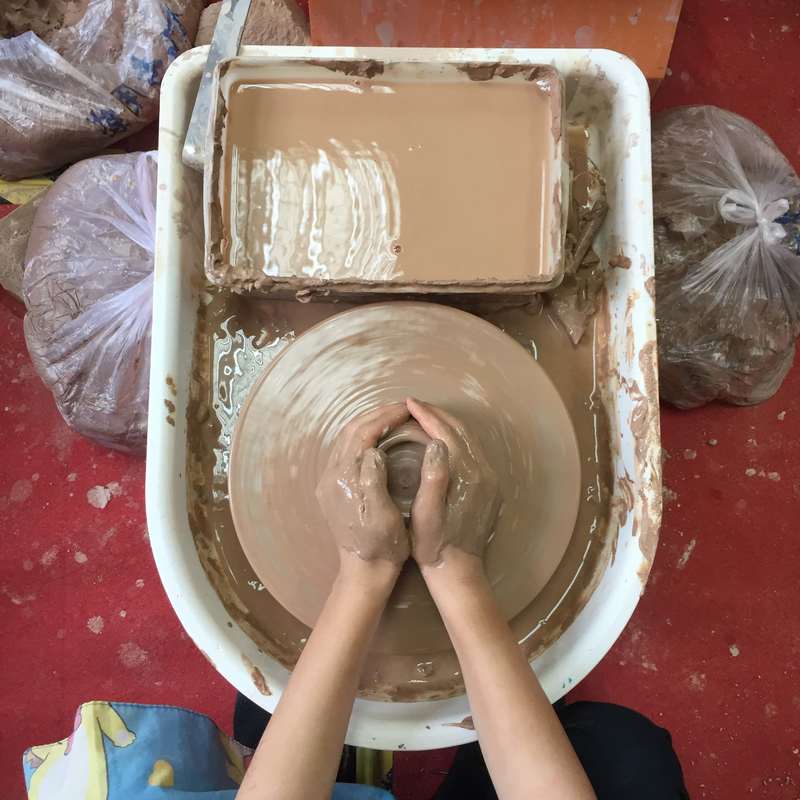
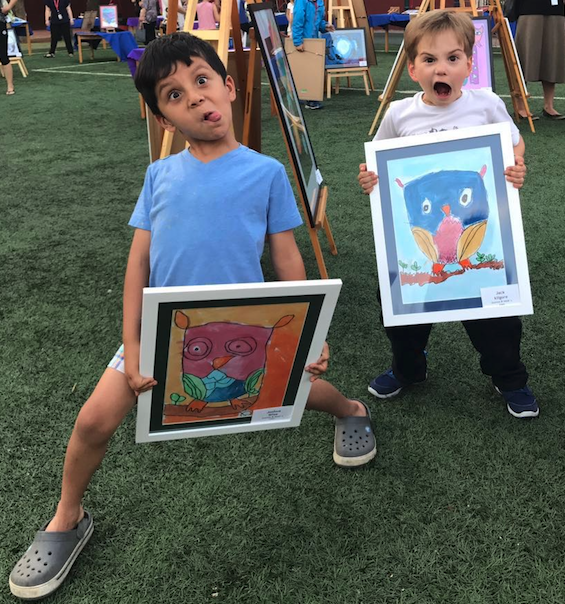
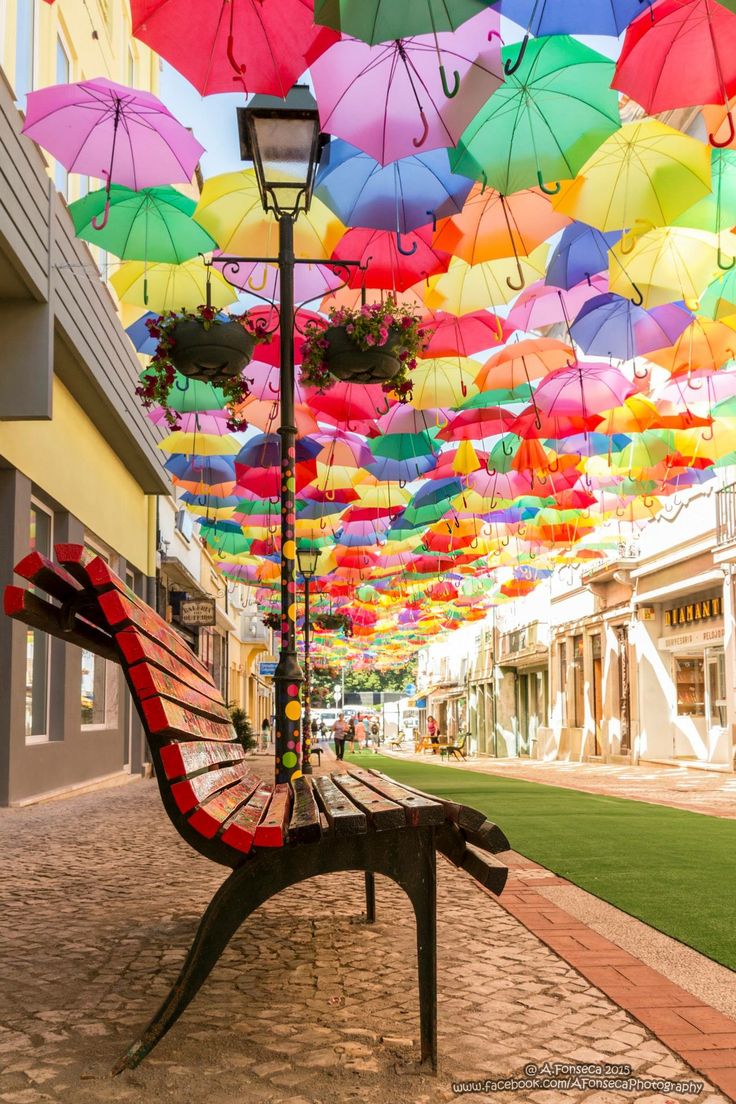
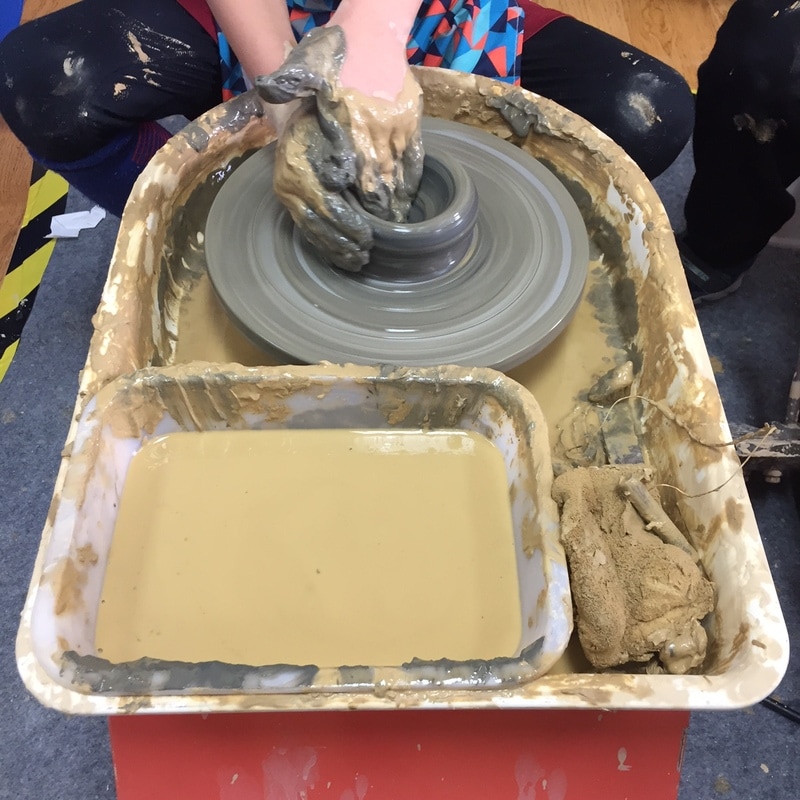
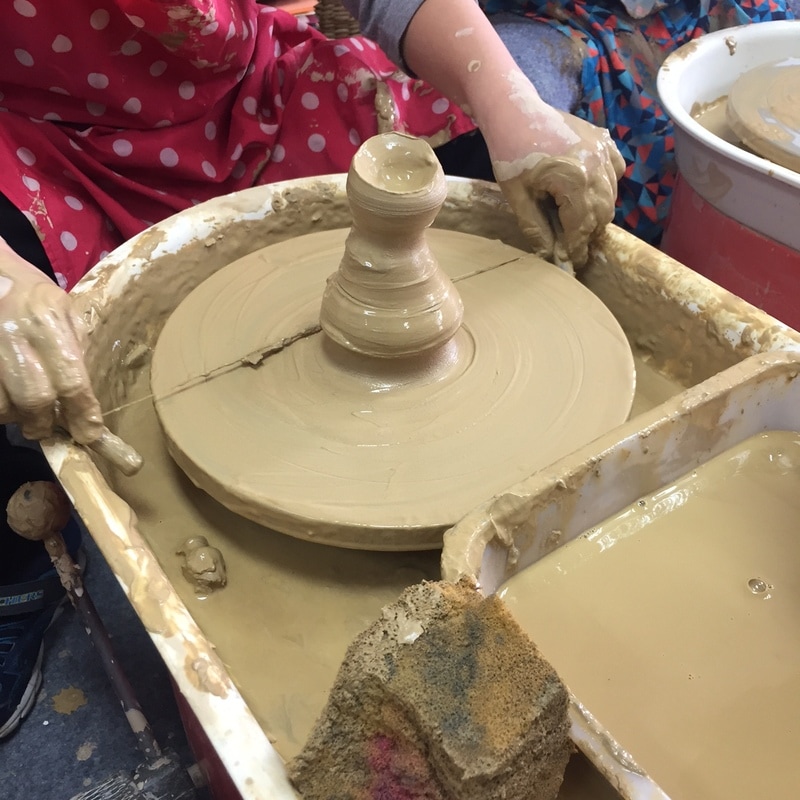
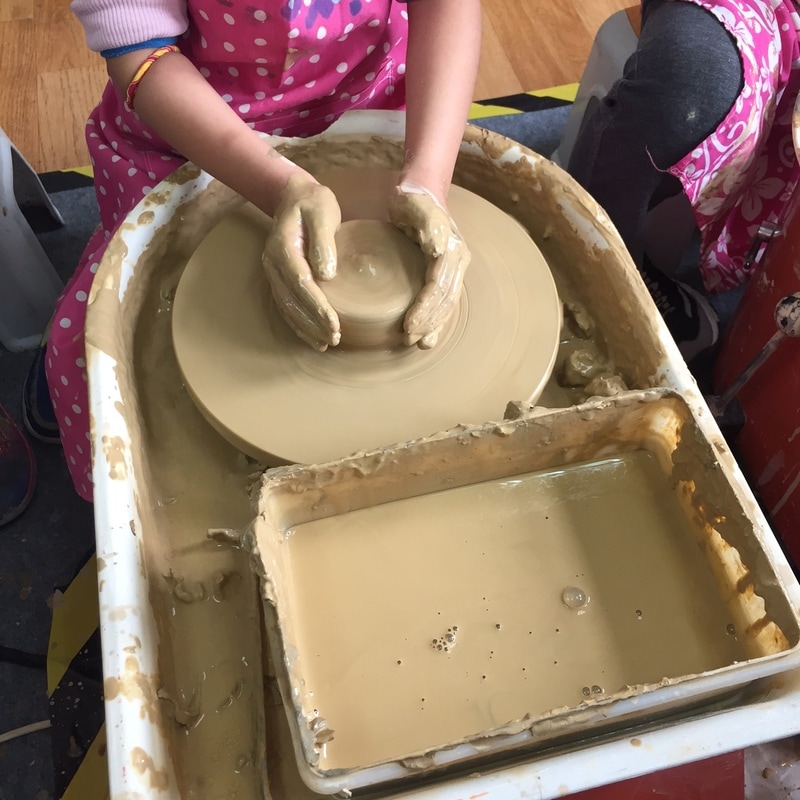
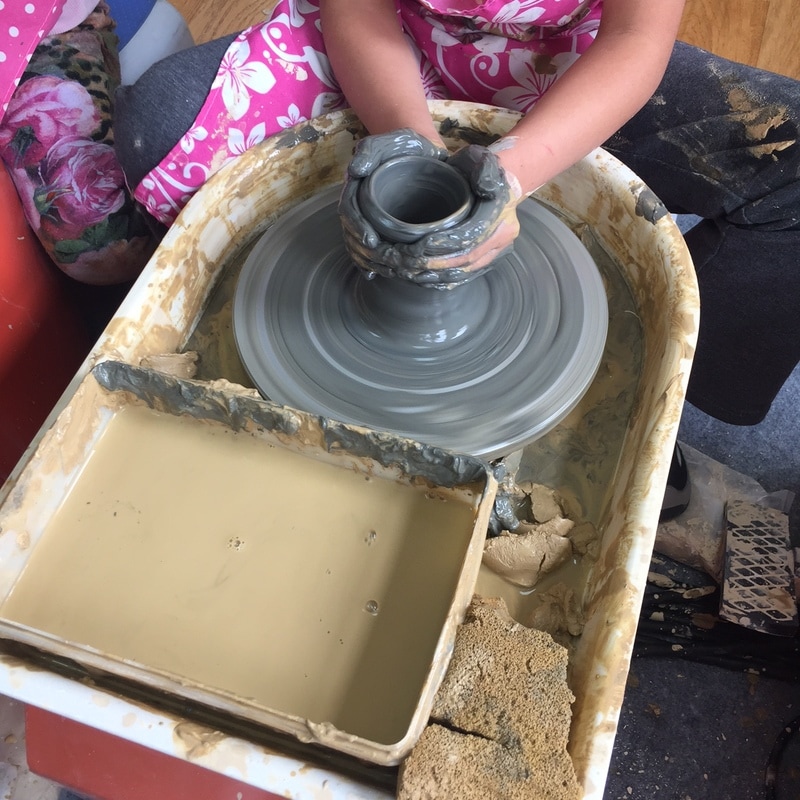
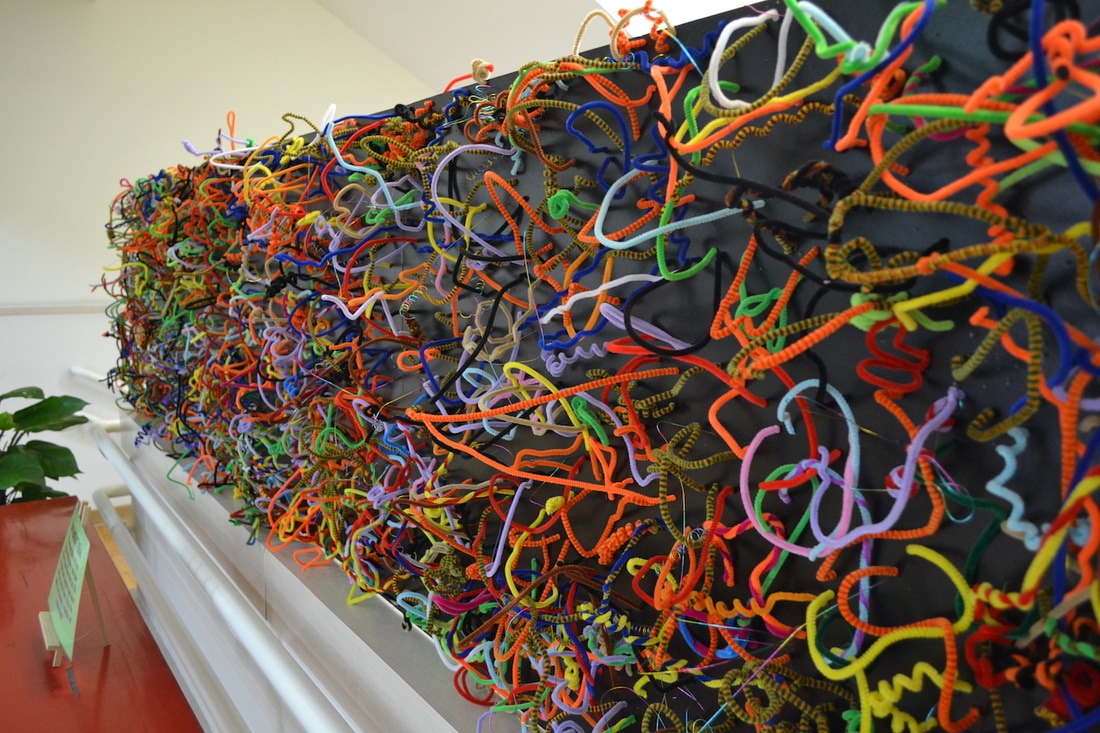
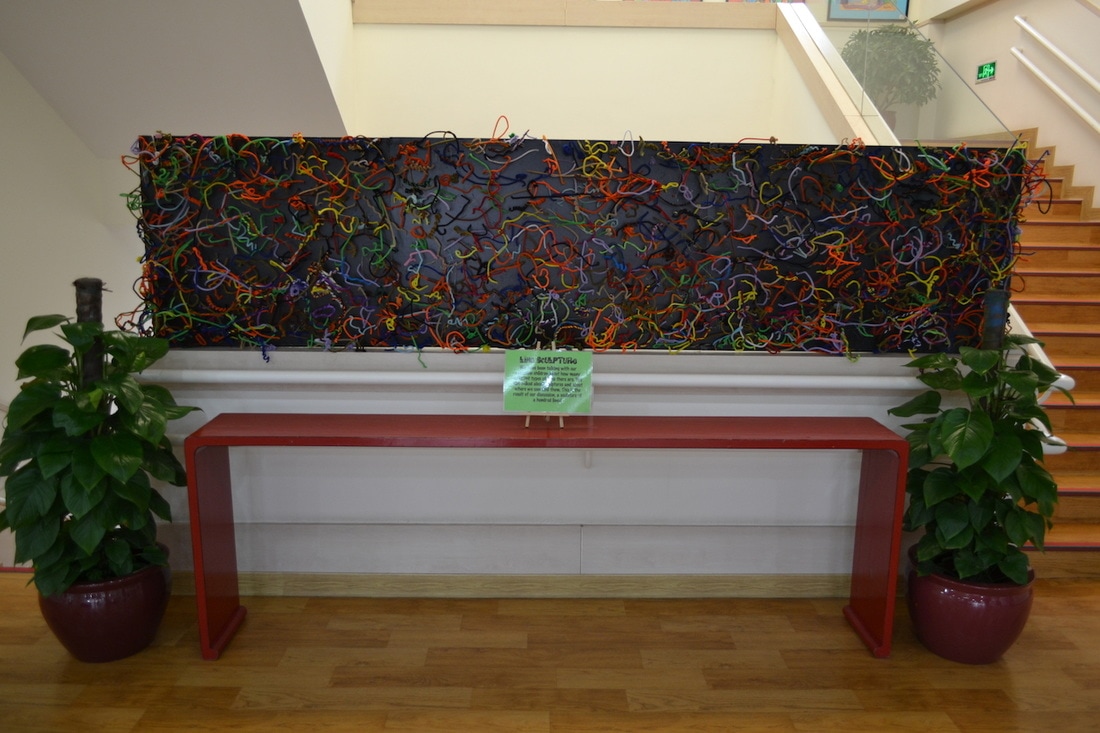
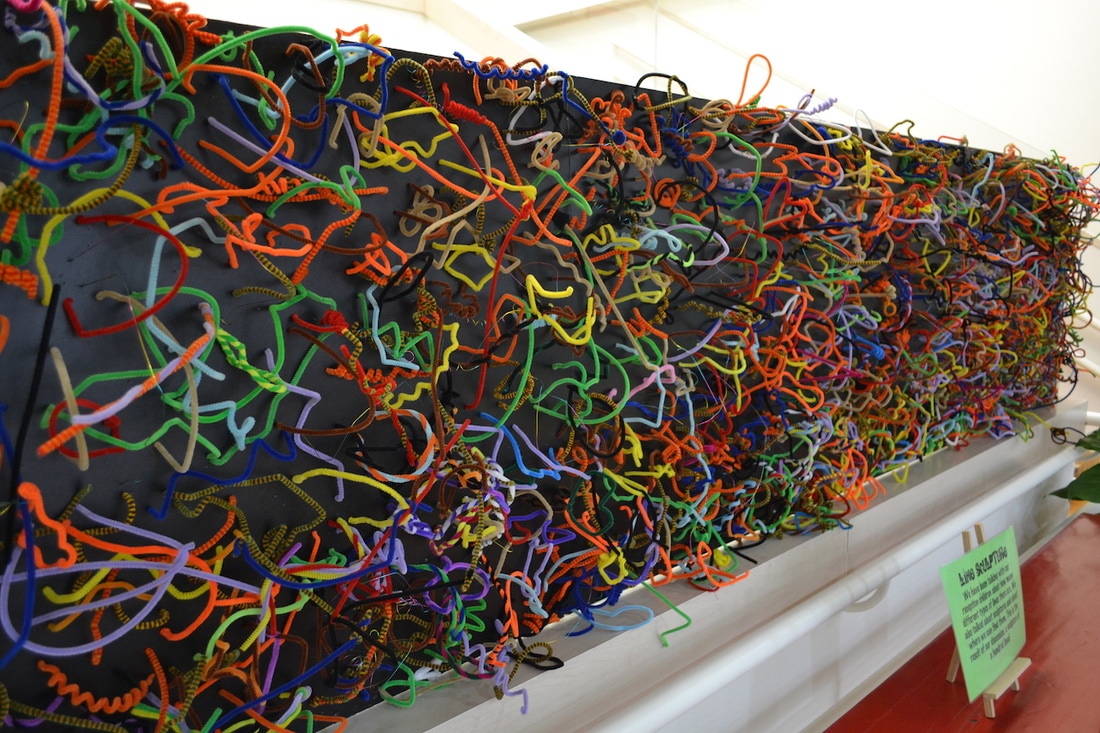
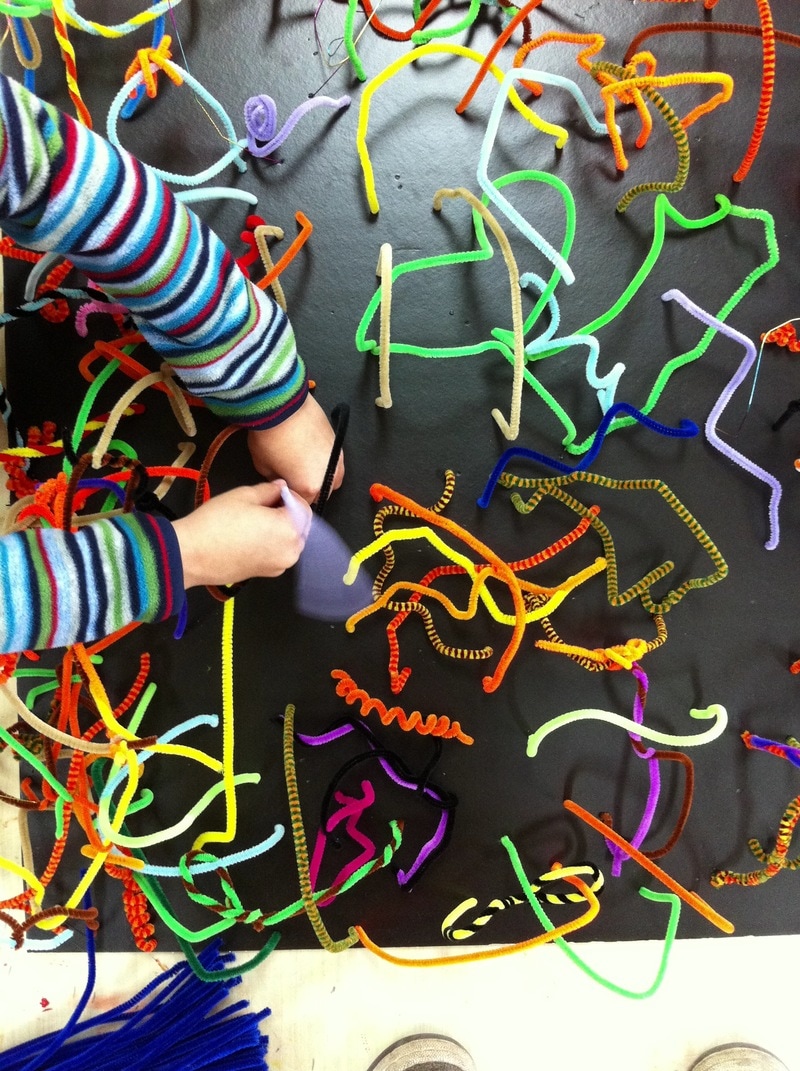
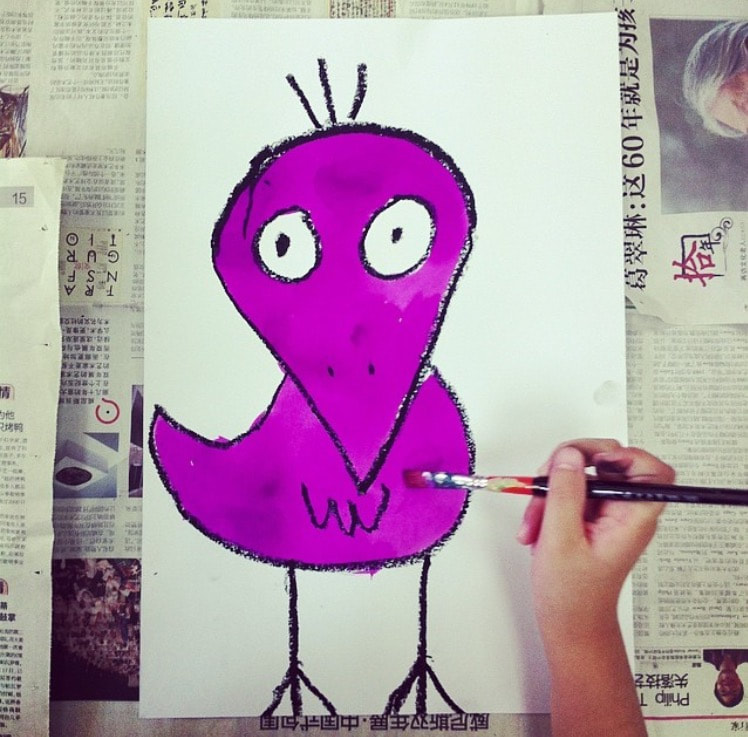
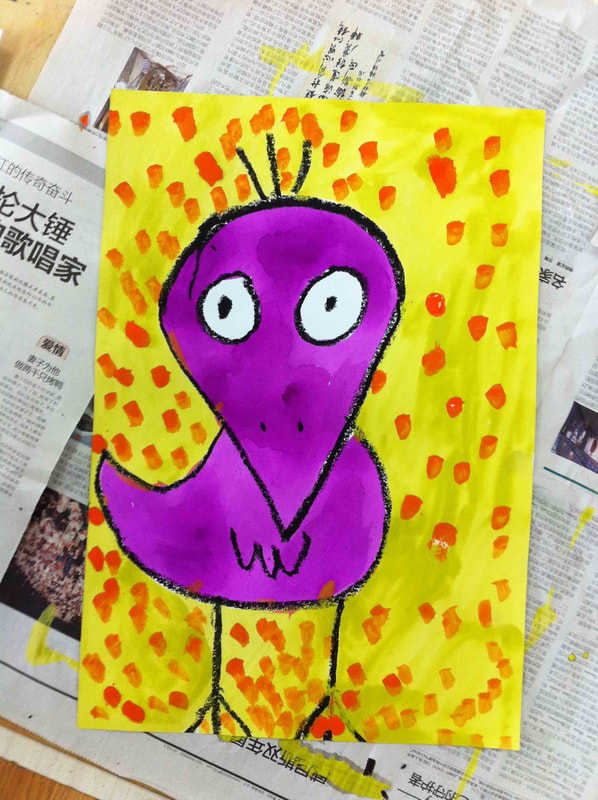
Talking about lines with the youngest. We read the book Little Green as an introduction of the lesson, which was perfect. After the book we talk about the lines world. It was so fun because they come up with some unique names for the lines like "Great Wall line' or "Elephant line" . Some of the finished works remind me somehow to some works of Joan Miró. We just talked about the colour wheel with the youngest of the school, Reception. We basically talked about the basic colour wheel, Primary and Secondary colours and we ended up making these wonderful umbrellas. I also uploaded the model that we used for them to paint. We made one and then created a stencil to speed up a bit the proccess. Once a year, our art classroom transforms into a pottery studio, complete with beautiful pottery wheels. For one exciting week, students from all grades get the chance to sit at these wheels and create their own pots. It's a time for them to explore the tactile pleasure of shaping clay, to learn the delicate balance of pressure and movement. This pottery week is definitely one of the highlights of the year. The students eagerly anticipate it, buzzing with ideas about what they want to create. It's a fantastic opportunity for them to not only learn a new skill but also to express their creativity in a different medium. The pottery wheels bring a unique energy to the classroom, encouraging students to experiment, to play, and to learn from the inevitable mishaps that come with the art of pottery. As they work on their pots, students discover the patience and persistence required to create something beautiful from scratch. They learn the importance of attention to detail and the value of seeing a project through from start to finish. And at the end of the week, they have their own handcrafted pot to keep—a tangible reminder of their creativity and hard work. We also learn something very important, to dont get too attached to something, just because chances that some pots break during the drying or the firing process are very real. It's truly amazing to witness the students' growth and to see the pride in their eyes as they hold their finished pots. The pottery week is much more than just a break from the regular curriculum—it's a cherished tradition that nurtures the artistic spirit of our students. Our reception children have been experimenting with the primary and secondary colours and its relation between themselves. Different Portuguese cities like Coimbra, Águeda... inspired us to create these beautiful primary and secondary coloured umbrellas! We found this superfun book (actually our fantastic librarian did) and we created this 2 lesson project. Day 1: We read the story, painted the background and the paper that we will use to make the rabbit. Next lesson children will retrace some stencils of the parts of the rabbit, cut them and assamble them all (check day 2) One of the most expected weeks of the year! All the grades have the chance to experience to work with clay in a clay wheel. Depending on the grade, the difficulty level is higher or lower. All the students from reception until Grade 6 get to work with the wheel. This lesson is a good fun. It could be done with any grade. This time was the youngest turn. We first talked and discussed a bit about Mr. Pollock and his artwork, We also saw him making some art and then we got into action. Something very important is to cover everything and when I say everything I mean everything. We watered down few acrylics that we previously chose and we used brushes (handle) and some chopsticks (I love how many uses chopsticks have, we always got loads in the artroom) for the paint dripping. It was such a fun project and the result was stunning. The key is to choose the right colours and to find the best balance between water and paint. 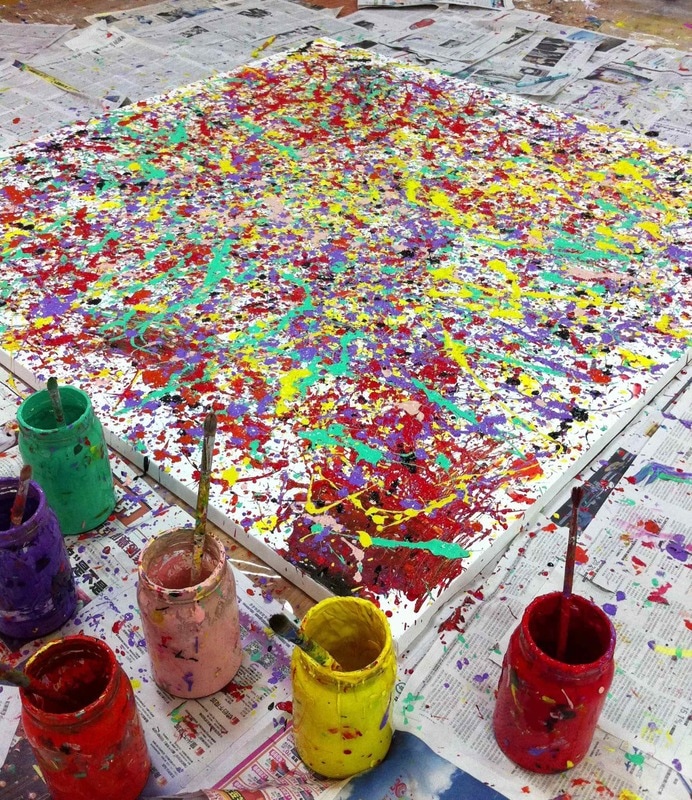 After lively discussion with our smallest about what symmetry is, discussing about it, playing/making different activities etc… We made this project. I previously fold the piece of paper in exactly two parts so they will draw only in one half of the paper, they will draw a half butterfly with black oil crayon. When it´s done, we will fold the paper again and press everywhere. We make sure that the half butterfly pass to the other half of the paper with the pressure we are making on the paper, or at least enough for us to be able to see it. Then we retrace and we should get a “perfect” simmetric buterfly. When all the outline is done, we will use watercolour to paint our butterfly. The oil crayon will resist the waterolour, so the watercolour should not pass the black lines. 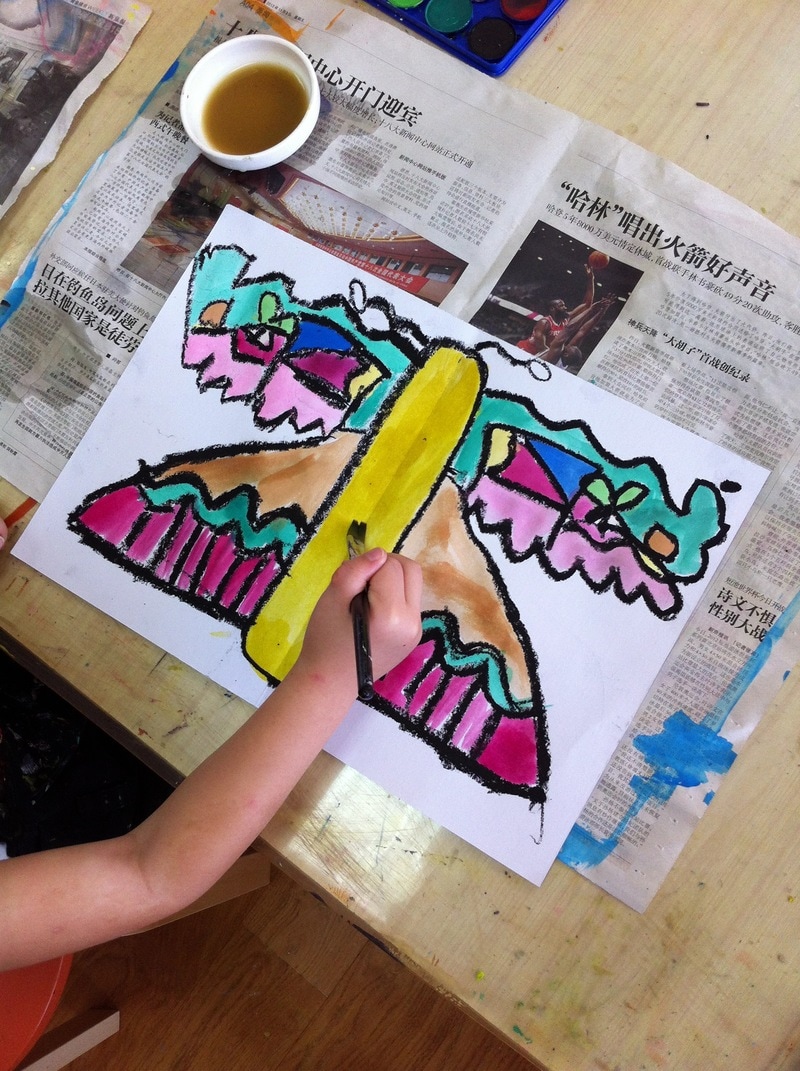 We have been talking with our reception children about how many different types of lines there are. We also talked about sculptures and about where we can find them. This is the result of our discussion, a sculpture of a hundred lines! We used basically two things. KD board (I am a big fan of KD board, it is the most useful thing in this world!) and Pipe cleaners. The more colourful the better. One of the million things that I love of my job is that I got to discover and to know a lot of new artists, new art techniques, new people... James Rizzi is one of them and I absolutely love his work. His colours, lines and drawing makes him perfect for an art project. Beside Rizzi we also talked about the watercolour resistance to oil pastel. Lesson inspired by deepspacesparkle. |
Positive, Creative Space.
Archives
December 2023
|


 RSS Feed
