|
Now you now a bit more about Aboriginal Art! I would like you to please check these 3 cave painting, yes they also do cave painting! After checking the three paintings please answer the questions below. 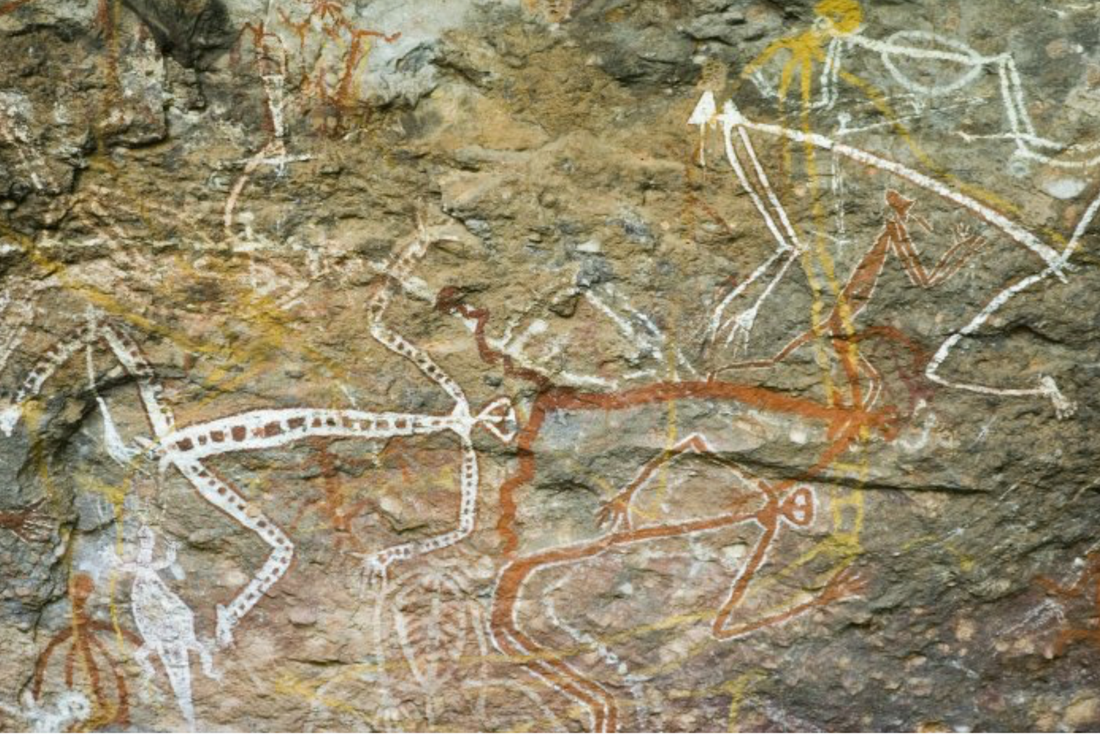 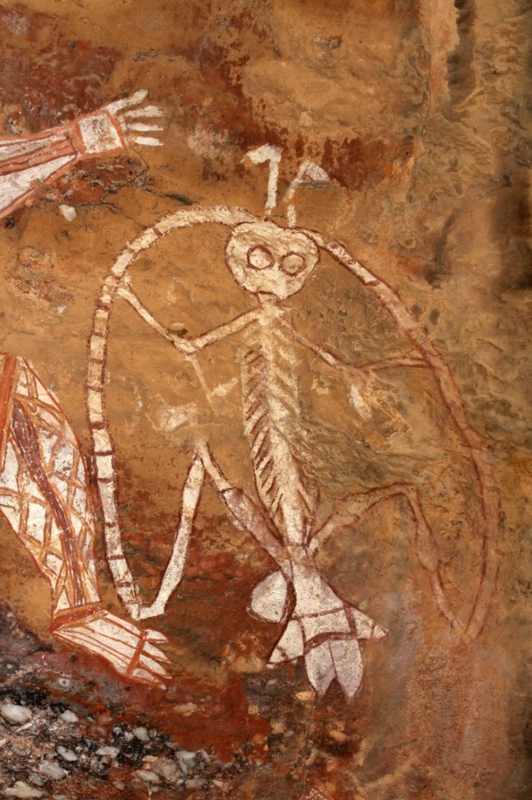 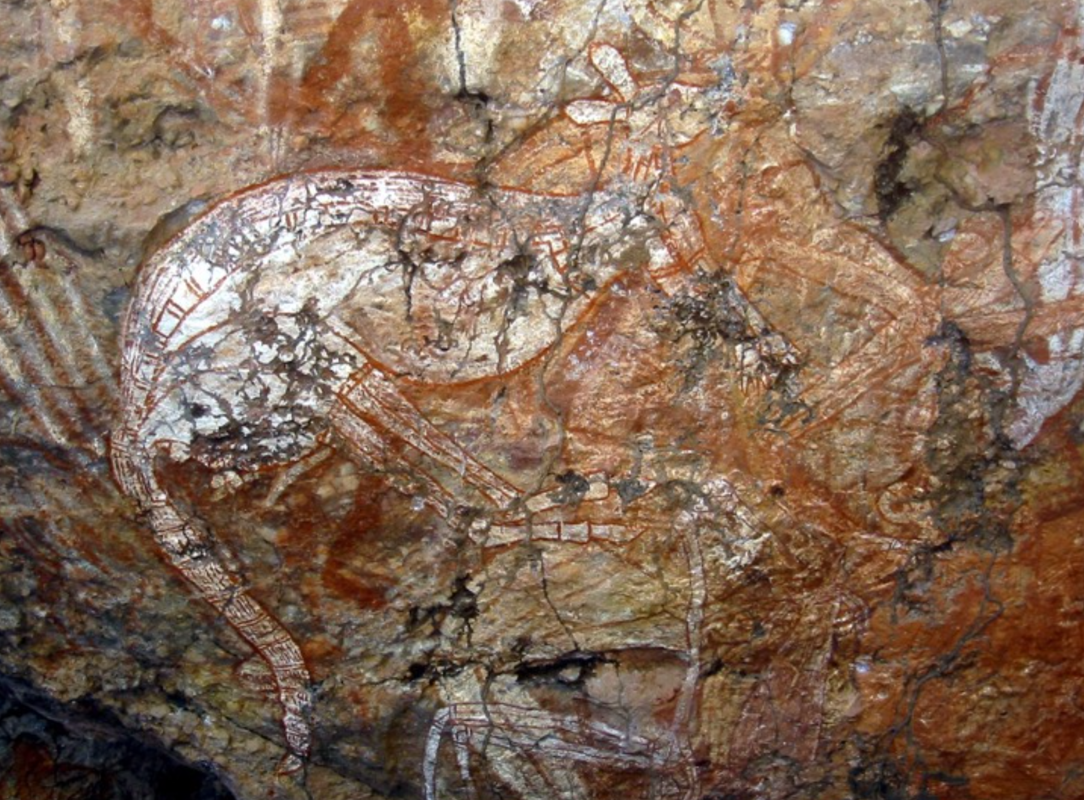 After observing this artworks please answer the following questions:
Have you heard about the Aboriginal X-Ray Art? It is an indigenous style of painting where the artist visualizes not only the external shape of the subject (usually animals, humans or spirit beings), but also its internal structure. These images are not anatomically accurate drawings; they are elegant designs that focus on those elements of the musculoskeletal system that are important to the artist. The X-ray painting technique is most commonly used in Aboriginal bark painting. It comprises outlined shapes, painted with flat colors and shaded with 'rarrk', a traditional style of cross- hatching . 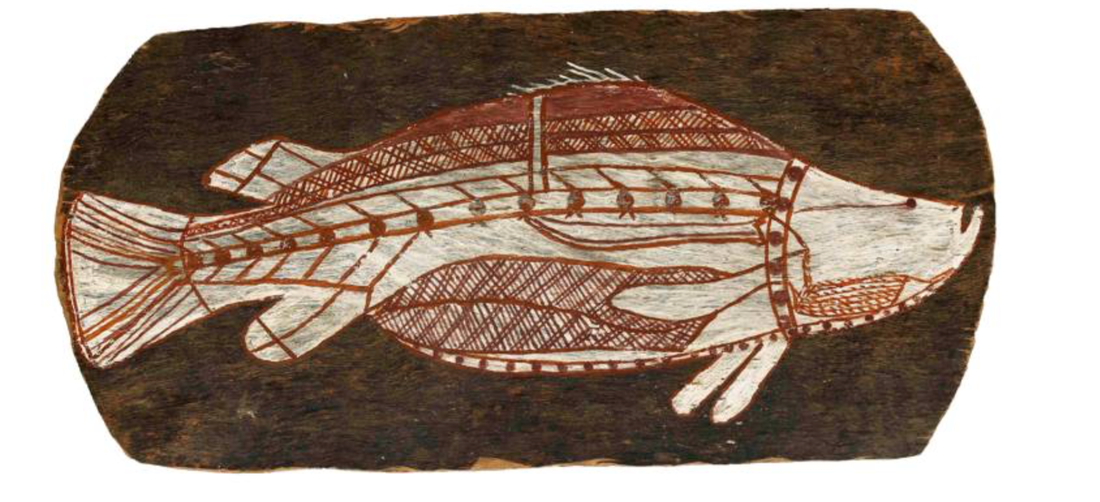 Aboriginal X-Ray Painting of a Barramundi 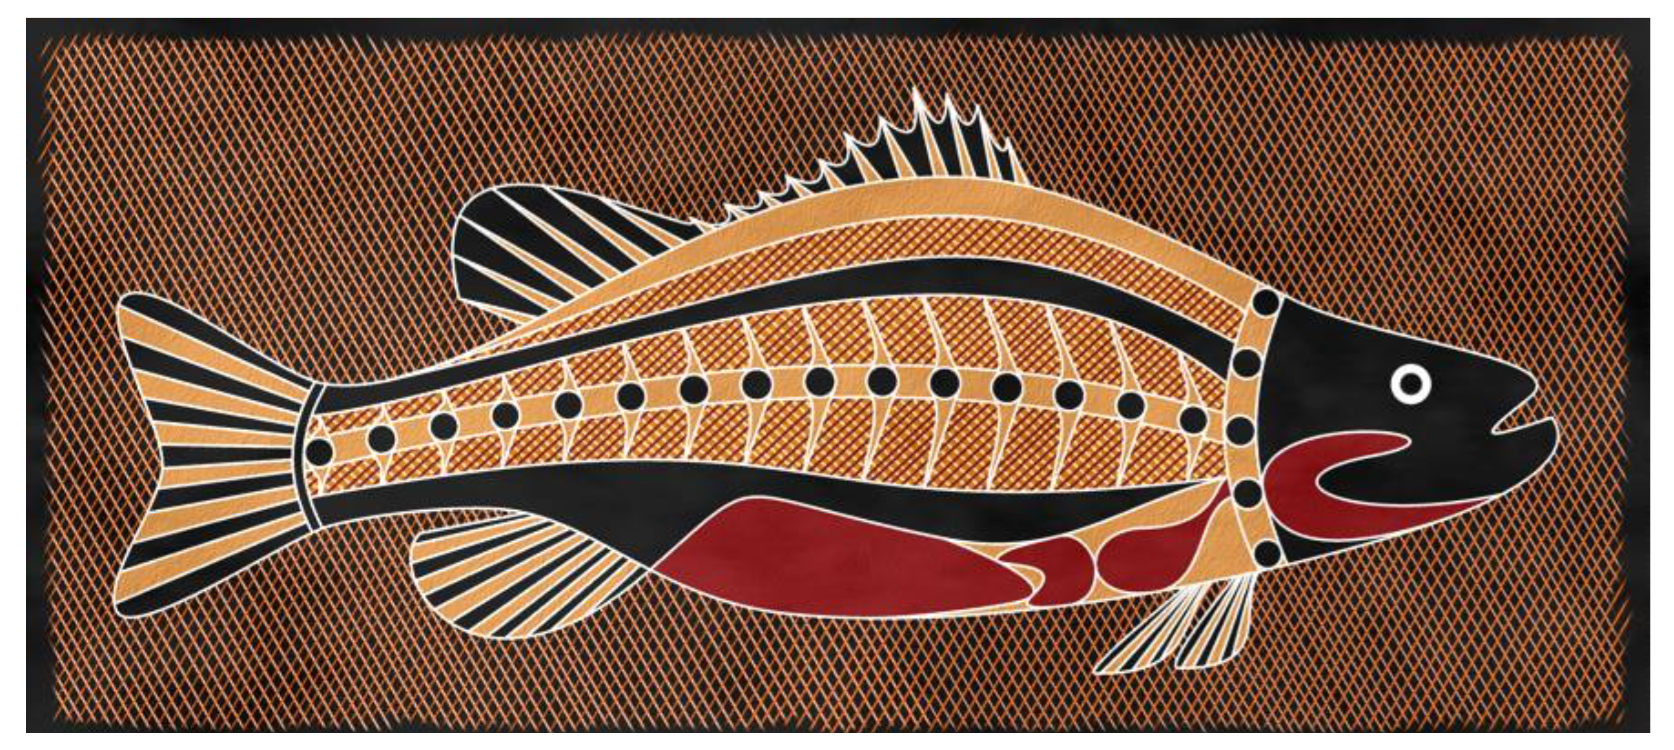 Are you ready to make your very own X Ray Artwork? 1. Grab a sheet of paper, pencil, eraser, color markers, color pencils, etc... 2. Outline the fish (if you prefer to do other animal that’s ok but it must be an animal Aboriginals know) 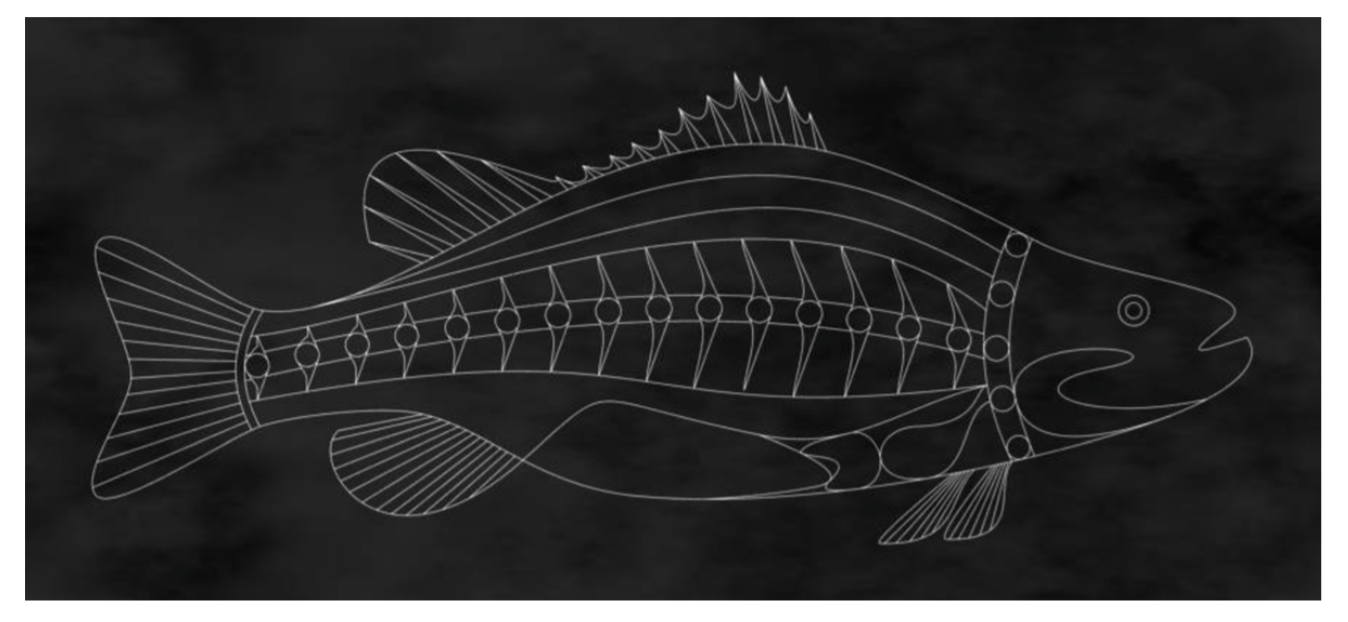 3. Cross-hatch the background using ochre 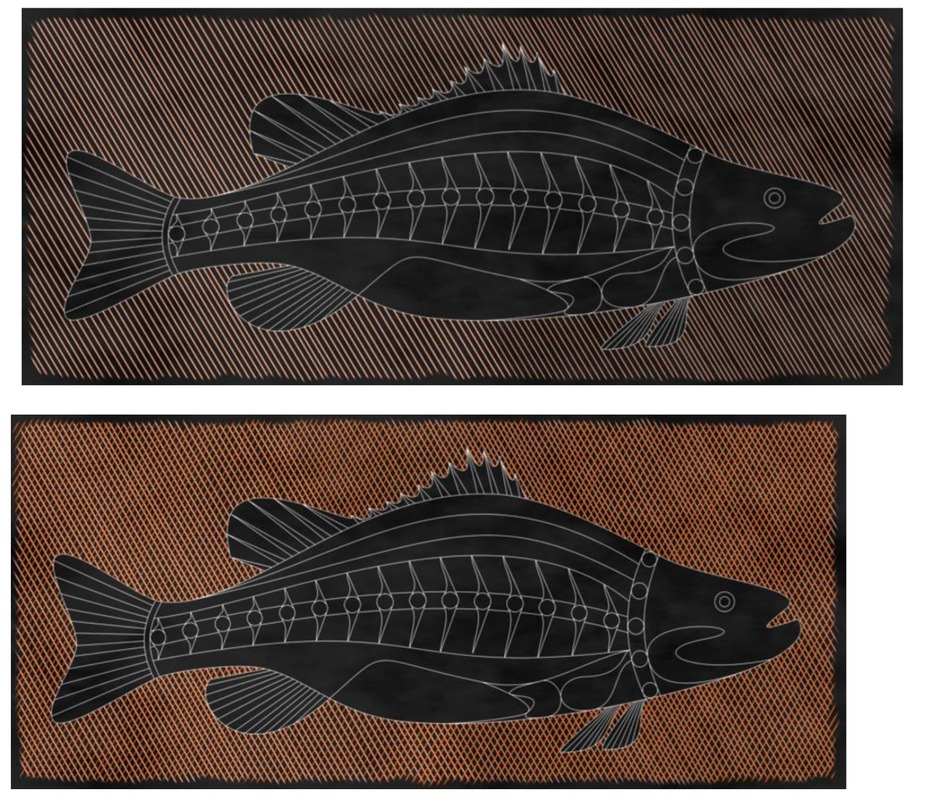 4. Paint in the interior of the fish (or the animal you chose) with a light ochre color. 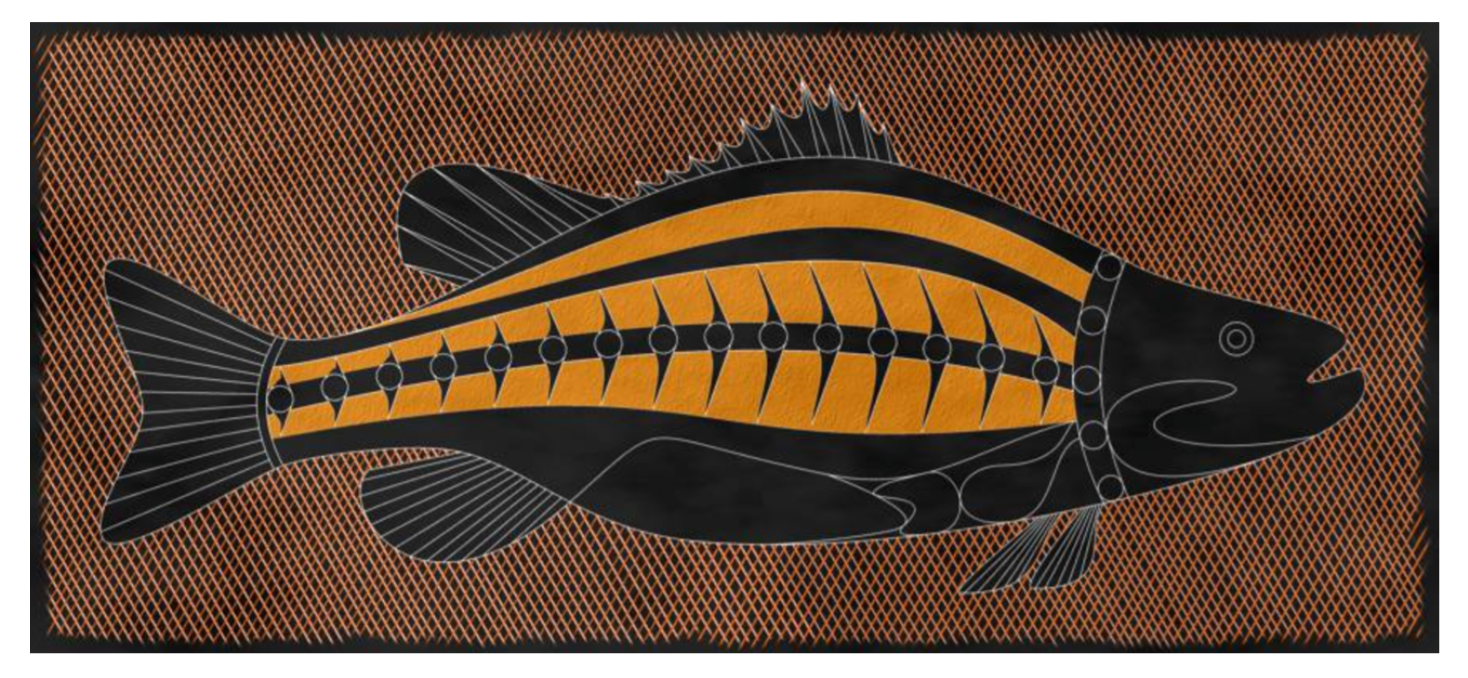 5. Cross-hatch the interior using a lighter color. 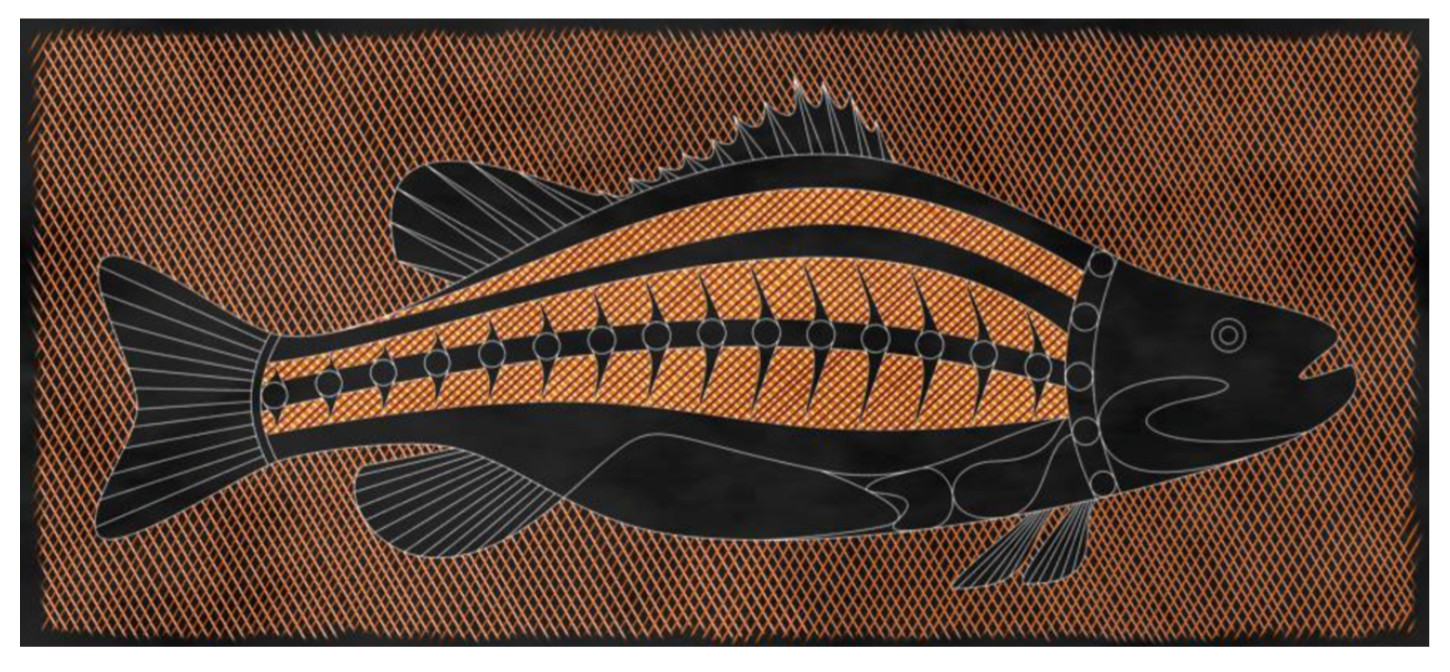 6. Paint in the organs of the fish (or the animal you chose) with a deep color.  7. It is important to leave some sections of the painting empty for areas of contrast. 8. Outline and unify the entire image with a thin white line. 9. Here you can see other X-Ray Paintings just for your reference. 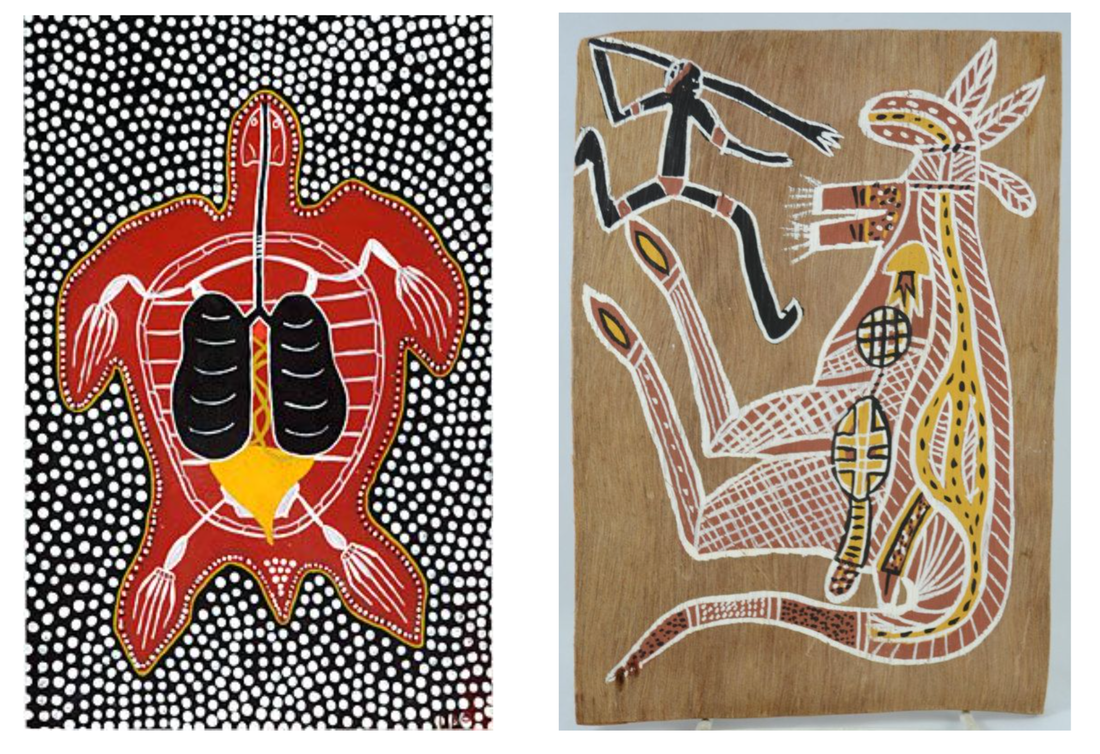
0 Comments
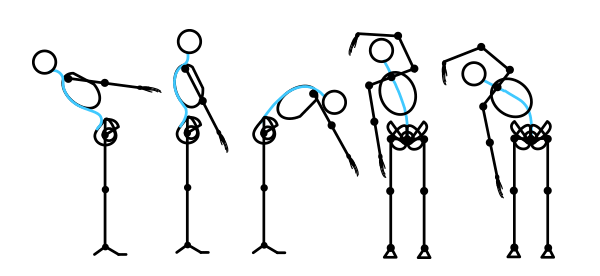 We all love stick figures, don't we? We are going to draw different stick figures but in a new other level! Just think for a moment on your body parts and think about basic shapes... What shape would be your arm? And your leg? What about your neck? 1. Check the picture below and see how to draw a stick figure using basic shapes (circle, squares, trapezoids, etc...) 2. Take an A4 paper, a pencil and practice draw different stick figures. Fill the entire paper. 3. Take a new A4 paper sheet, a pencil and draw at least 5 different stick figures doing different actions, such as jump, run, fly... be creative! After you finish your task you can click in the following link (or copy paste into the browser) and draw a custom stickman and watch him come to life in an interactive adventure. Don't forget about drawing shapes instead of lines! http://www.drawastickman.com/episode1 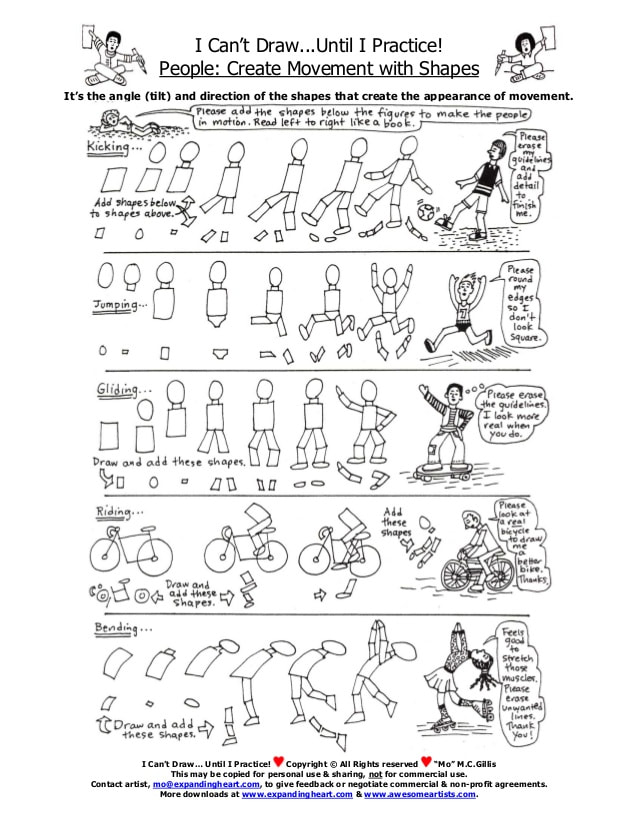 Here below you can see other ways of drawing stick figures, the possibilities are endless! 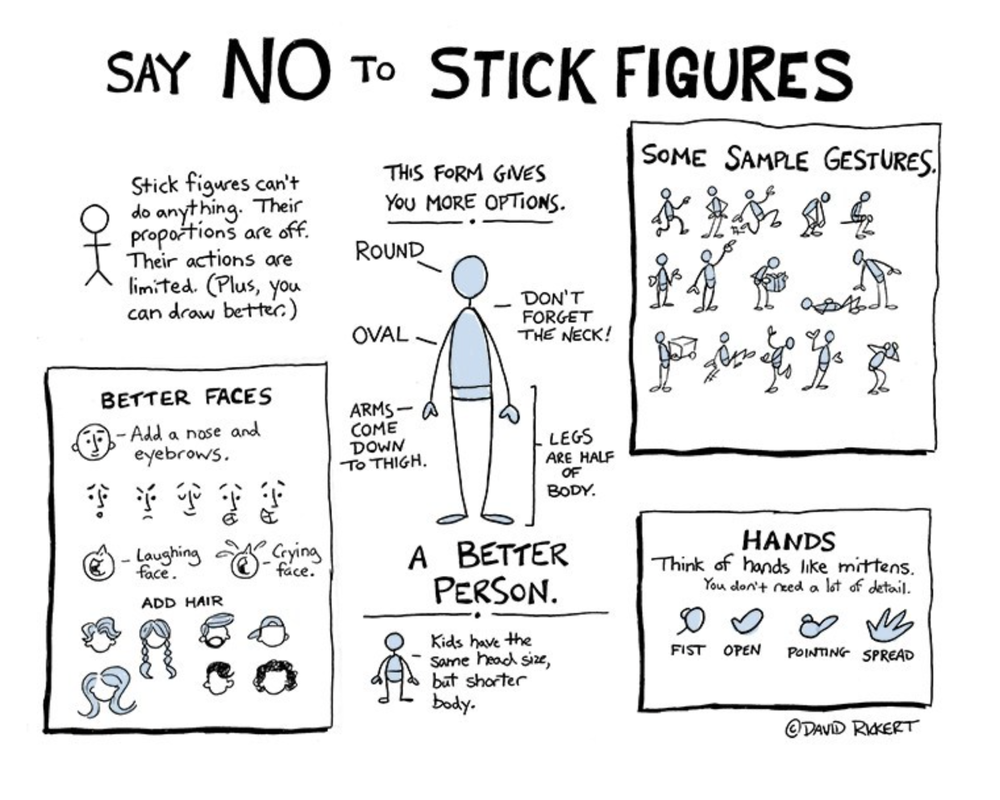 IMAGINE YOUR OWN ADVENTURE You will create drawings based on an imaginary journey! What You Need:
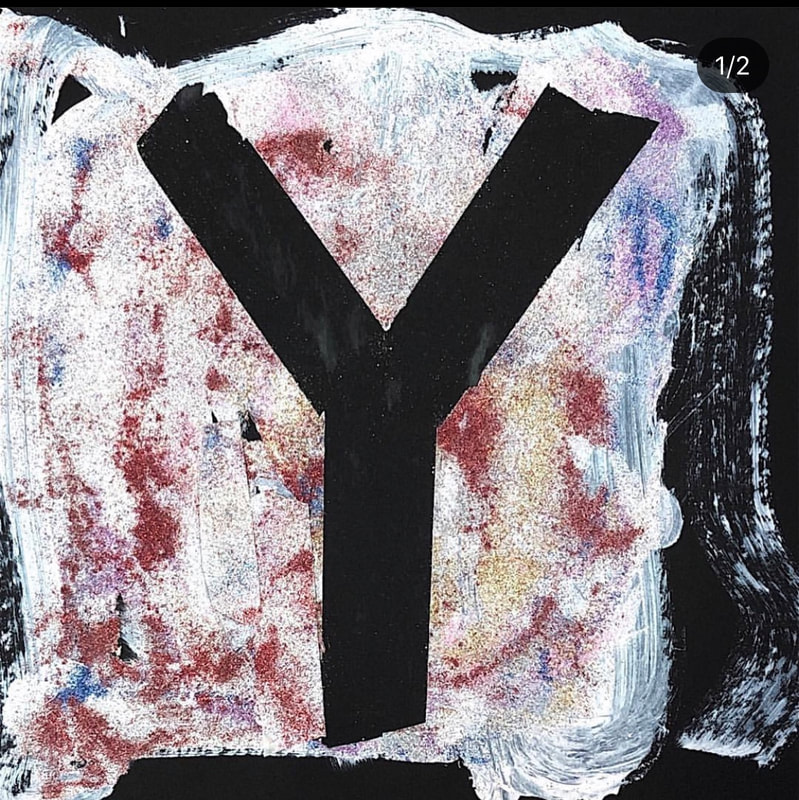
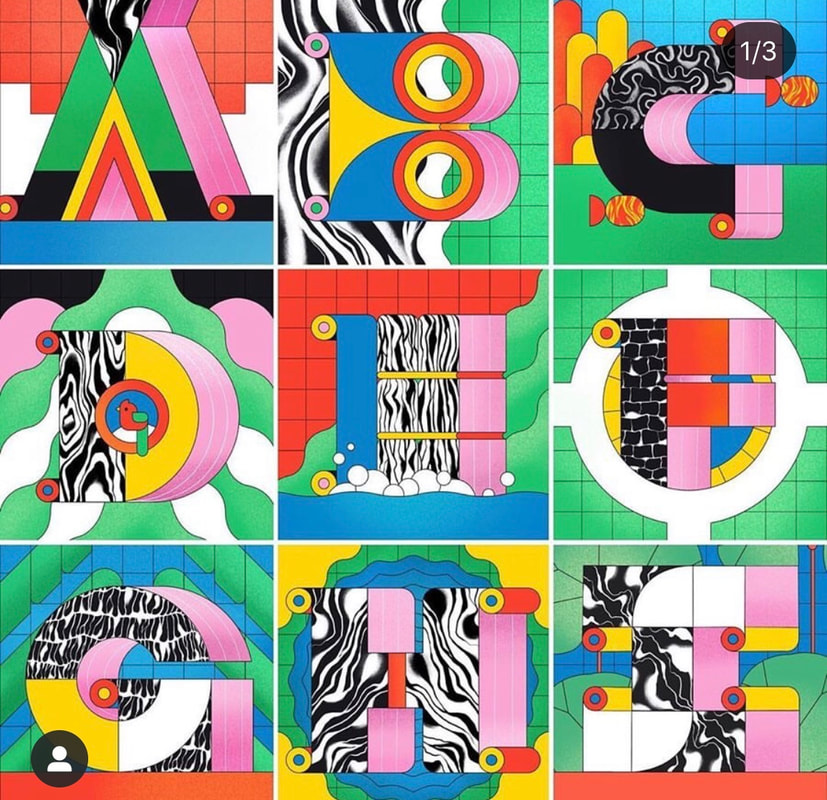
Imagine that you are going on an adventure.
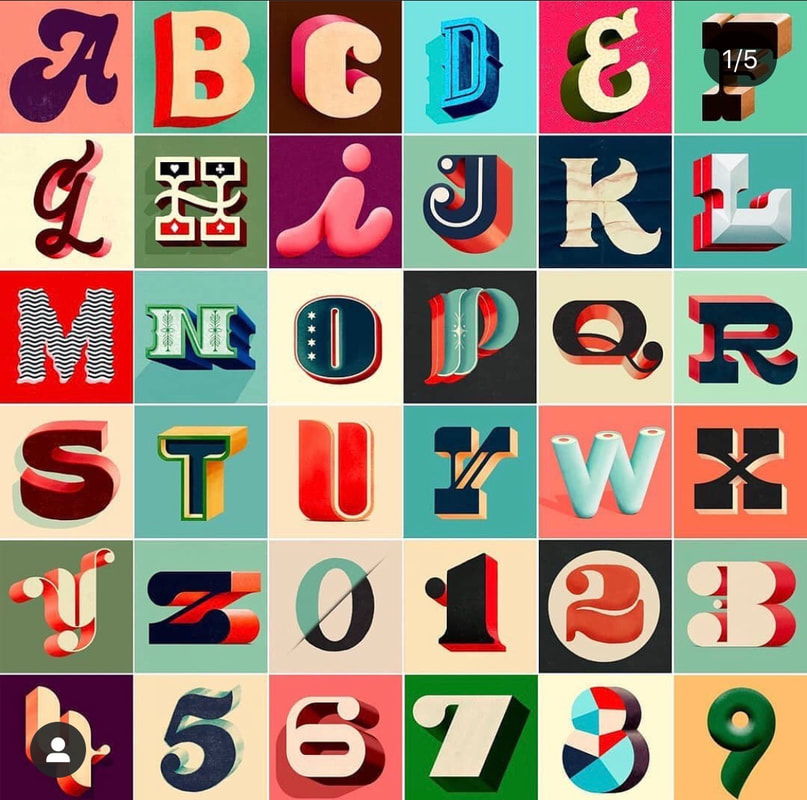
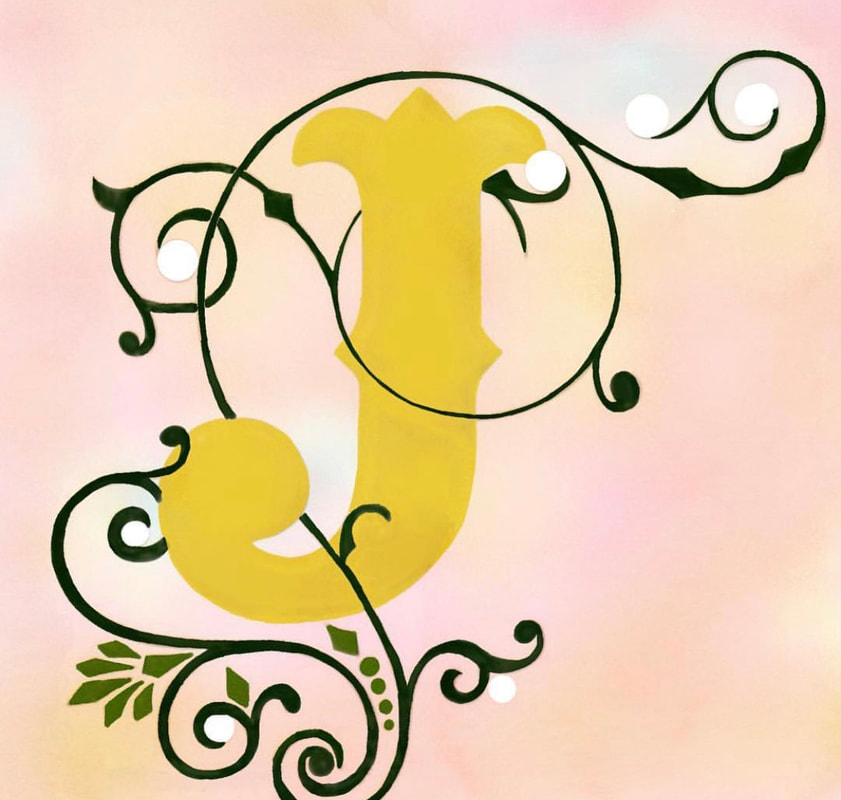
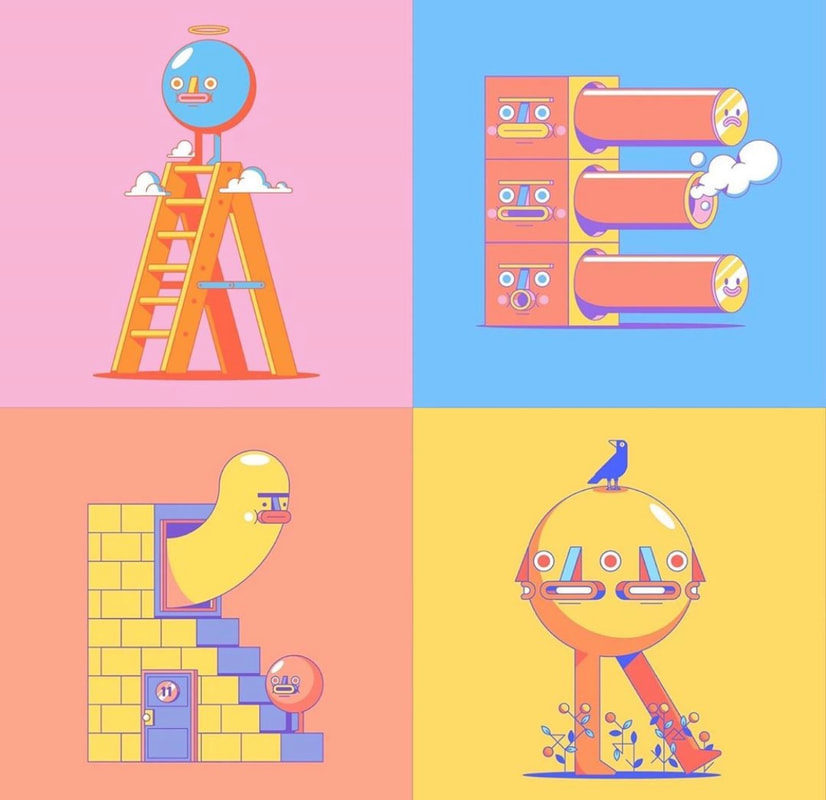
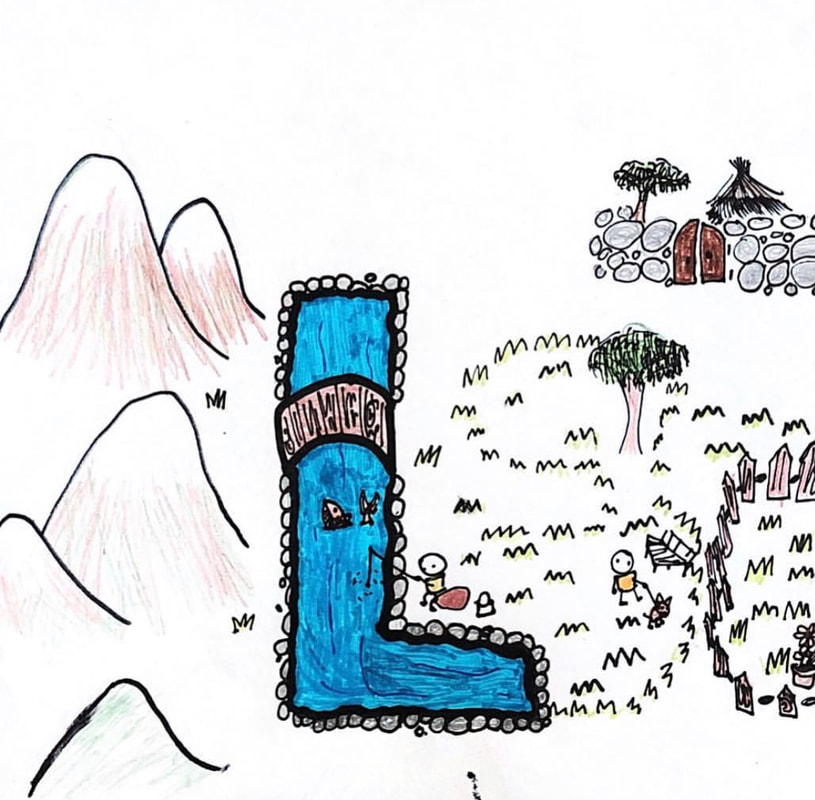
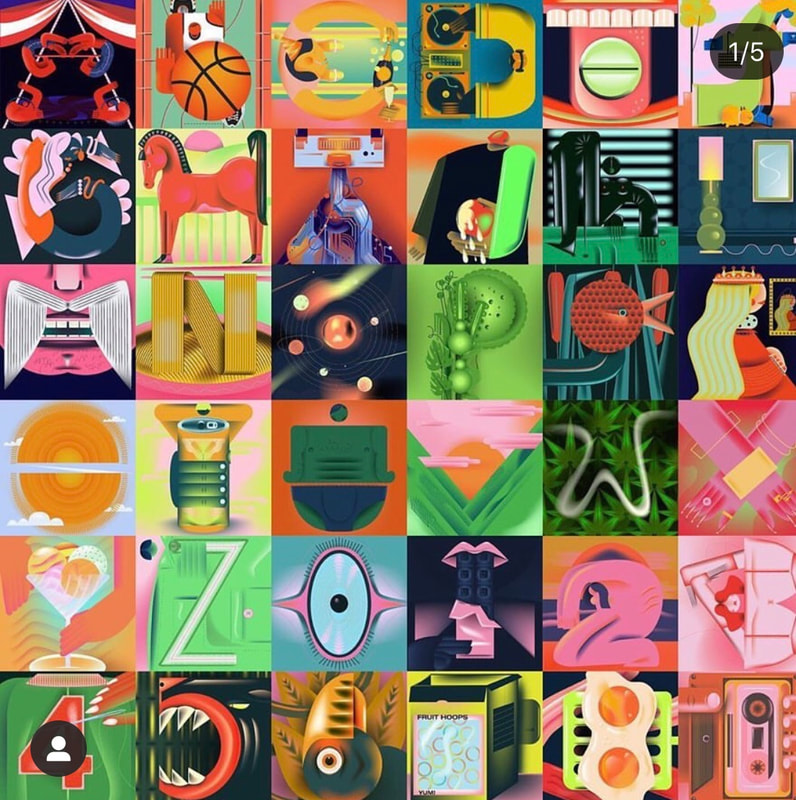
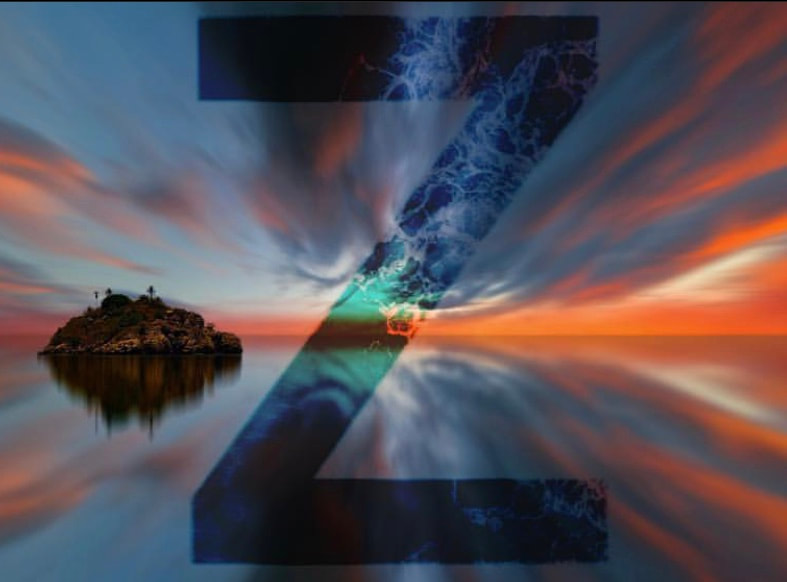
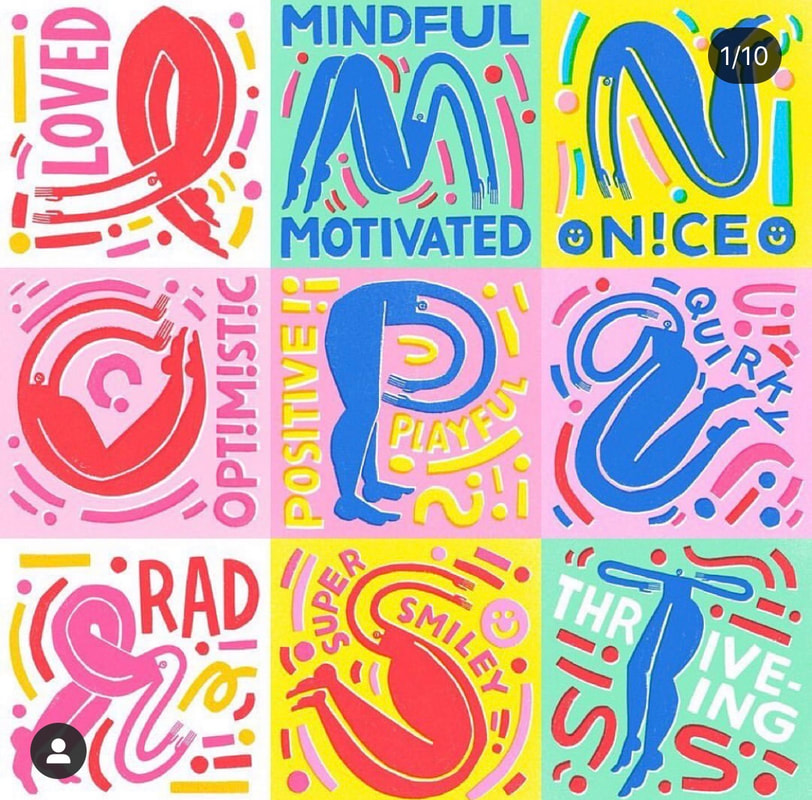
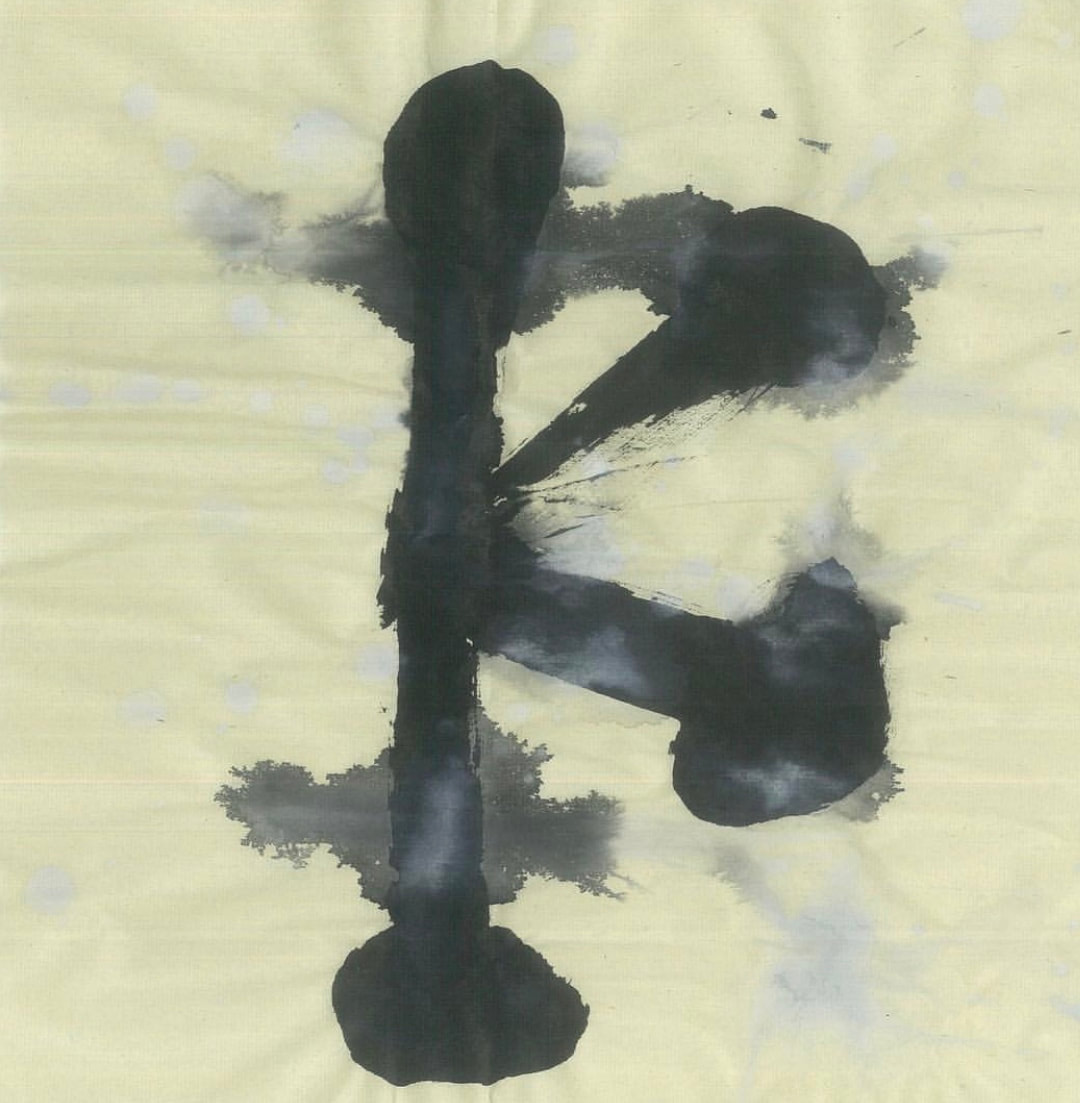
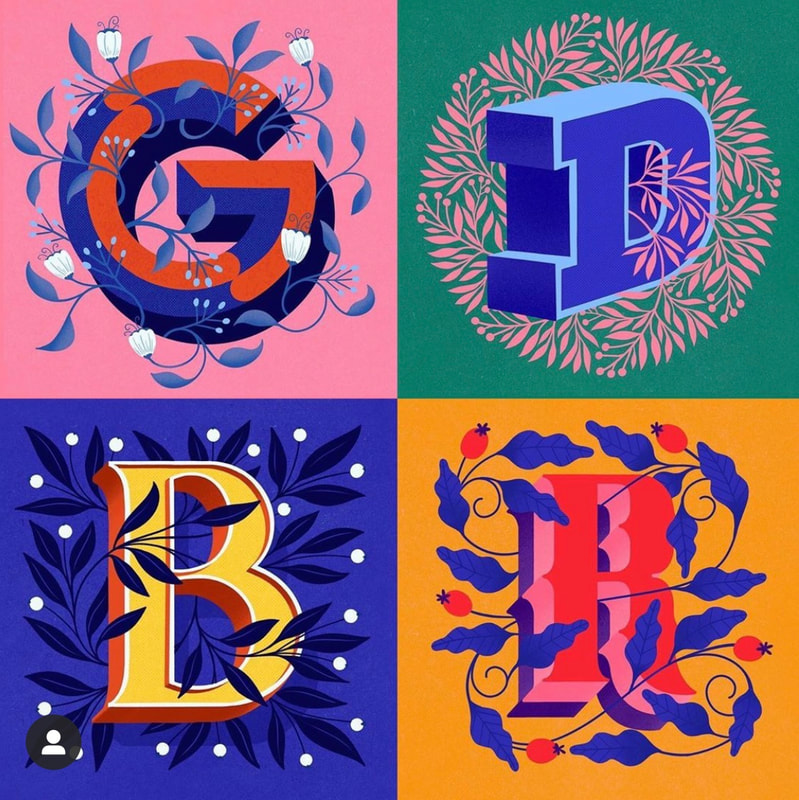
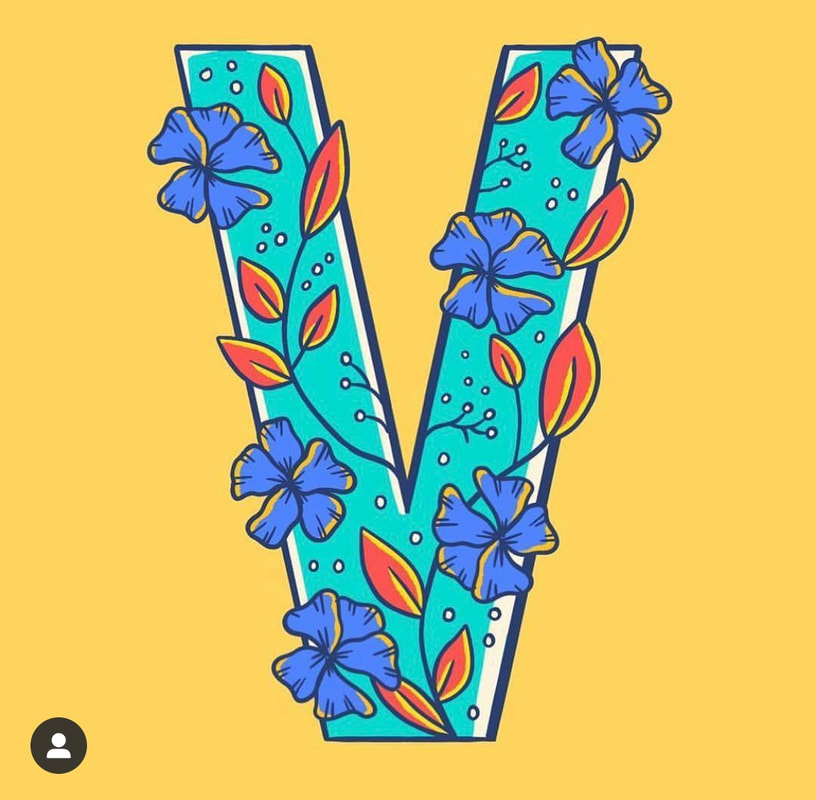
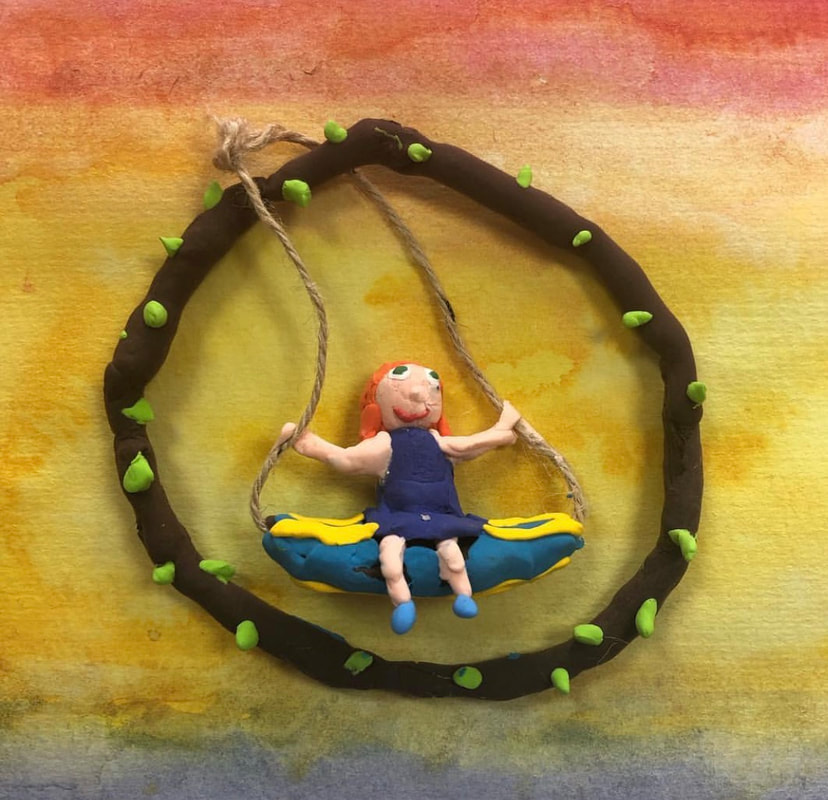
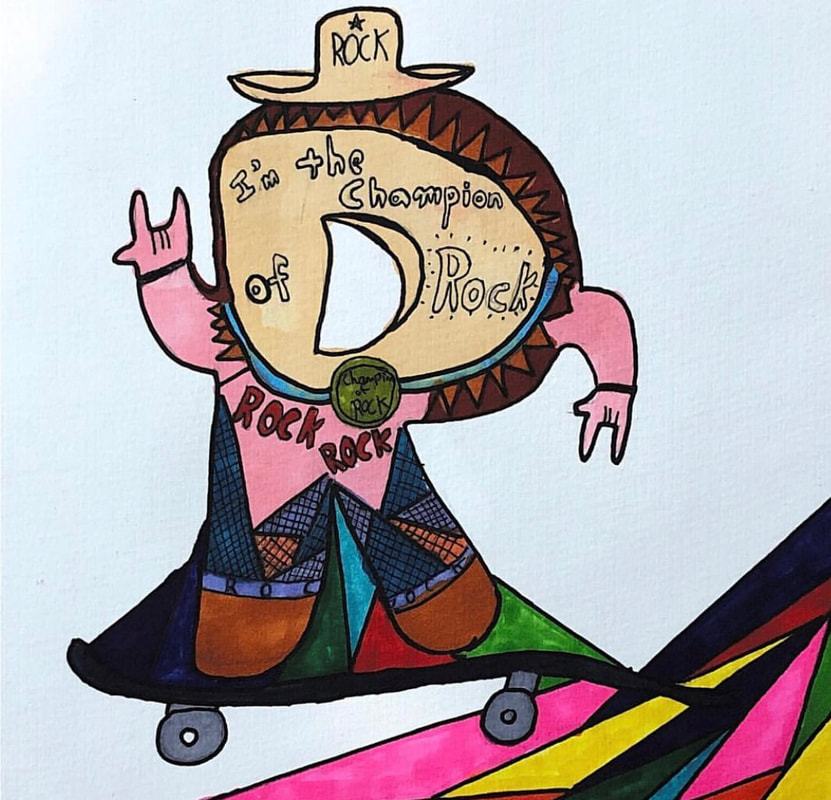
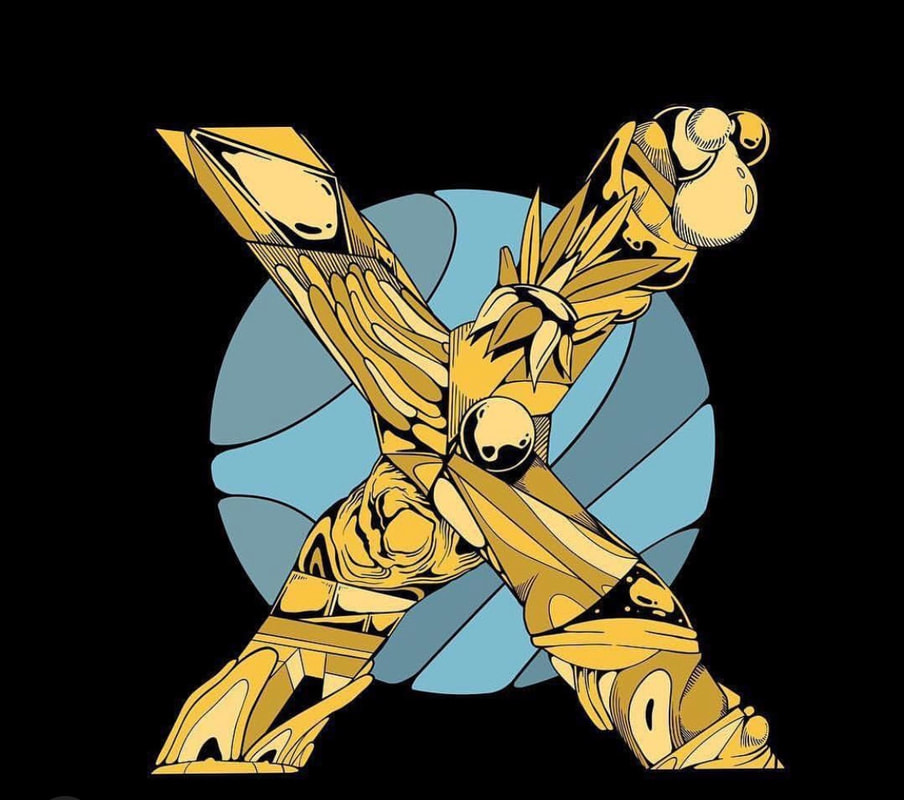
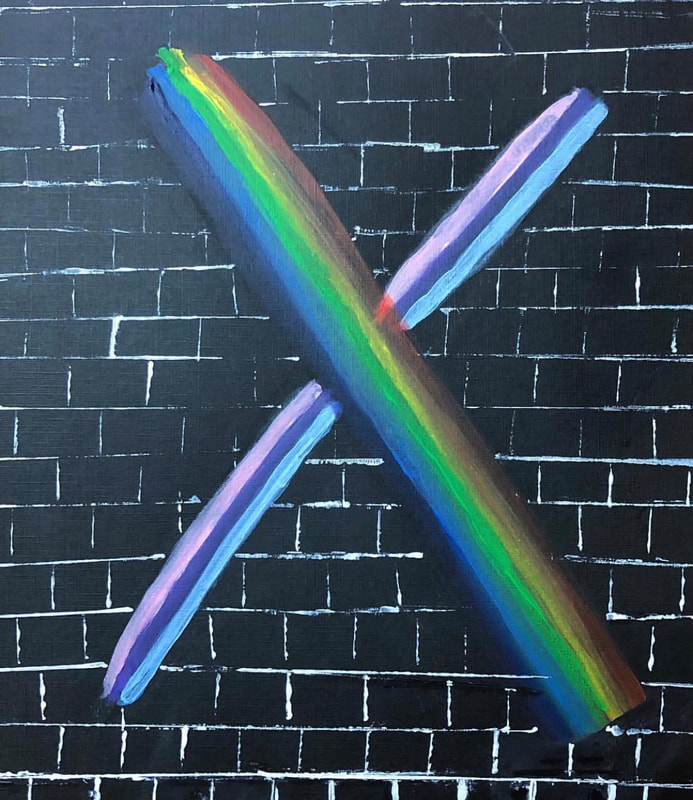
Write a paragraph of at least 10 lines explaining your adventure and once you finish your writing take a piece of paper and draw and color or paint your journey! If you want you could use the figures that you just learned as a characters and remember always try your best! 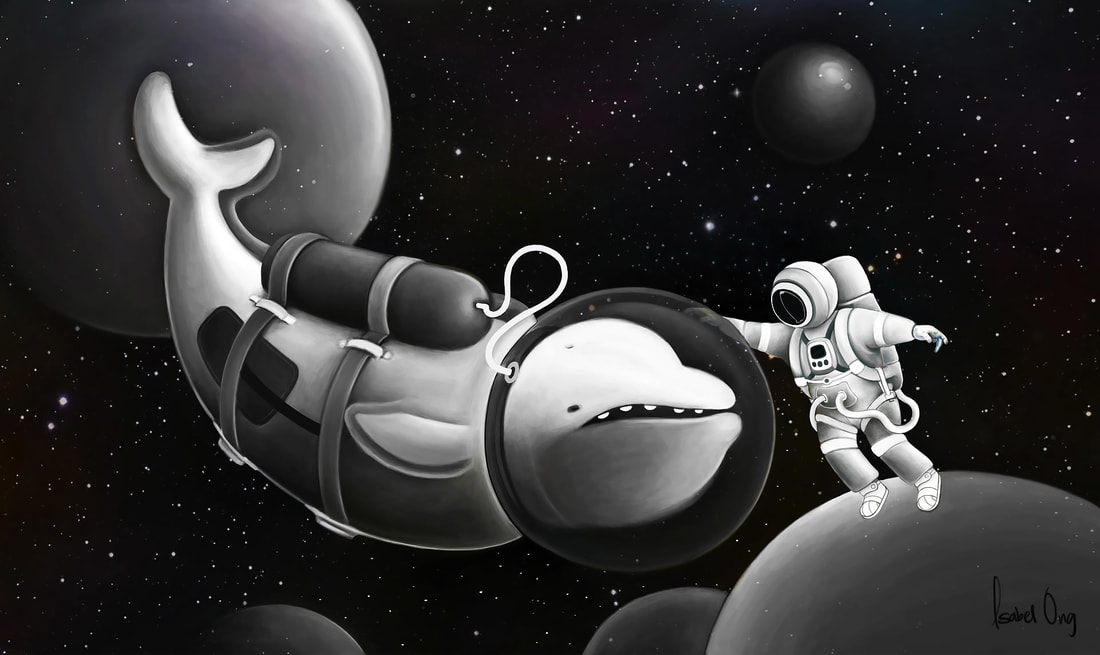 Have you heard about the Aboriginals? Do some research on who are the Aboriginal and answer these questions below. After answering all questions complete the worksheet and design your own boomerang using colors and symbols from Aboriginal Art. You can use color pencil, color markers, paint or any other material that you have at home. 1. Who are the Aboriginal? 2. Where do they live? 3. How many Aboriginals are in the World? 4. What type of art they make? Painting? Sculpture? 5. What are main colors they use? 6. Where do they get their colors from? 7. What language they speak? 8. What materials they use to paint? 9. What animals they like to paint and why? 10. Have you ever seen an Aboriginal artwork? 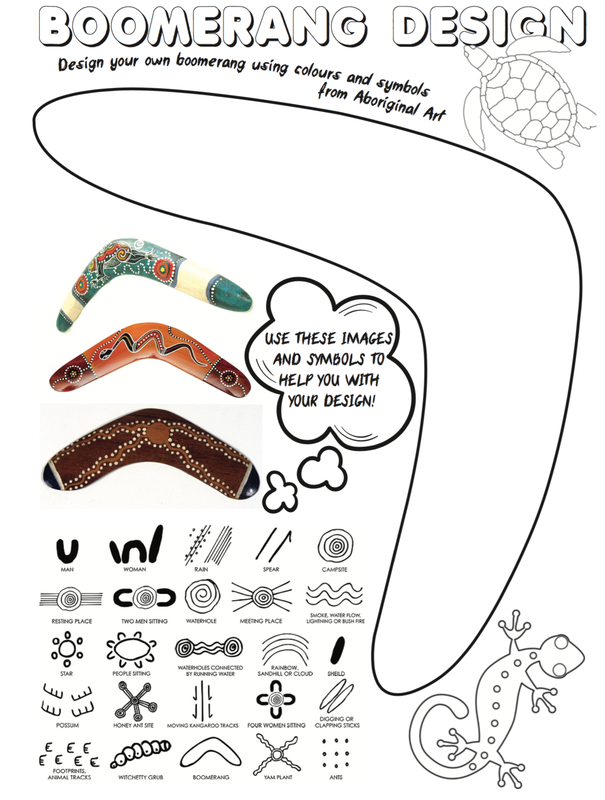 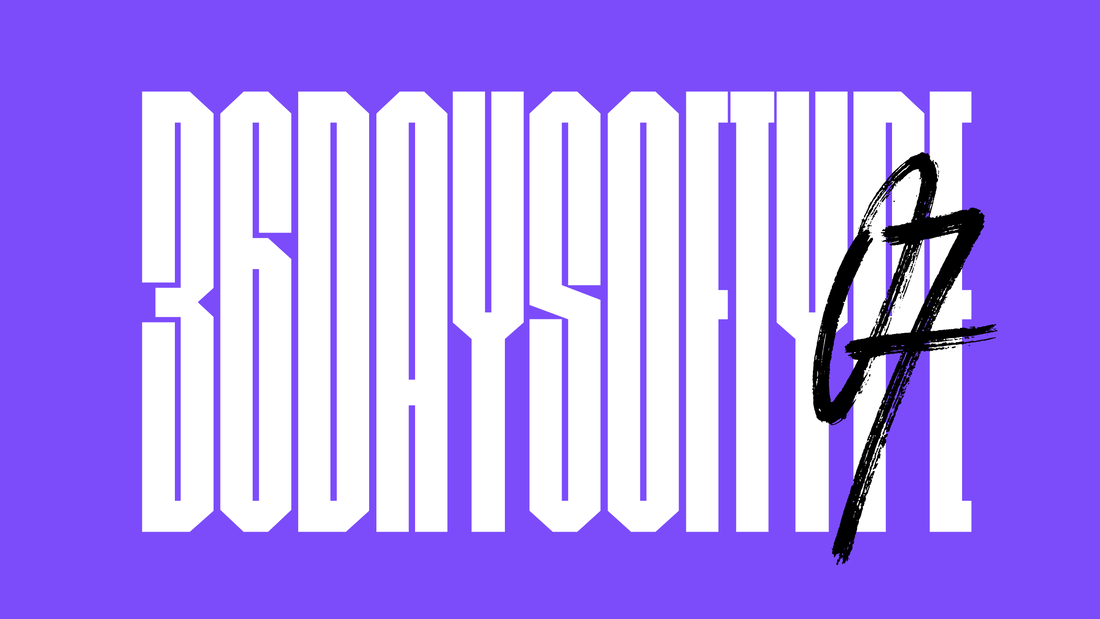 Last year we were part of this exciting project. 36daysoftype is a project that invites designers, illustrators and graphic artists from all over the world to express their interpretations of the letters of the Latin alphabet. Click the link for more info: http://www.36daysoftype.com/ For each edition participants share their work via Instagram, if you want to participate you only need to submit your work to Jamie and he will upload it on your behalf. From all the daily entries, a selection of artwork is handpicked by the 36daysoftype team to be published in their official account and will be viewed by hundreds of thousands of people! There is a designated day for each letter (check the calendar below). So it is really important that the letter you choose is delivered to Jamie on the corresponding day, even better, a day earlier. Please note that this project is voluntary! 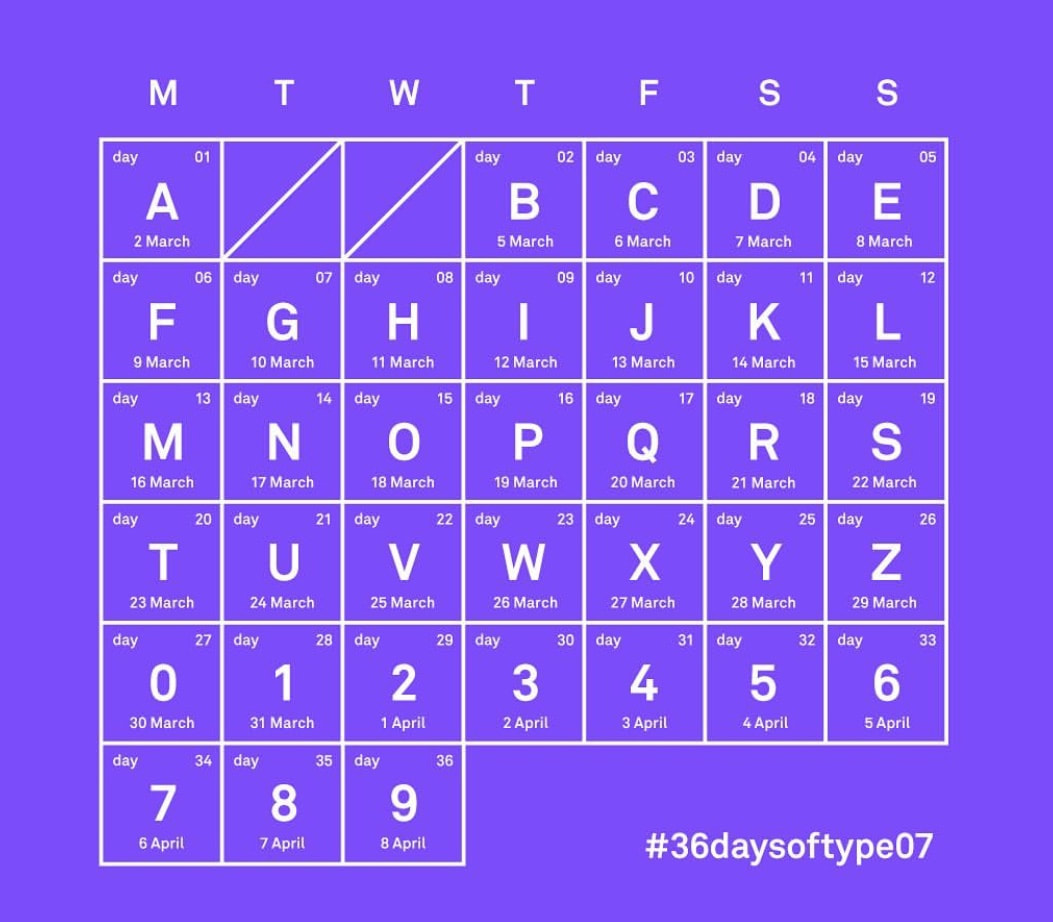 It is also really important that the letter you send me it MUST be a really good quality picture. How to do it? You can just draw your letter on a white piece of paper. If you have a tablet and you are able to do it digitally that would be fantastic! If you want to create it using paper mache, cardboard, clay, anything that you can think of! The only thing is that the final picture, remember, has to be a good quality picture for me to be able to upload it. If you are able to scan the picture with your phone or a scanner that would be even better. If you use color on your white paper I suggest you to do it with color markers. Color markers are brighter than color pencils so it will look better on the final picture. If you decide to go digital, there are few Apps you can download to make your letter, Apps like Amaziograph, Sketches or any other you know, would also work. If you need some assistance you can contact me by email, Here below you can see some examples from previous years from designers from all over the world but also from some students from our school! Can you guess which one is from a professional designer and which one is from a student from our school? Check them out If you are interested in participating on this project, check the calendar, pick a letter or a number, be sure about the delivering date, and BE CREATIVE!
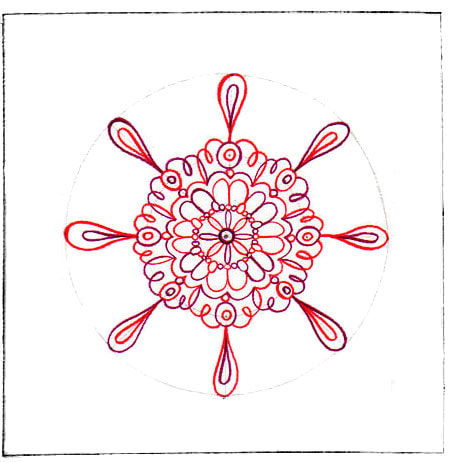
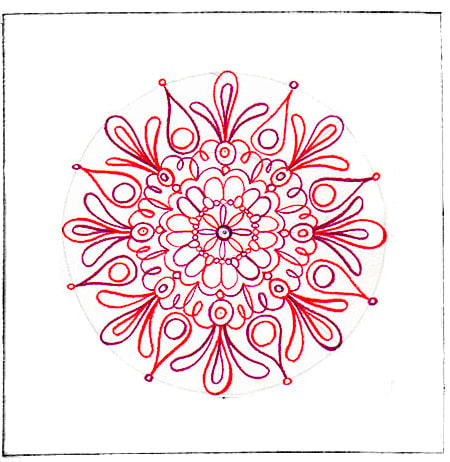
If you have any question, please don’t hesitate to contact me by email and I will give you more details. Once you know how to write, you also know how to draw. Just grab a pencil and start creating your own visual alphabet. Check the alphabet picture down below for reference and create your very own instead. Use one A4 size paper per letter, so you will end up with 26 A4 size papers, one per letter of the alphabet. You can draw an object, an idea, food, a verb, an adjective... So for instance for the letter "A" you have to draw anything that starts with the letter "A" like an Alligator or an Anchor... Feel free to use pencils, markers, color pencils, and color markers, basically use anything you want. You can do one letter per day or two per day, just remember, always try your best and have fun! 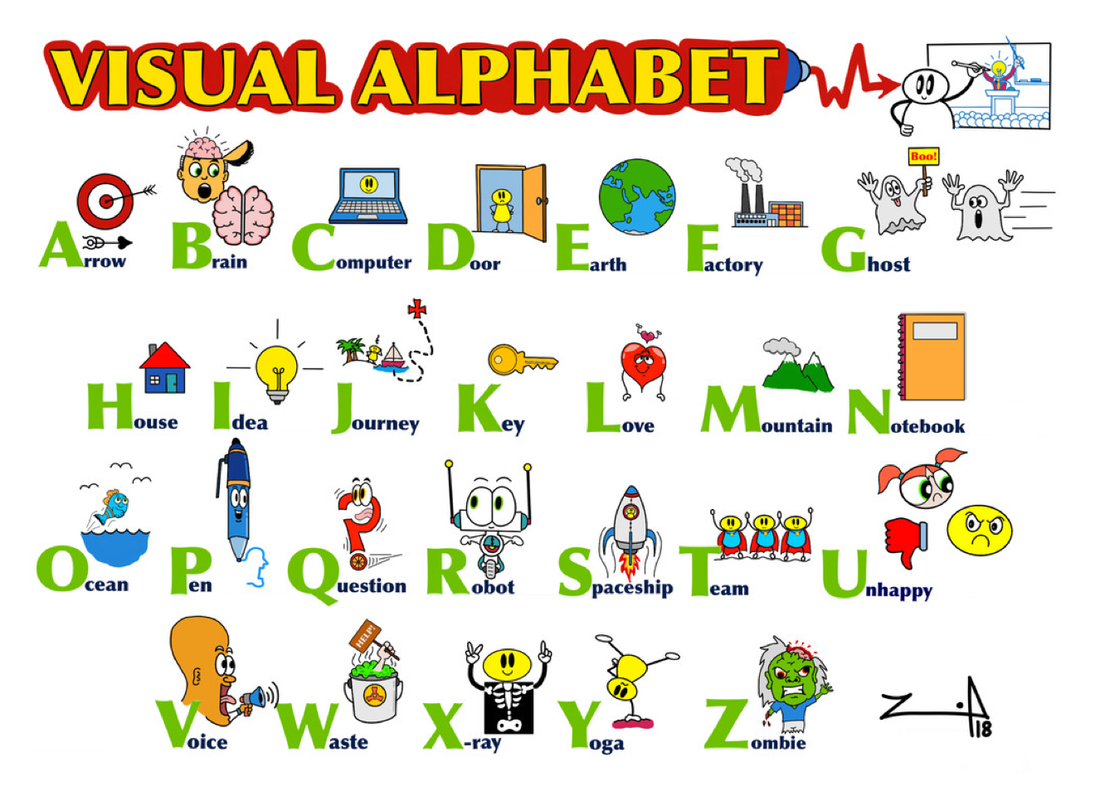 I hope you had fun with the two Zentangle projects that you just have finished. This week we are going to do something different but similar in a way. Have you heard about Mandalas? What is a mandala? A mandala is a complex abstract design that is usually circular in form. In fact, "mandala" is a Sanskrit word that means "circle". Mandalas generally have one identifiable center point, from which emanates an array of symbols, shapes and forms. Mandalas can contain both geometric and organic forms. They can also contain recognizable images that carry meaning for the person who is creating it. In essence, mandalas represent the connection between our inner worlds and outer reality. Designing your own mandalas can be both inspirational and therapeutic. There are many different types of mandalas, different shapes, sizes, colors, so each mandala is unique in its own way. In Tibet the monks make Sand Mandalas. It is a tradition involving the creation and destruction of mandalas made from coloured sand. Check the video below to get to know a bit more about it. 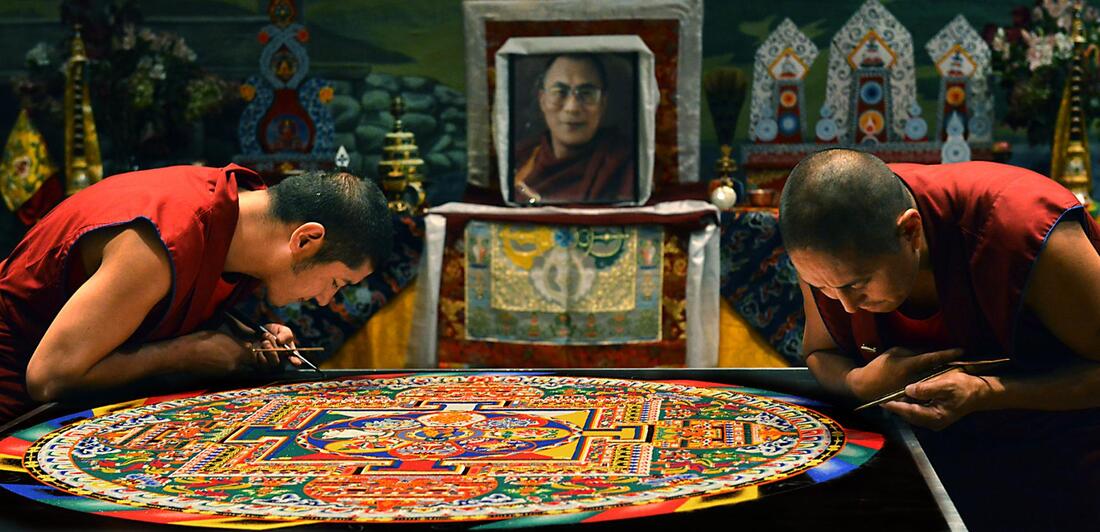  Down below you can see other different type of mandalas, check them out and then follow the instructions to make your very own! 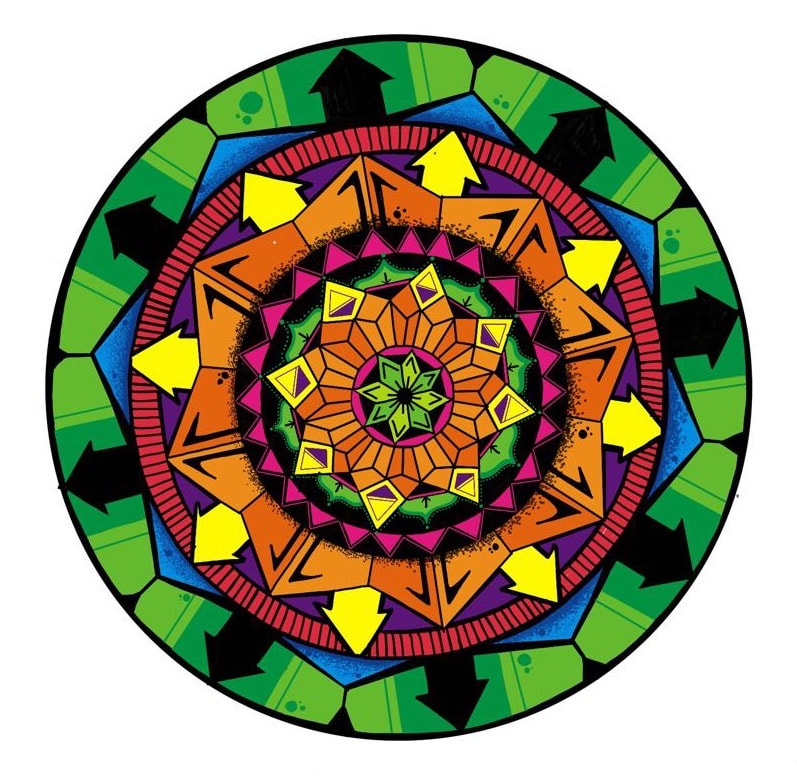 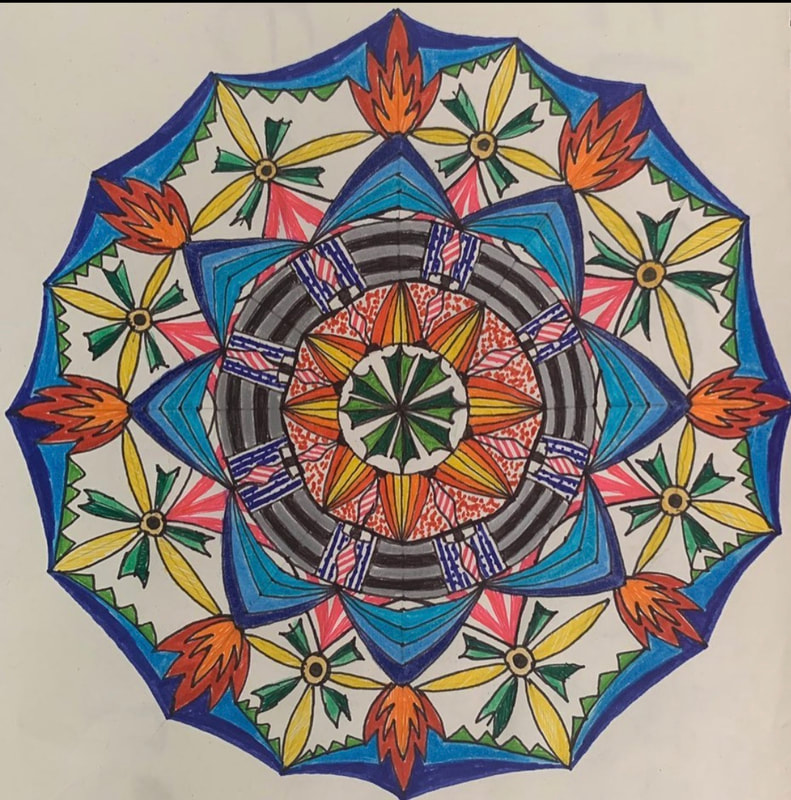 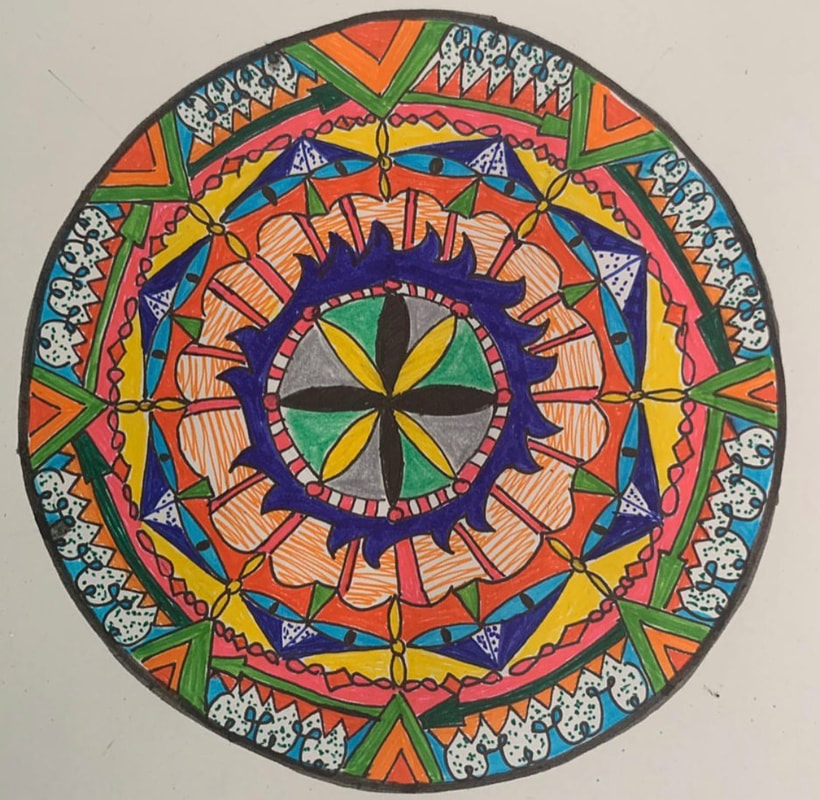 We are going to create our very own mandala, although it looks complicated, it's actually quite easy, once you know the steps! The best thing about designing your own mandalas is that you have the freedom to choose whatever shapes, patterns and colors that you feel express your sense of self and your view of reality. Your mandala is yours, and you have the freedom to use your creativity to create a mandala drawing that is uniquely you. Once you know the basic steps of how to draw a mandala, you can try now new designs and new colors each time you draw a new mandala. Materials needed: You don't need many materials to learn how to draw a mandala. All you need is paper, a pencil, a ruler, a protractor (optional), a compass (optional) and an eraser. STEPS The first step in how to draw a mandala is to measure out your paper into a square shape. The square can be as big or as small as you like. The bigger the square, the more room you will have for putting in lots of detail and color. I made my square 20cm x 20cm. Next, use your ruler and a pencil to draw a dot in the very center of the square, as shown below. 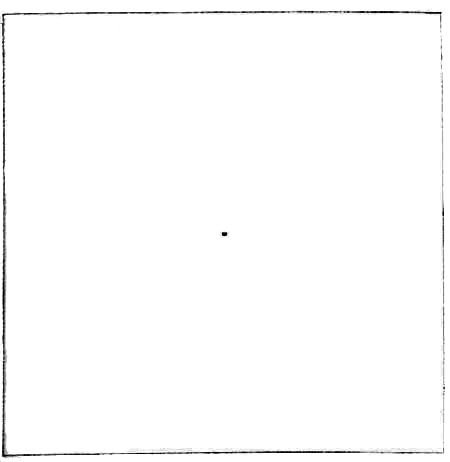 The next step is to draw a series of circles around this dot. Once you've drawn the dot in the center of your square, one easy way to draw circles is to use a compass. If you don't have a compass, you can find round shapes around you to retrace them around the dot, like a bottle top, or a plate, a bowl, be creative! Start from the biggest circle and then keep drawing the smaller and so on. 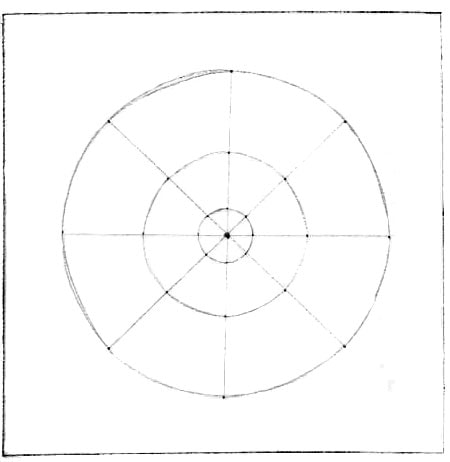 Now that you've drawn the basic outline for your mandala, you can begin drawing designs in your mandala! You can use a pencil, colored pencils, crayons, or whatever you choose. Using the lines and circles you drew as guidelines, you can draw shapes like circles, triangles, raindrops, loops, etc. 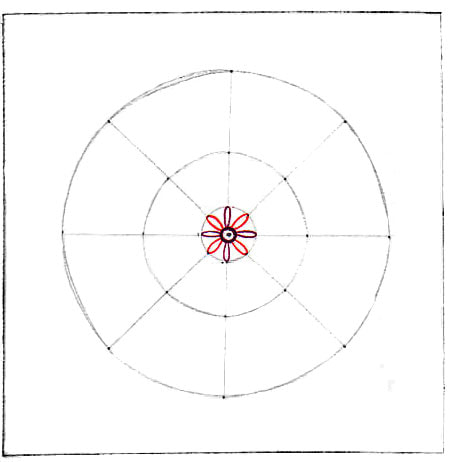 The important thing is to repeat your pattern. For example, if you draw a circle on one of the lines, be sure to draw it in the same spot on the other lines. 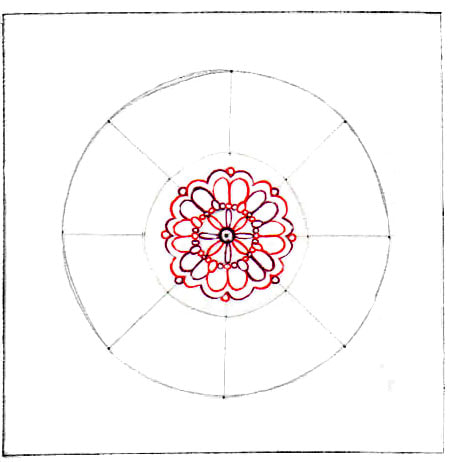 This creates repetition, which is a key element in creating a mandala. As you draw more and more designs, your mandala will start to look more complex. The key is to take it slowly, drawing one shape at a time and going around the whole circle drawing that one shape in the right place. Then you build on that shape by drawing other shapes around the circle in the same manner. 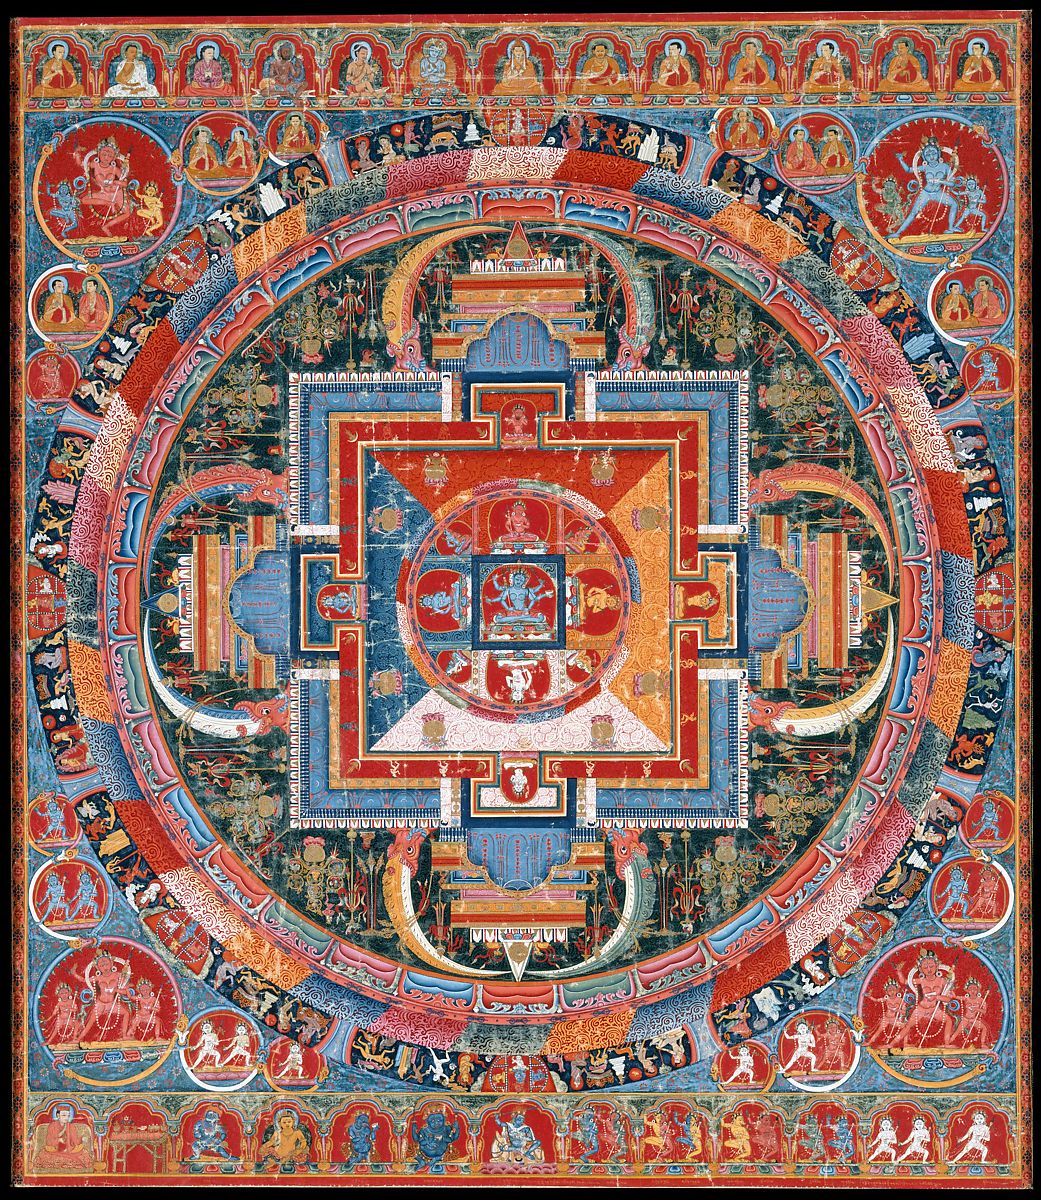 Once you have finished your mandala design, use as many colors you want. You can use color pencils, color markers, watercolor, etc... My personal recommendation is to use color markers but if you don’t have color markers then you can use color pencils. If you don’t have color pencils maybe you could use a regular pencil and play with shades. 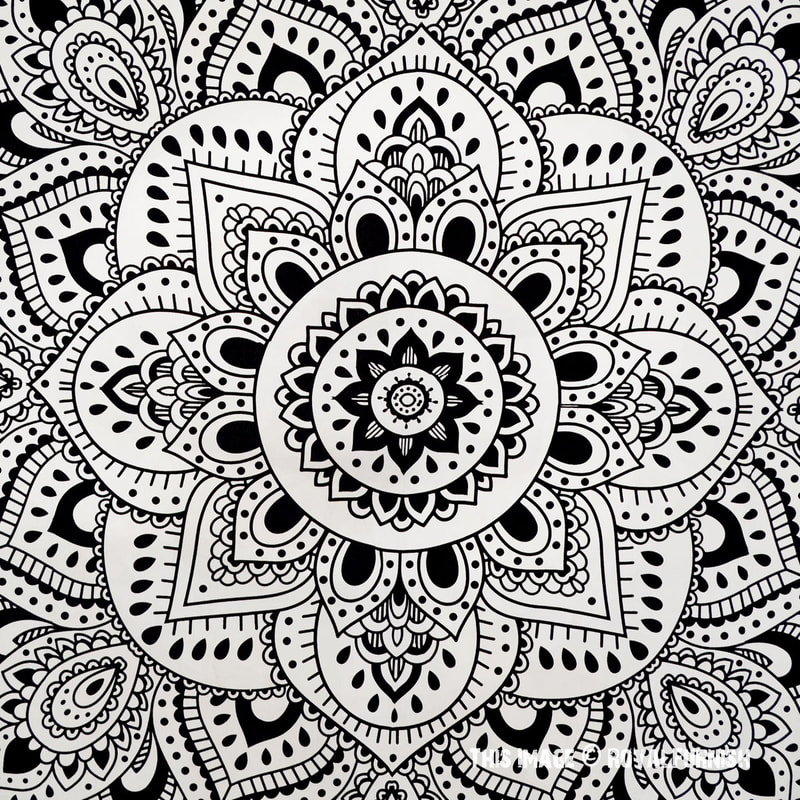 I would like to show you one video of an artist creating a really big mandala on a wall, we are not going to do it like the size that he is doing it or on a wall, but I encourage you to find the right moment and play the video, you might find it inspiring. (The Youku link is only if you are in China) http://v.youku.com/v_show/id_XNDU2MTIxMDE0OA==.html?x&sharefrom=android&sharekey=05a9a80a960986dbc4f3a510c5934 4f80 Once you have finished your mandala you can play around with one App called Amaziograph. With this App, you have the perfect tool to draw and color mandalas. 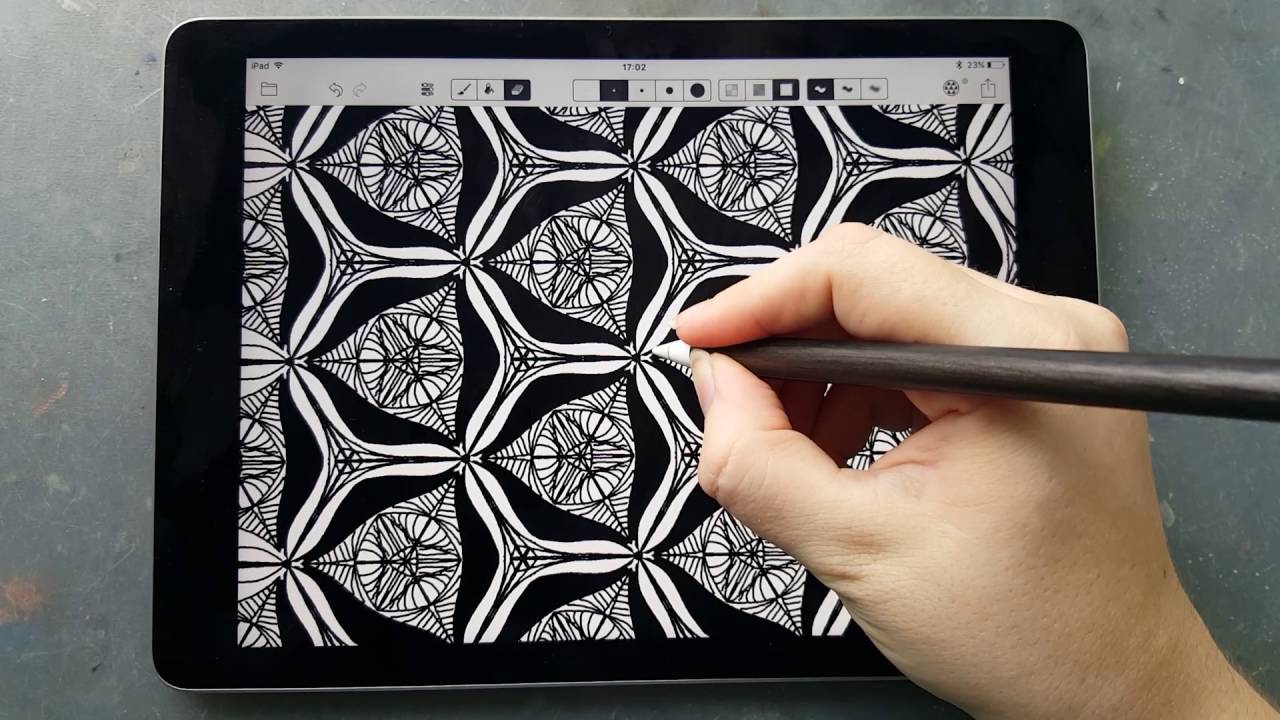 This art assignment is meant to be done in two weeks, so please take your time thinking about the design, take your time for coloring and try your very best! You don’t have to finish it in one day, it’s a project that can take a very long time that’s why I am giving you an extra week with this assignment. If you finish earlier and you want some extra work you can make a second mandala or also you can write to me and I will give you an extra assignment.
I hope you enjoy it! |
Positive, Creative Space.
Archives
December 2023
|

 RSS Feed
