|
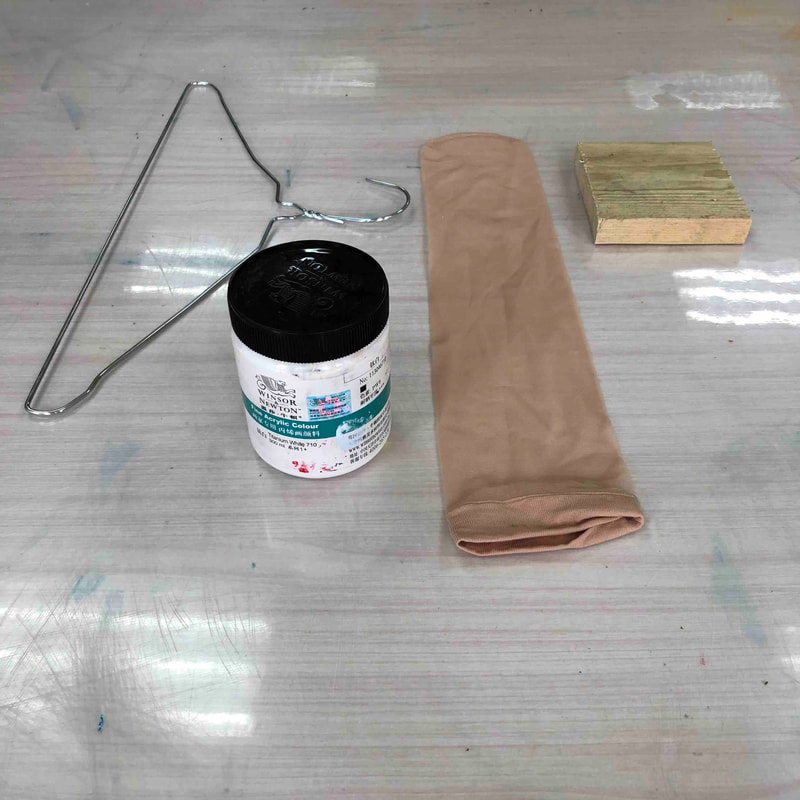
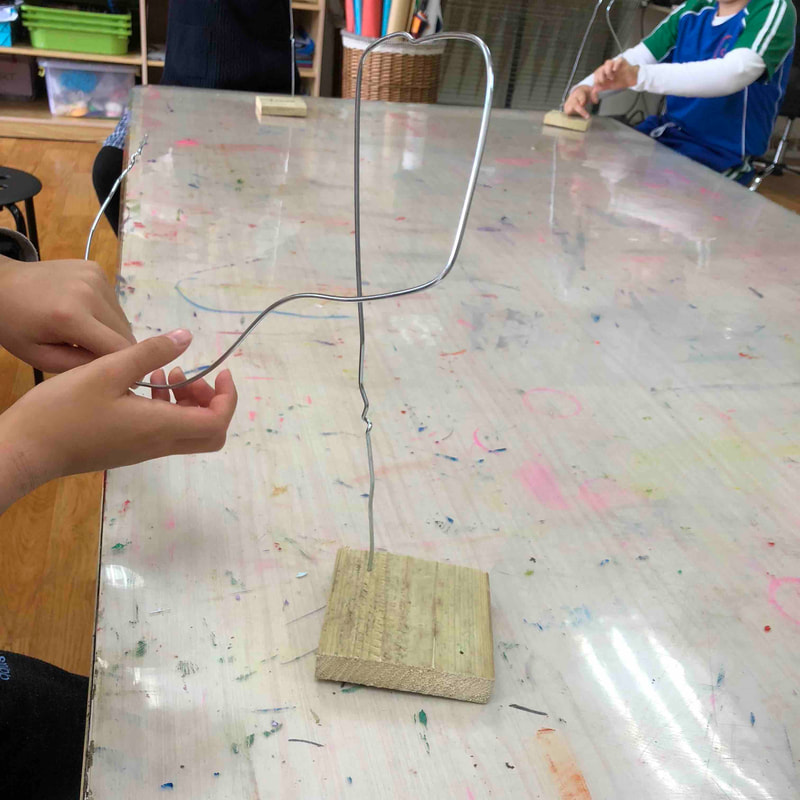
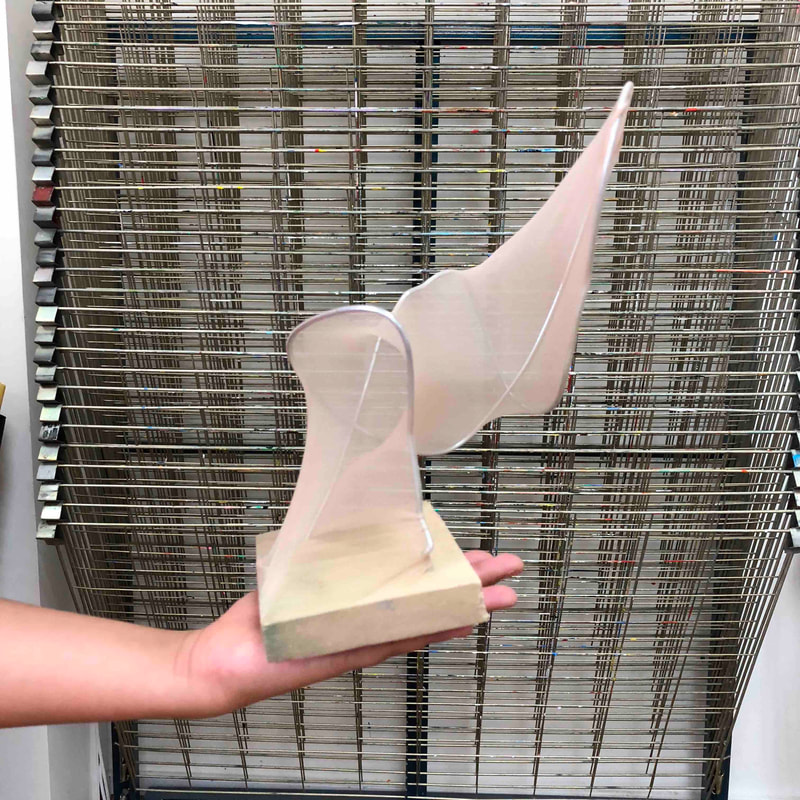
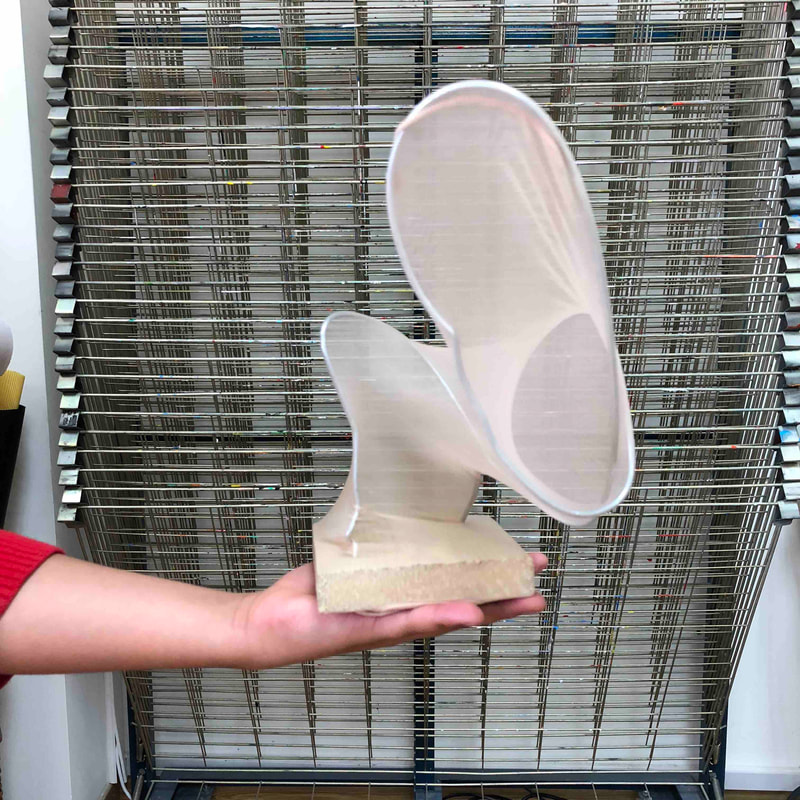
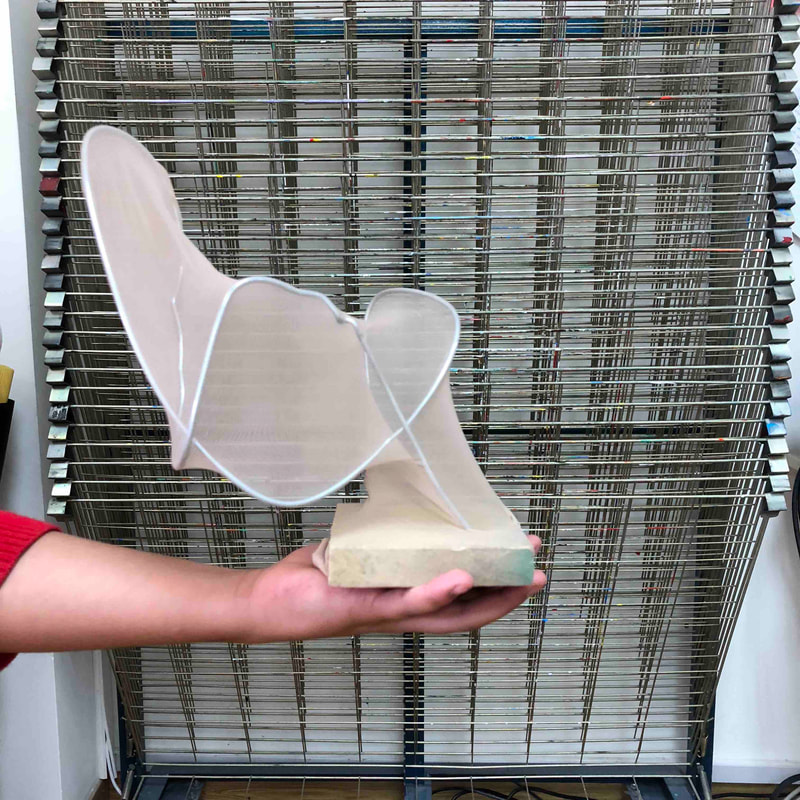
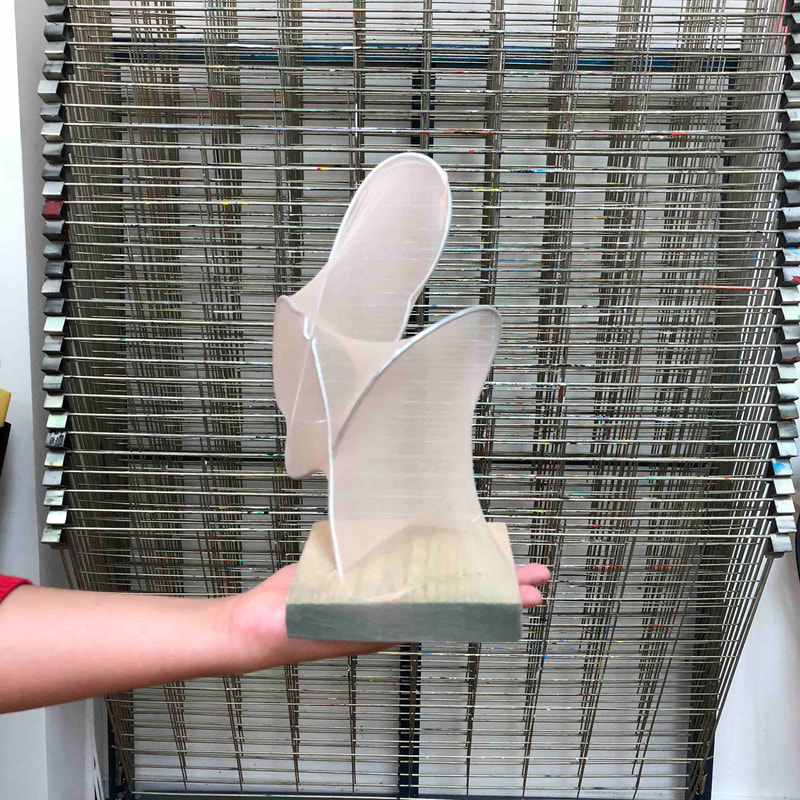
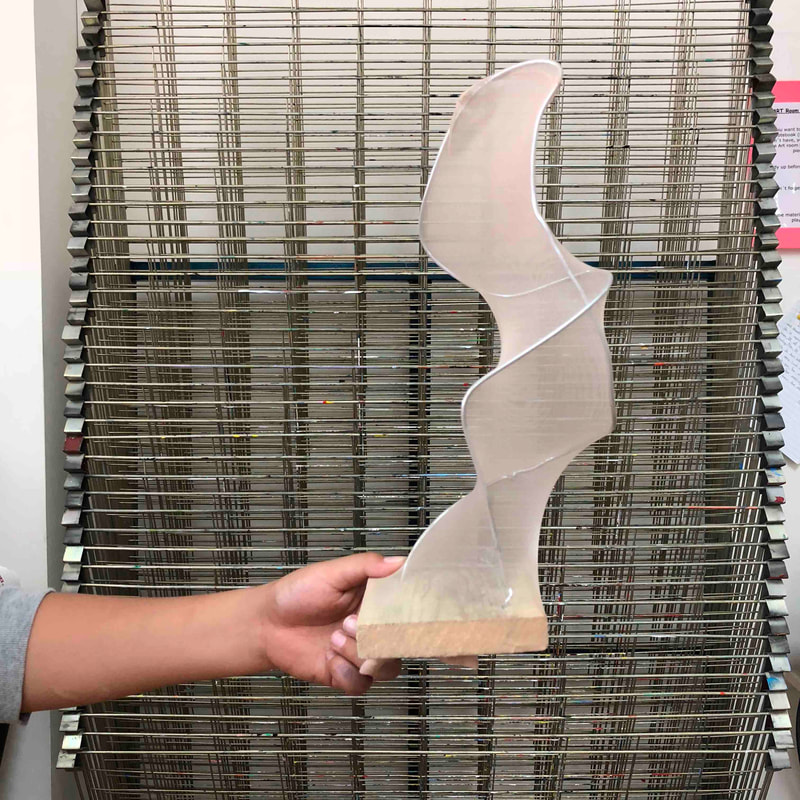
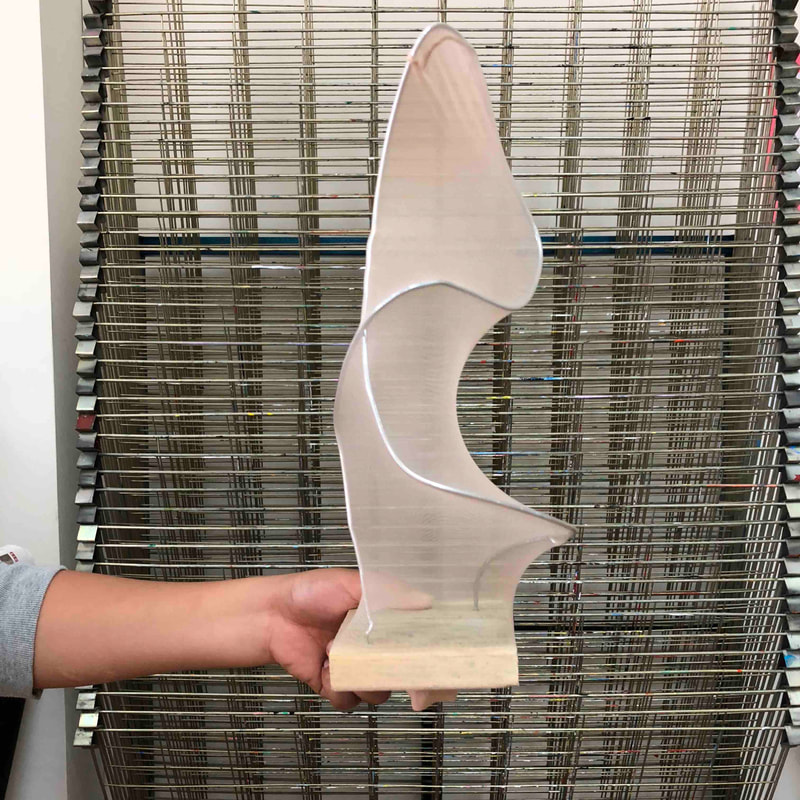
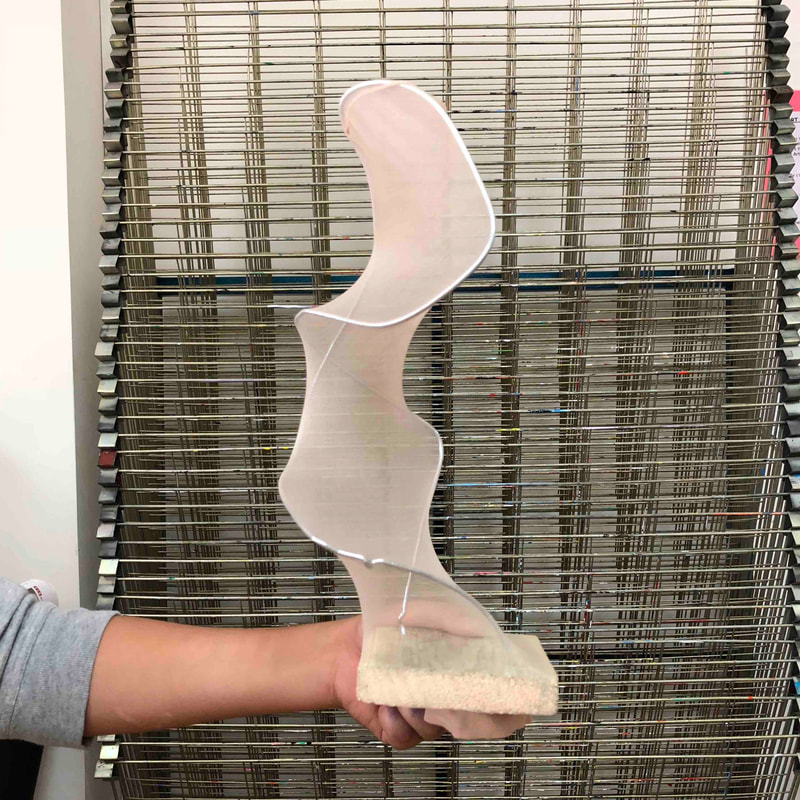
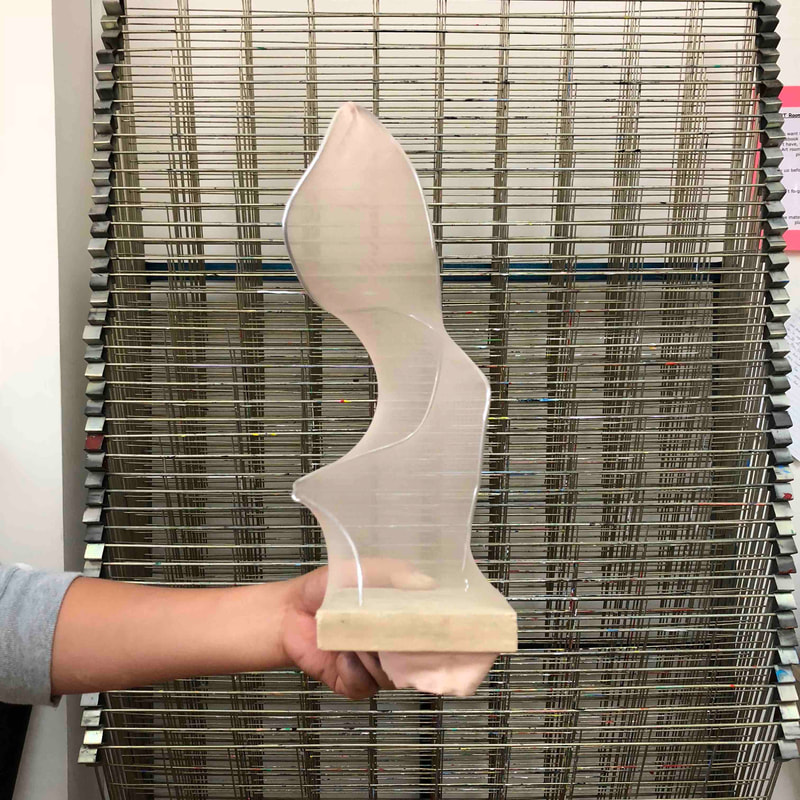
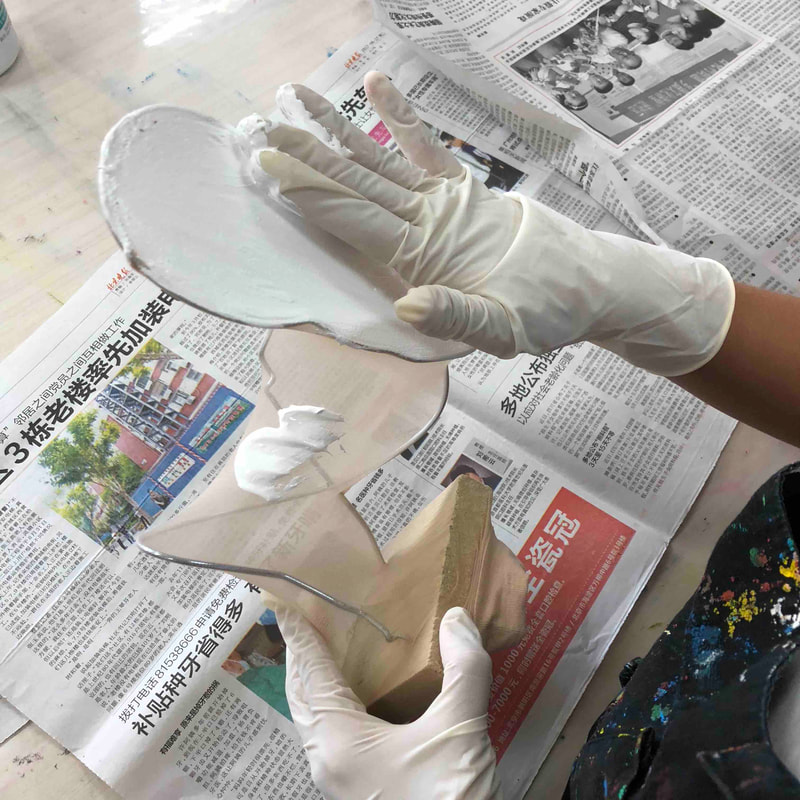
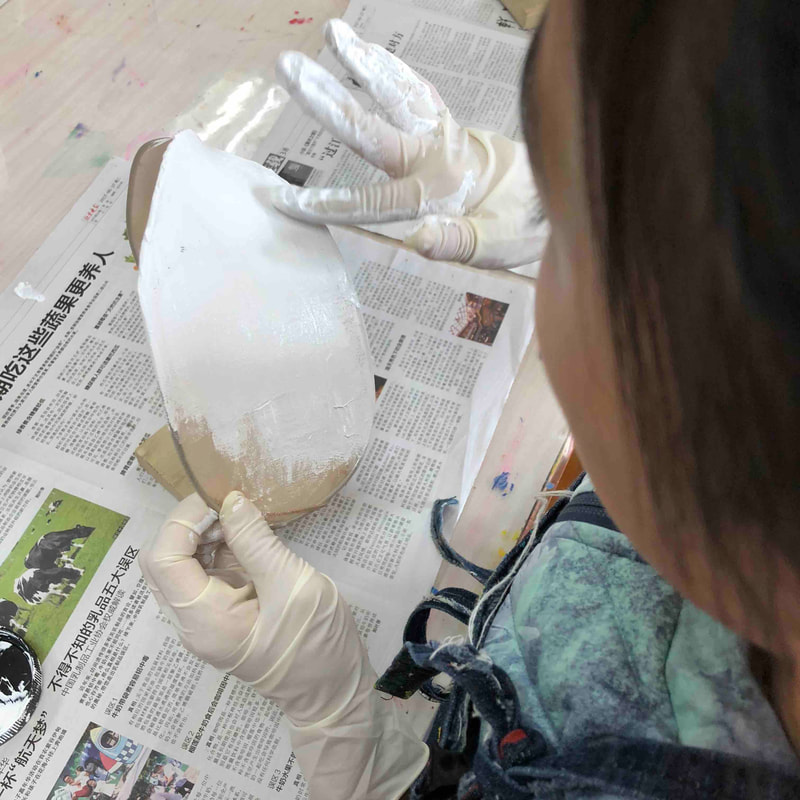
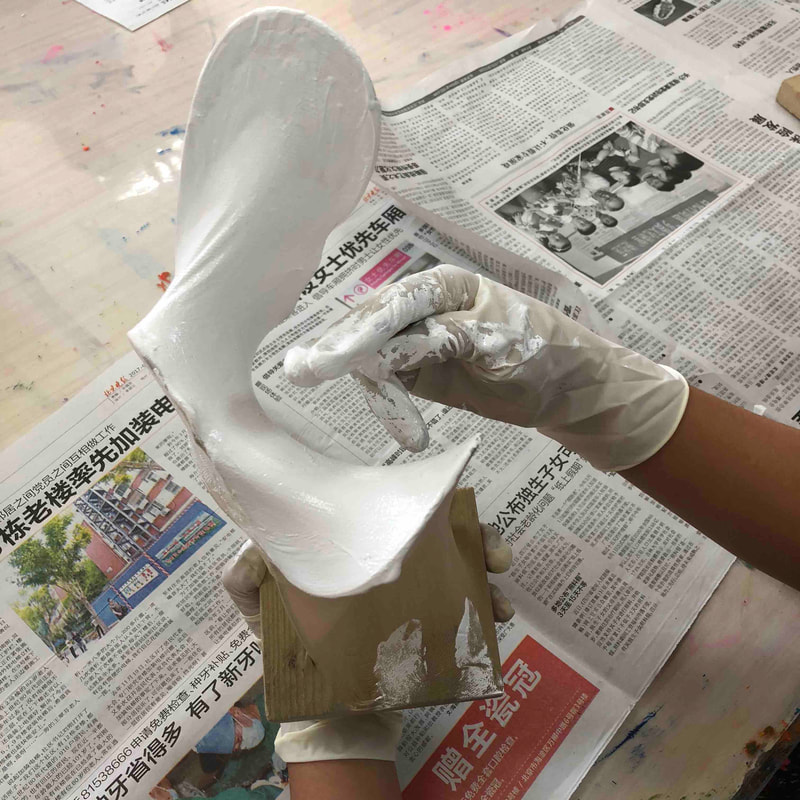
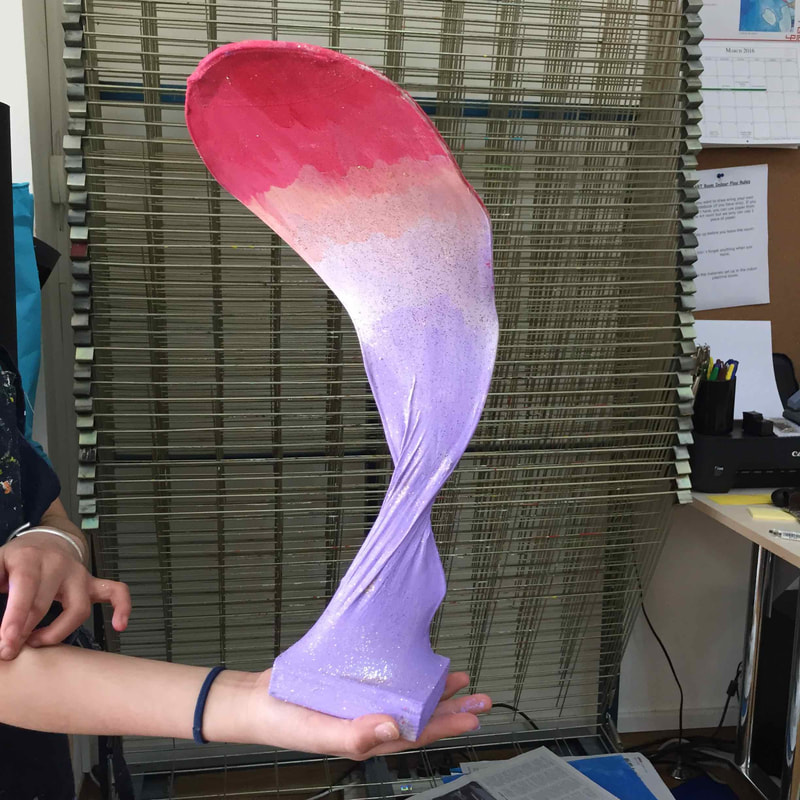
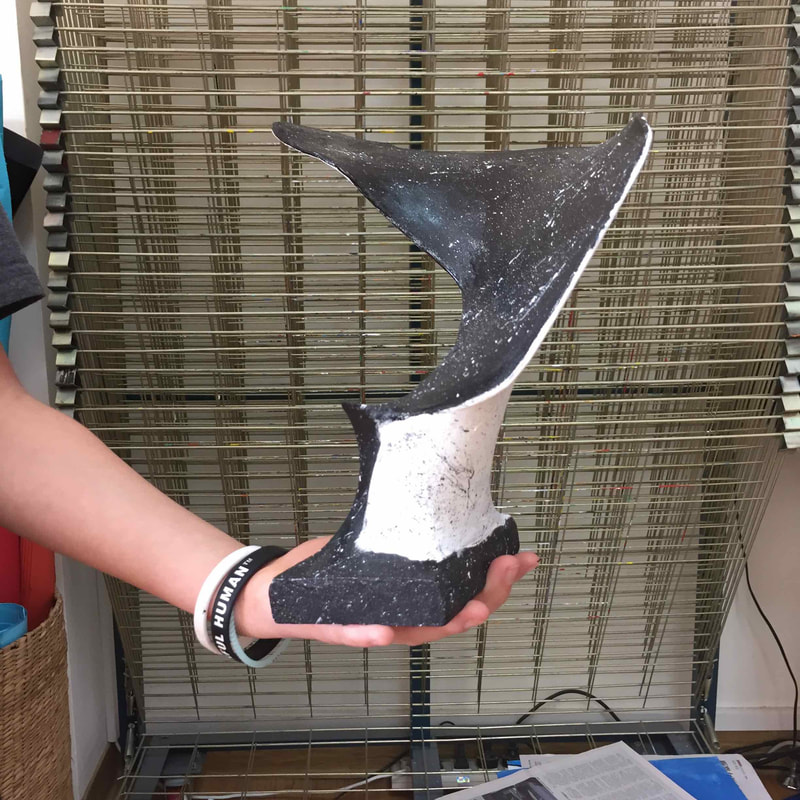
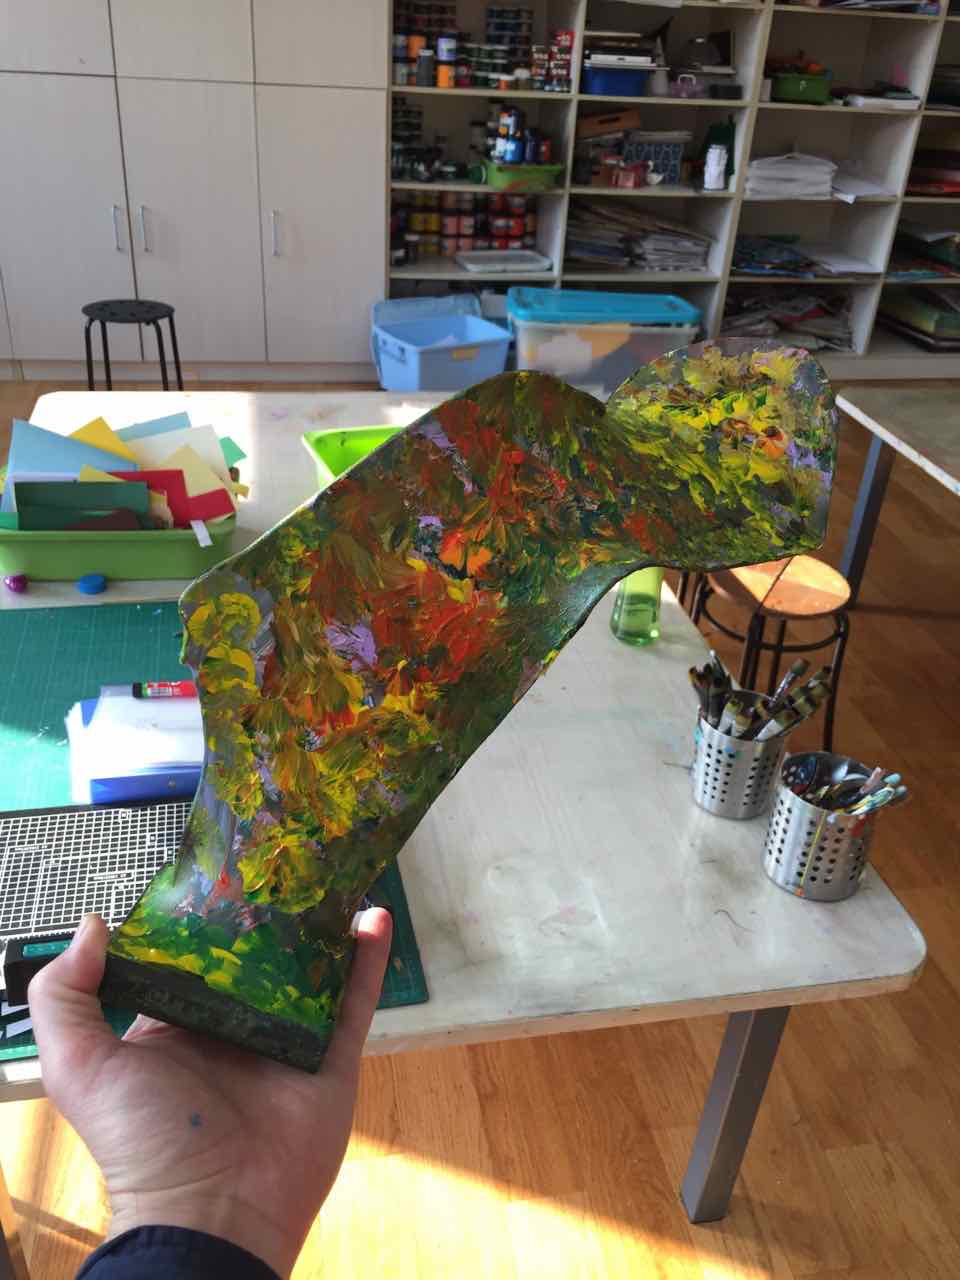
We have been talking about sculpture in class, inclding the different types, materials, techniques, etc... and we came up with this fun one. Materials: 1 wooden block, 1 hanger, acrylic paint, and 1 sock. First of all, we drilled two little holes in the wooden block to insert the hanger (previously streched) Secondly, the hanger was attached to the wooden block. The students then shaped it and put the sock over the wire frame. Then, they put gloves on and it was time to get dirty! They then painted the whole sculpture with their hands, something that is always fun. After this lesson, we need to wait for the next one for them to design and apply the decorations, colours, etc... so stay tuned!
0 Comments
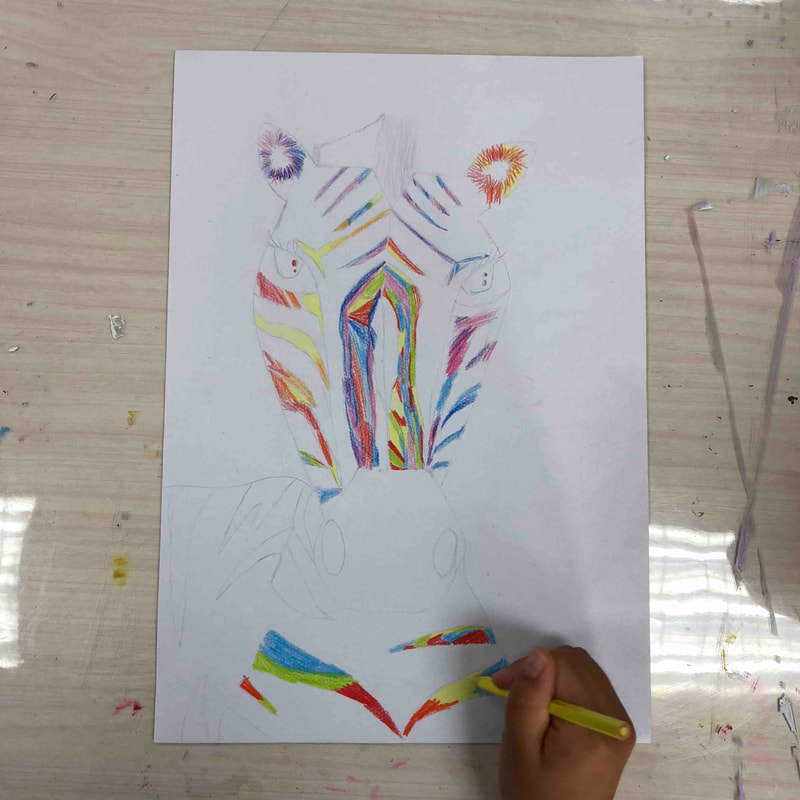
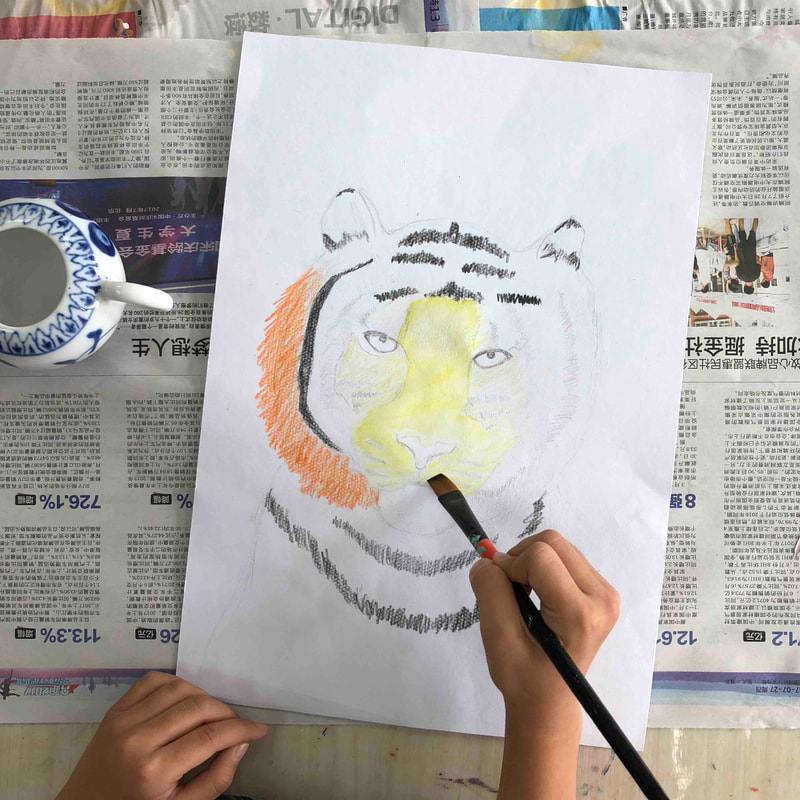
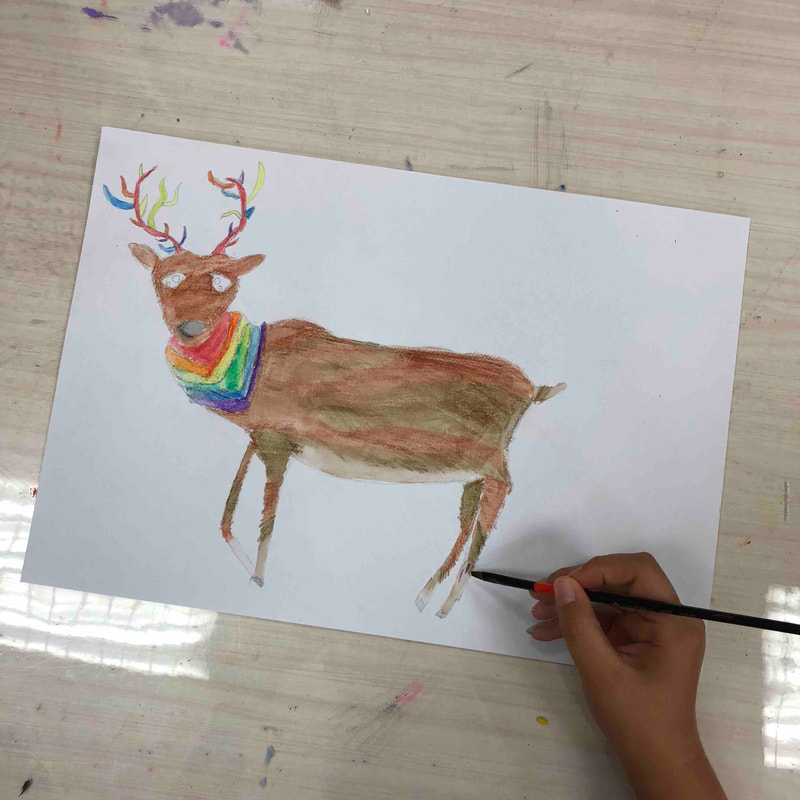
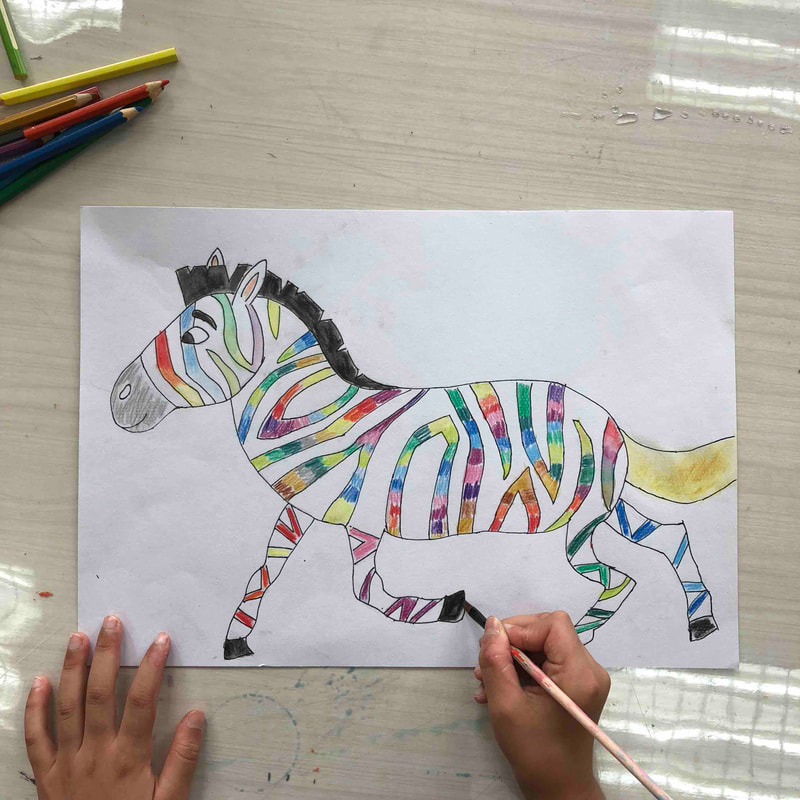
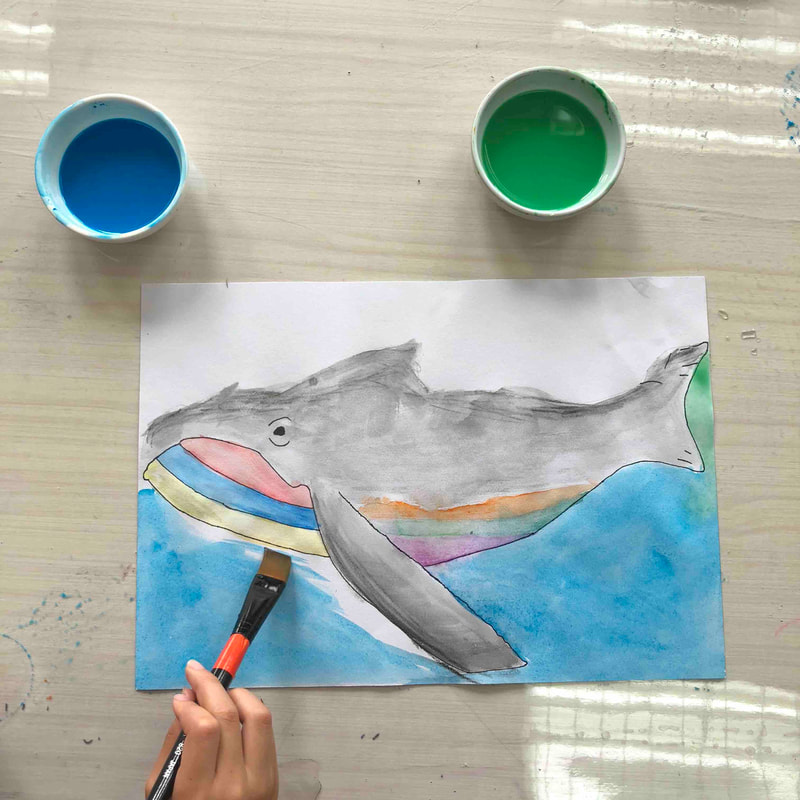
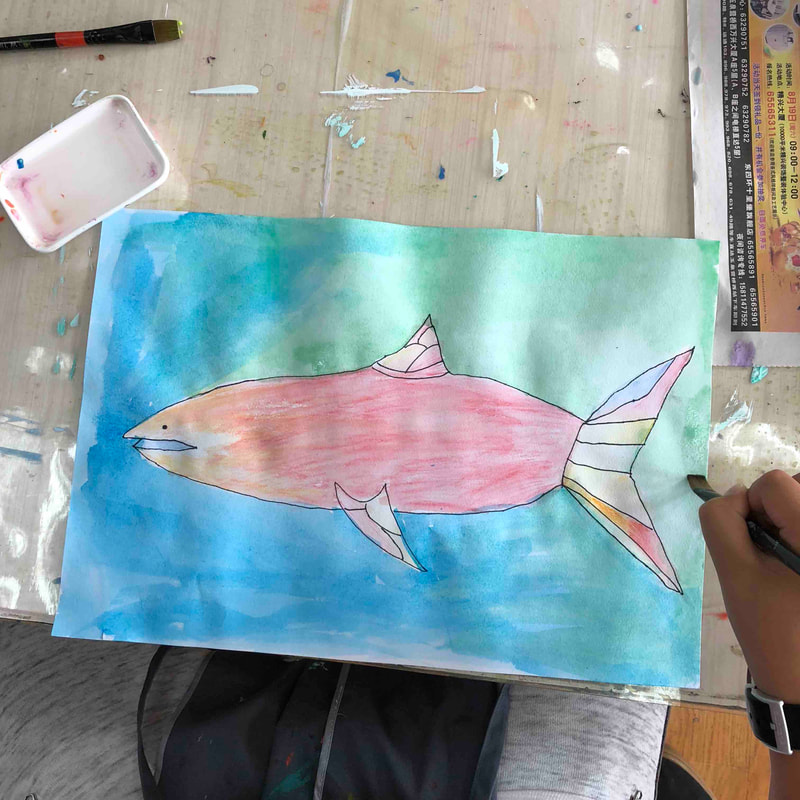
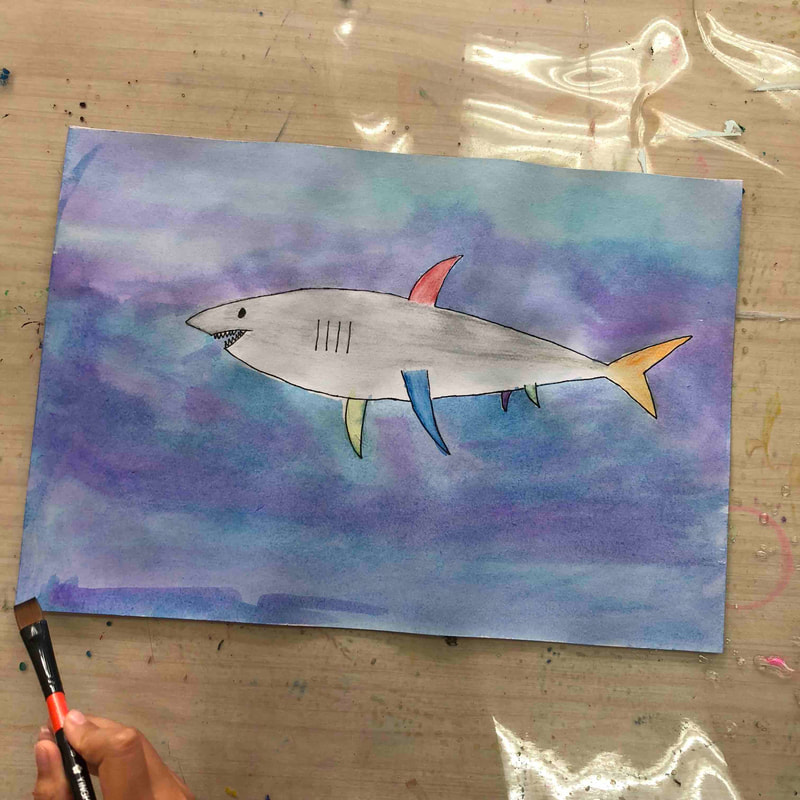
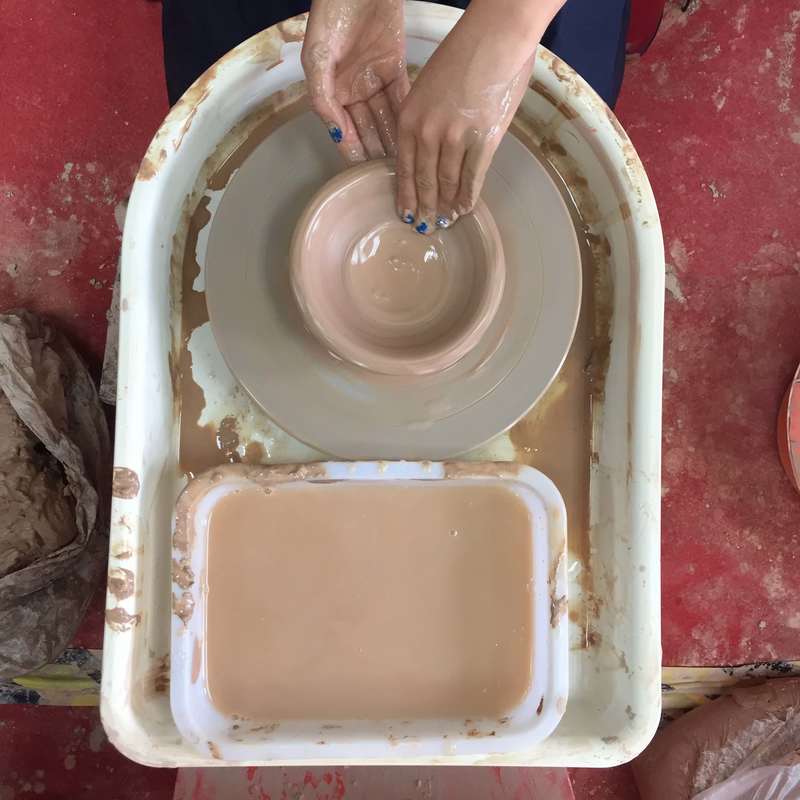
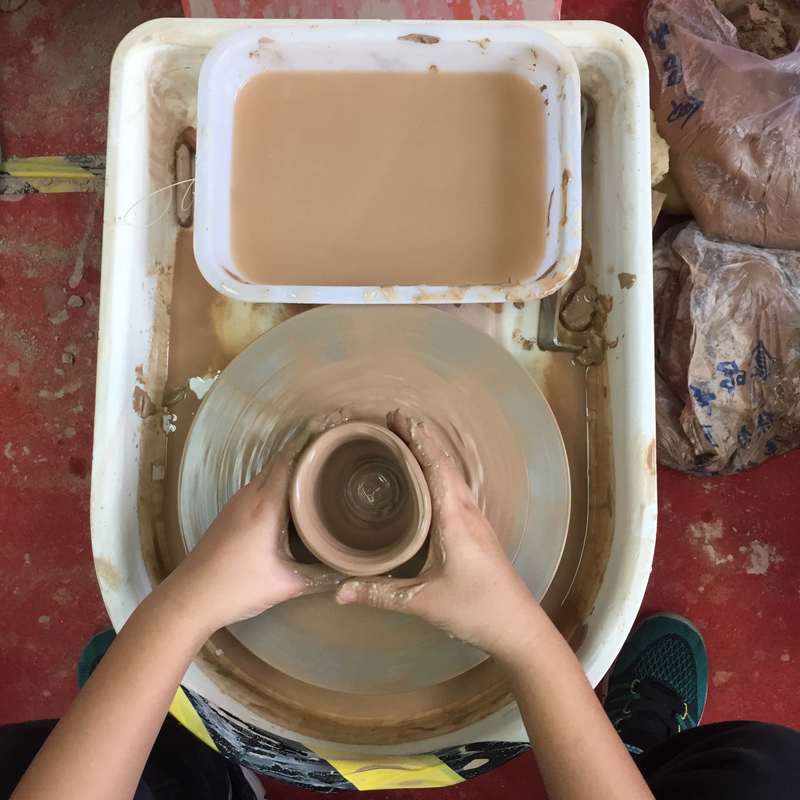
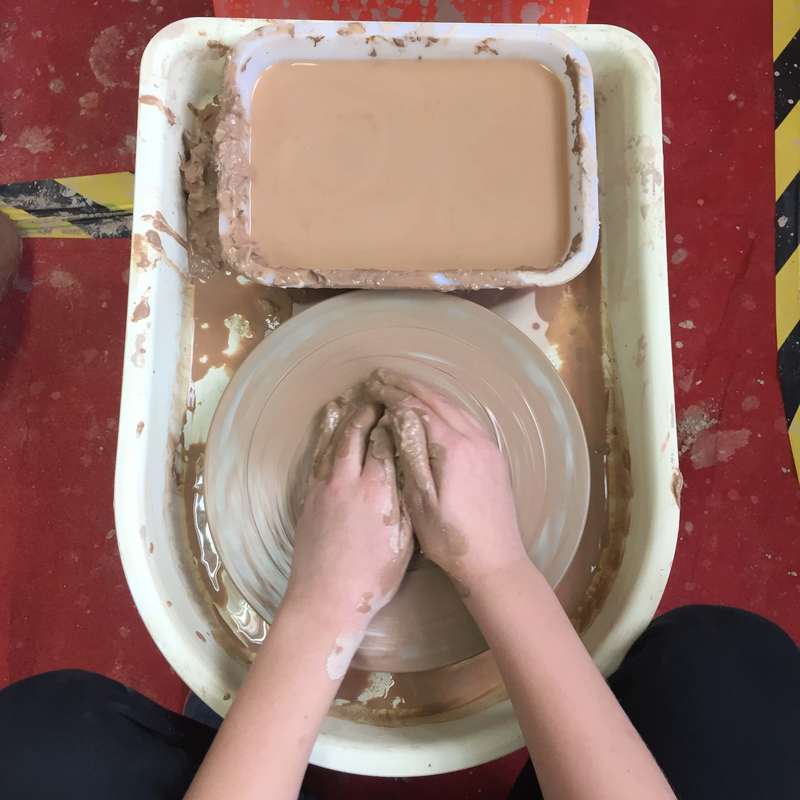
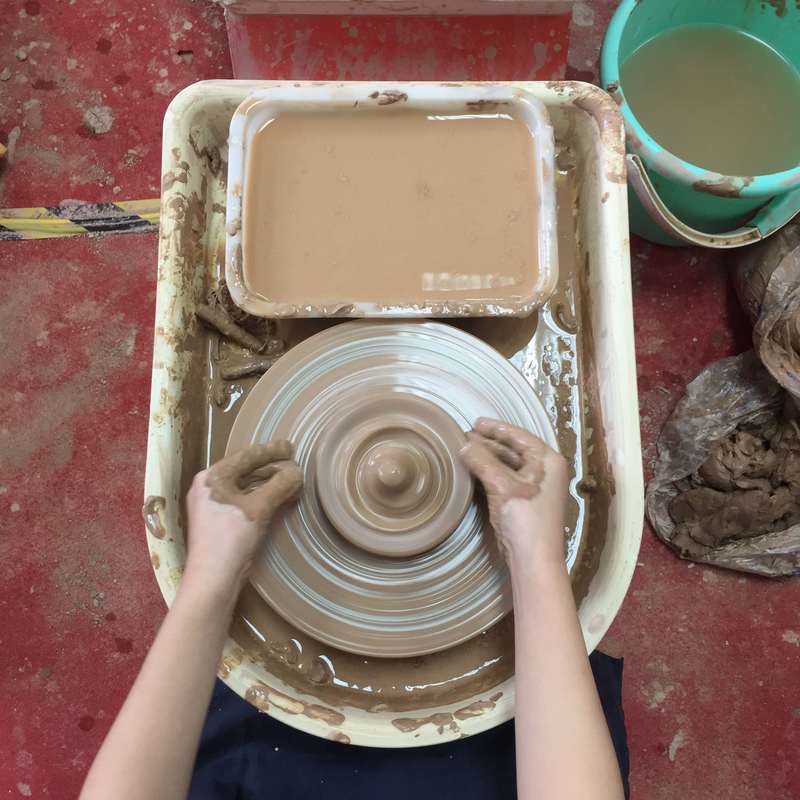
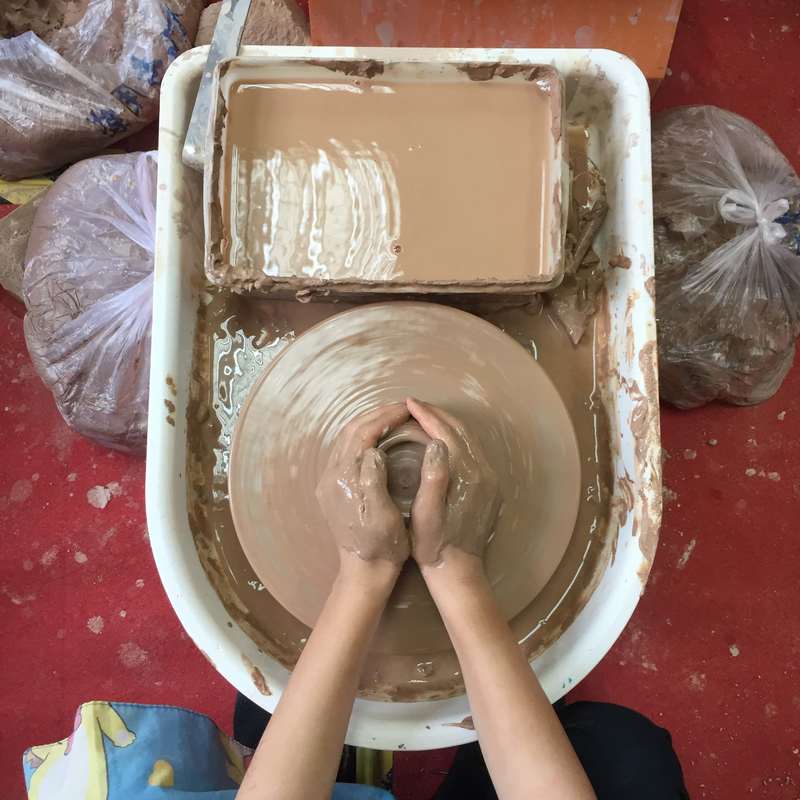
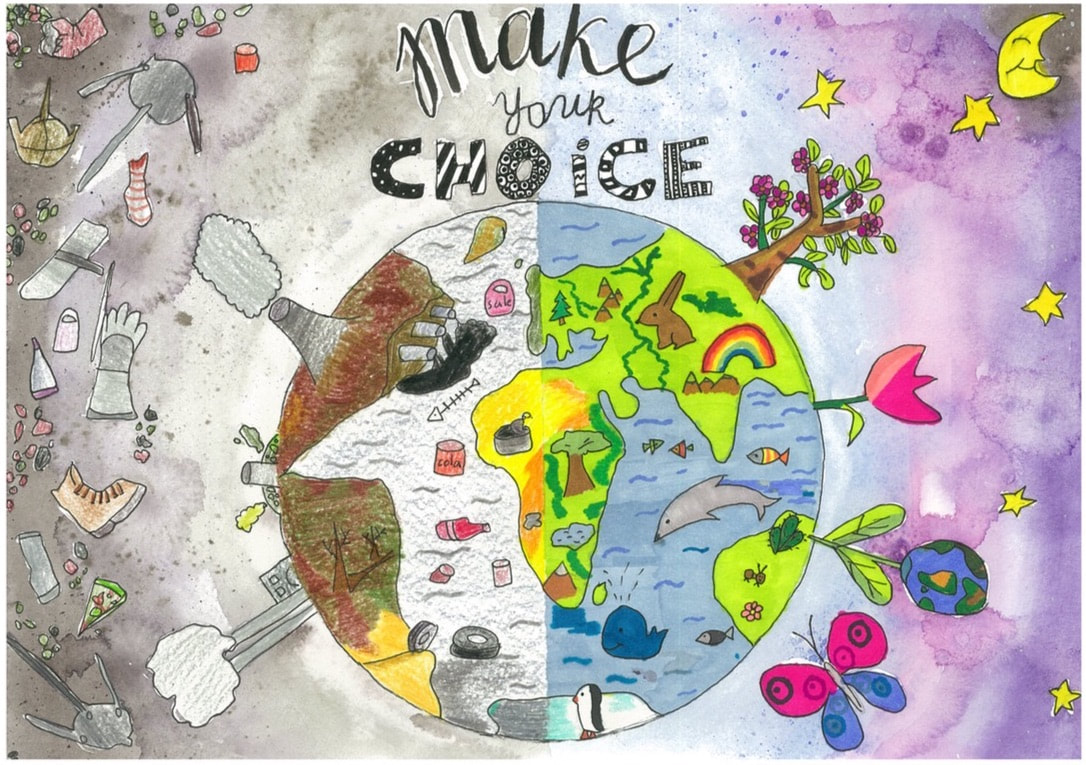
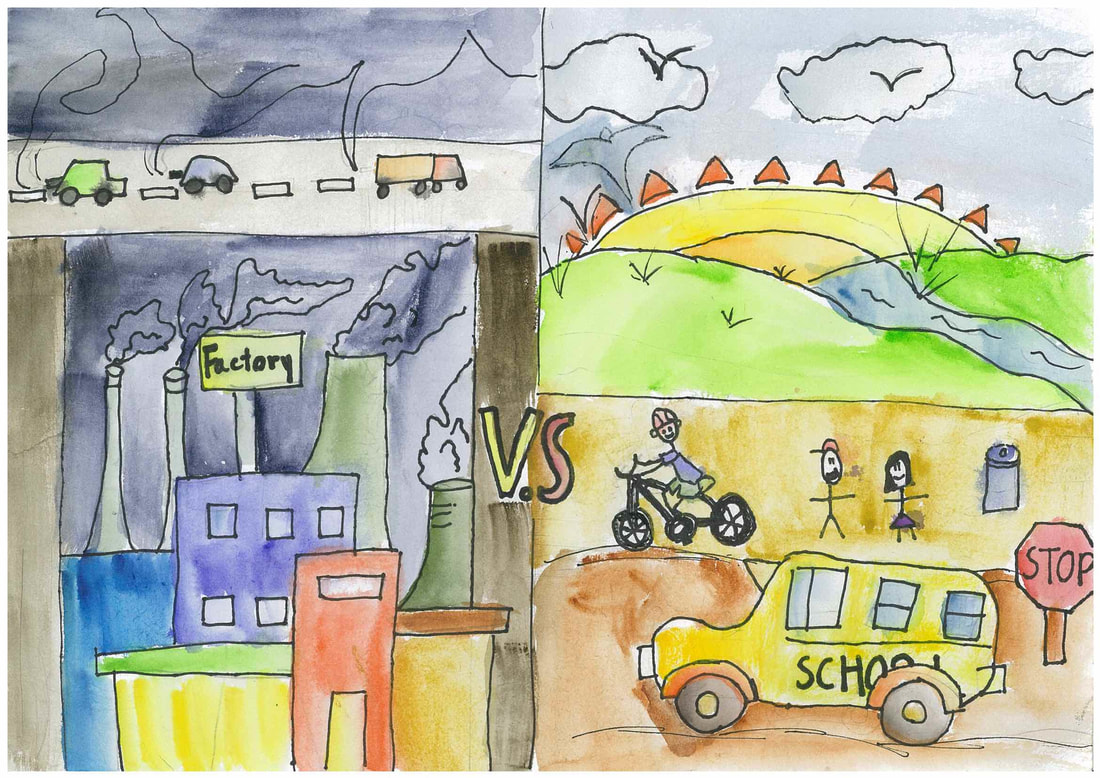
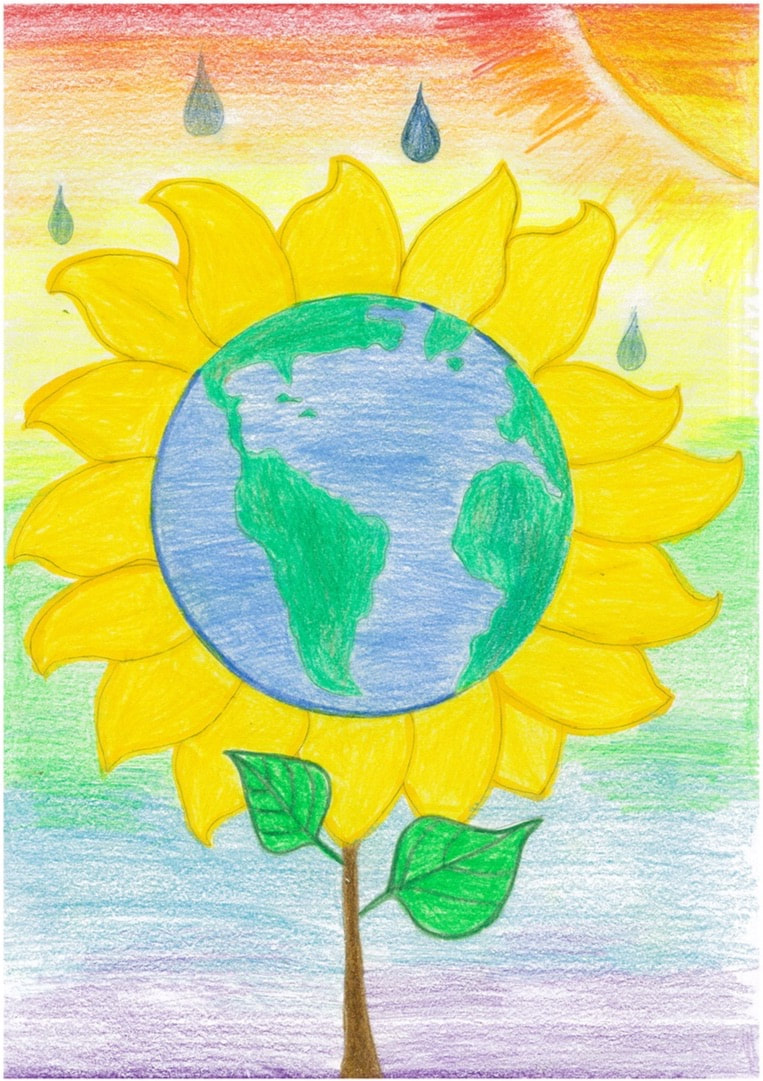
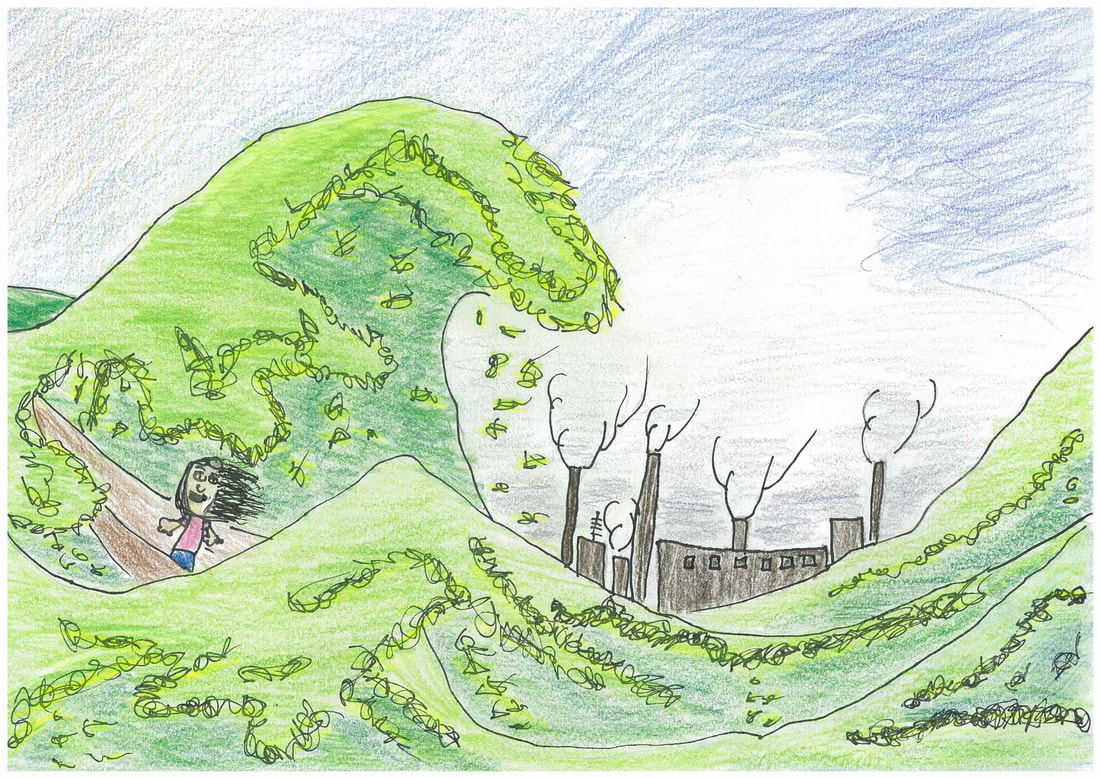
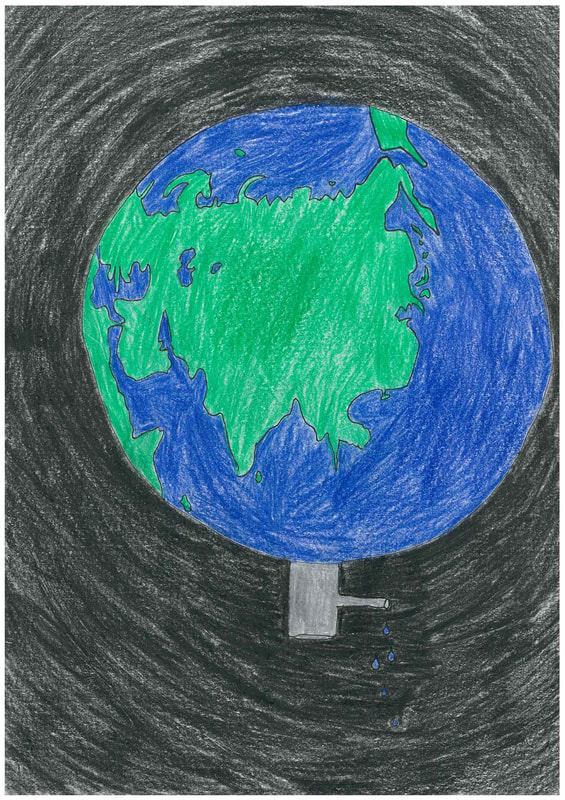
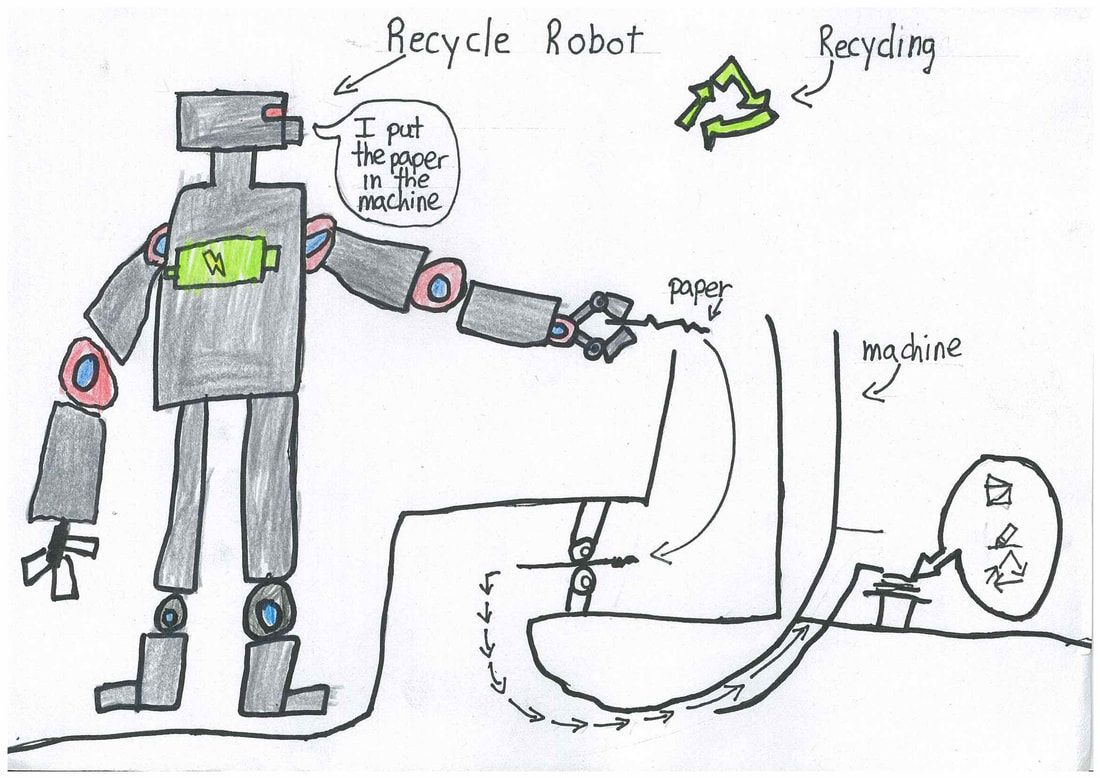
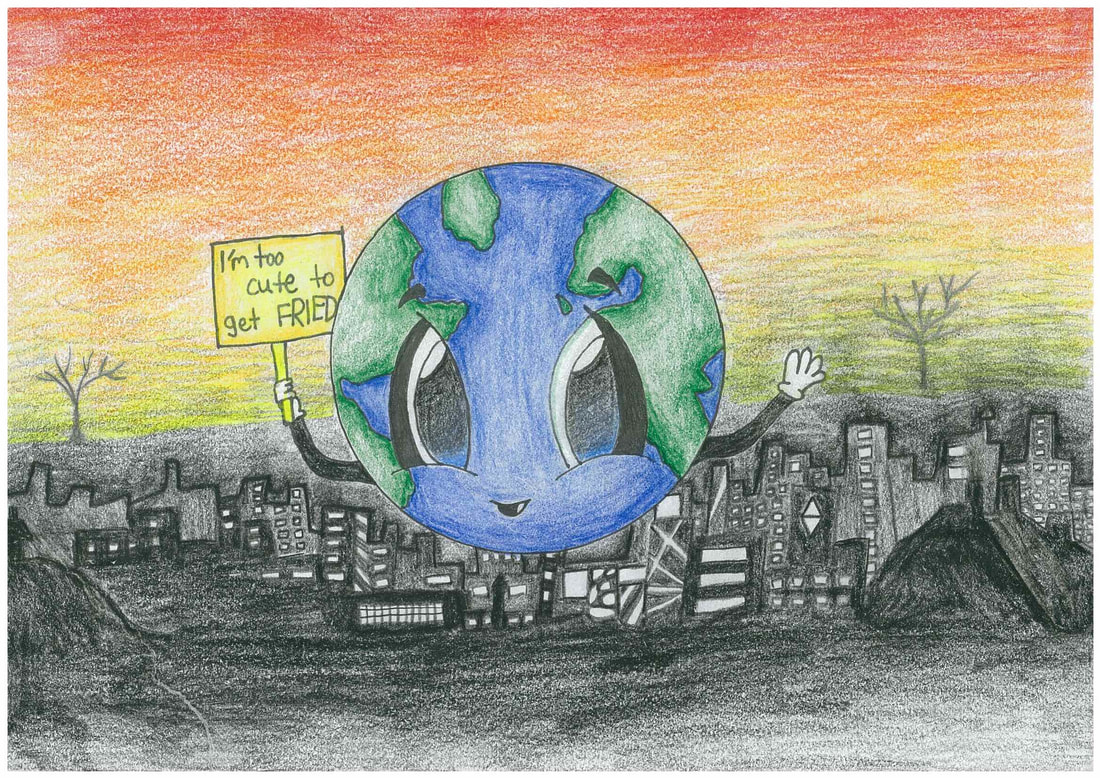
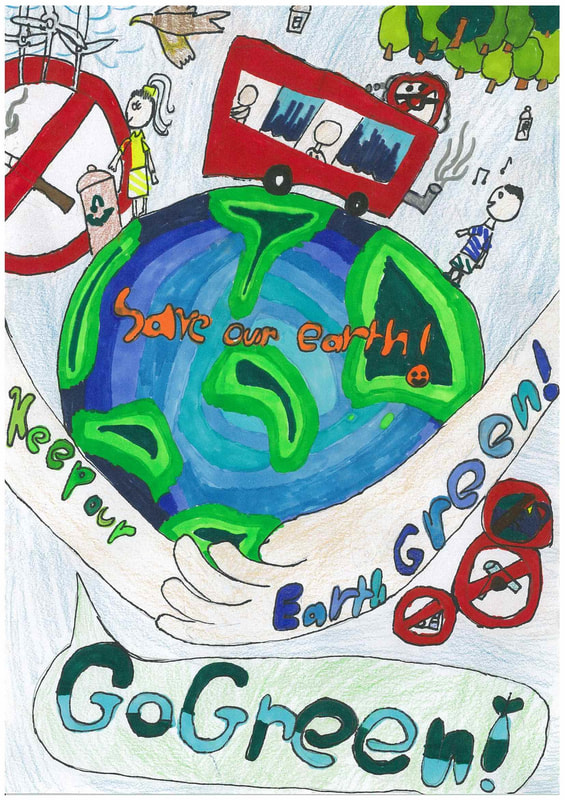
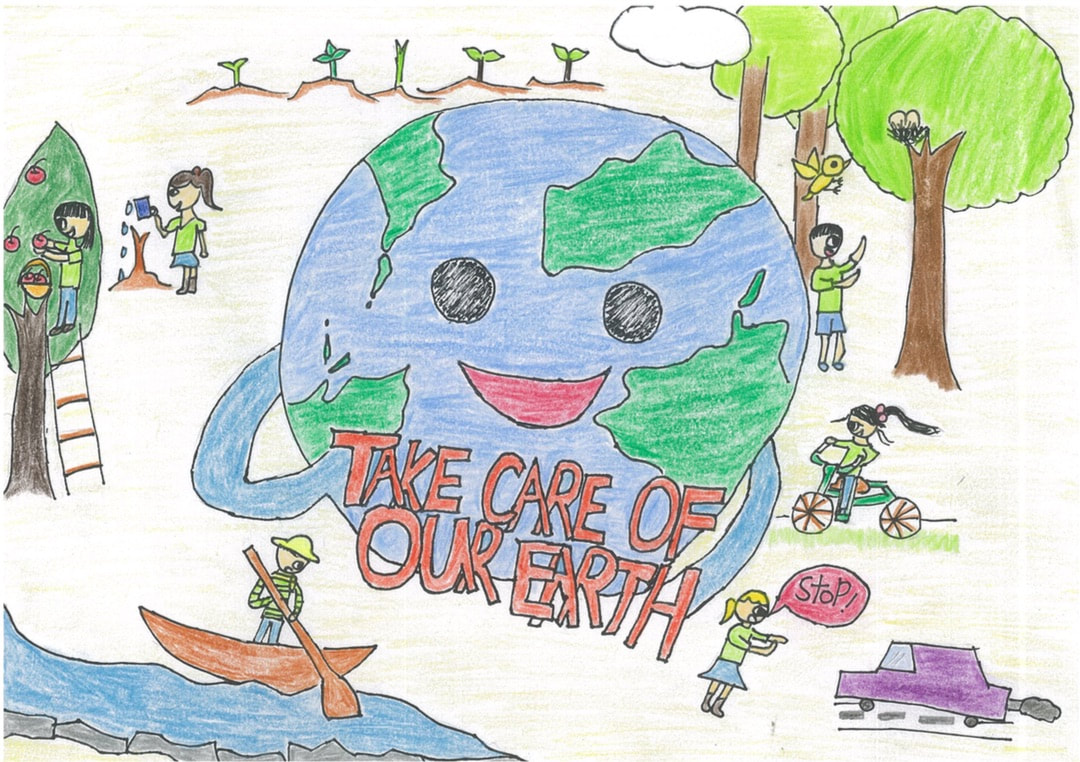
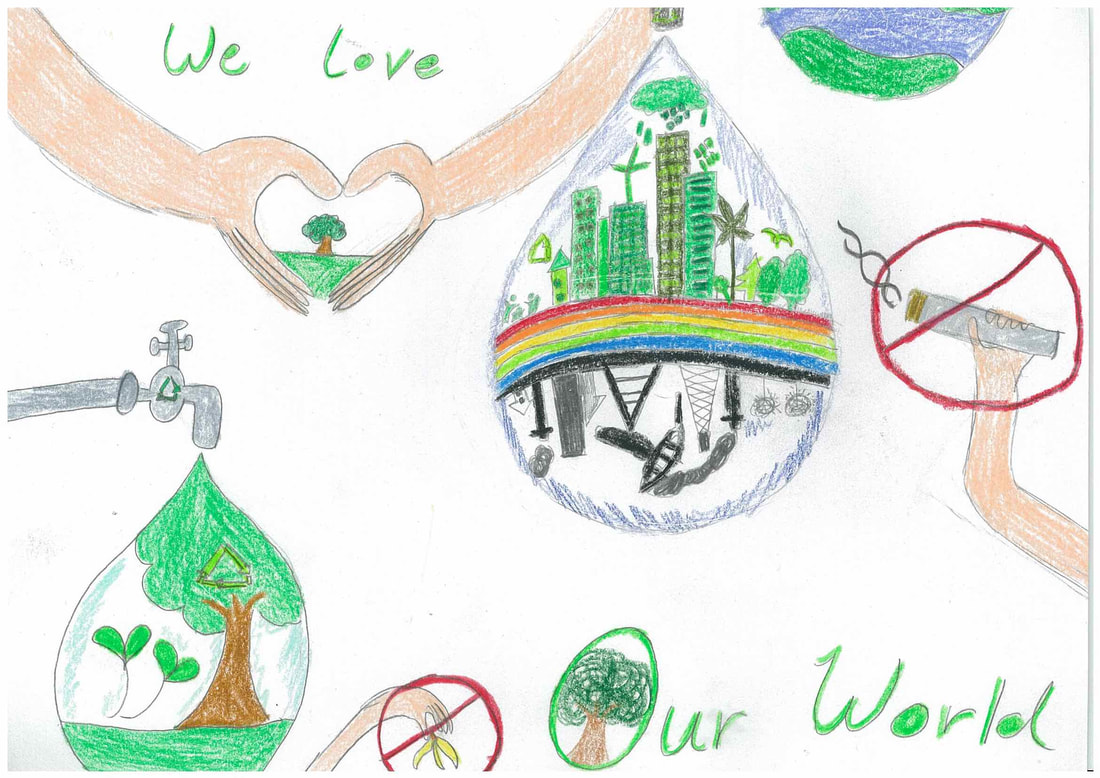
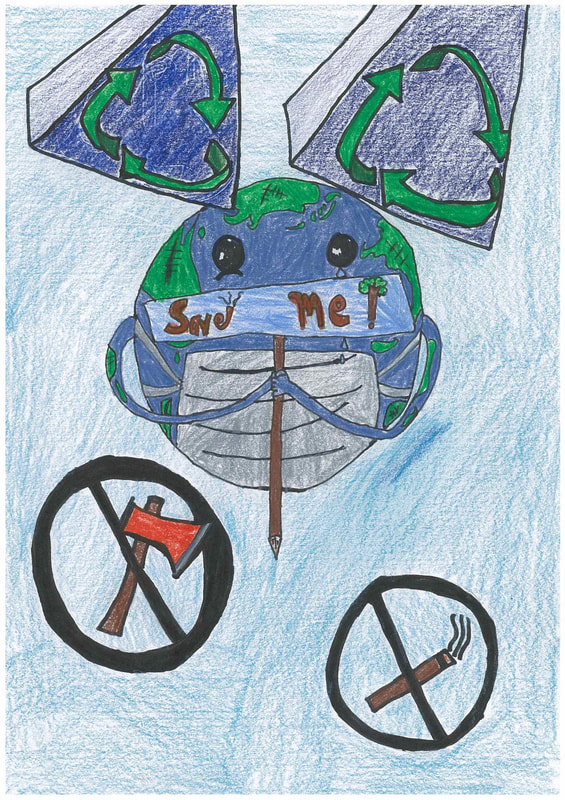
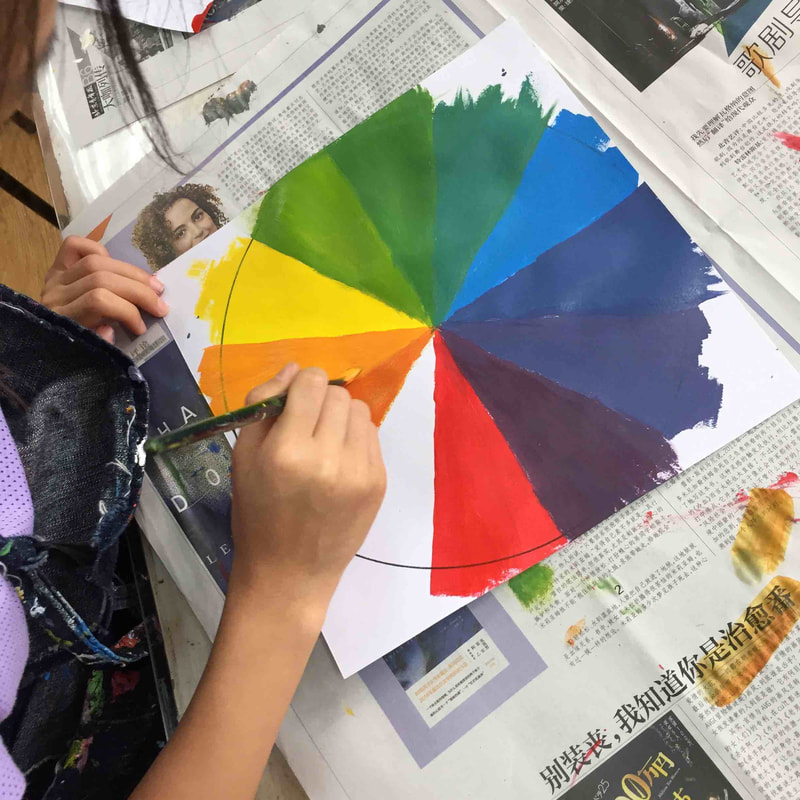
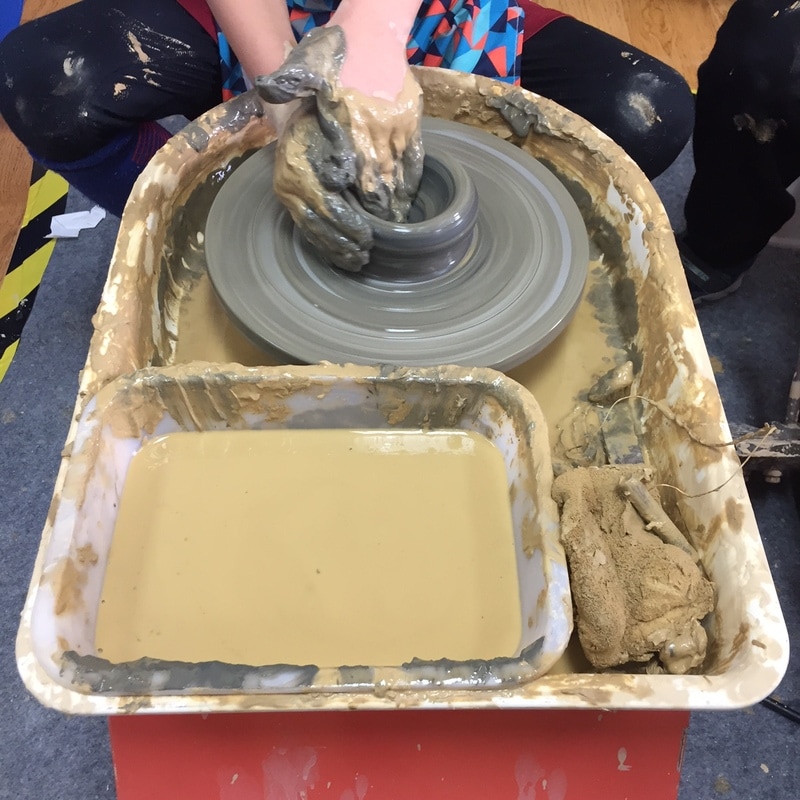
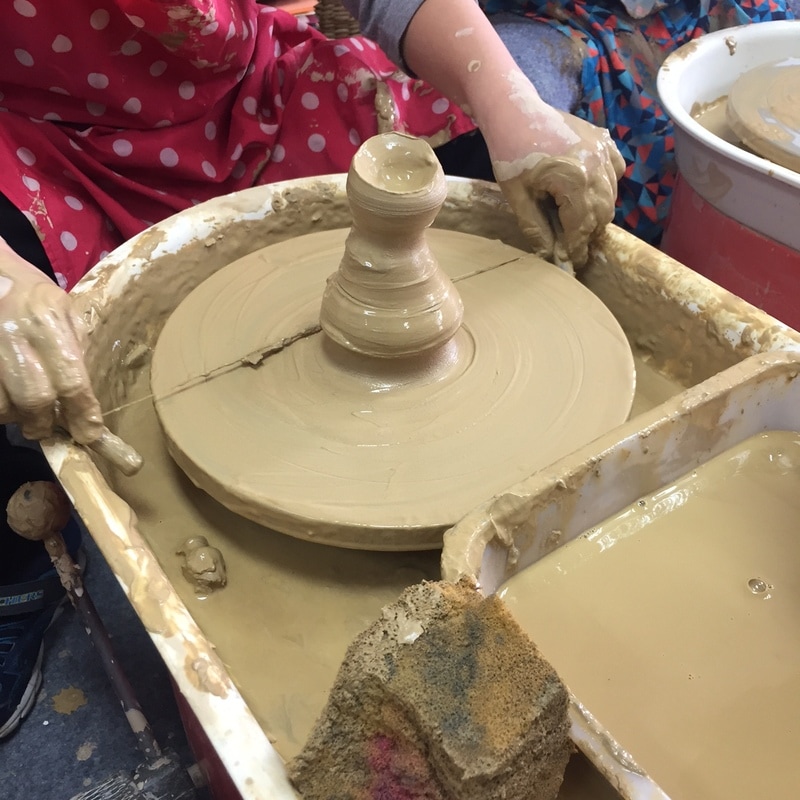
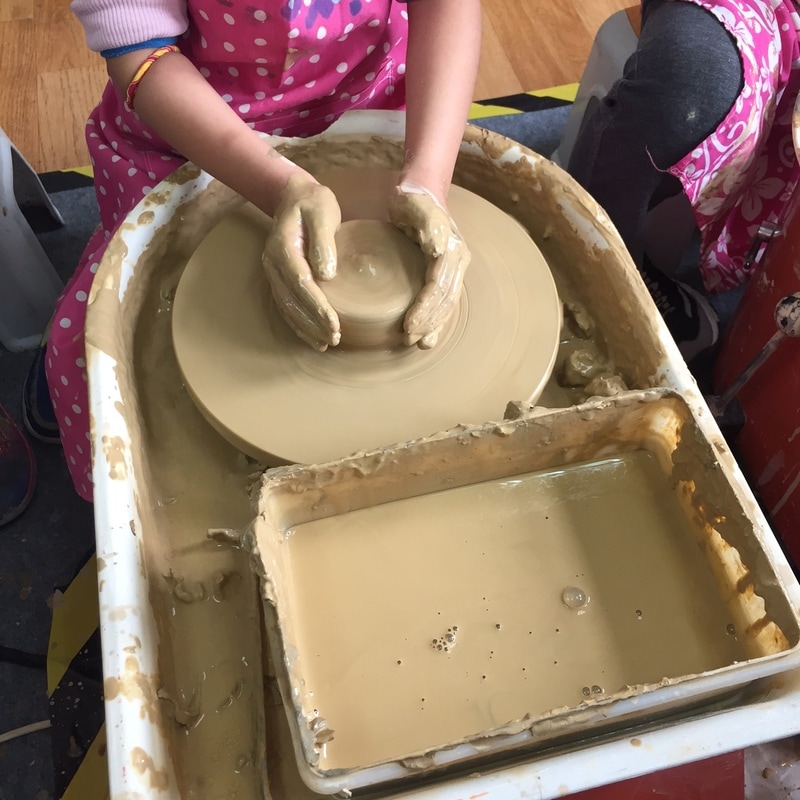
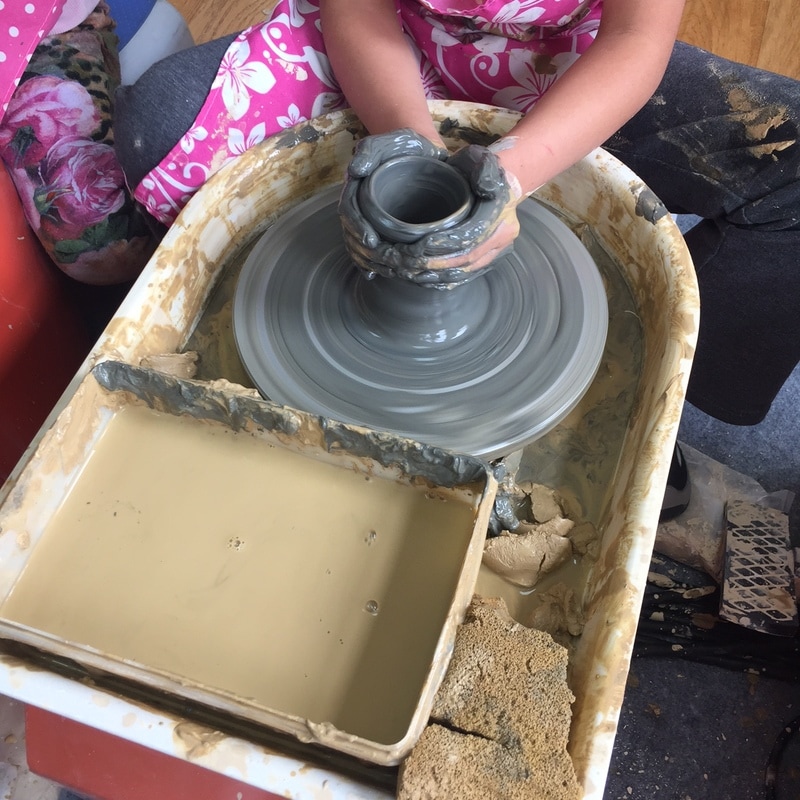
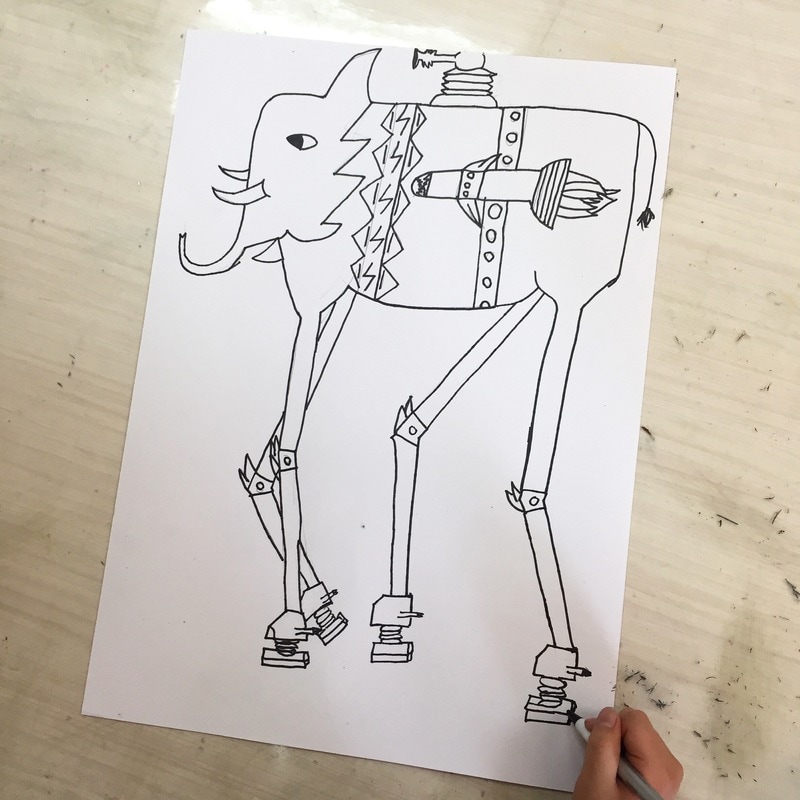
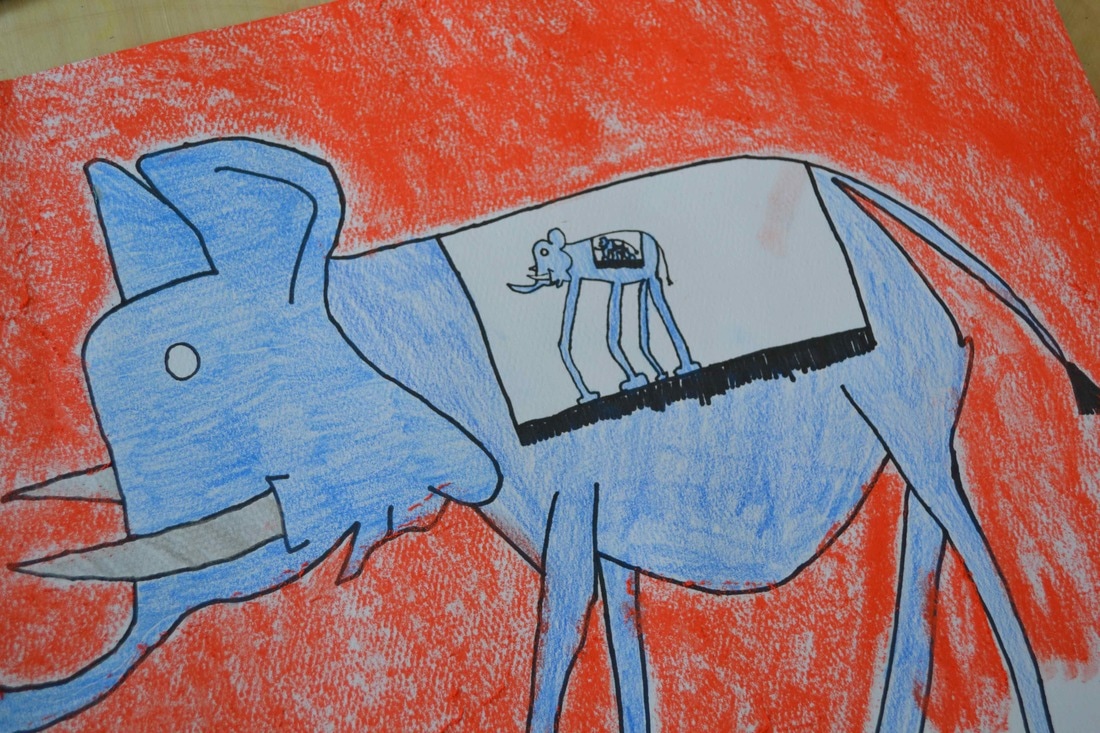
Our grades 5 took the colour wheel a little bit further. We first made a very complete colour wheel working sheet, with new vocabulary, new terms, etc.... After day one, each student came up with one animal that they could turn somehow into a colour wheel animal. So here's some of them! We always try different ways to make art in the art room. We recently started to use iPads and we ended up creating these wonders. Once a year, our art classroom transforms into a pottery studio, complete with beautiful pottery wheels. For one exciting week, students from all grades get the chance to sit at these wheels and create their own pots. It's a time for them to explore the tactile pleasure of shaping clay, to learn the delicate balance of pressure and movement. This pottery week is definitely one of the highlights of the year. The students eagerly anticipate it, buzzing with ideas about what they want to create. It's a fantastic opportunity for them to not only learn a new skill but also to express their creativity in a different medium. The pottery wheels bring a unique energy to the classroom, encouraging students to experiment, to play, and to learn from the inevitable mishaps that come with the art of pottery. As they work on their pots, students discover the patience and persistence required to create something beautiful from scratch. They learn the importance of attention to detail and the value of seeing a project through from start to finish. And at the end of the week, they have their own handcrafted pot to keep—a tangible reminder of their creativity and hard work. We also learn something very important, to dont get too attached to something, just because chances that some pots break during the drying or the firing process are very real. It's truly amazing to witness the students' growth and to see the pride in their eyes as they hold their finished pots. The pottery week is much more than just a break from the regular curriculum—it's a cherished tradition that nurtures the artistic spirit of our students. Our MSB students have been invited to a contest about how to save the environment. The contest is organized by LittleStar Magazine and will be by the end of October. We will keep you updated with more info coming soon, in the meantime enjoy some of the designs of our MSB artists. We have 46 students involved in the contest!!!
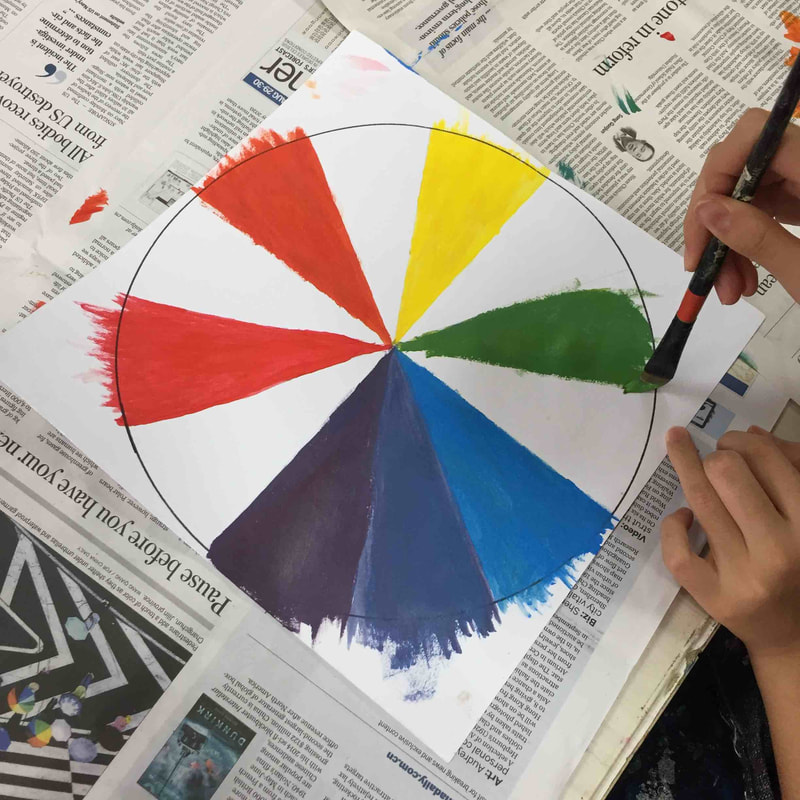
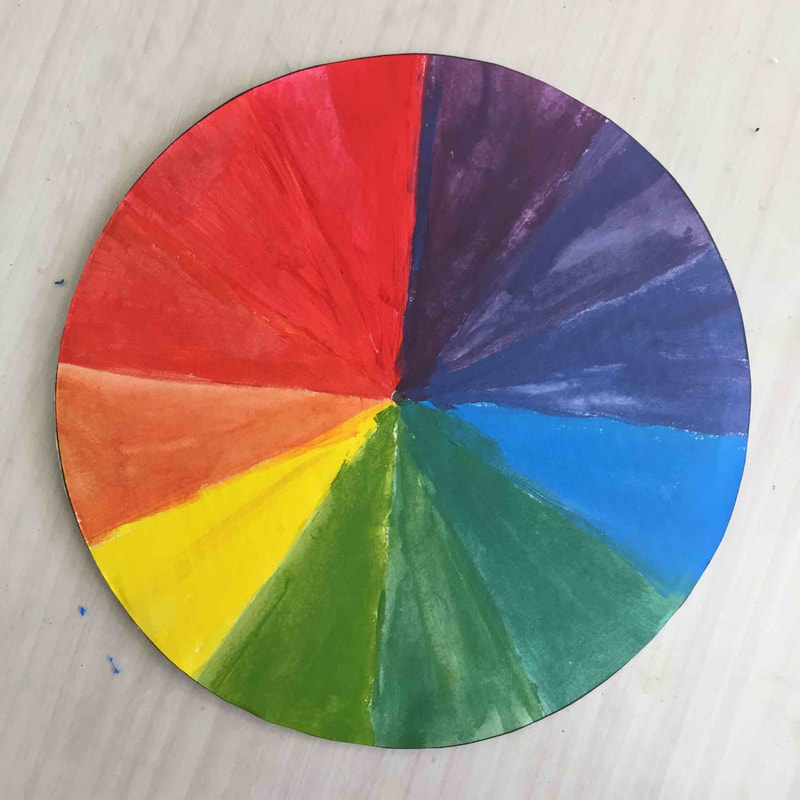
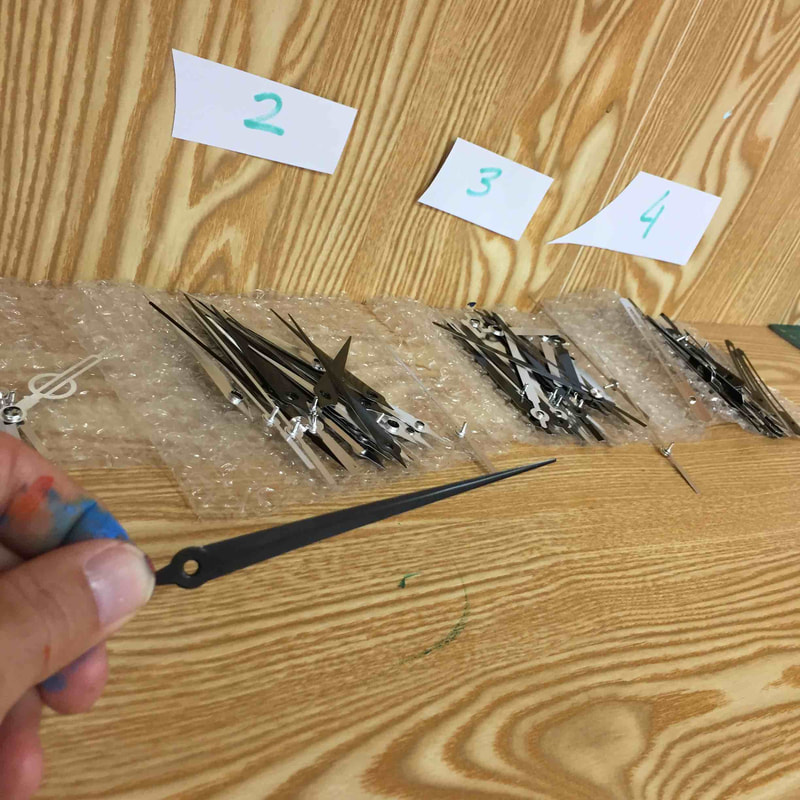
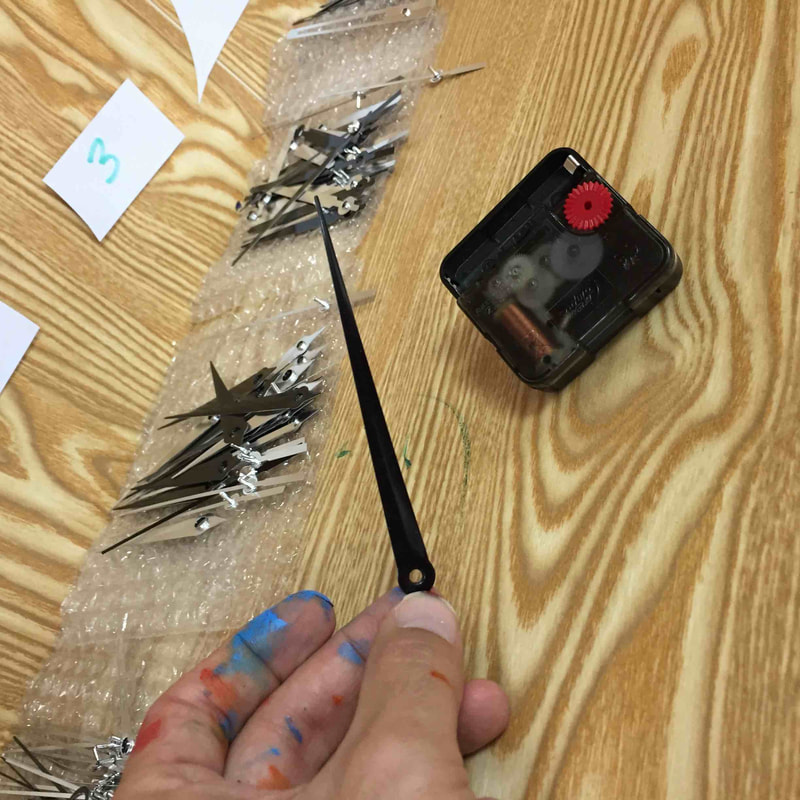
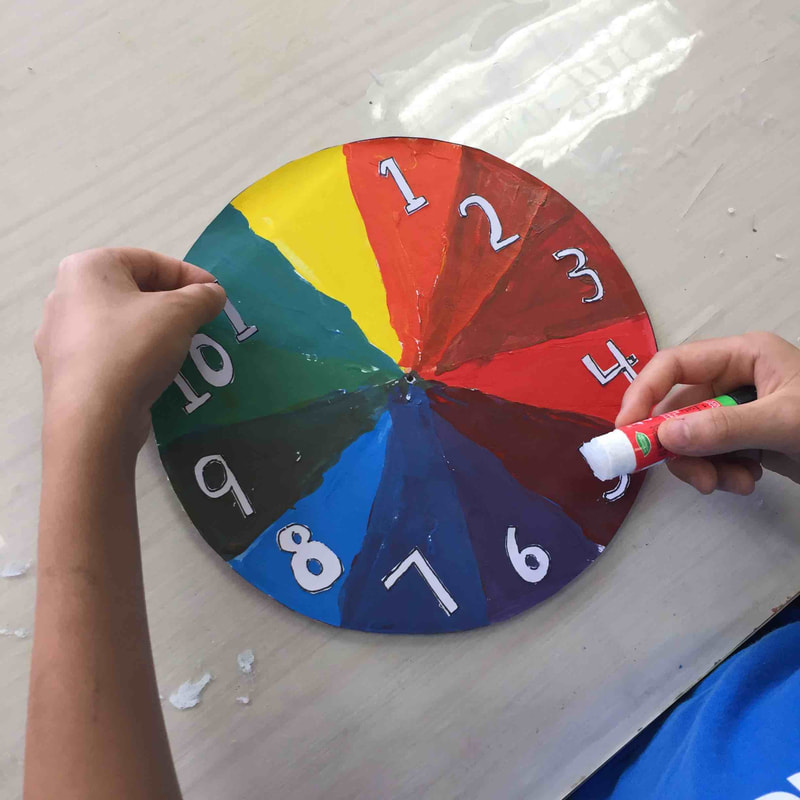
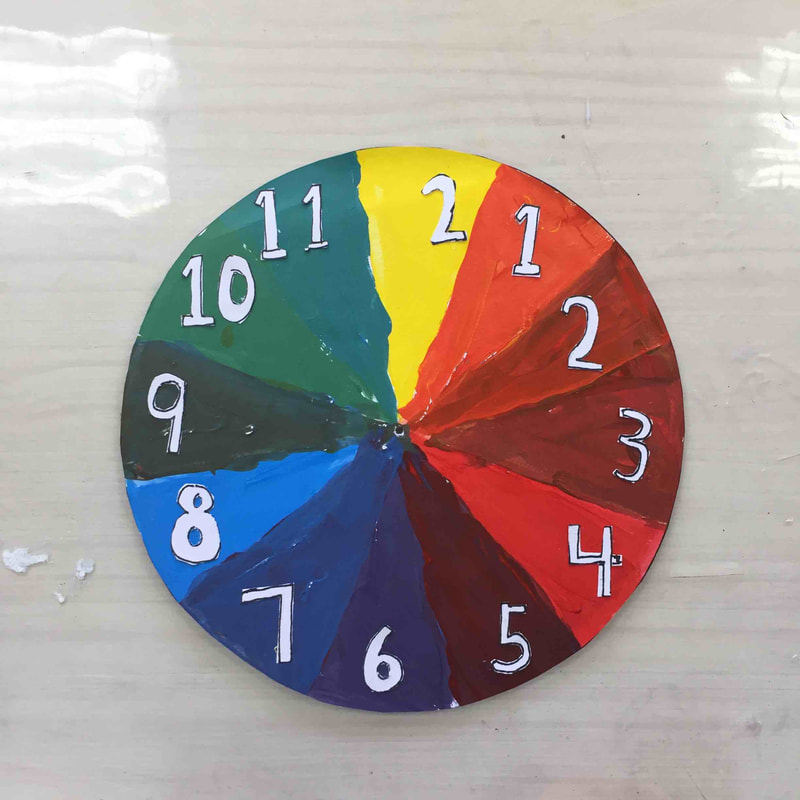
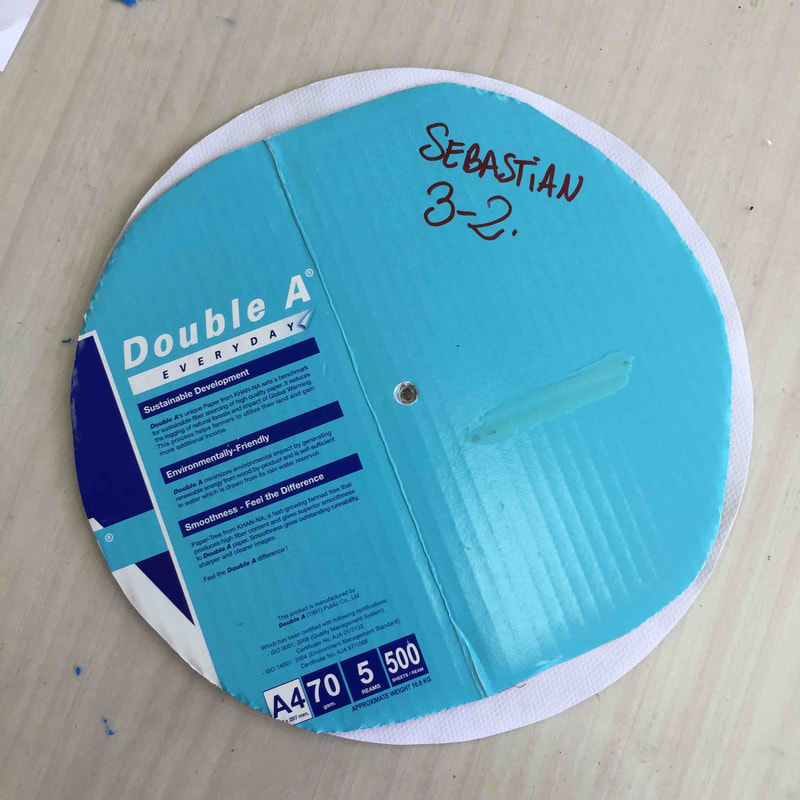
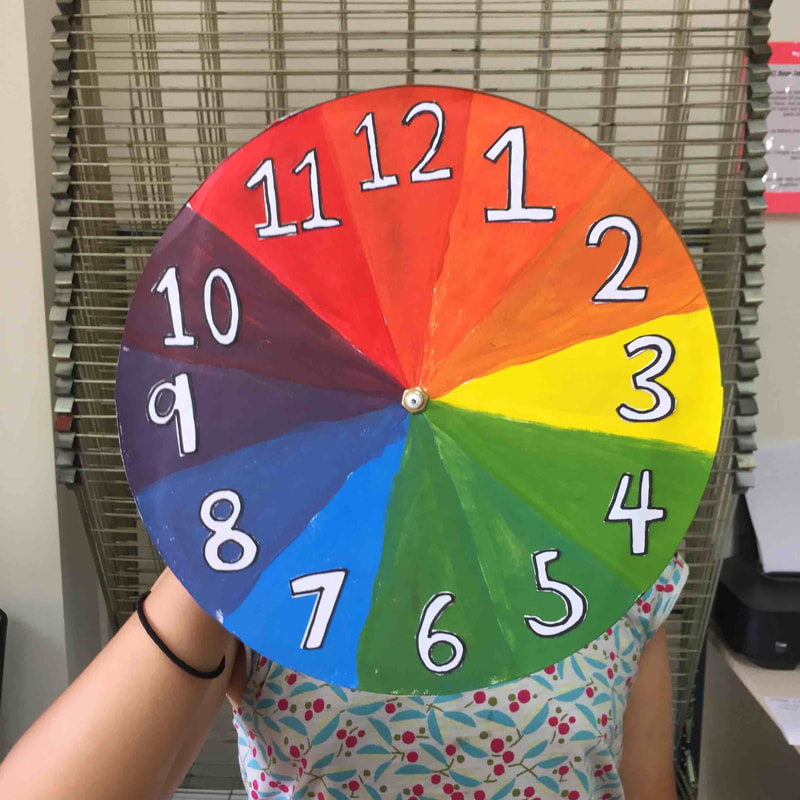
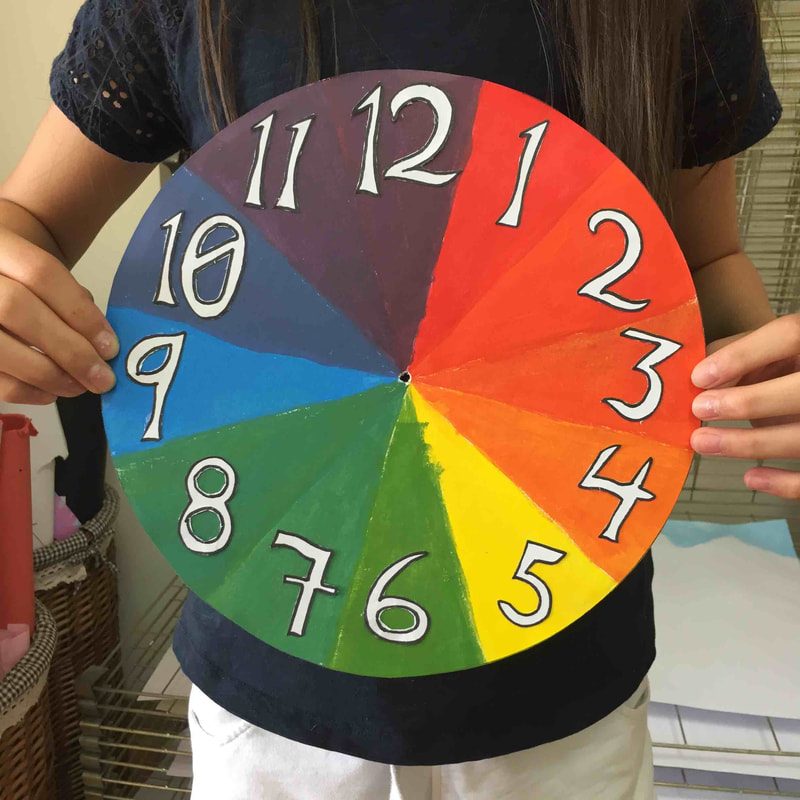
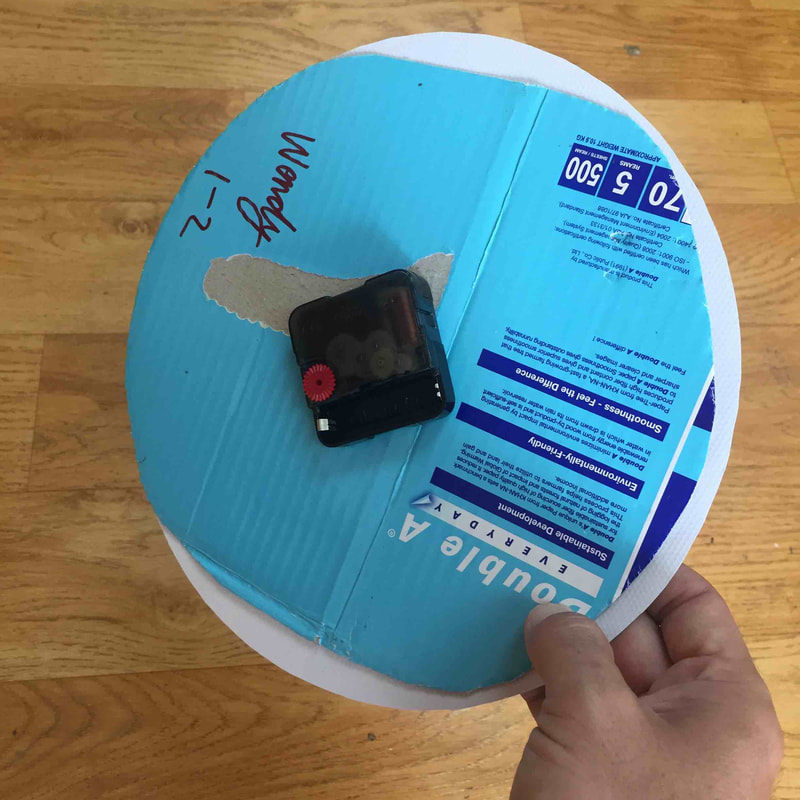
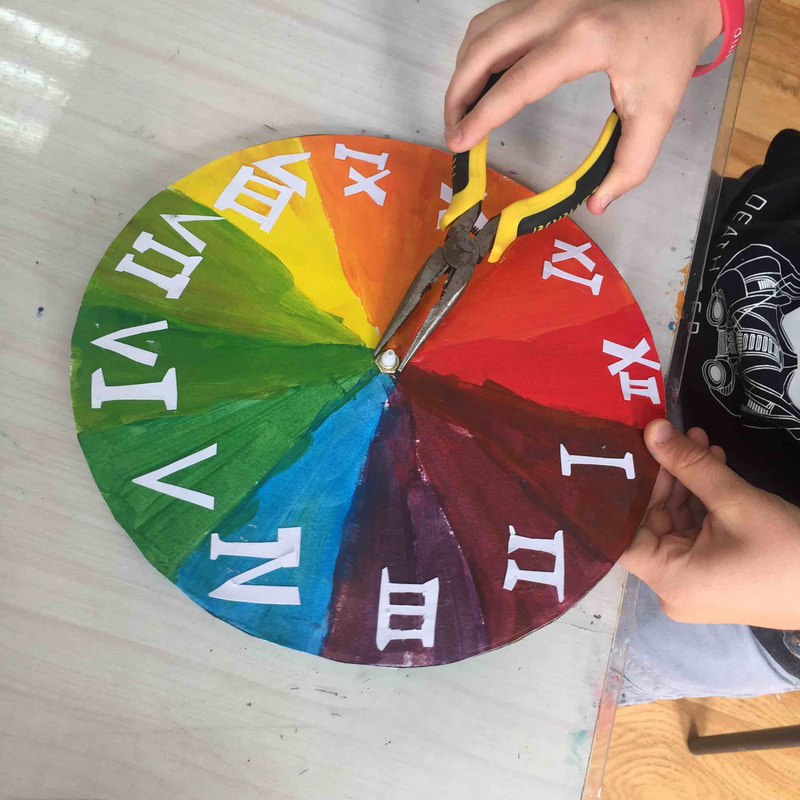
After deep discussion with our grade 5 and 6 about colours and its relation between themselves we decided to make this fantastic colour wheel clock. First thing we did was to work on a worksheet about vocabulary. We talked about what is a complementary colour, analogous colour, tints, shades, monochromatic, hues, values, etc... After playing with colours we started to work right away.
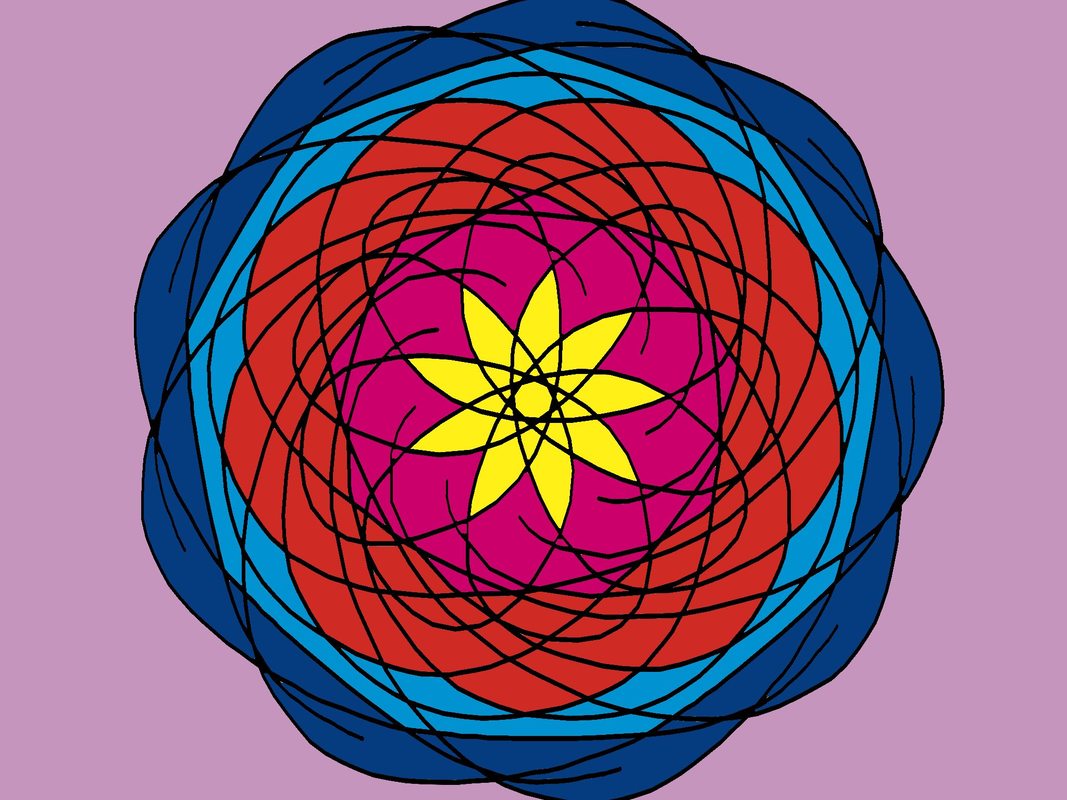
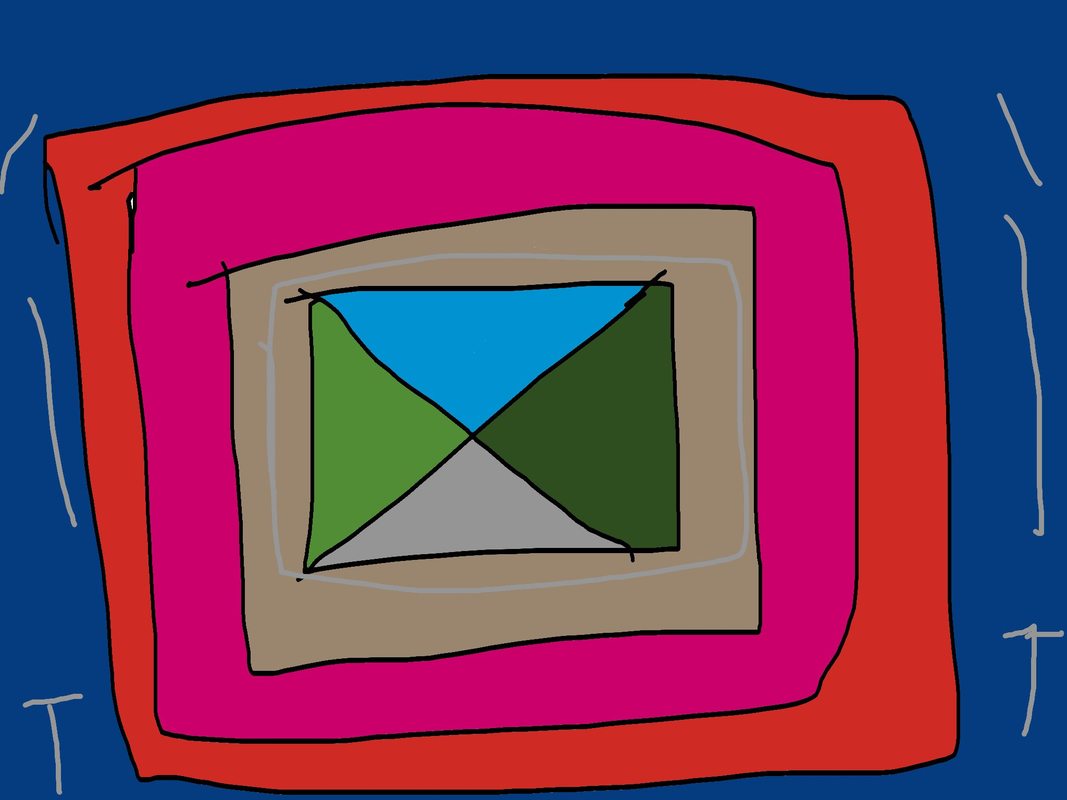
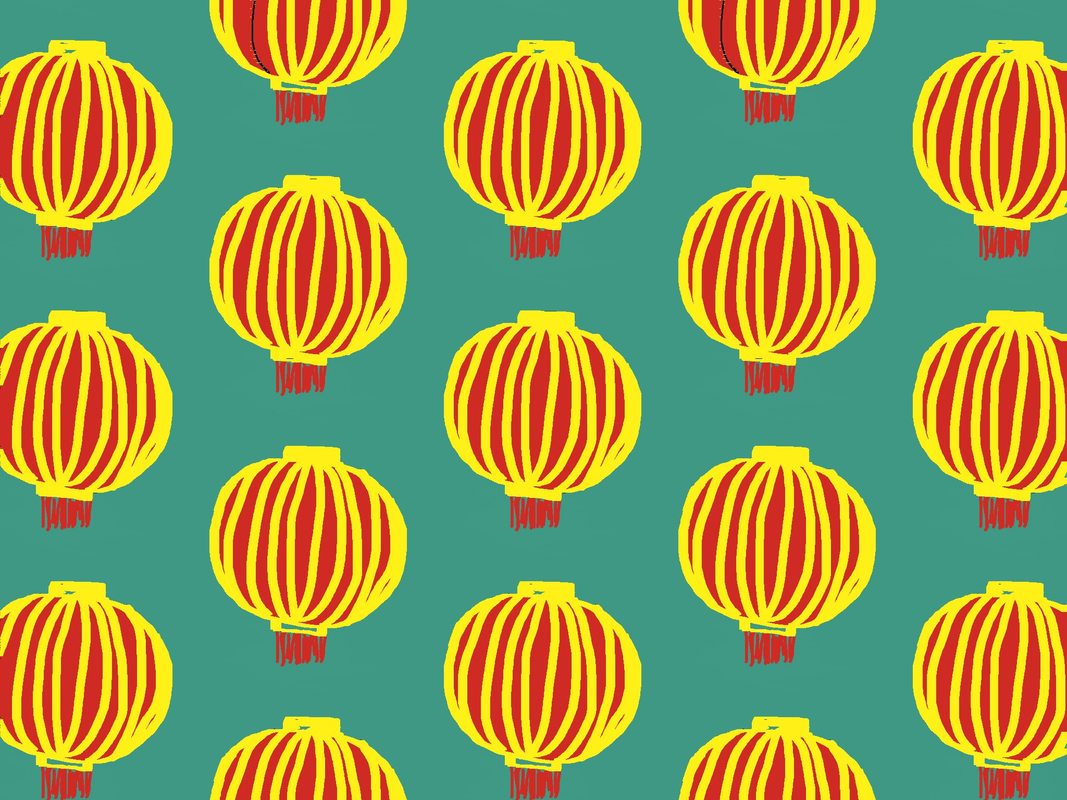
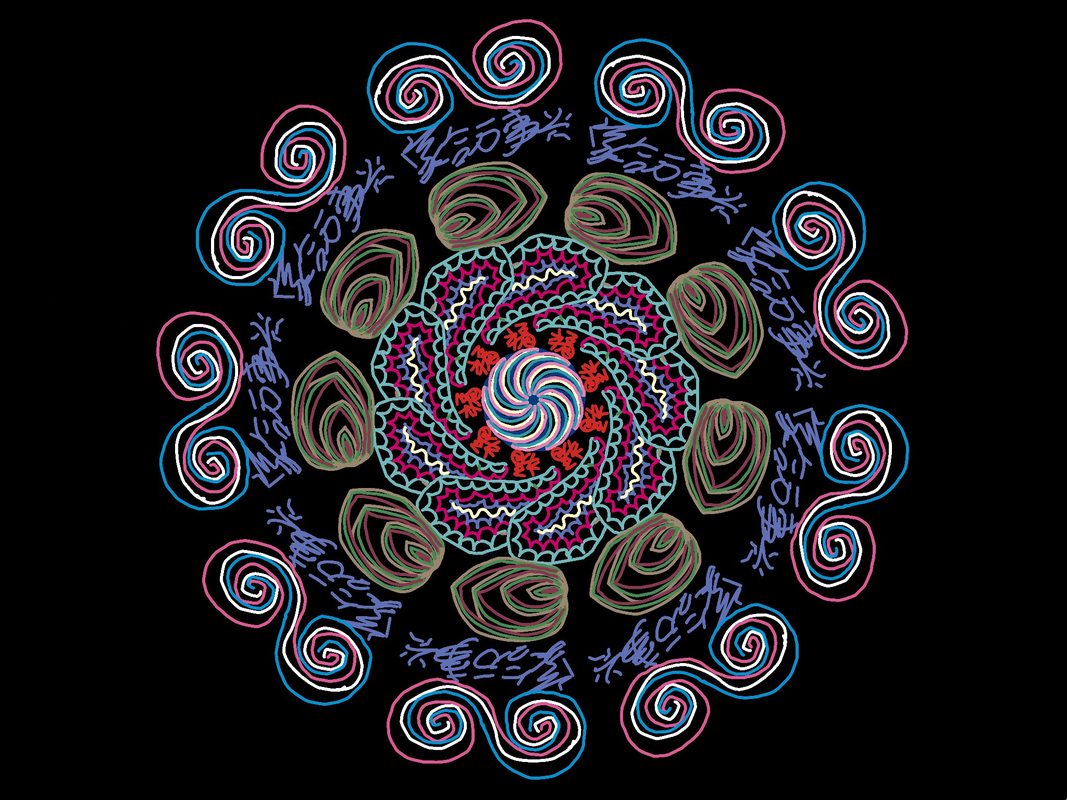
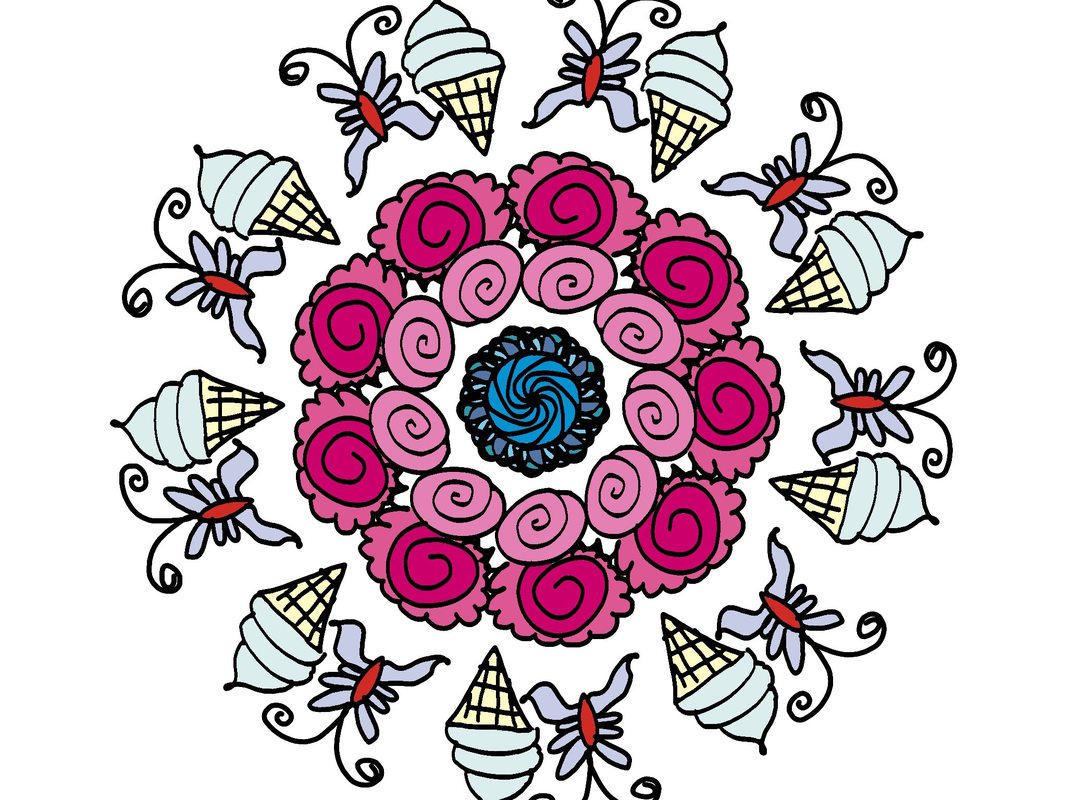
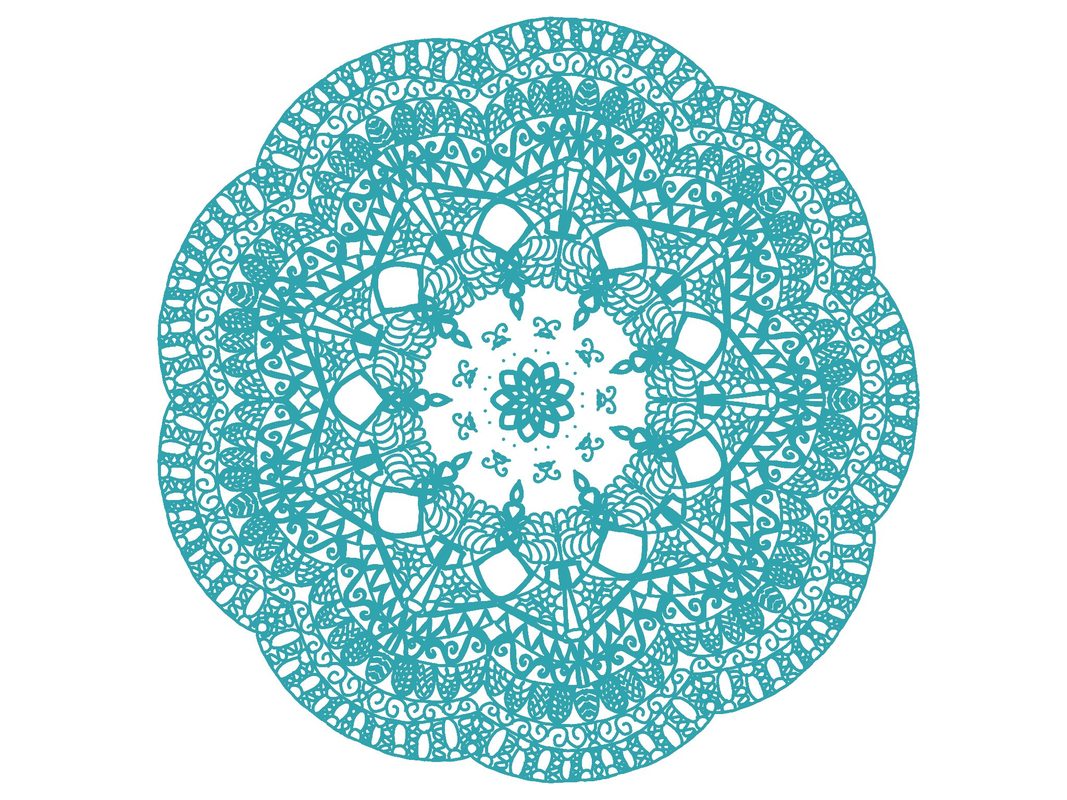
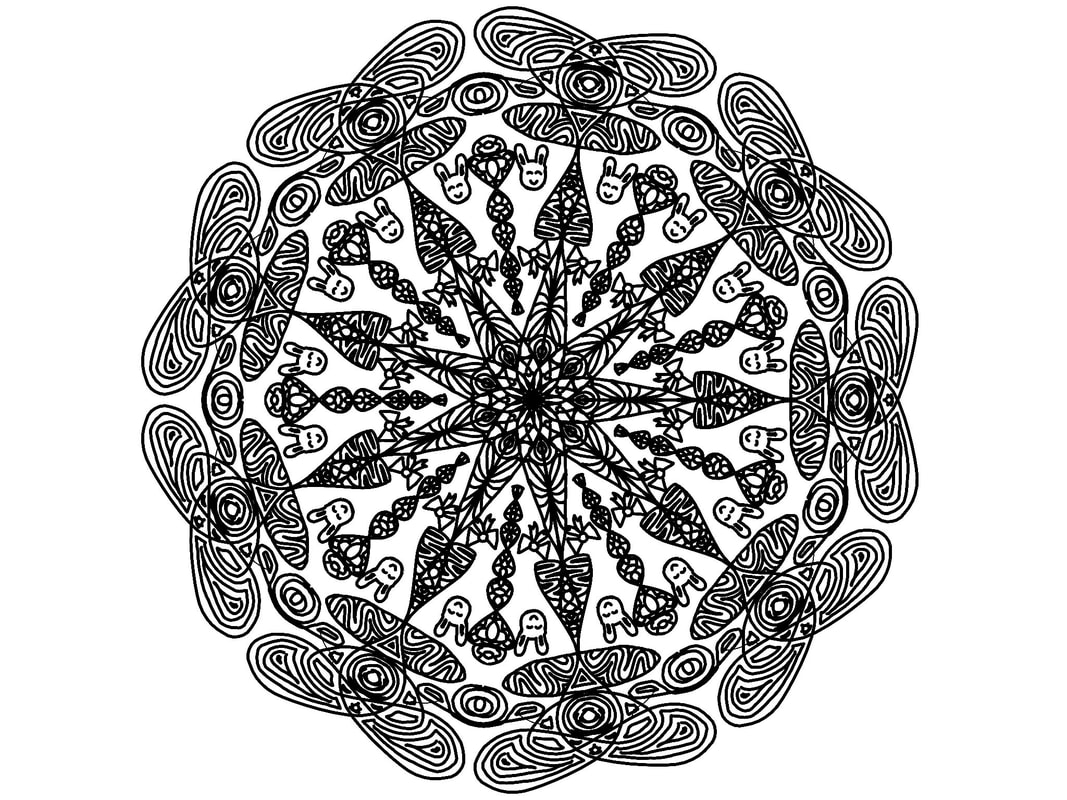
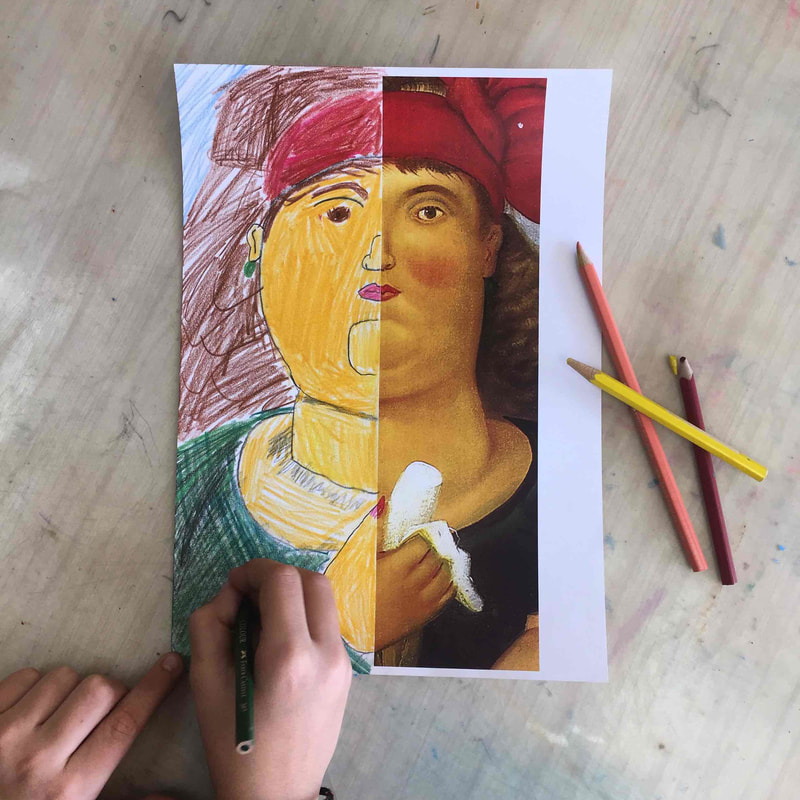
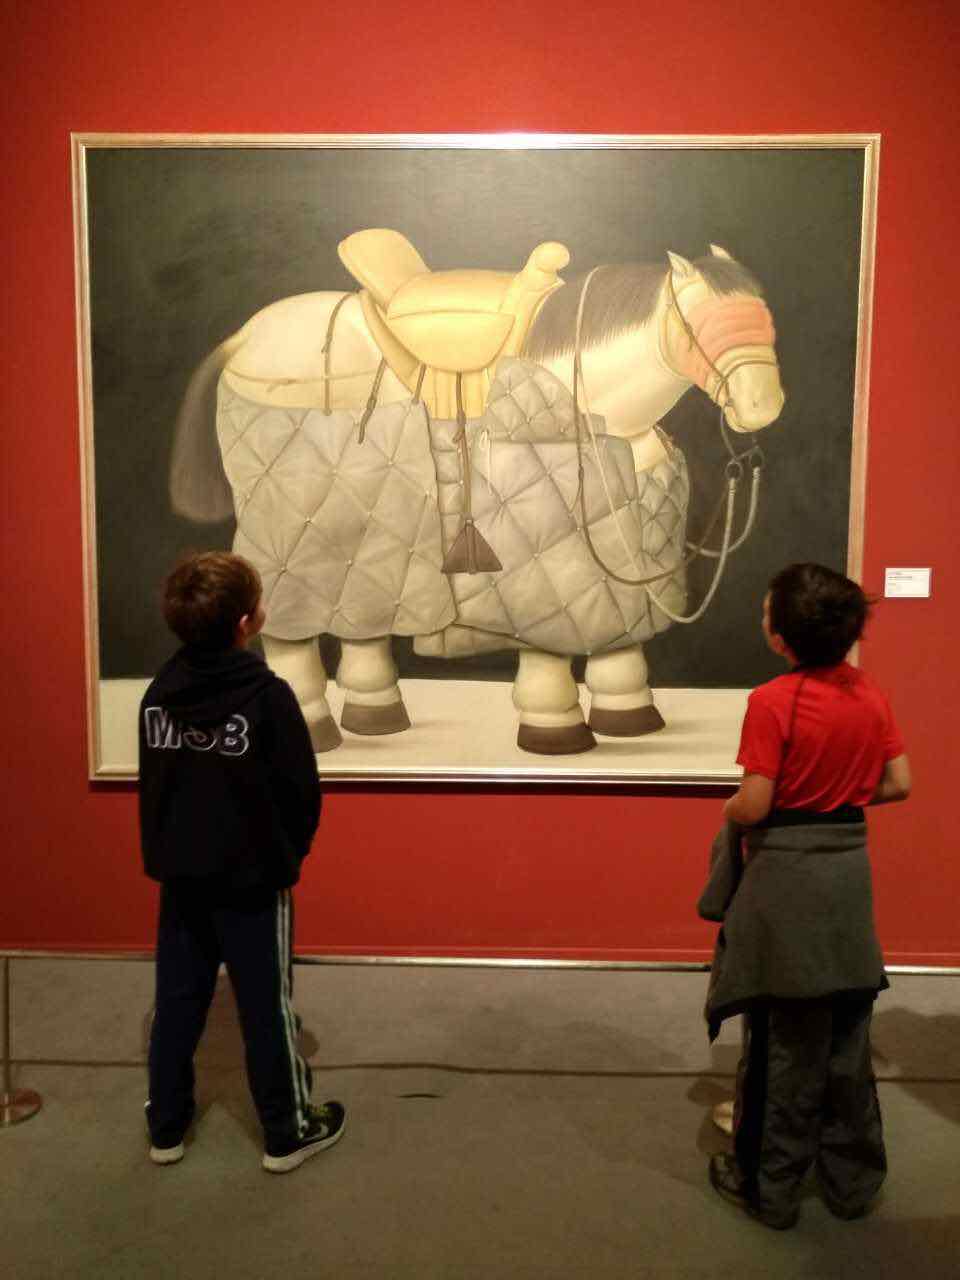
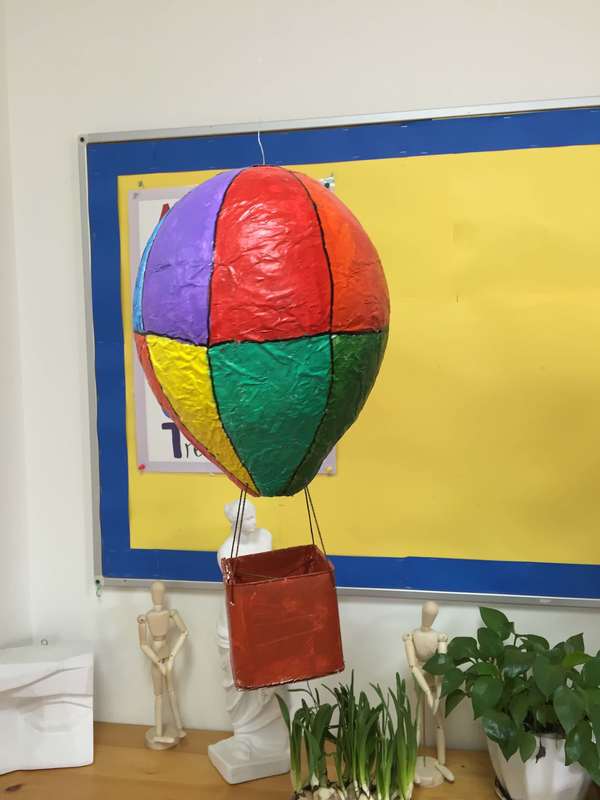
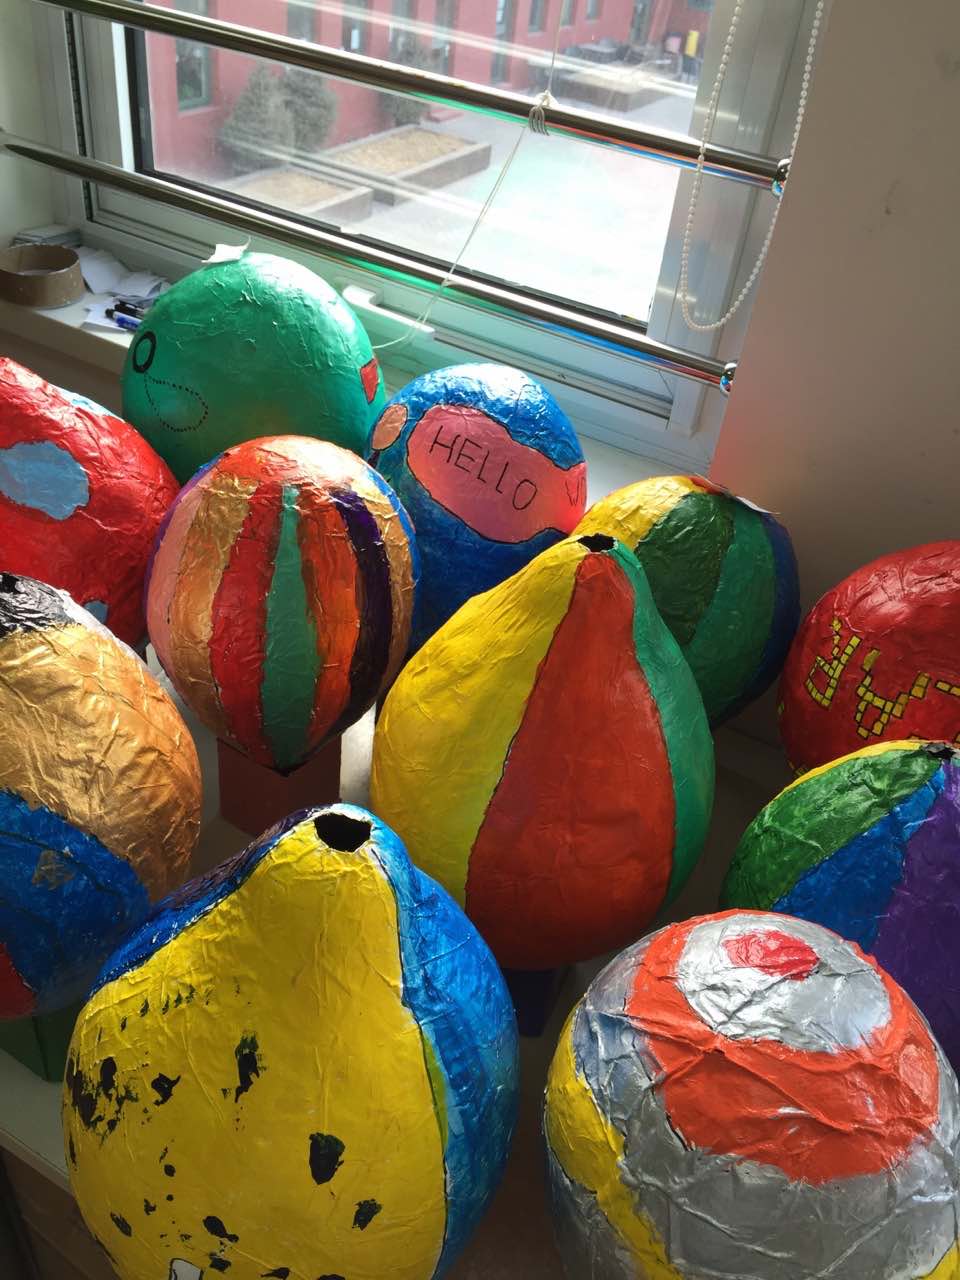
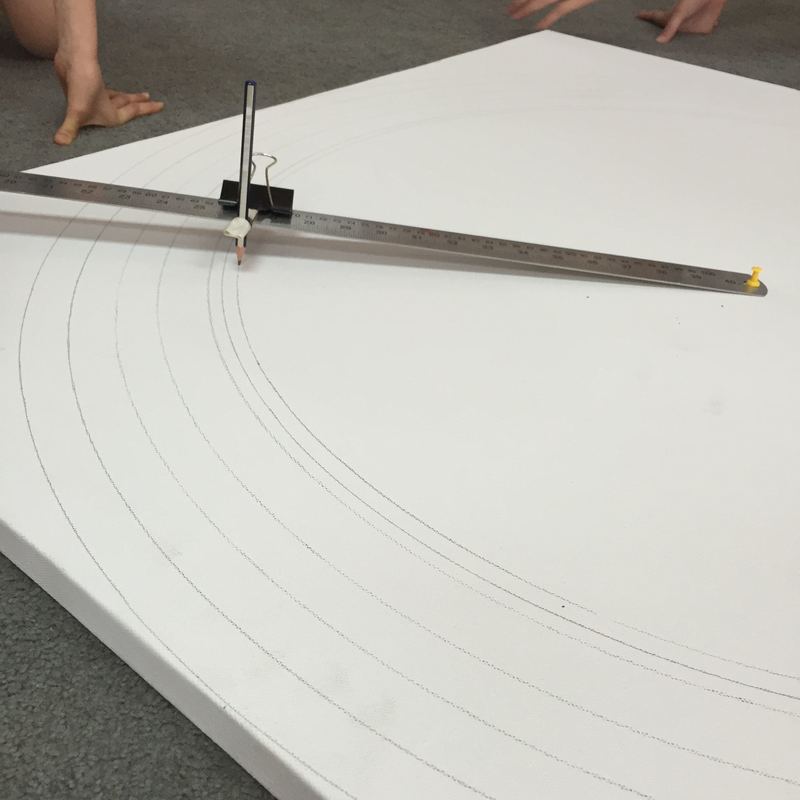
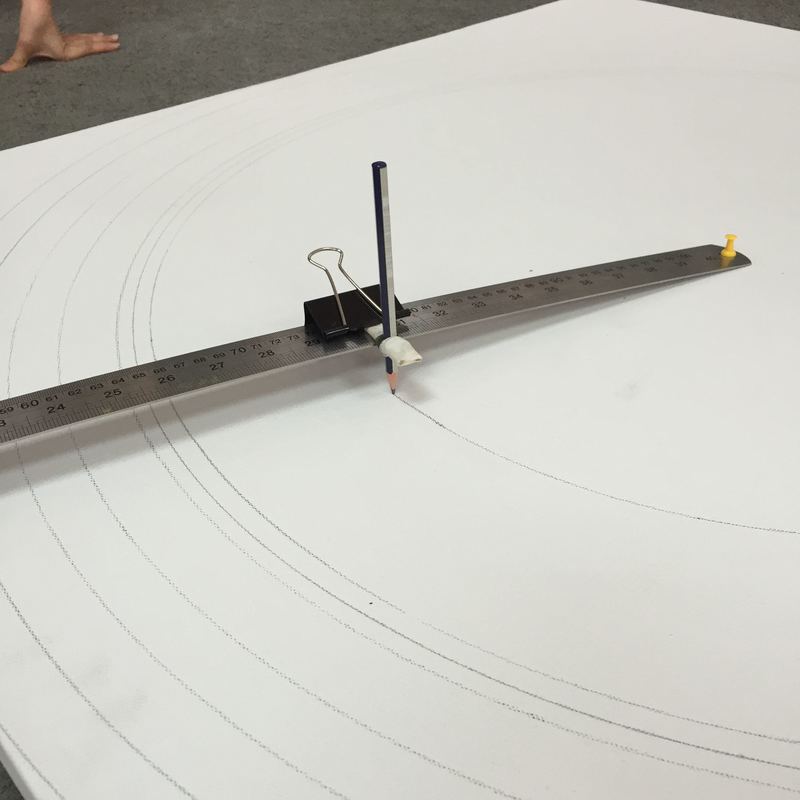
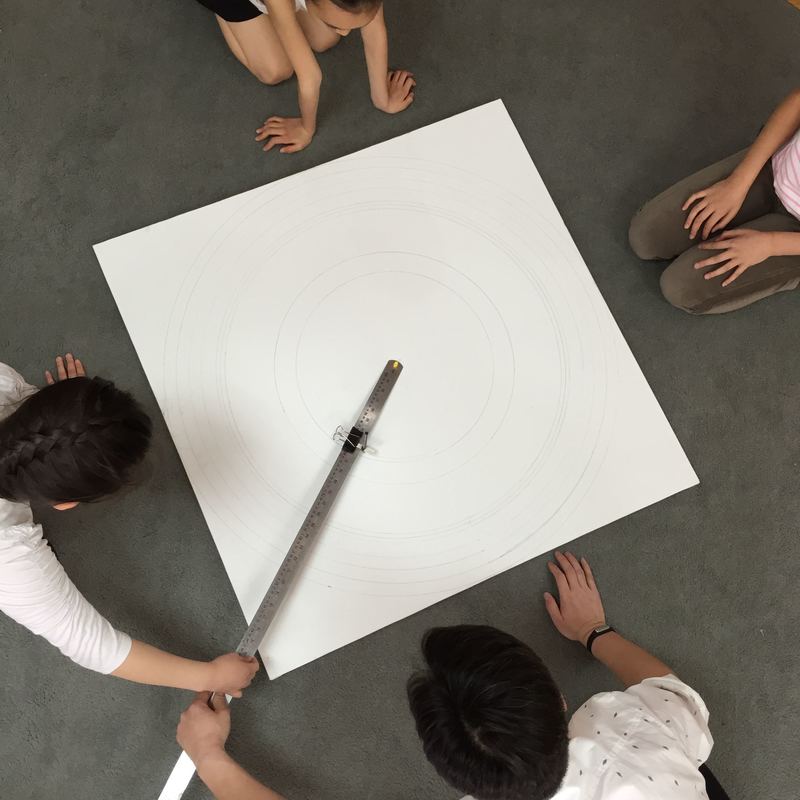
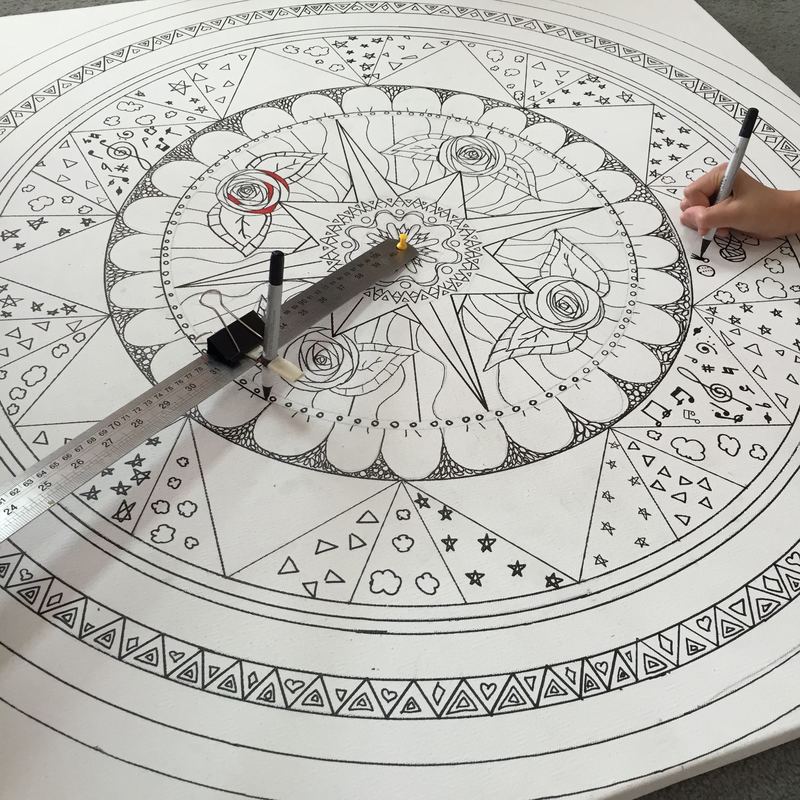
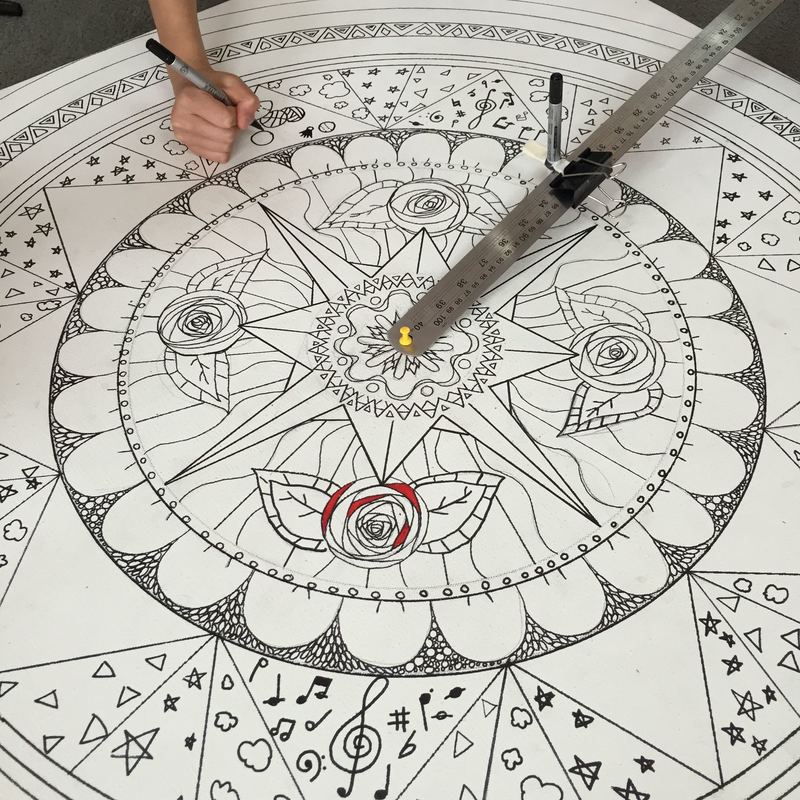
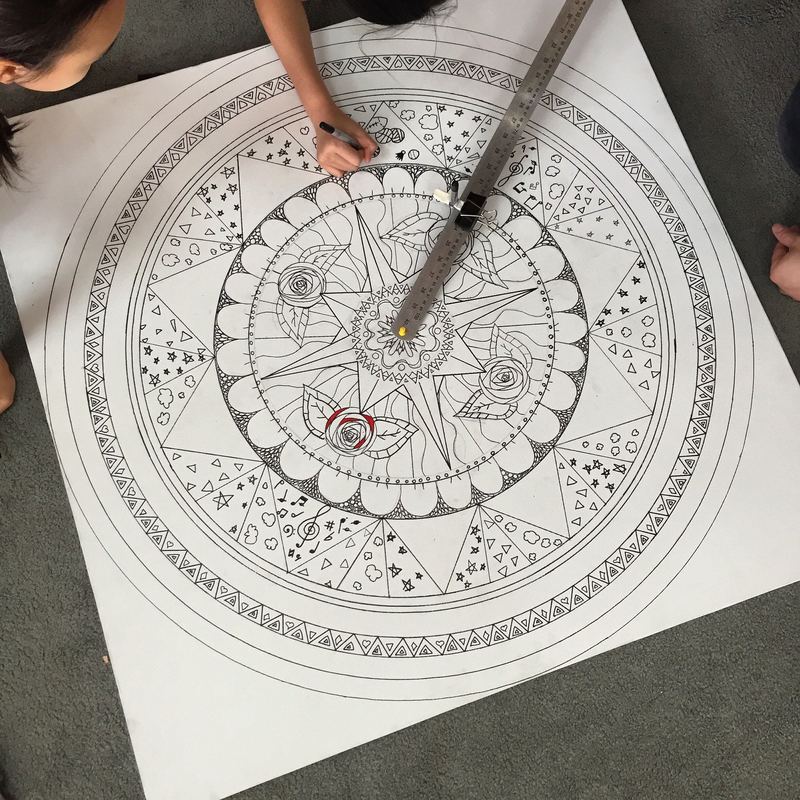
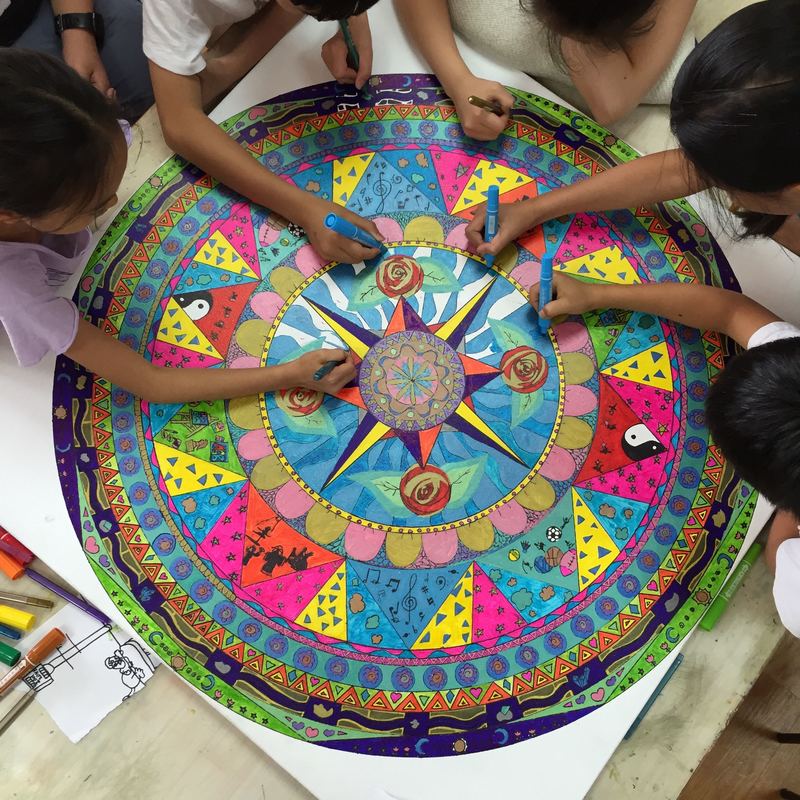
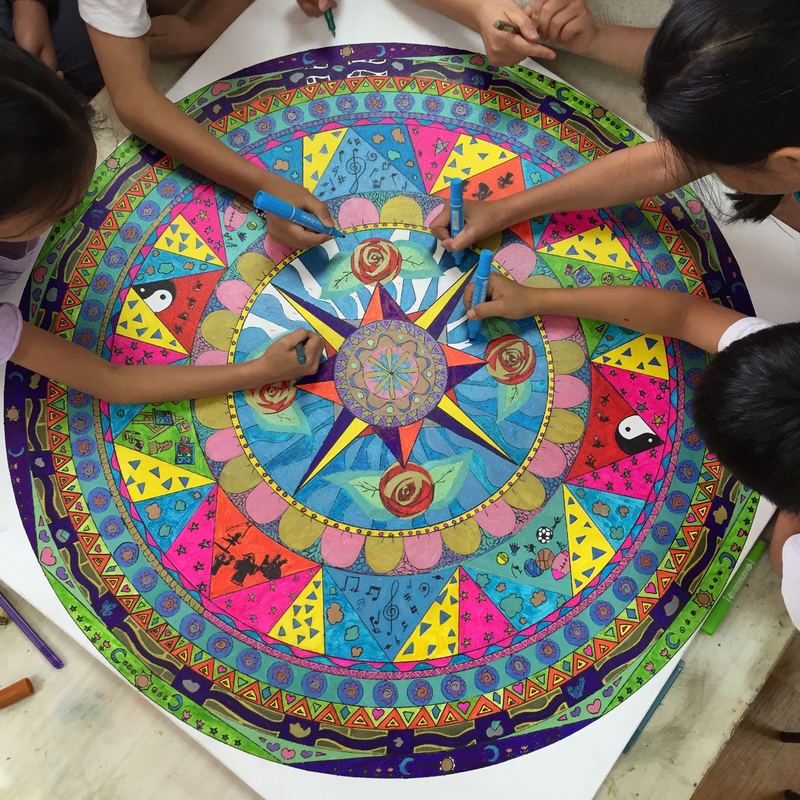
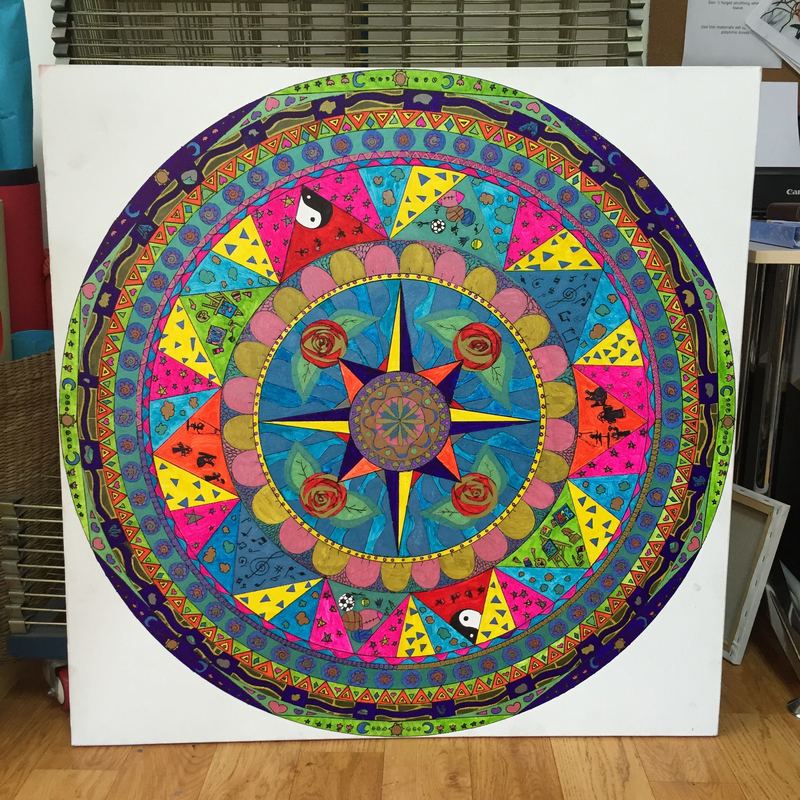
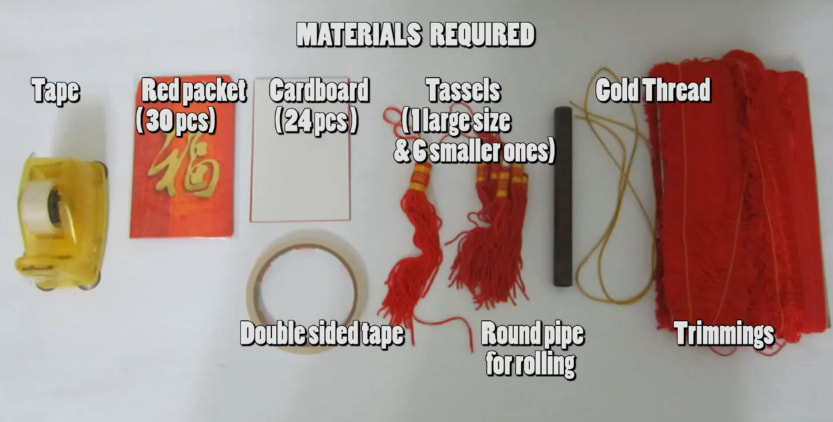
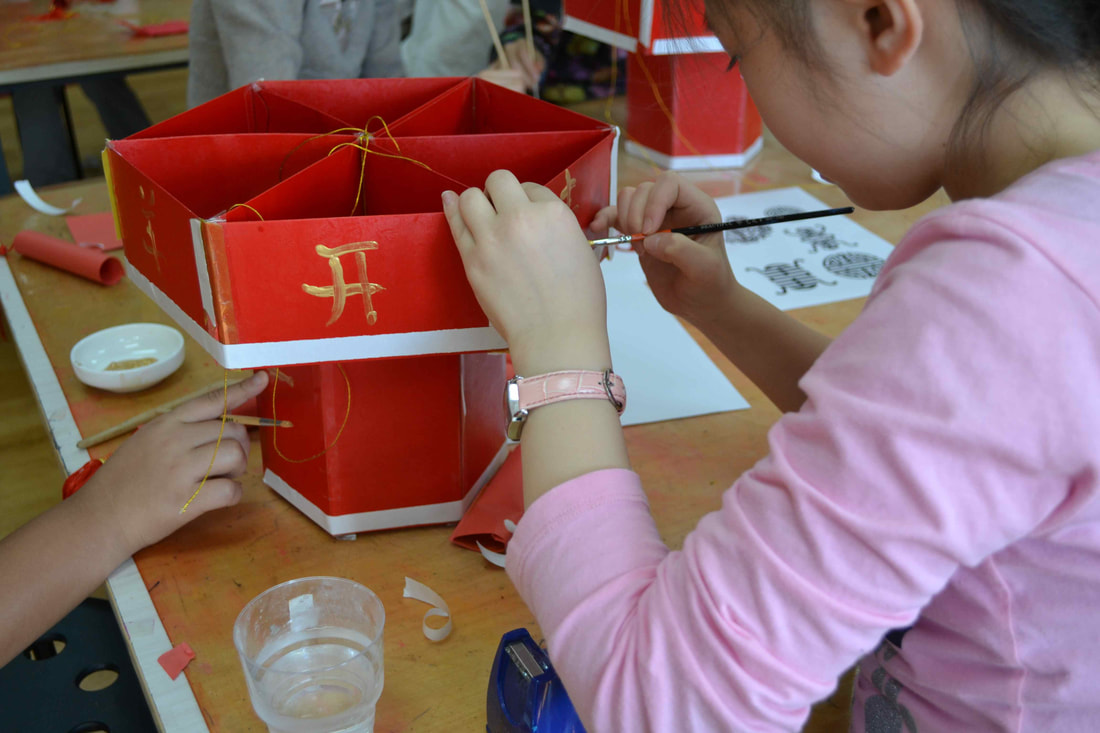
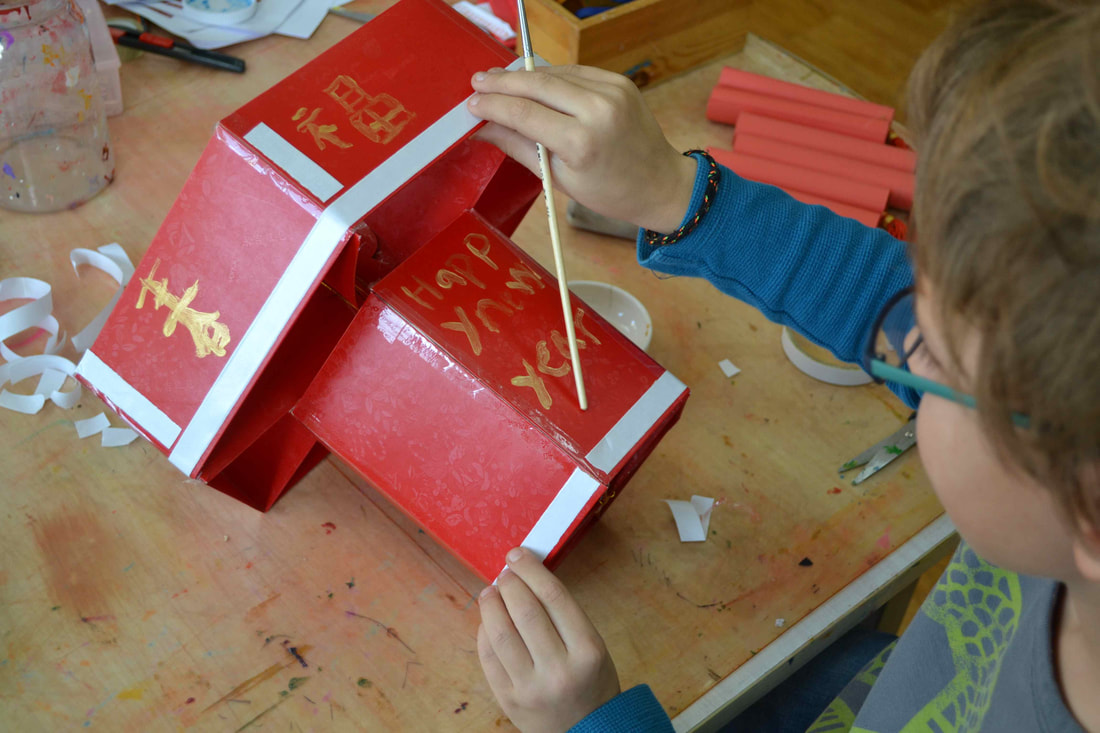
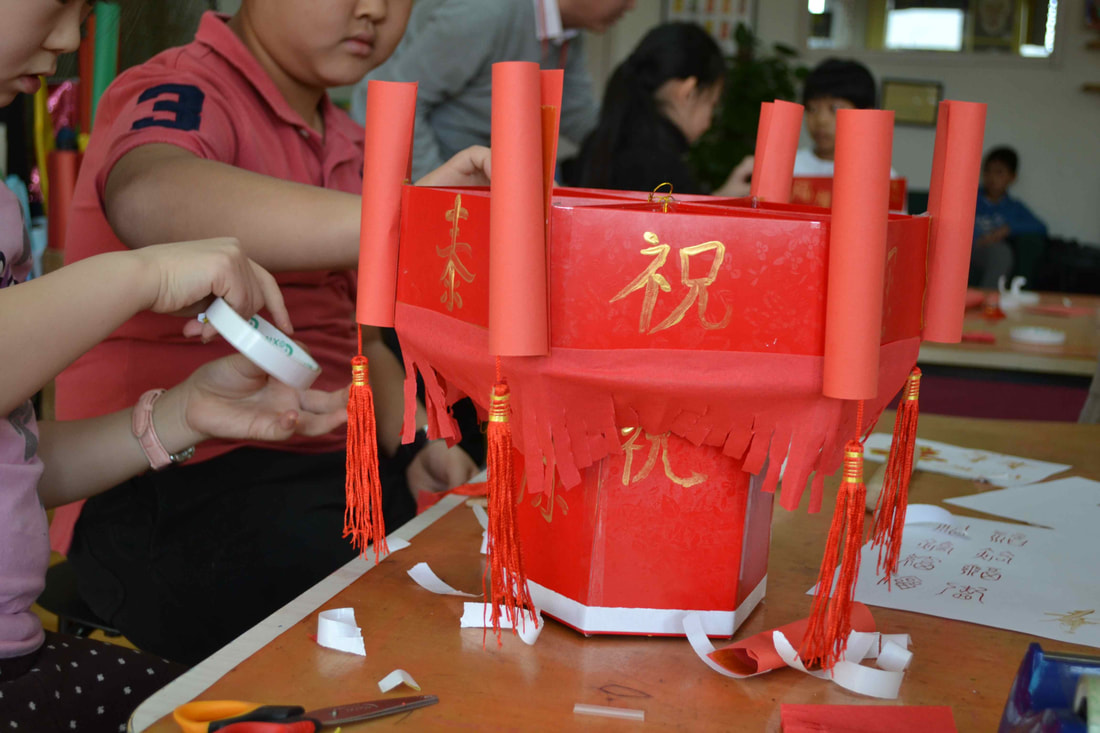
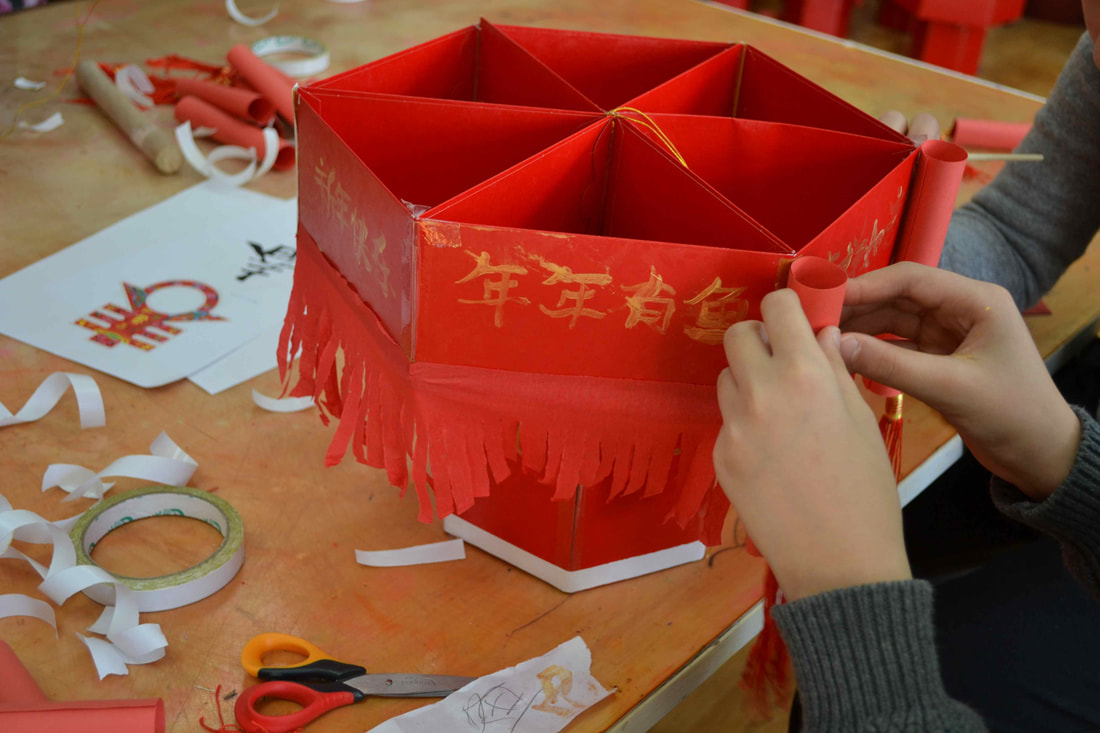
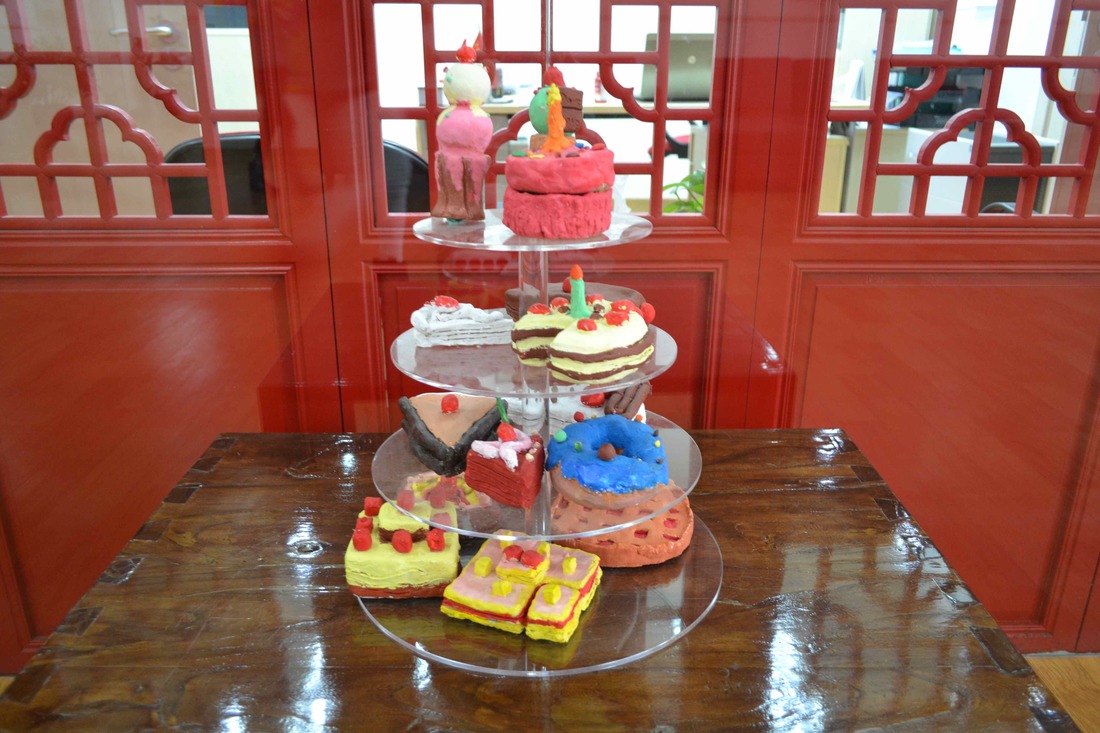
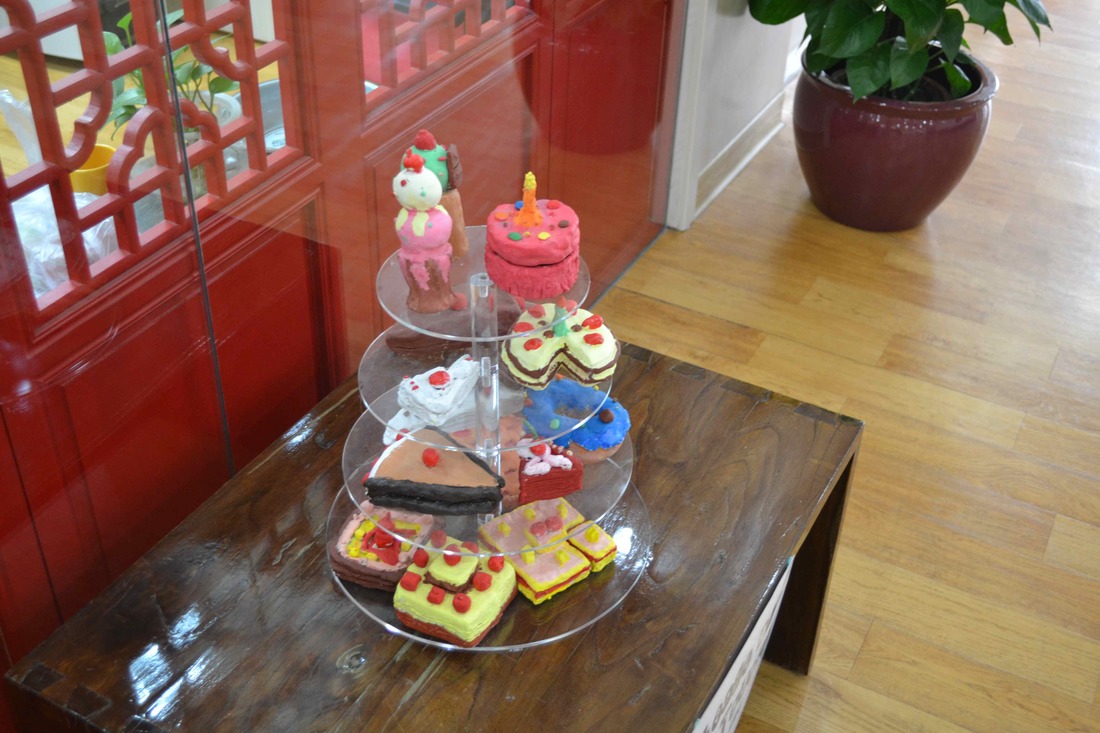
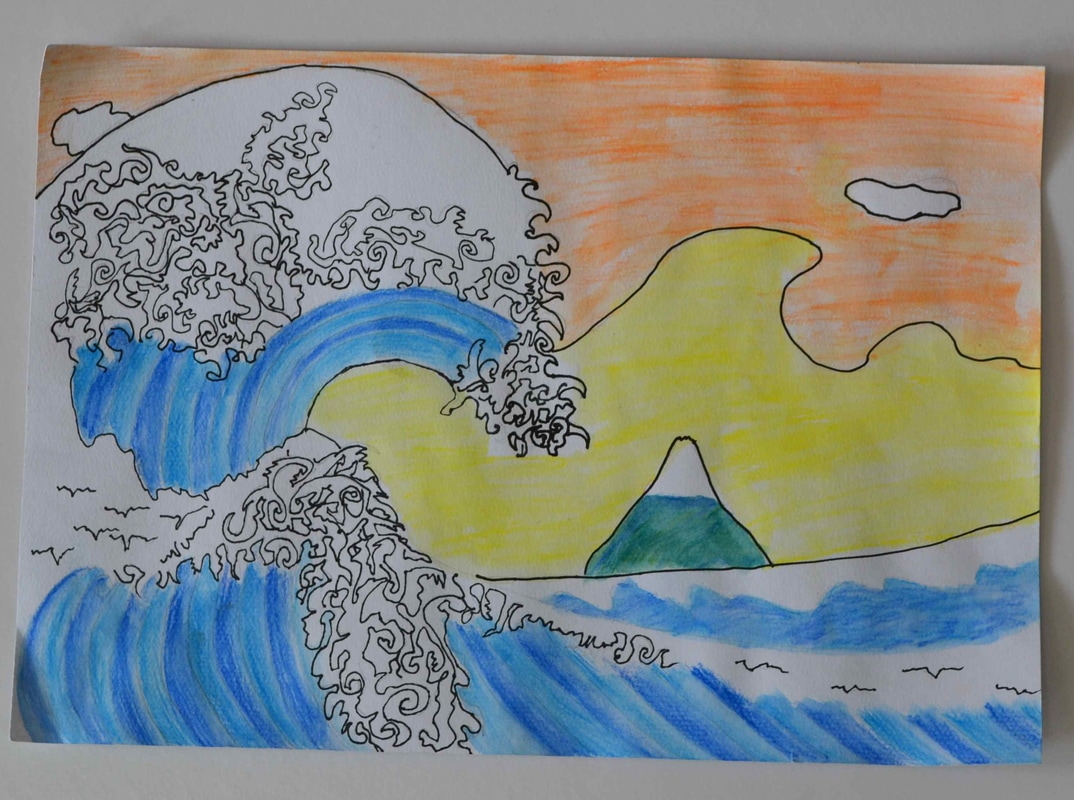
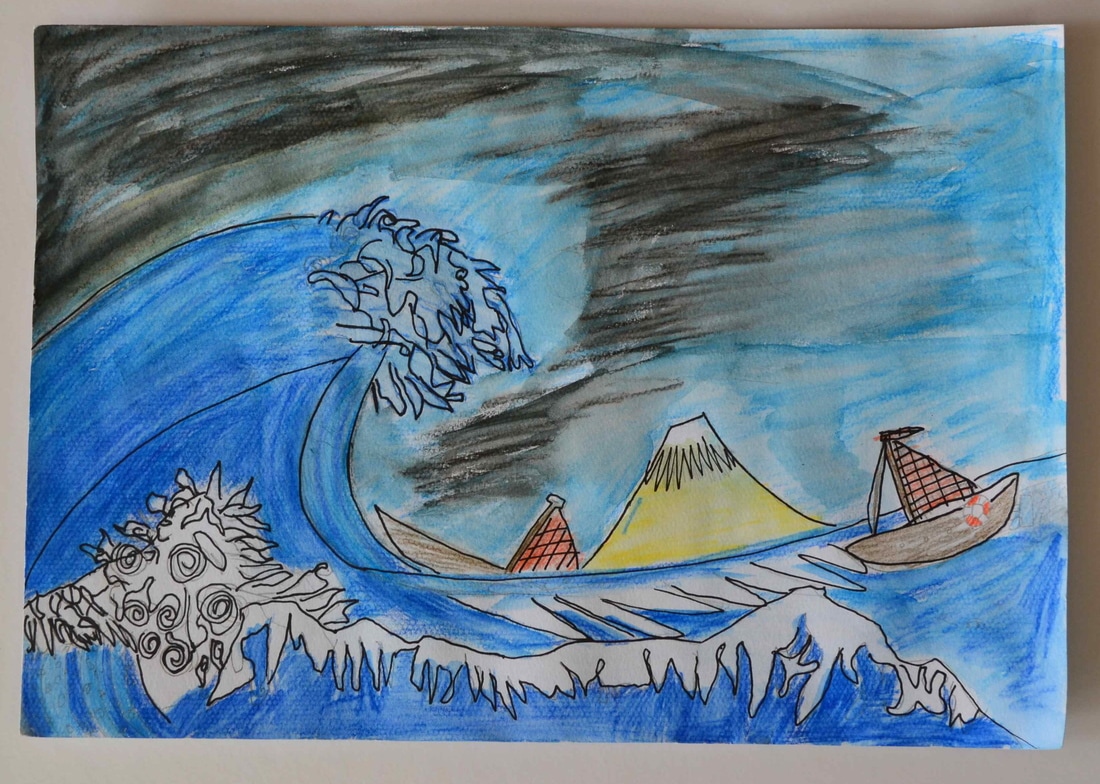
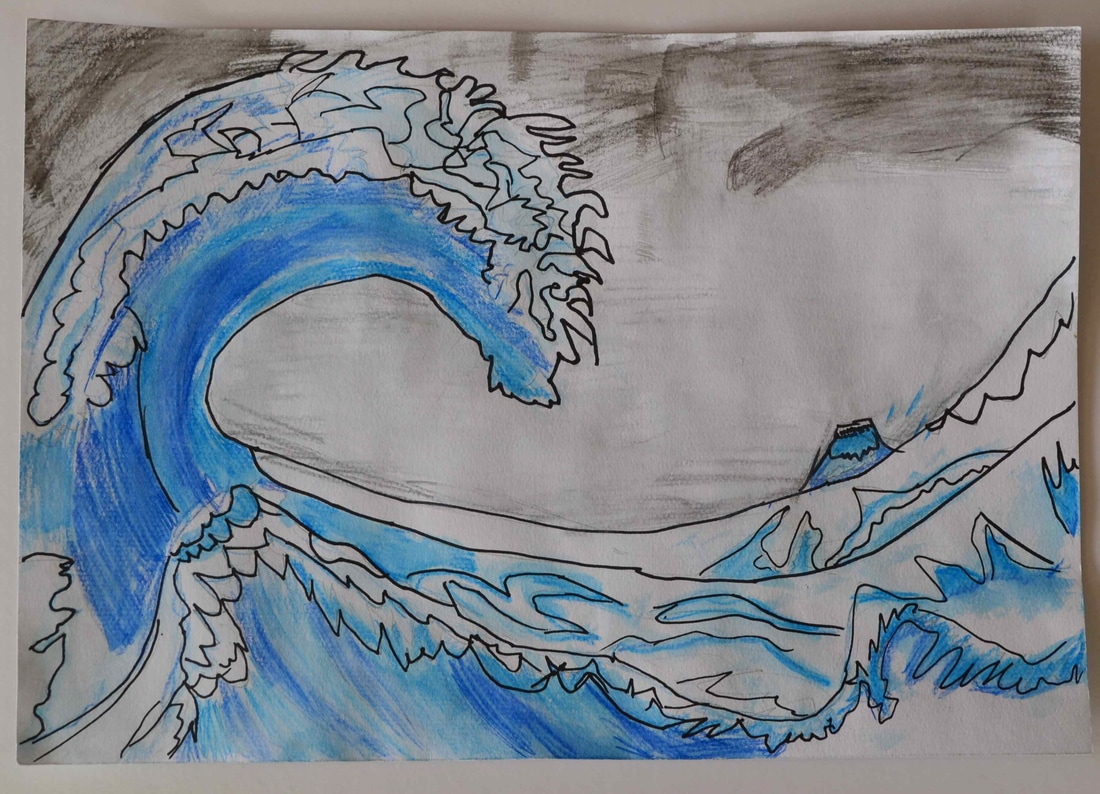
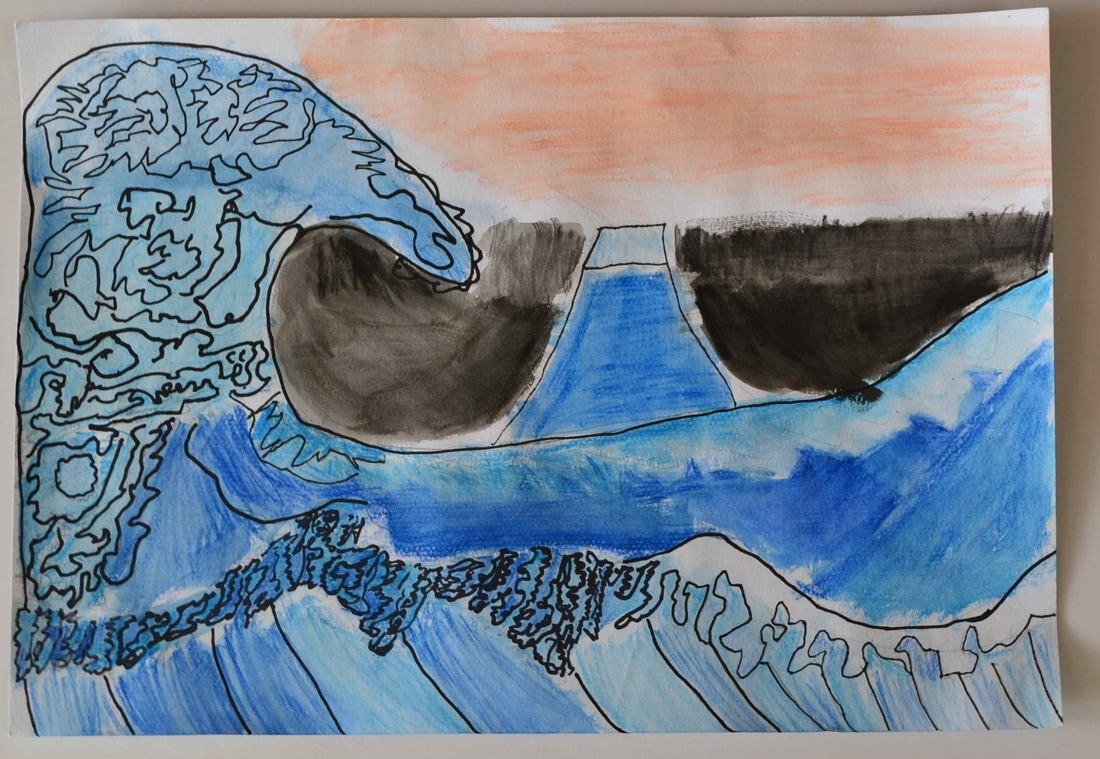
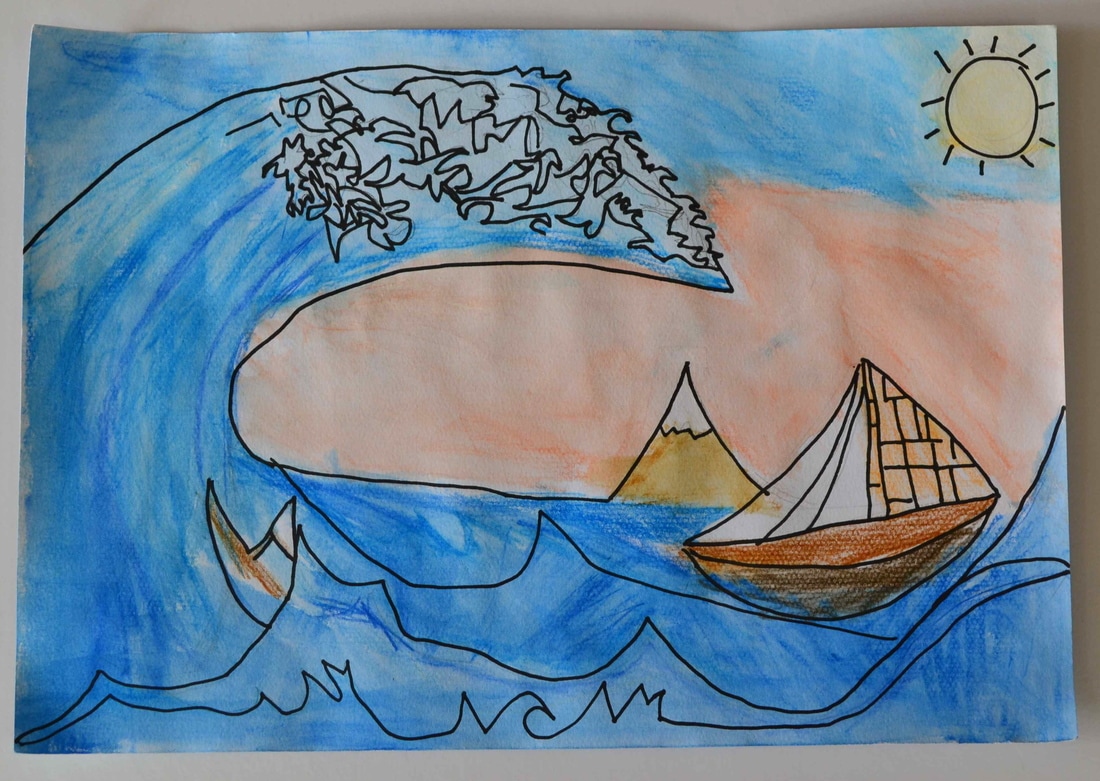
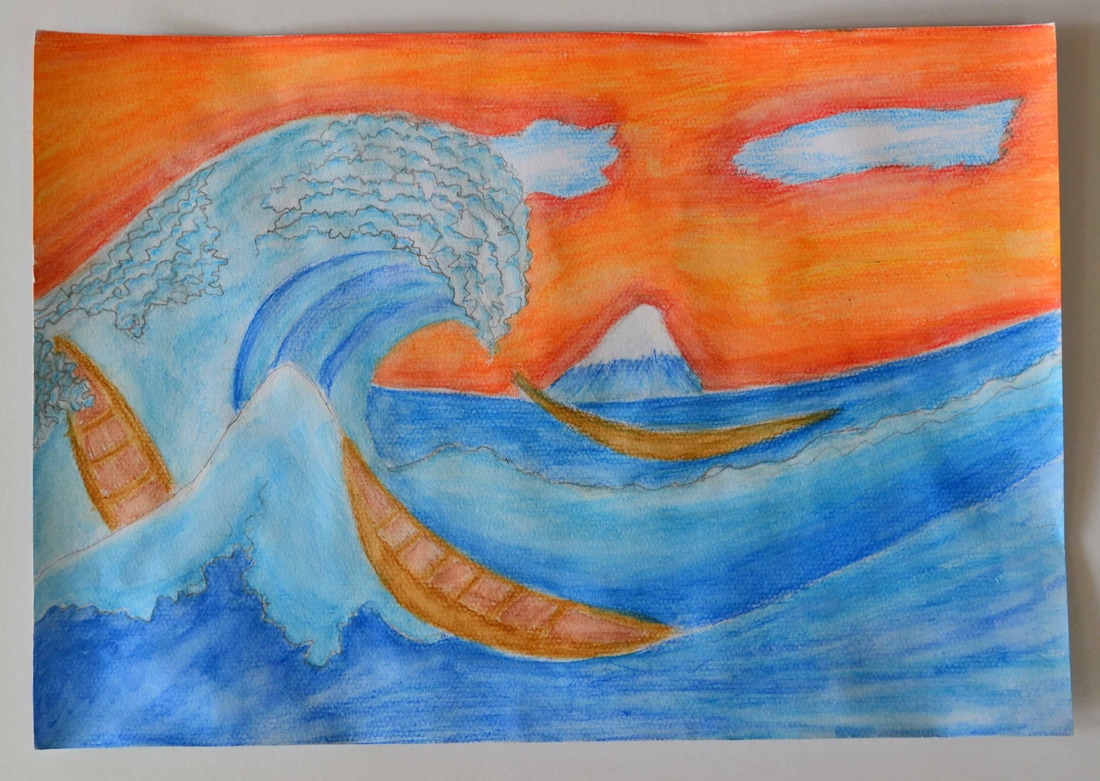
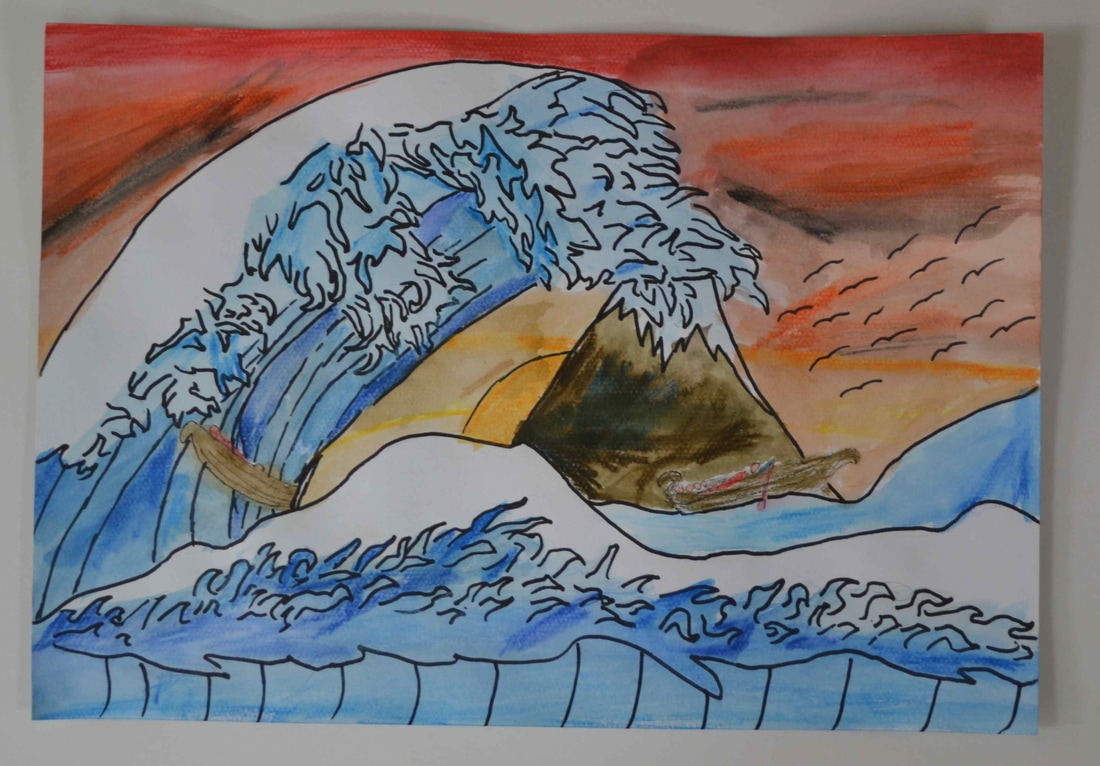
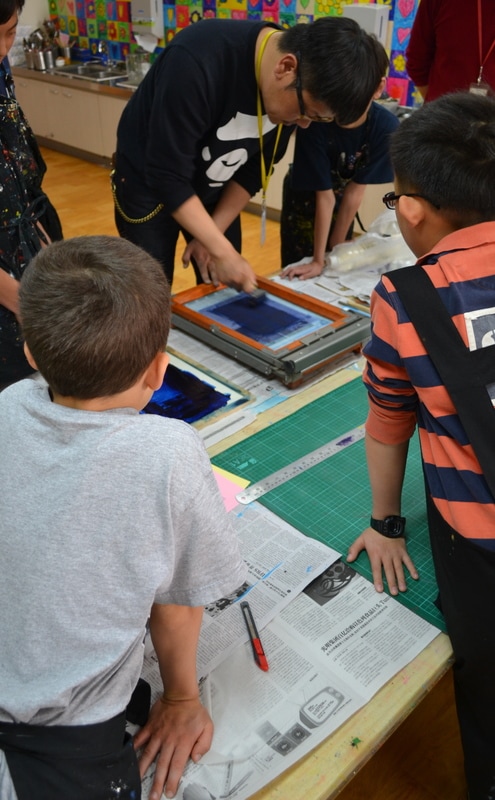
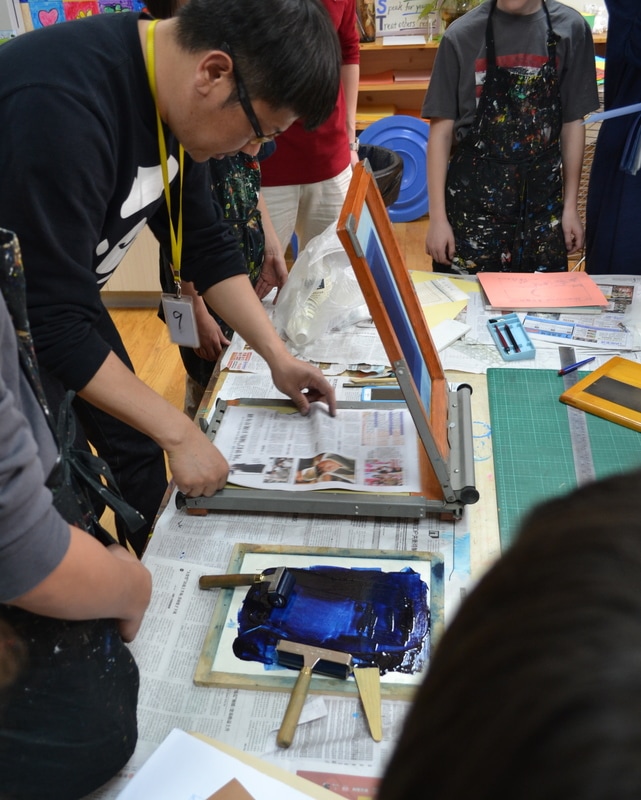
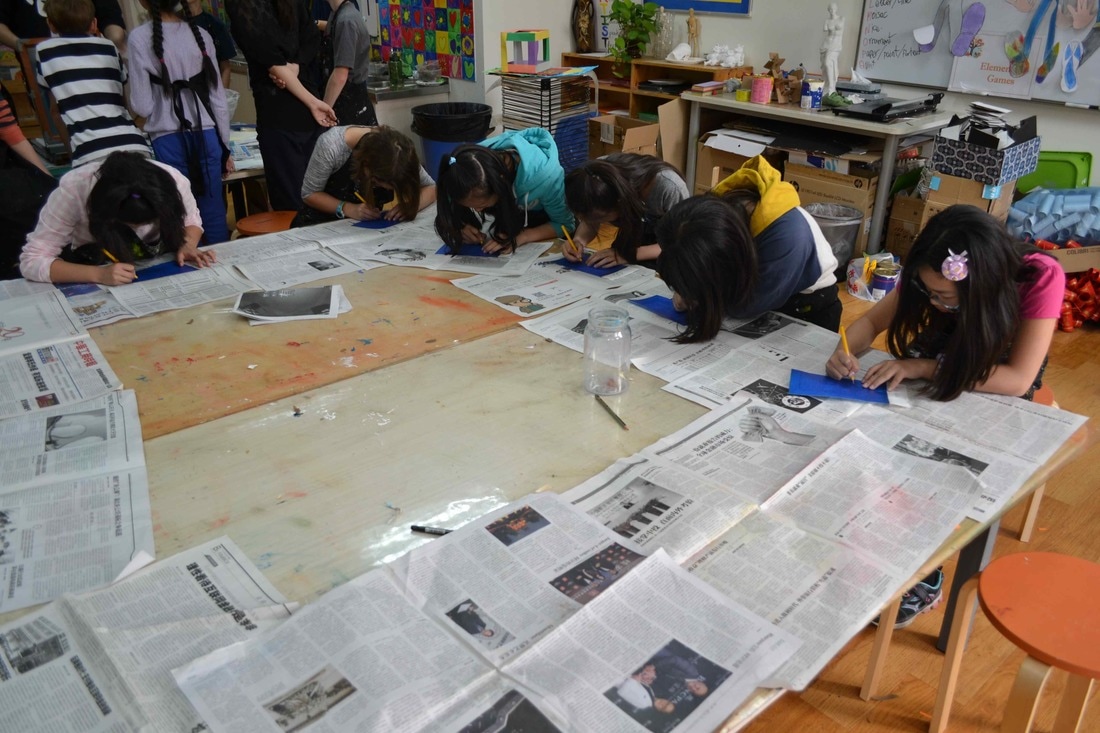
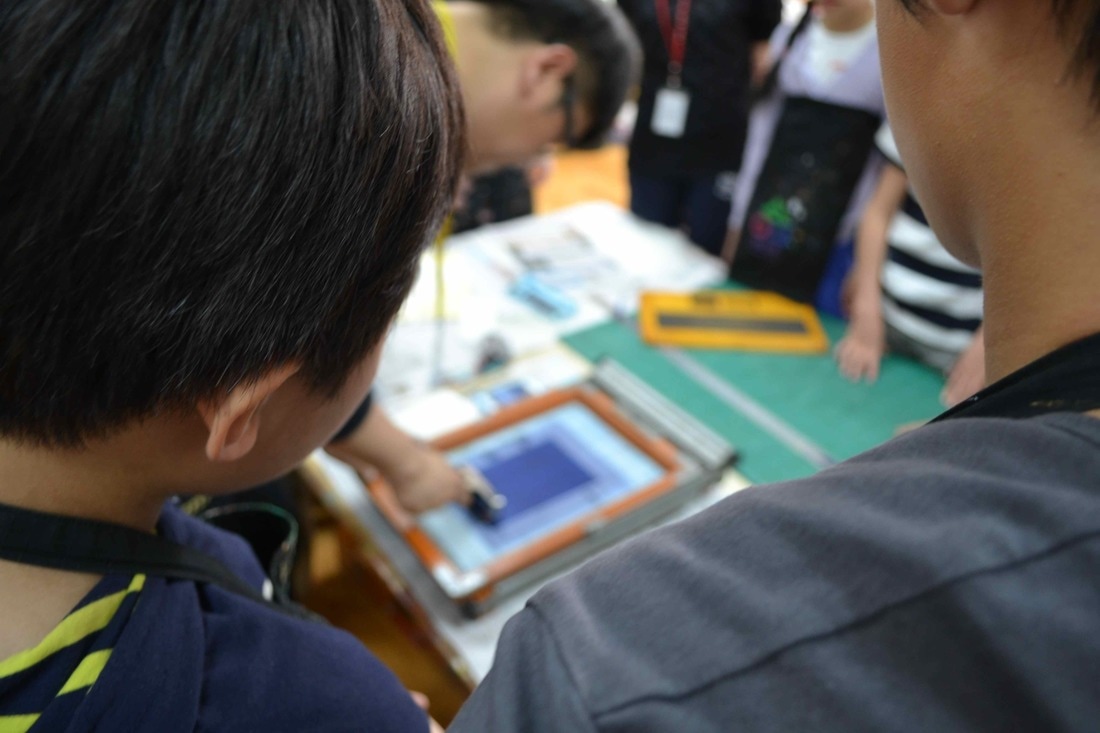
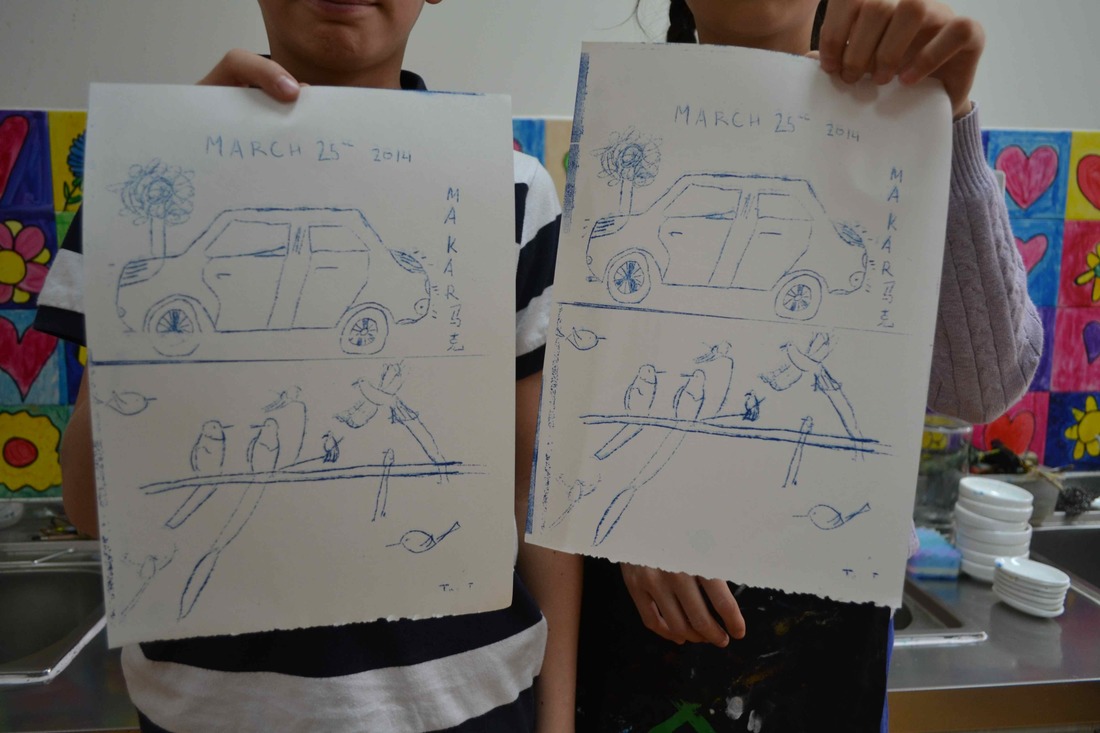
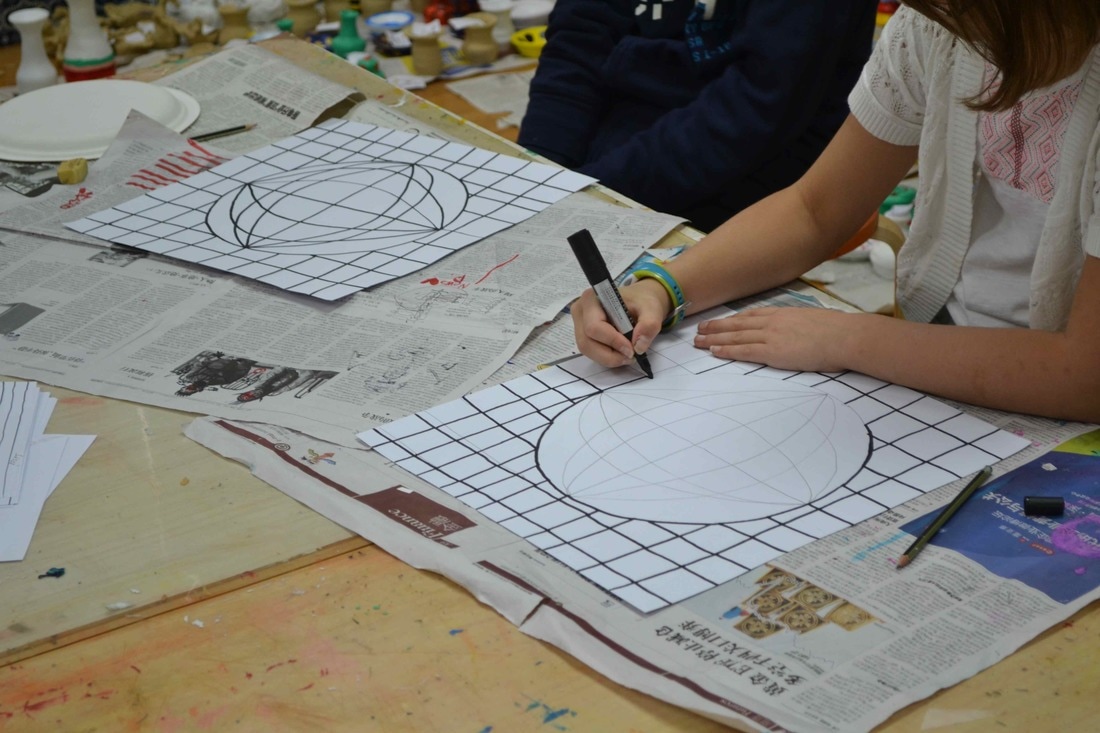
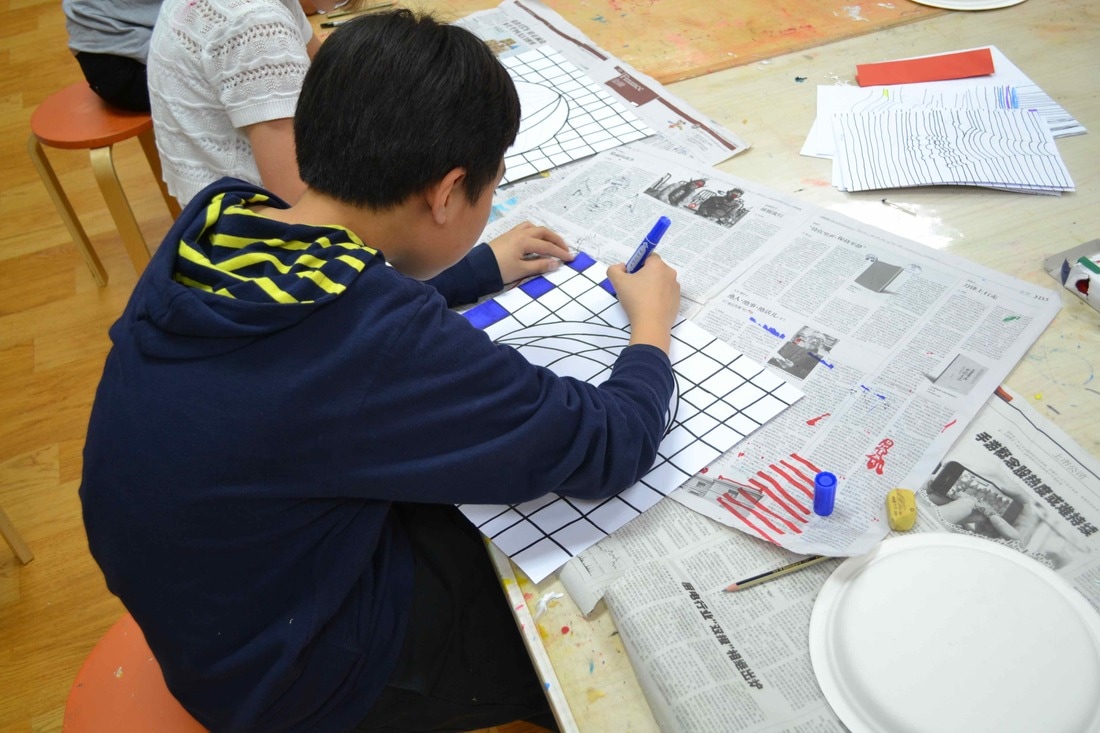
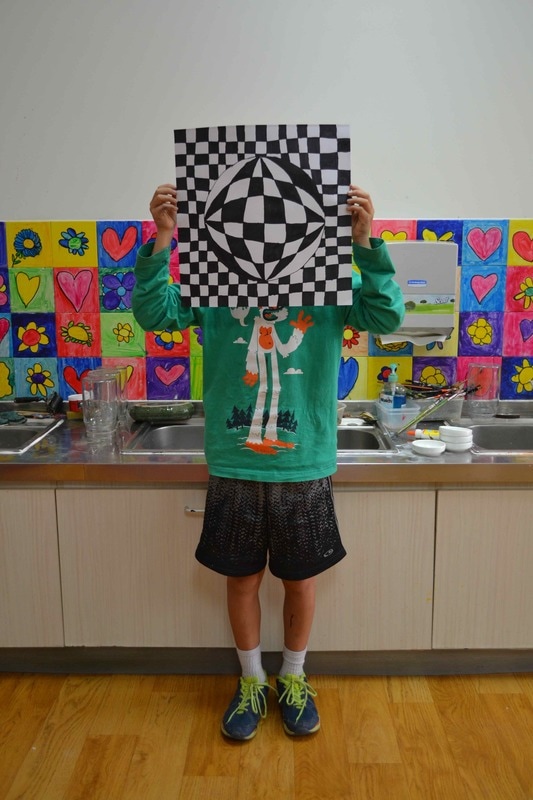
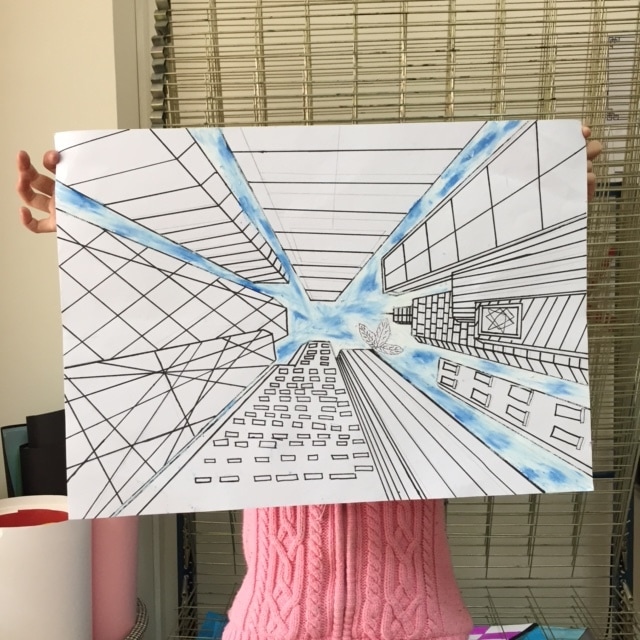
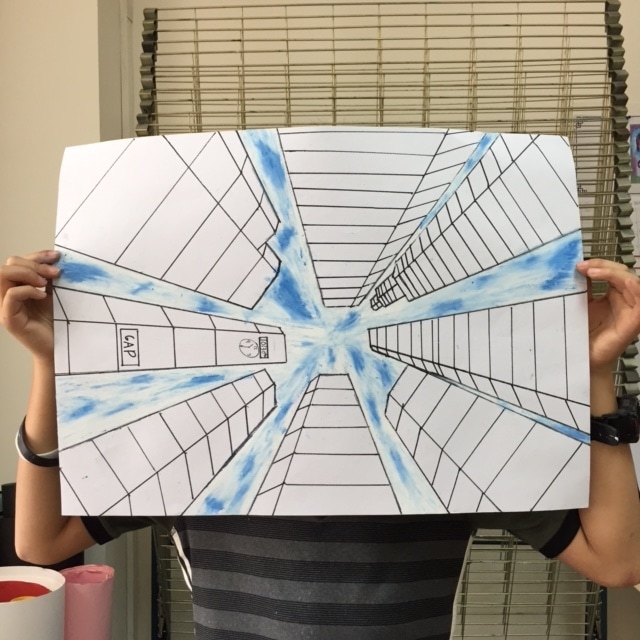
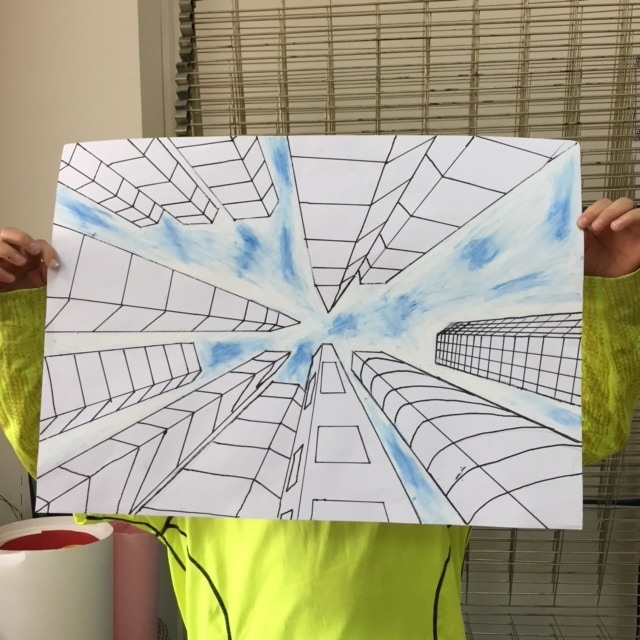
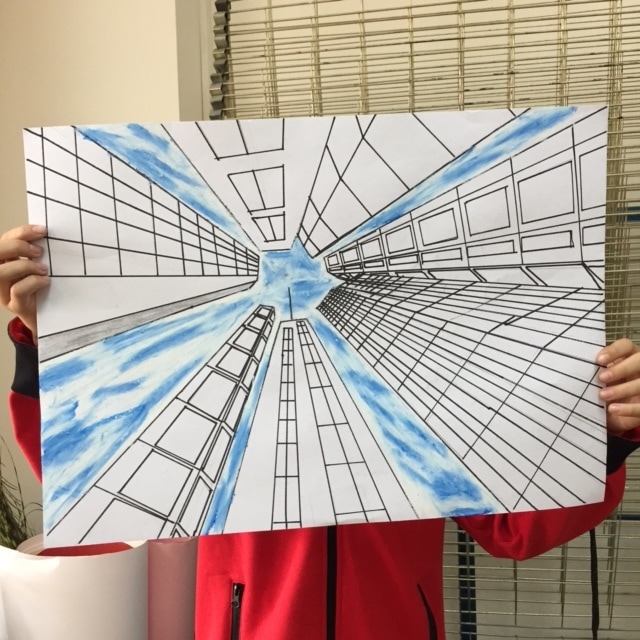
Isabella and Oil. Isabella is a 5th grader that absolutely loves art and loves to try new things and get challenged. Here one of her latest masterpieces. What she doesn't like the most? to wash up brushes after lessons (especially the oily ones). 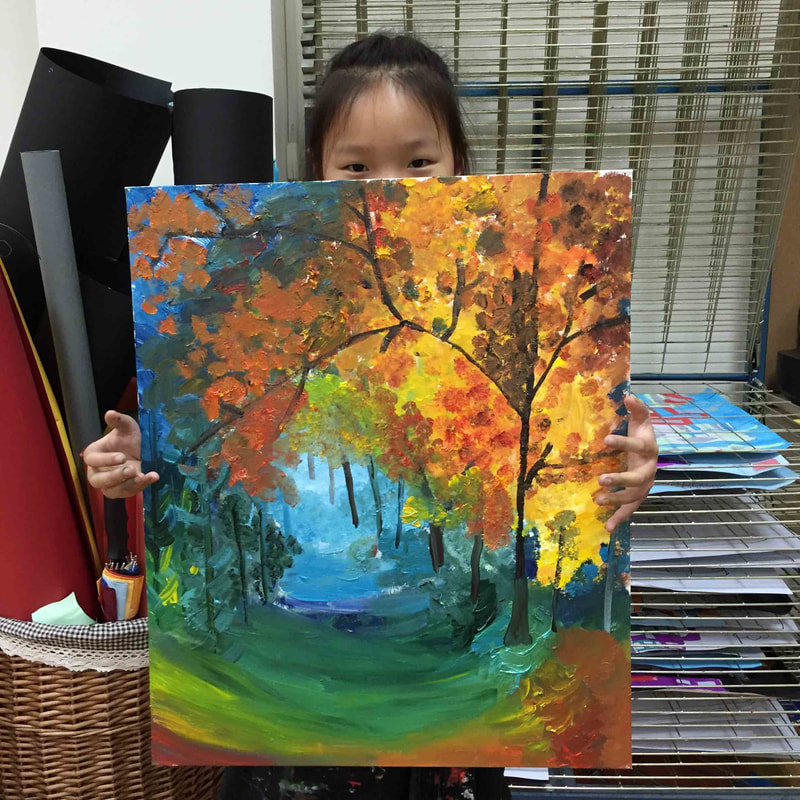 To make this sculpture we just need, one metal hanger, one pair (in this case just one leg of the pair) of tights, a small wood block for the base and acrylic paint. Final result is always really cool. We were fortunate to attend an incredibly impressive exhibition in Beijing, titled "Botero in China." It was truly fascinating to witness Botero's artistic world come to life. Prior to our visit to the museum, we engaged in discussions about Botero himself, his artwork, and his life, which had the children eagerly anticipating the entire experience. Paper Mache never fails. One of the messiest media we do but hey it worth it. I would've loved to show you the process of how we got to this amazing hot air balloons but I had literally no hands to take any pic. We basically blew up a balloon, stick the newspaper stripes covered with the paper mache paste (Chris owns a secret recipe that works sooo good, it's a bit smelly but good enough to handle it). Then wait for few days/week and then the best part of the project... pop the balloon. Once you got a hard balloon shape just need to paint it and go! Grades 5 and 6 came up with the idea of making a group mandala. After watching some inspiring videos of Tibetan monks making mandalas and listening to some Tibetan healing sounds we were so ready to start our own. First problem was how to make so many perfect concentric circles on the canvas, after some discussion they came up with this amazing idea, problem solved. Then there was Ava, she was the main designer of the mandala. They were working in groups of 4-5 at the same time. The mandala was auctioned and money raised went to charity. Chinese New Year always happening around February. So if we want to have it ready by then we have to get to work on its project right after Christmas time. Last year we made this amazing Lanterns. The final result was stunning. We got around 30 lanterns so you can get an idea how was the main lobby of the school. Here you got some pictures, materials and instructions. Recently we have been talking with our 5th & 6th graders about Still Life, Wayne Thiebaud and his delicious work; He is well known for painting different types of cakes, ice-creams, pastries, etc… His work inspired us to create these yummy clay desserts. Great Hokusai. It was a beautiful project where we have learnt about the artist himself, new techniques, new vocabulary, Japan, etc... Children were amazed of how amazing their own work looked like. We were so lucky to receive the visit of a mimeograph artist. For those who doesn´t know what is mimeograph, it is a printing art. We first got to listen to the very interesting history of the art of mimeograph. Then we had a live demonstration, it was pretty impressive! After we made our very own designs and after that we passed directly to the action. Our oldest grades learned about Optical Art and its biggest artists. It was really fun to discuss about M.C. Escher´s work. We also talked about the great Victor Vasarely and discussed about his work. I was lucky enough to see one Escher´s exhibition live in Madrid and it was a truly experience. One of the most expected weeks of the year! All the grades have the chance to experience to work with clay in a clay wheel. Depending on the grade, the difficulty level is higher or lower. All the students from reception until Grade 6 get to work with the wheel. Our fifth and sixth graders learned in depth about the the great Salvador Dalí. We saw his artwork, read about him, watch some videos of himself at work, interviews, etc... They absolutely loved him. It is great to somehow see the artist in action, to give him a face and especially Dalí... Our Upper Elementary children made this beautiful mural with artists El Tono. The process was very intricate, and allowed the children to work together as a team to create this striking piece of art. To start us off, Tono held a presentation in which they explained his amazing art work and the methods they used. The children were given the opportunity here to ask questions, and discuss this unique form of modern art in a group setting. It was wonderful to hear them express their insights! After a lively discussion amongst peers, they were ready rolled up their sleeves and get to work! First, a grid was drawn on the wall with wipe-away chalk. The horizontal lines were then marked with numbers, and the horizontal lines were marked with letters. Next, four jars were displayed, containing cards marked with letters, numbers, direction-indicating arrows, and colours. Each child was instructed to take one card from each jar. The drawn number and a letter gave us a coordinate; a starting point for their line. The direction card indicated what direction their line would go into from that point onwards, and the colour card indicated the colour of their line. Discovering each distinctive combination was a thrilling experience for the children. With their formula in hand, the children were able to make their personal contribution to this work of art. They used masking tape to ensure their lines were clean and straight. After they filled in their section, the children ripped the lines of masking tape off one by one. This proved to be the most enjoyable part of the activity. Seeing their individual work become a part of a greater image was exhilarating! This structured and calculated method provided the children with an endless number of random lines, created a stunning and exceptional image, full of coincidental collisions. Here we have displayed a soft copy of the broken-down data that forms each individual line, can you find yours? Check Tono´s website, there you will find all his artwork, they are really interesting! https://www.eltono.com/es/ 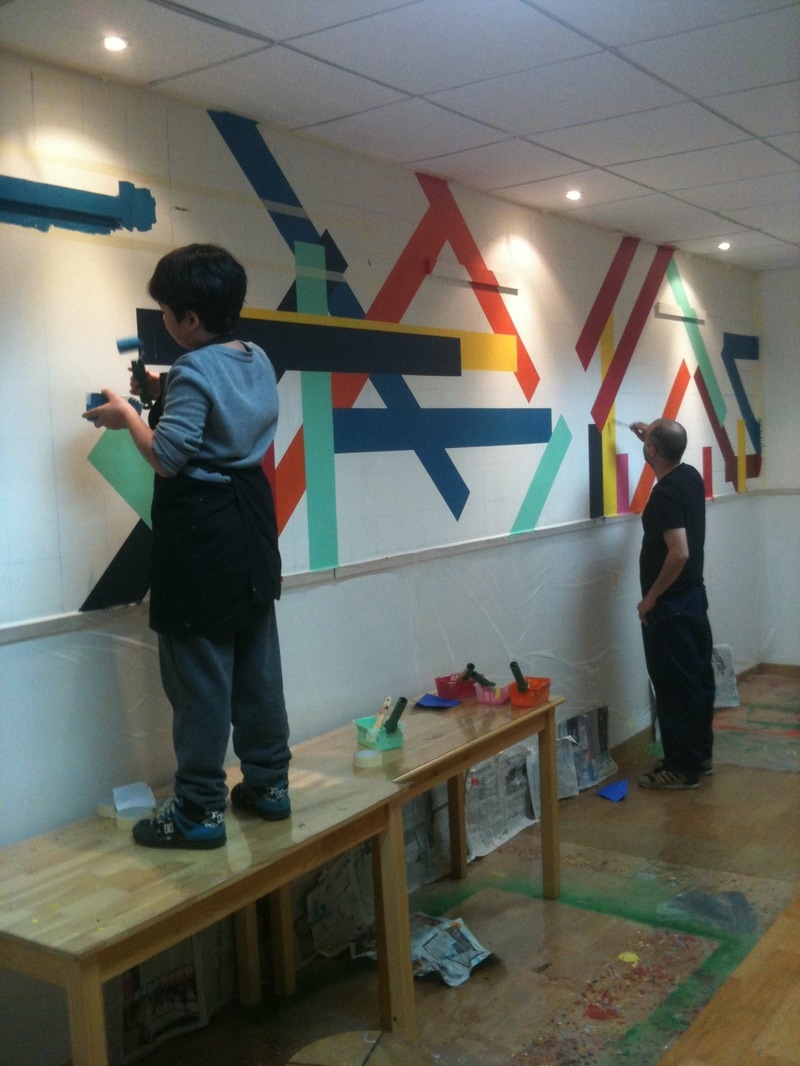 Grades 5 and 6 saw the different perspectives that you can use when you draw. We used this one point perspective to create the illusion of looking up at the buildings. Sky was done with blue and white oil crayons. |
Positive, Creative Space.
Archives
December 2023
|


 RSS Feed
