|
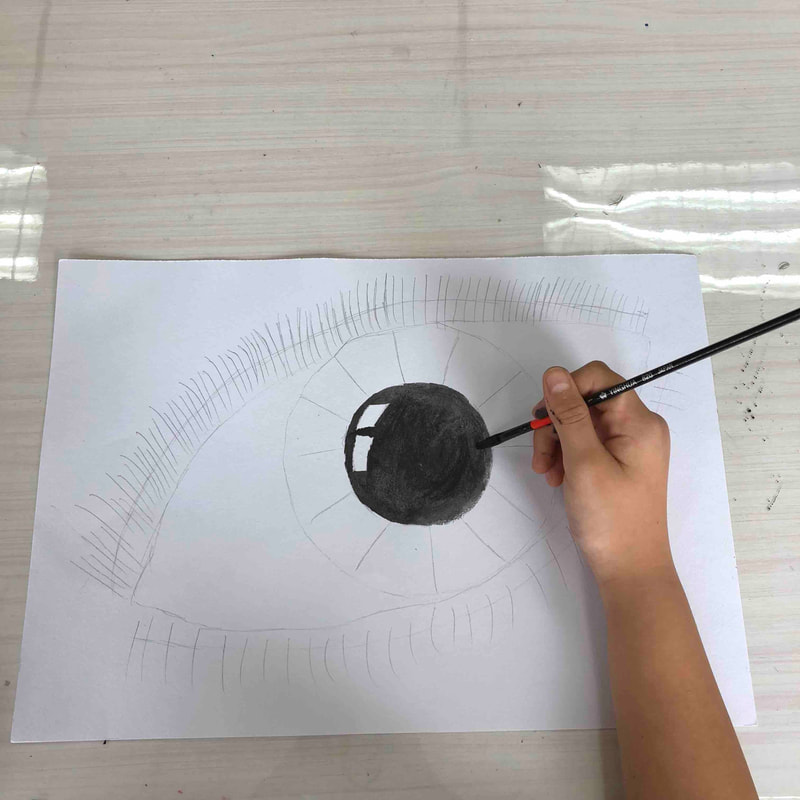
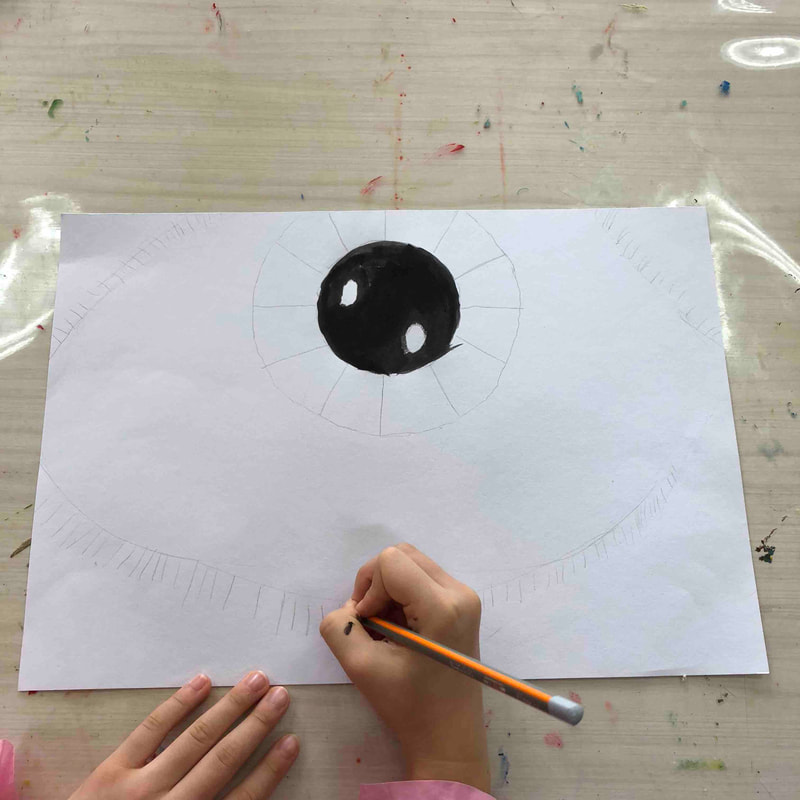
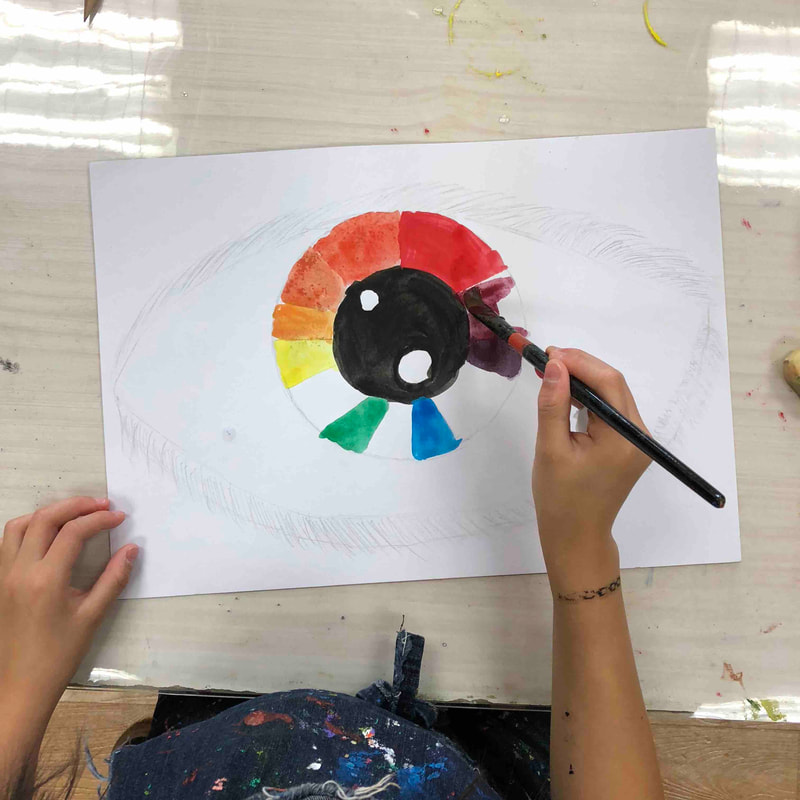
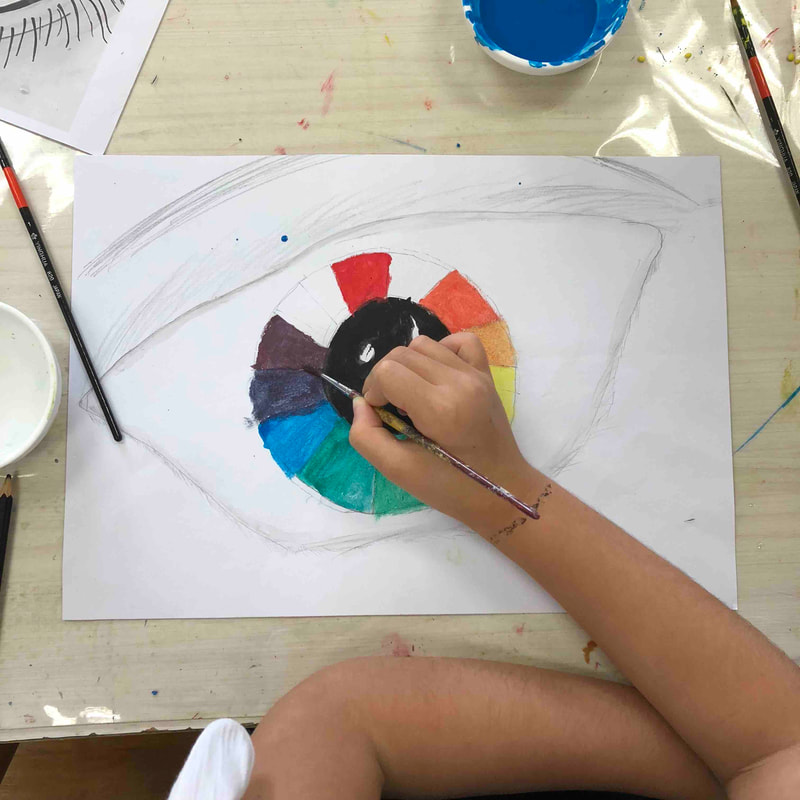
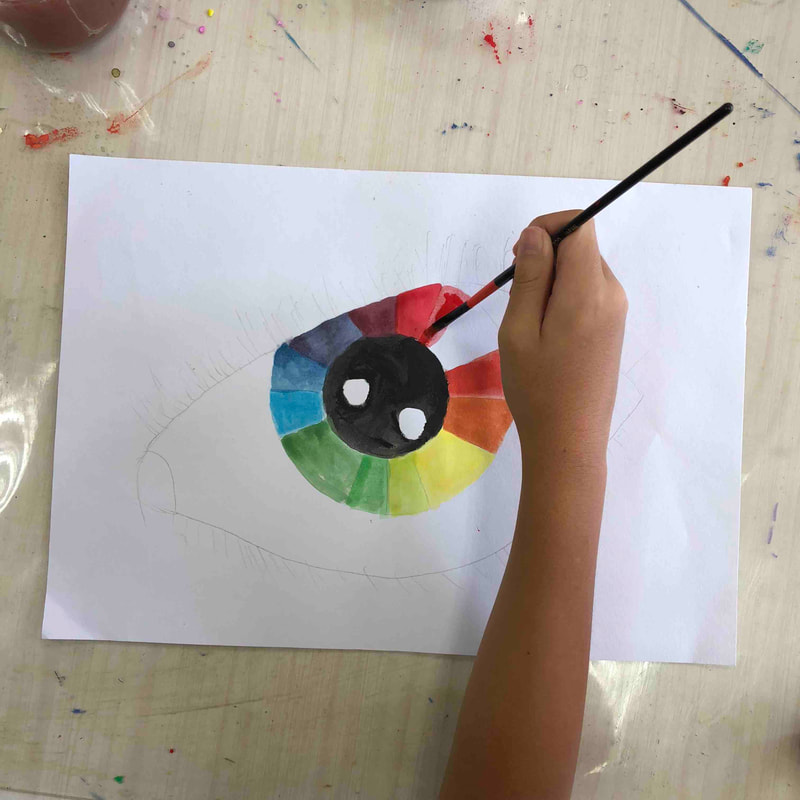
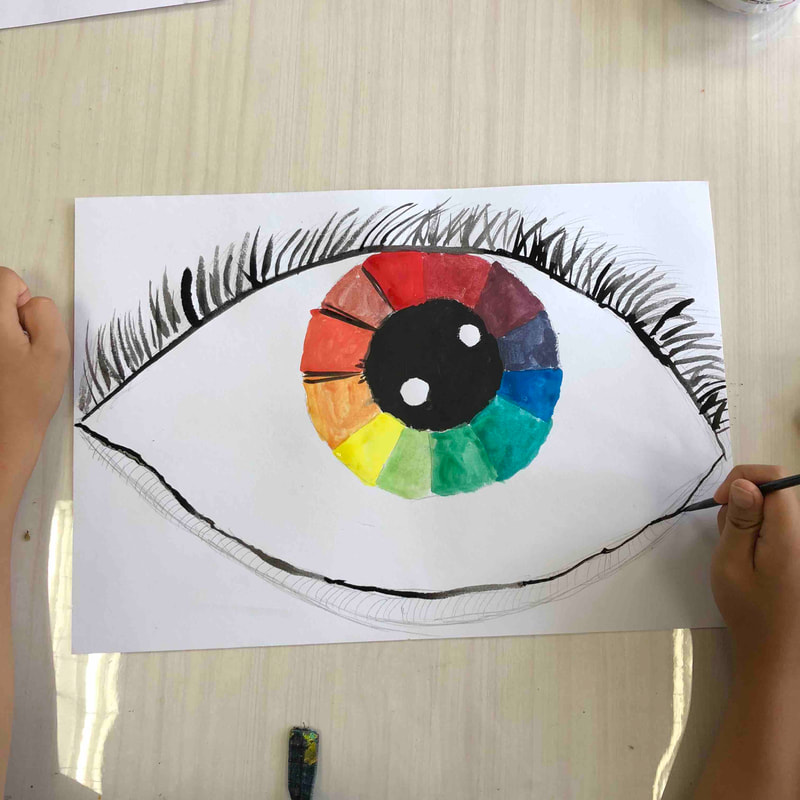
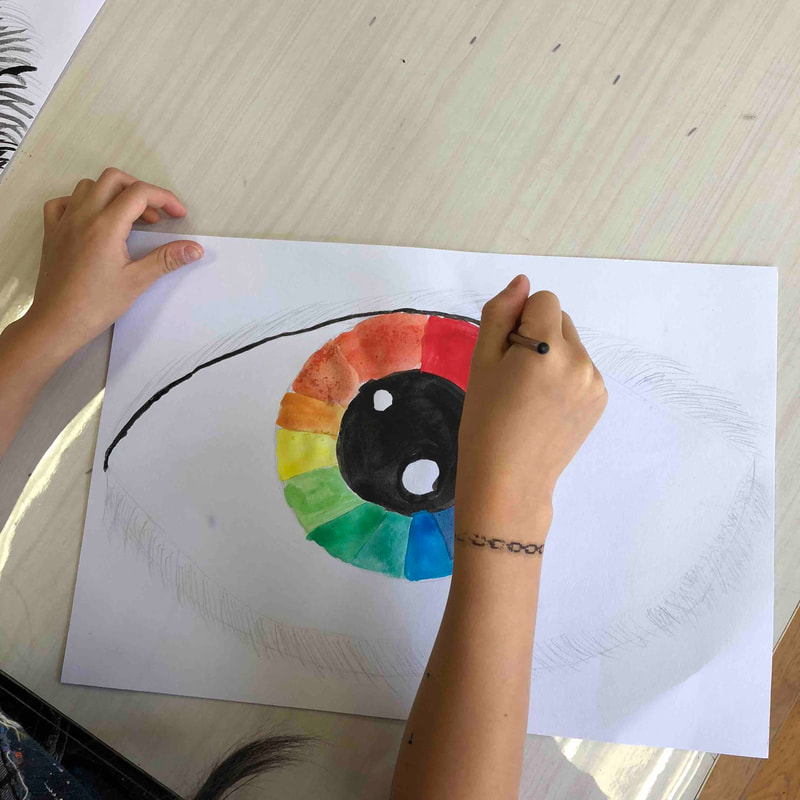
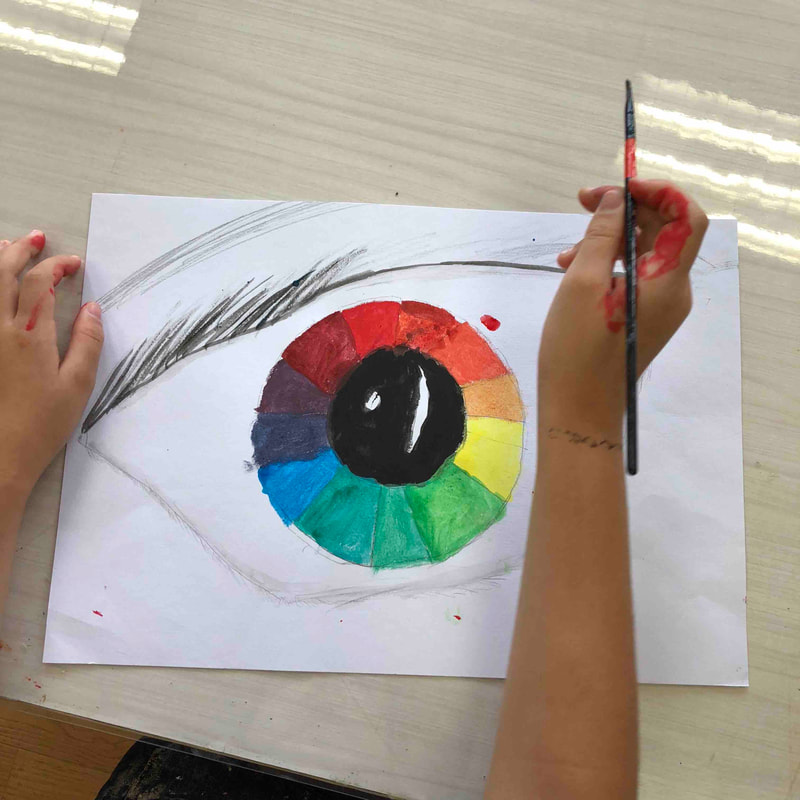
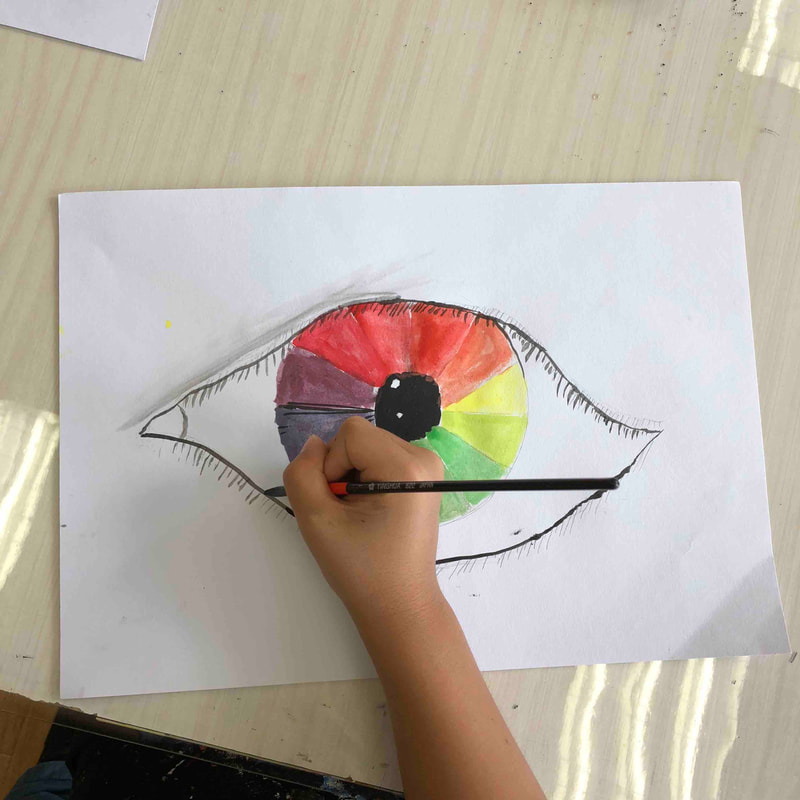
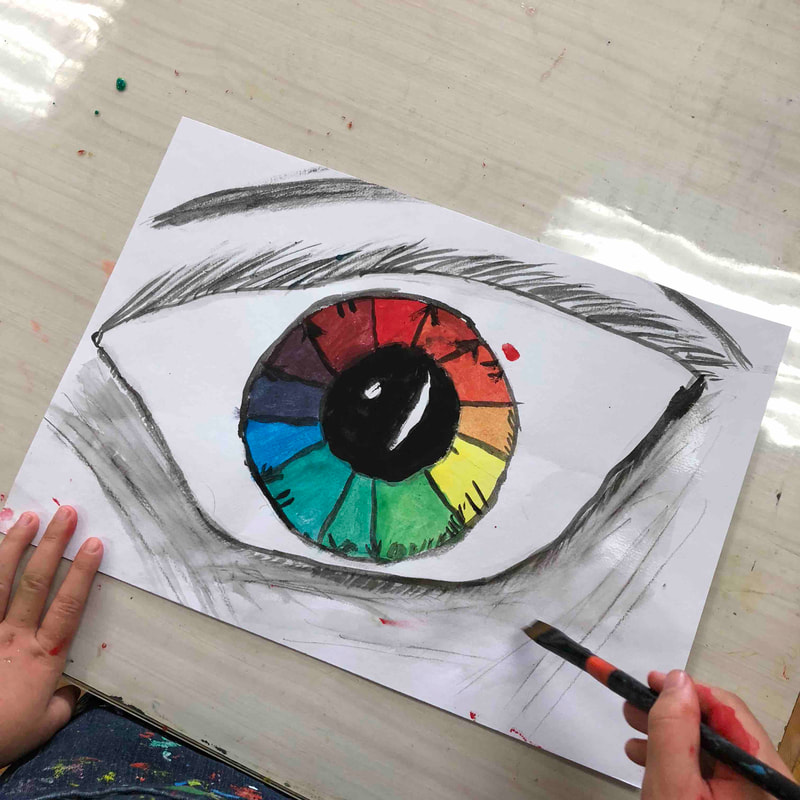
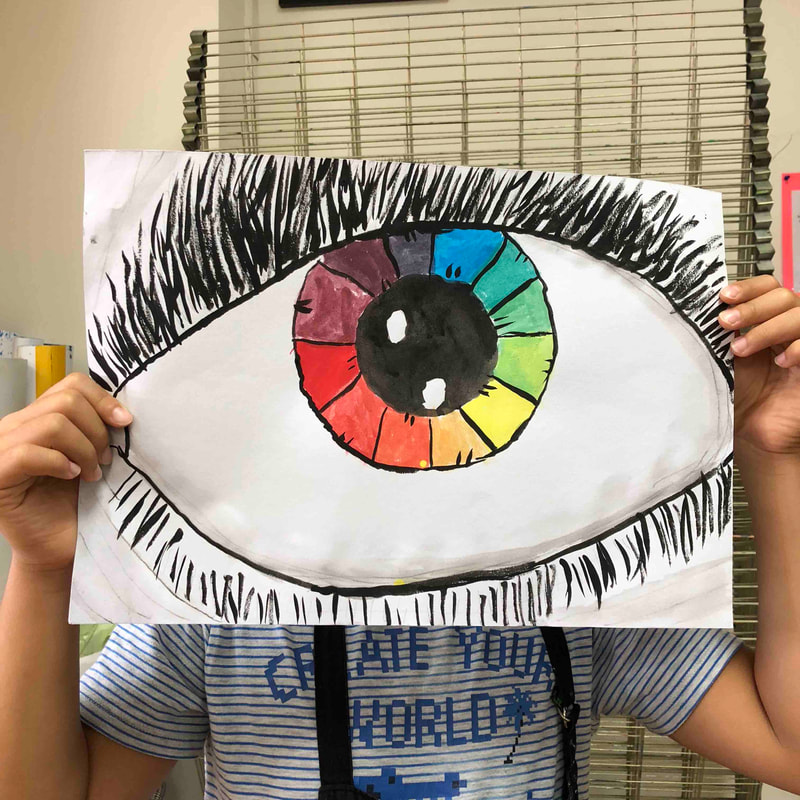
There are loads of ways of making the colour wheel fun. Depending on age / grade you can make it more or less difficult. In previous posts you can see how we made some basic primary and secondary colour wheel umbrellas. Here we take it one step further. Besides of talking about primary, secondary and tertiary colours we add the close-up of a beautiful eye.
0 Comments
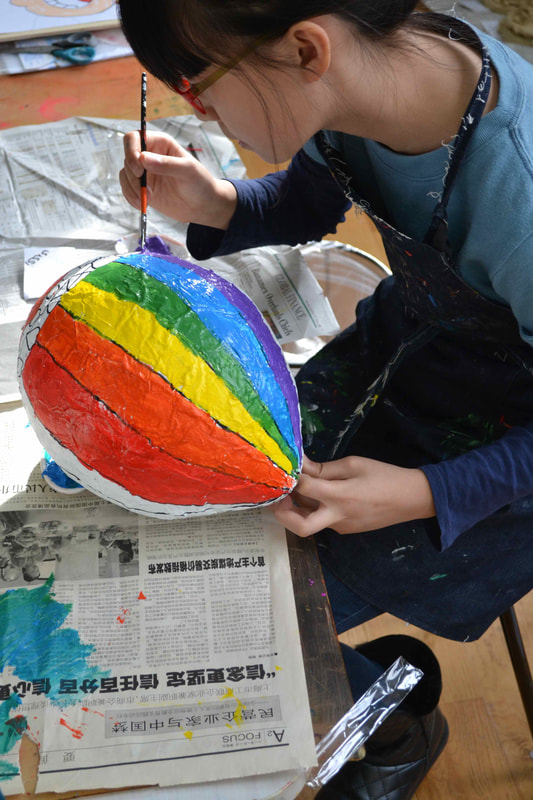
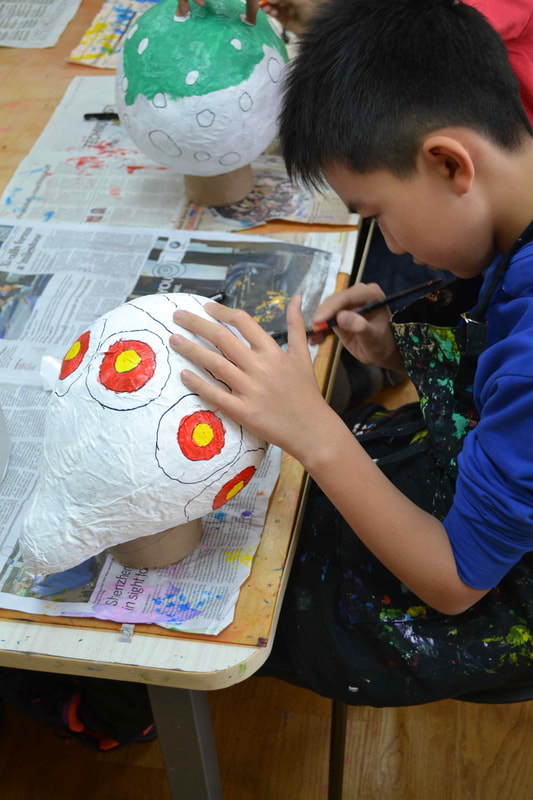
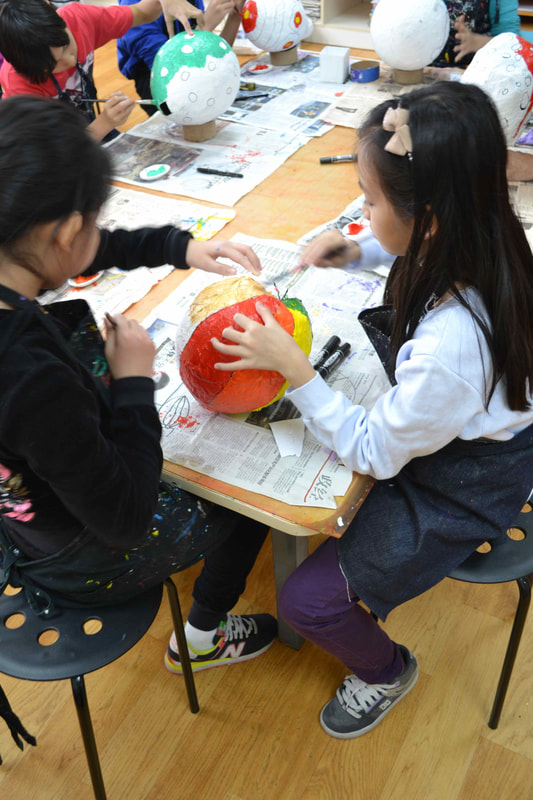
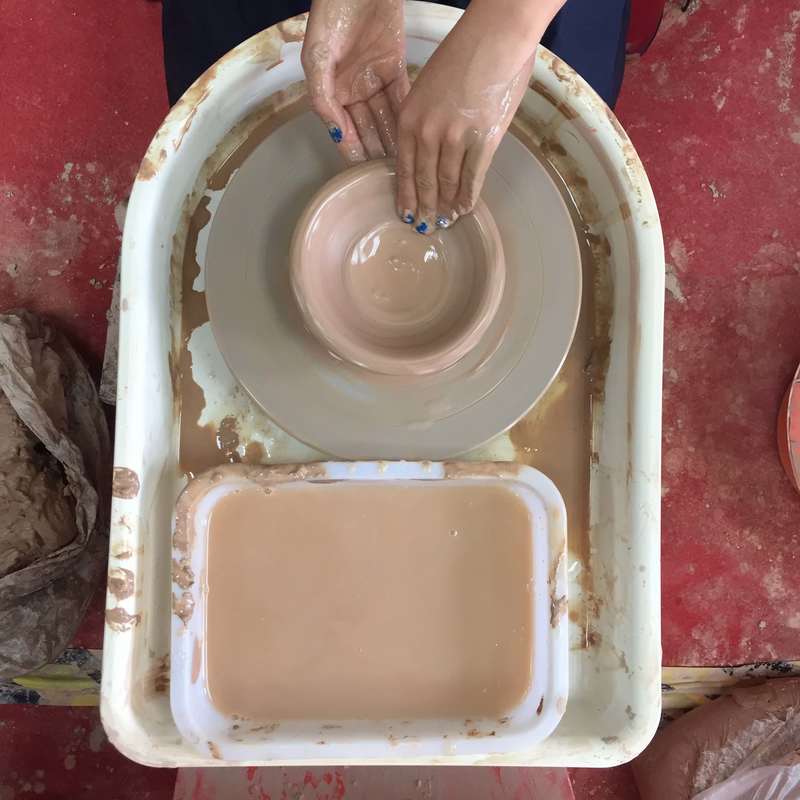
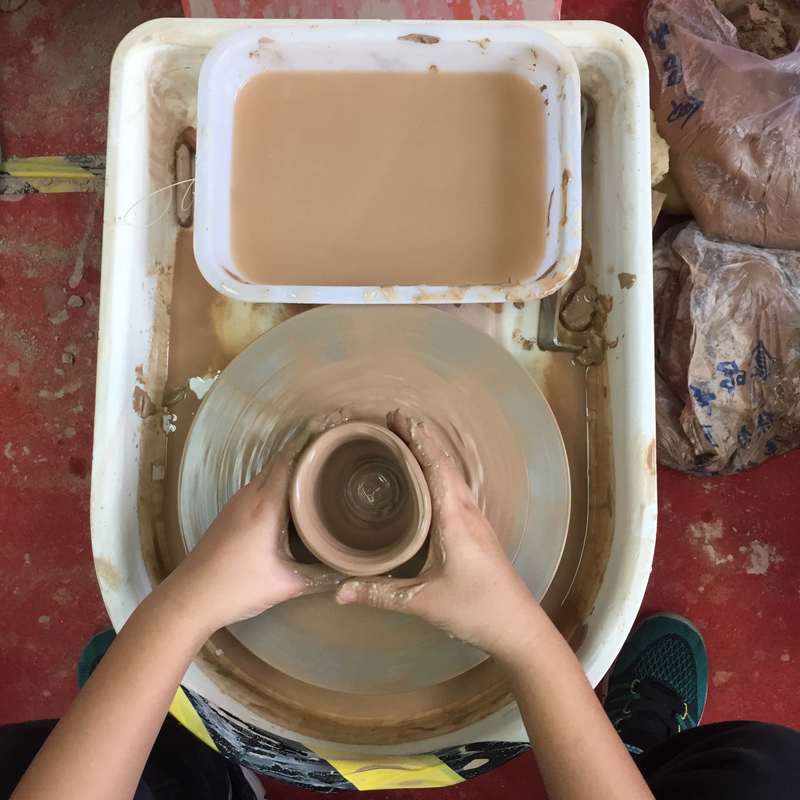
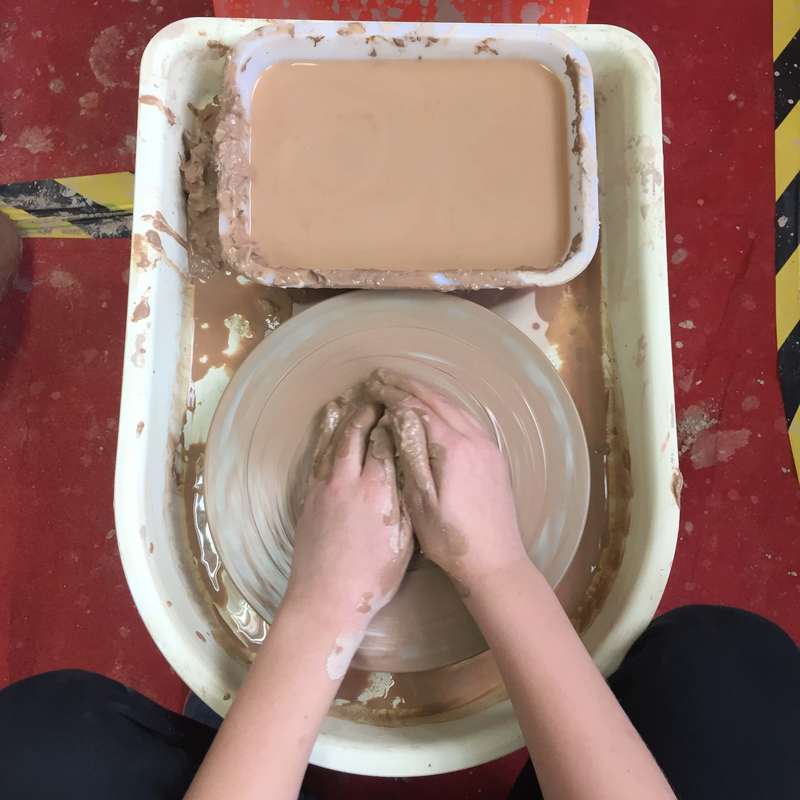
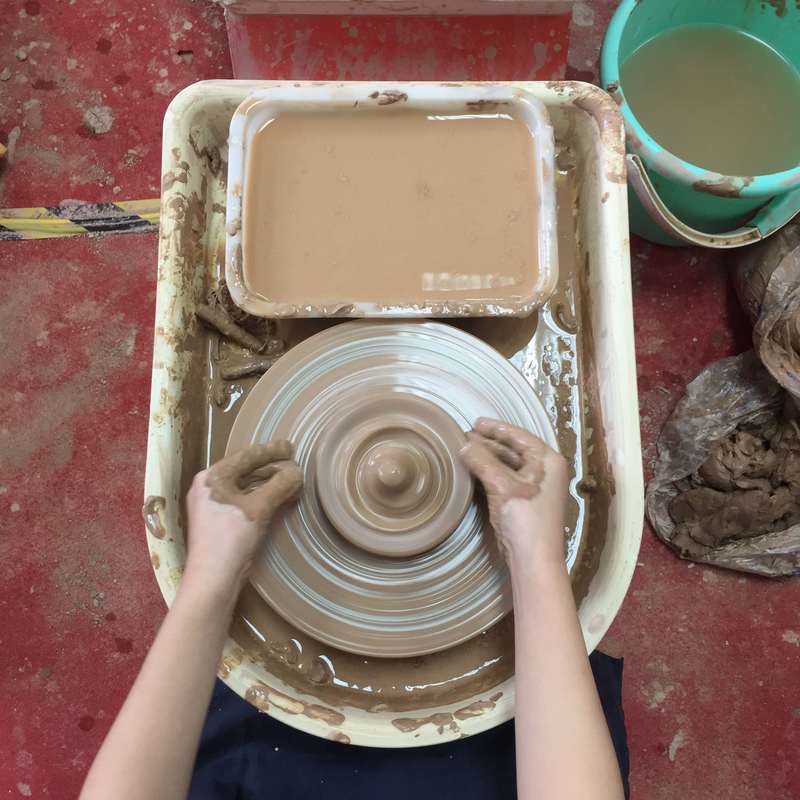
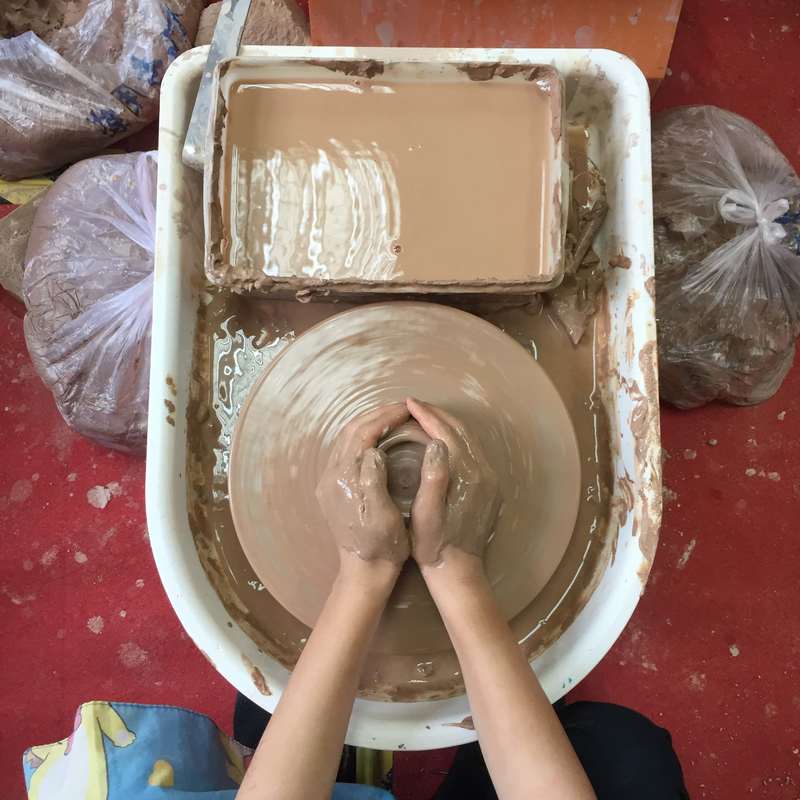
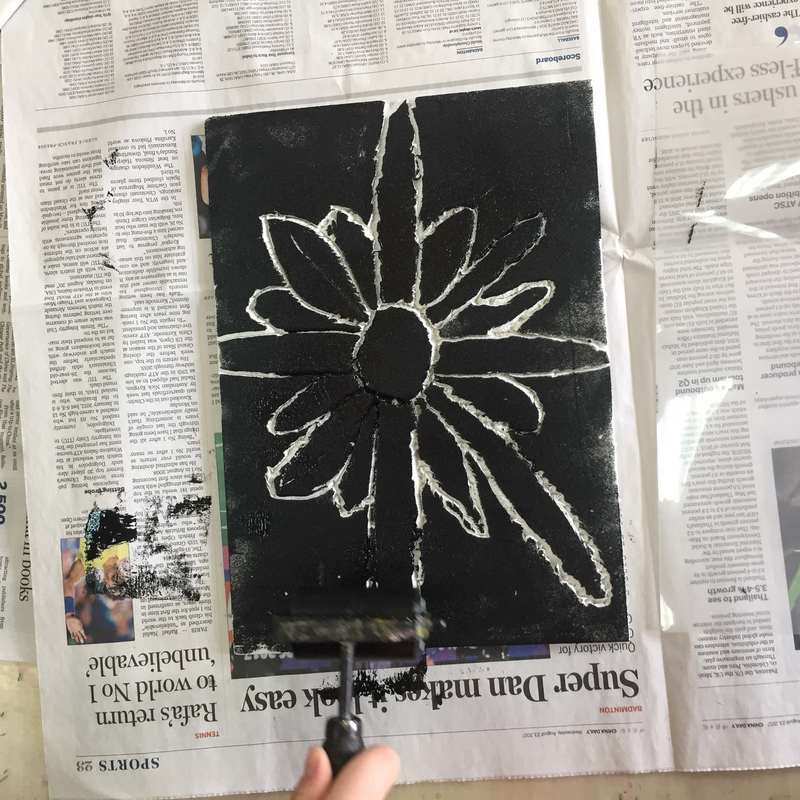
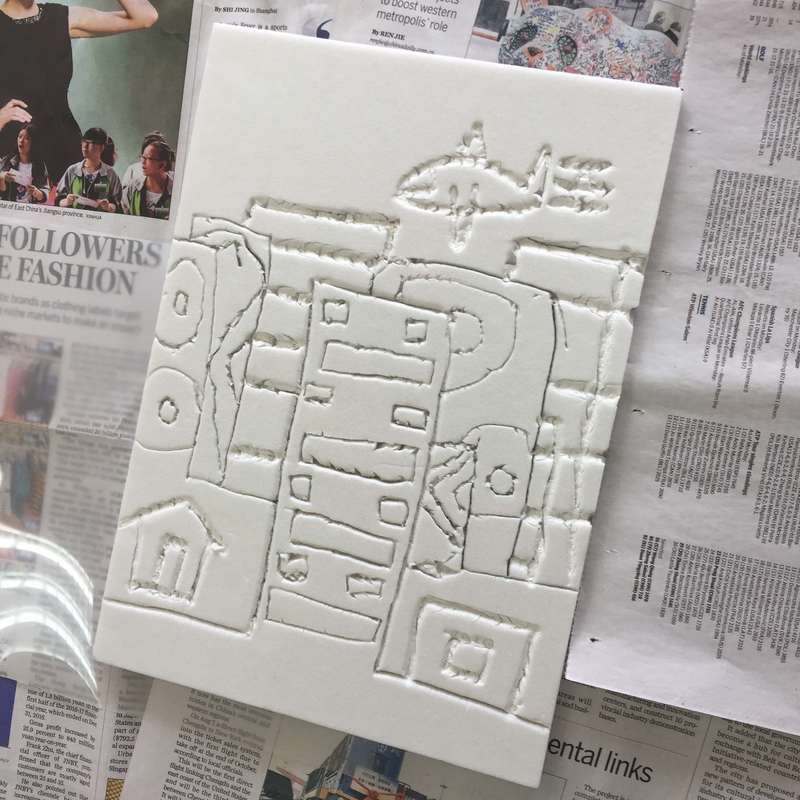
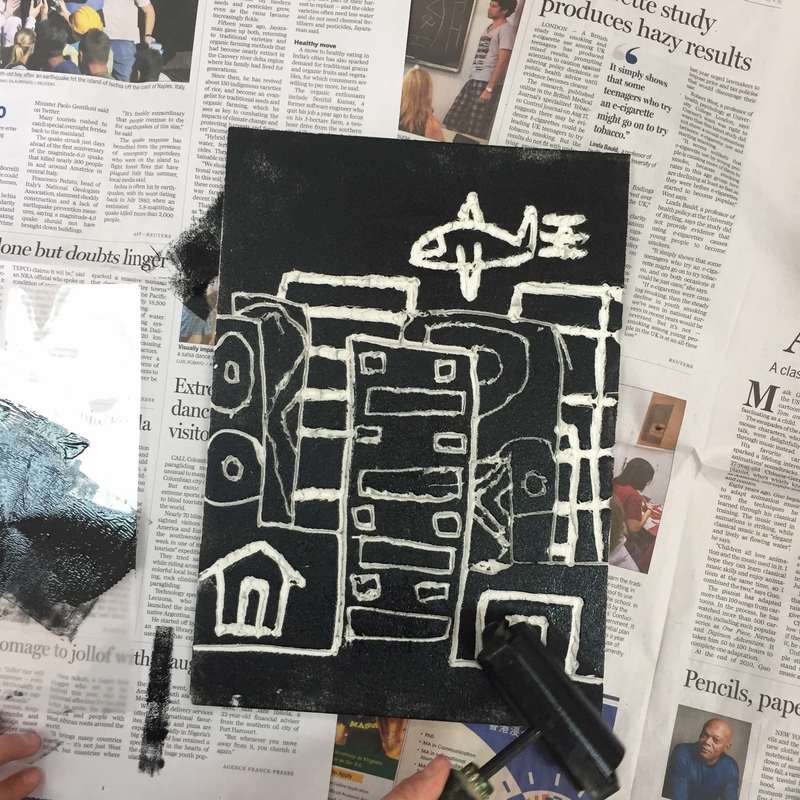
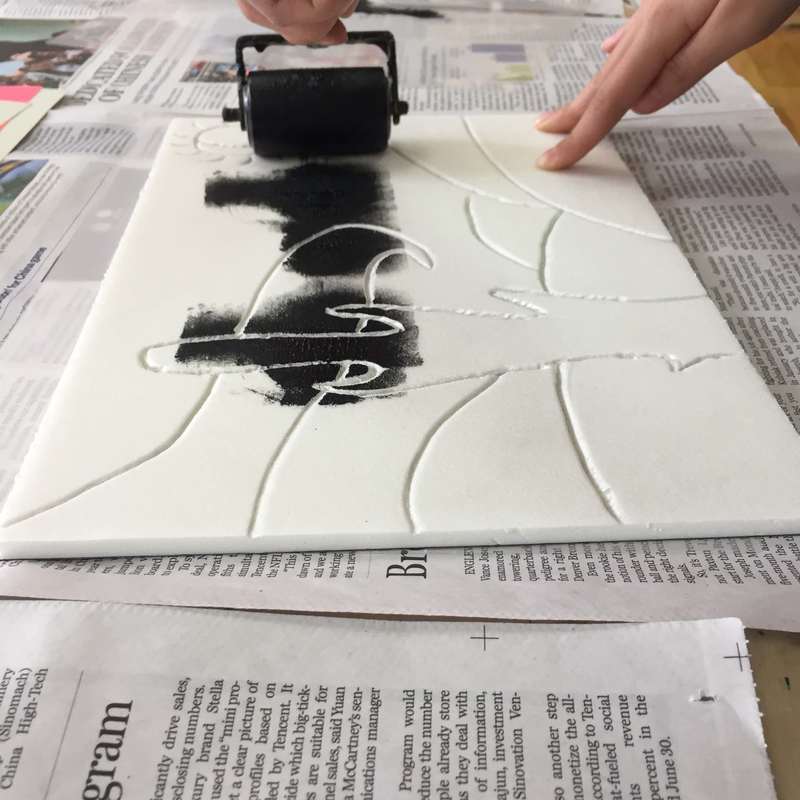
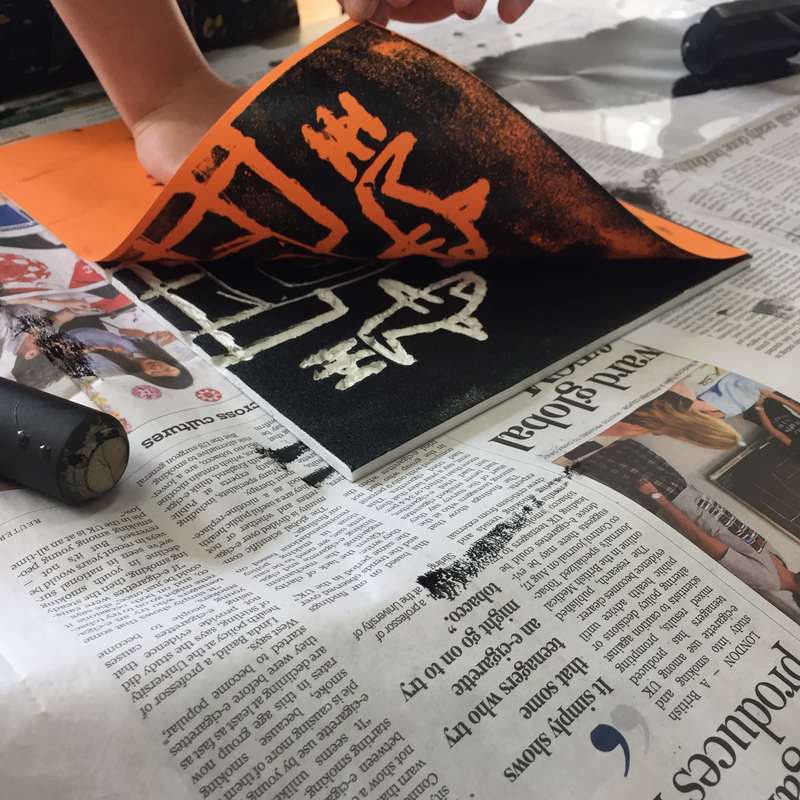
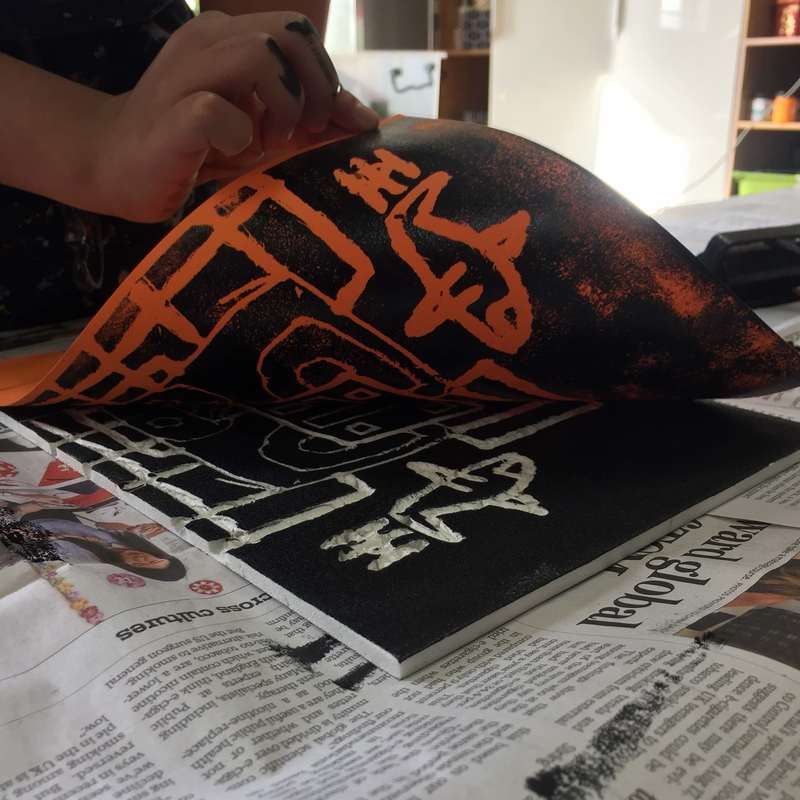
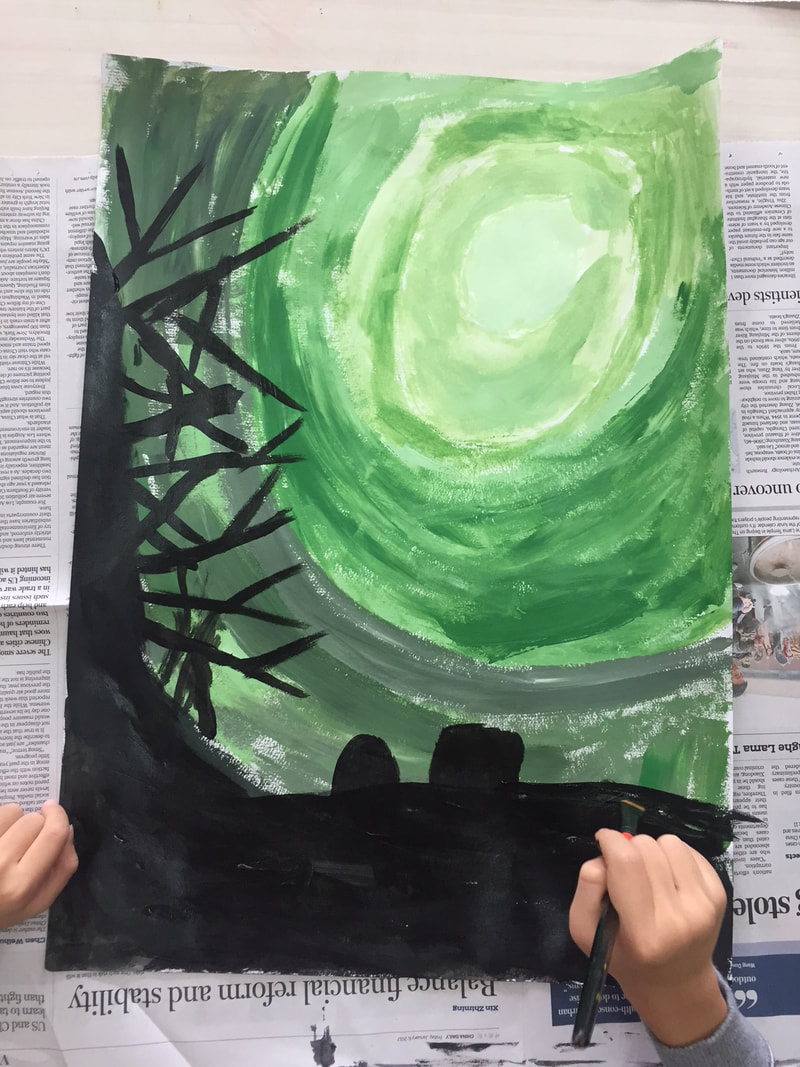
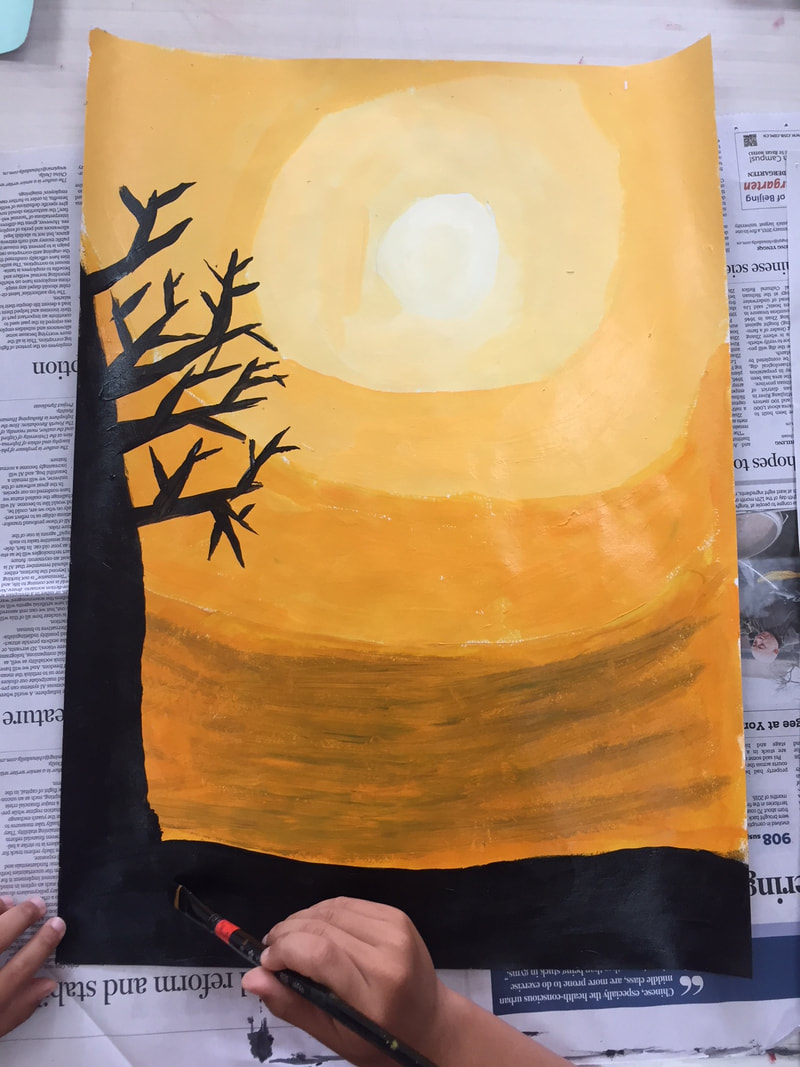
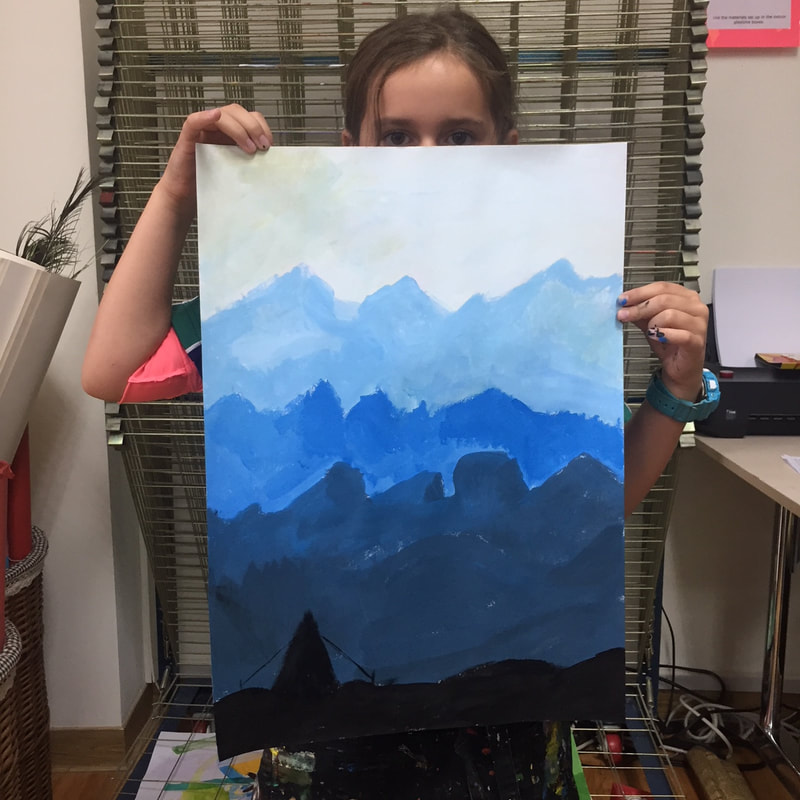
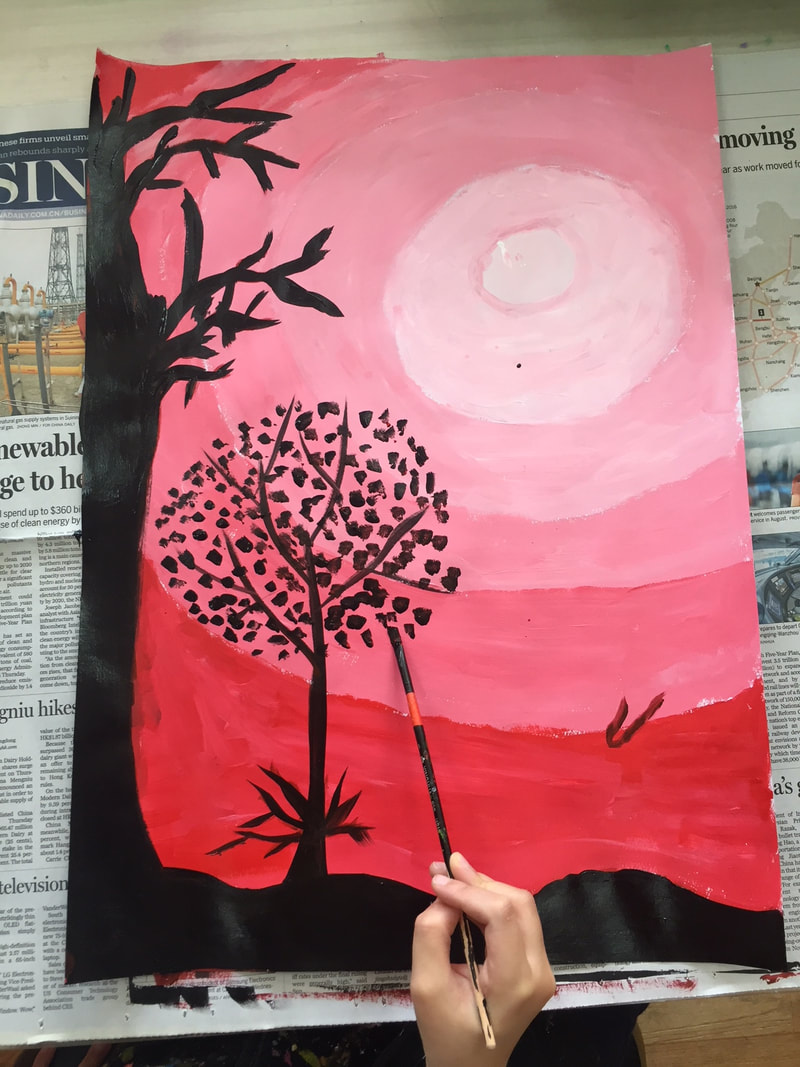
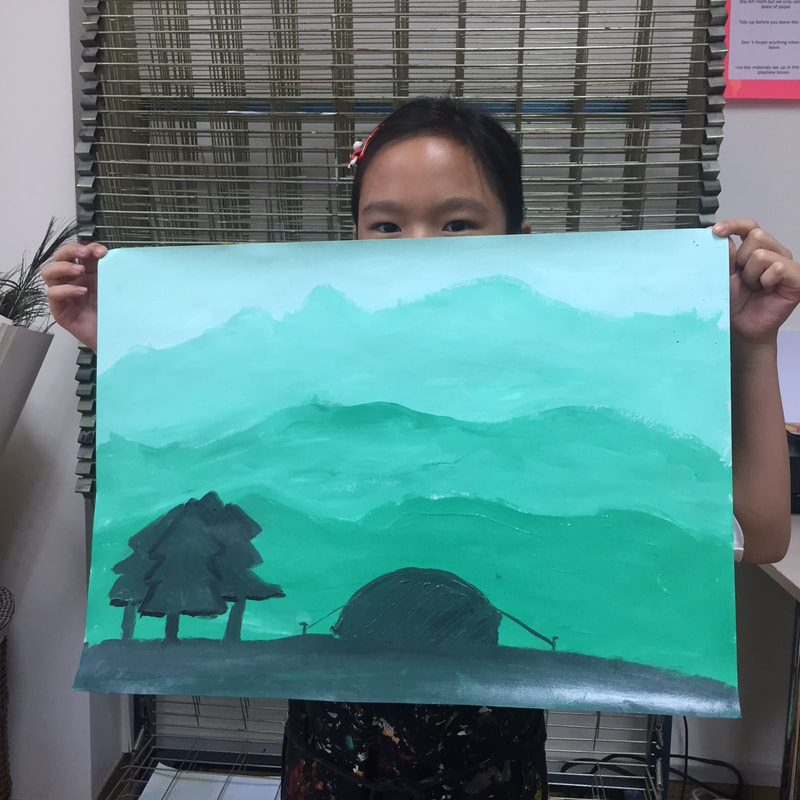
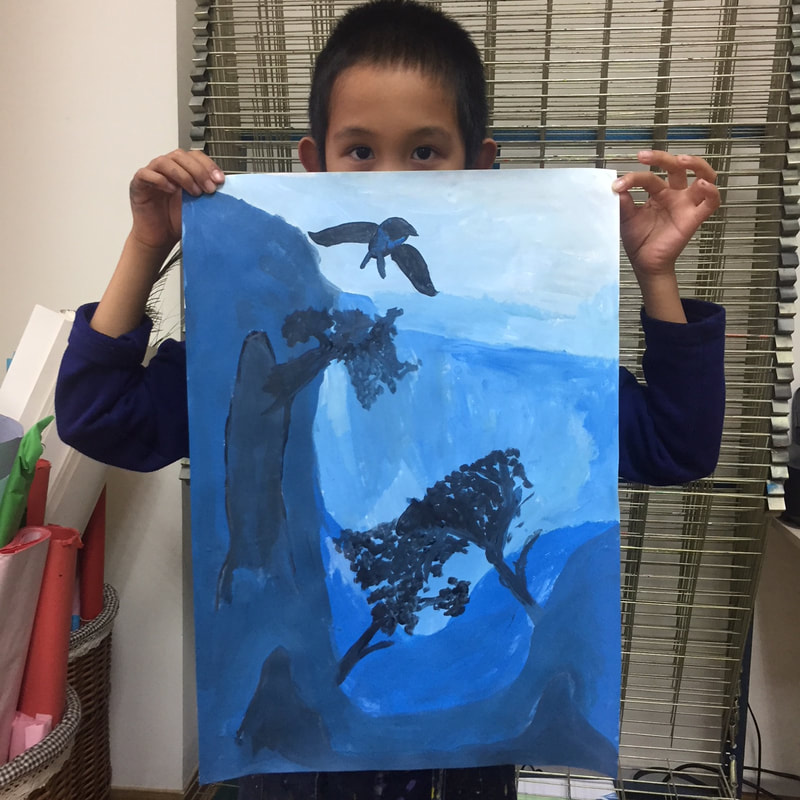
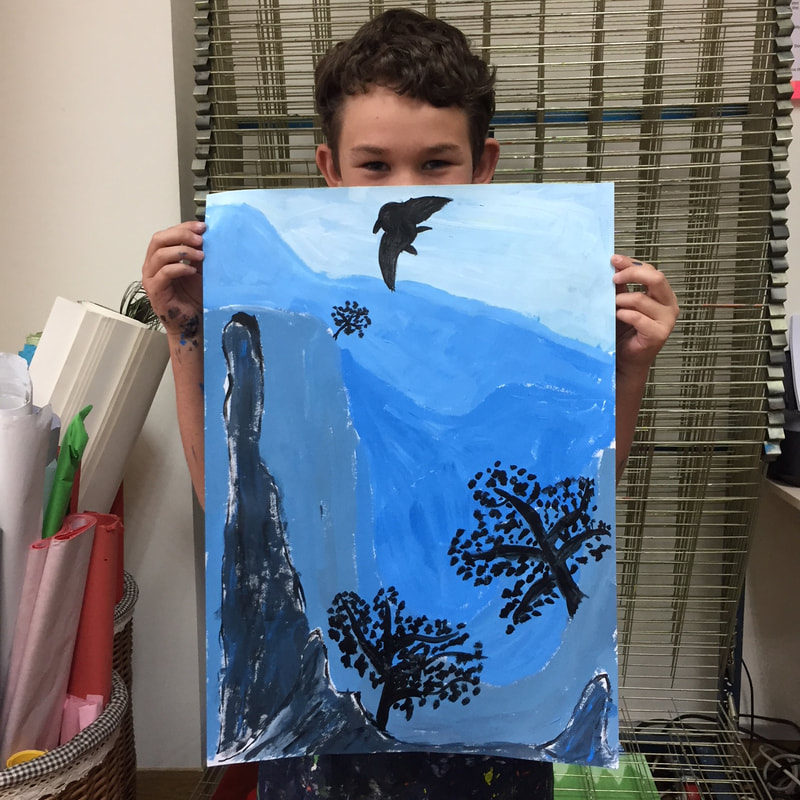
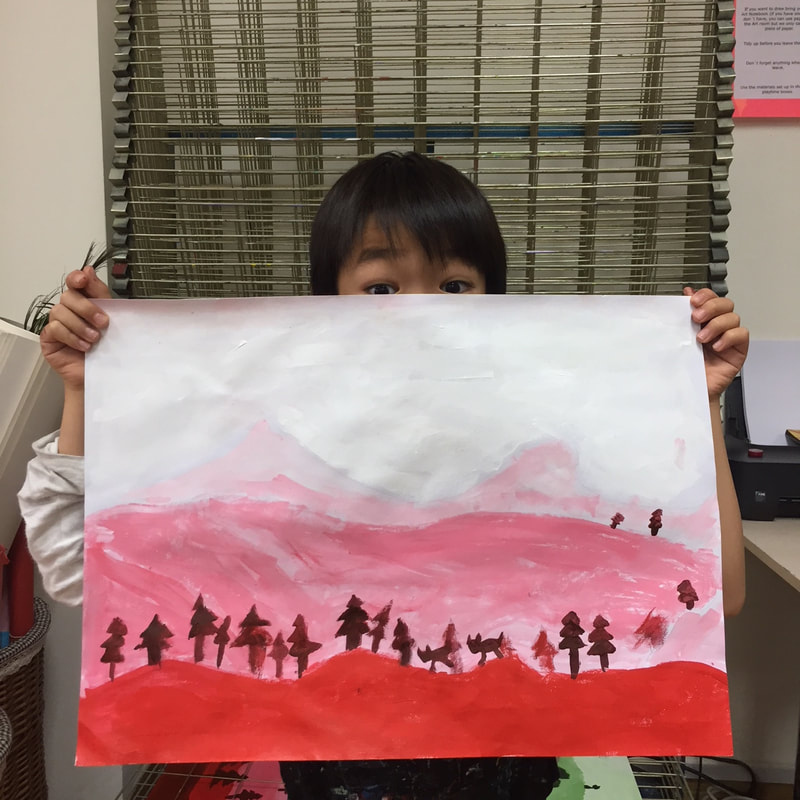
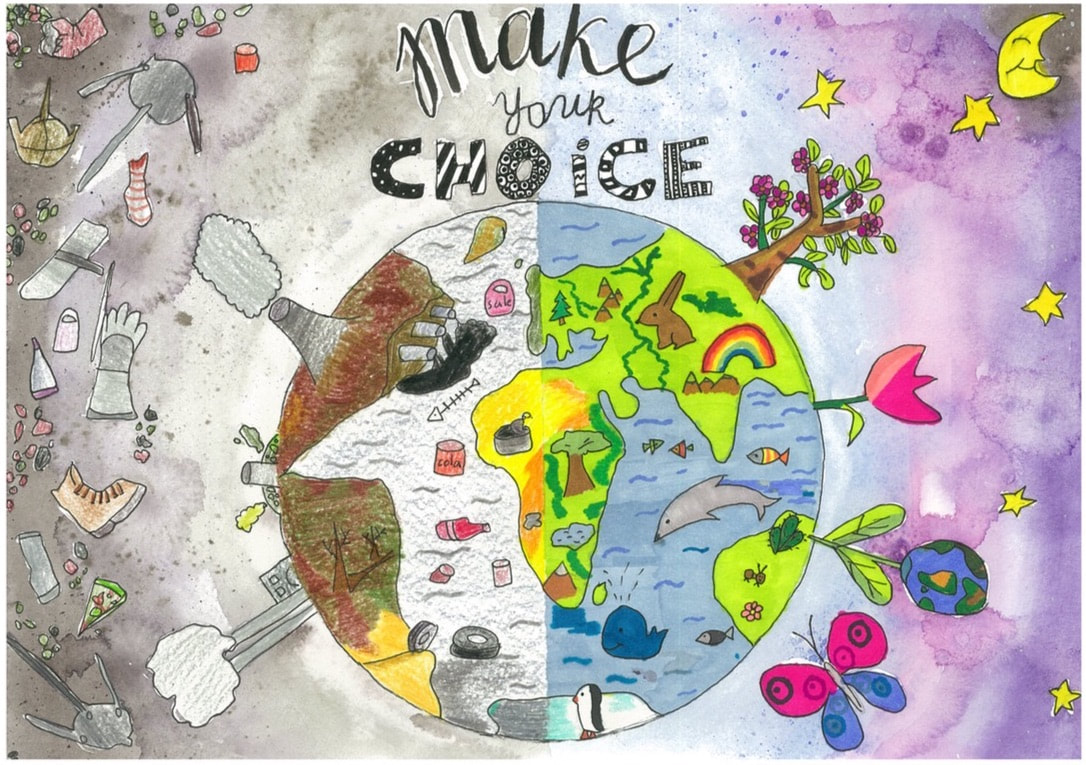
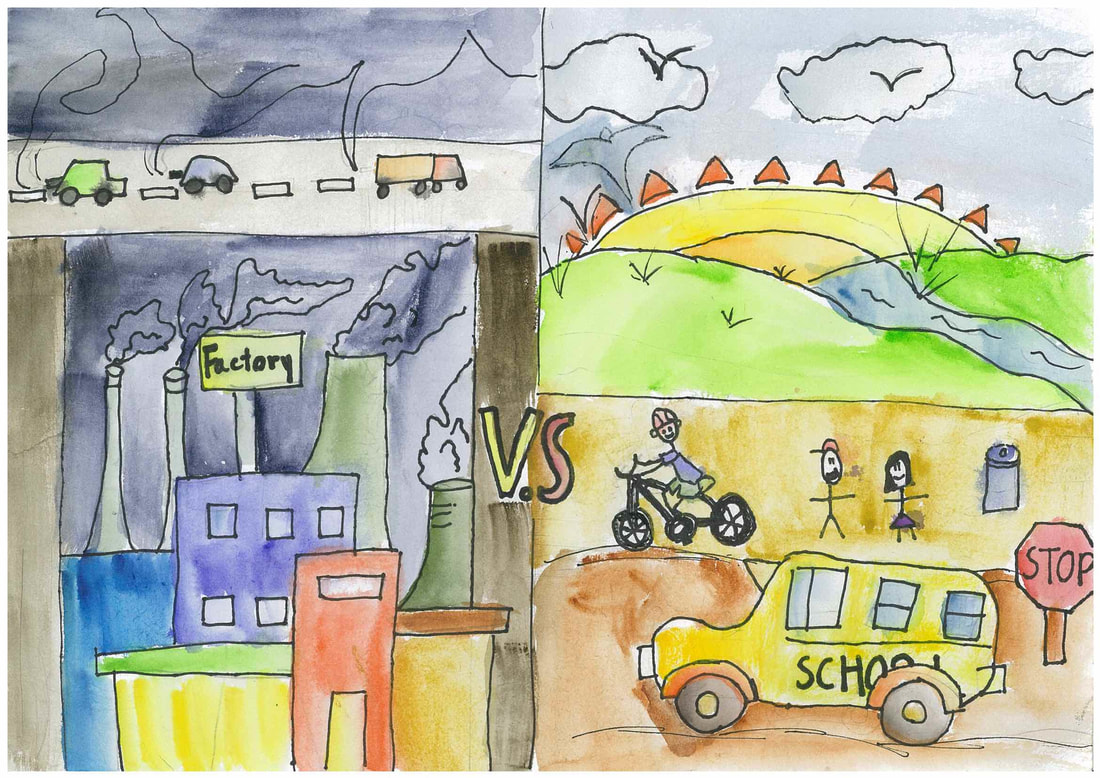
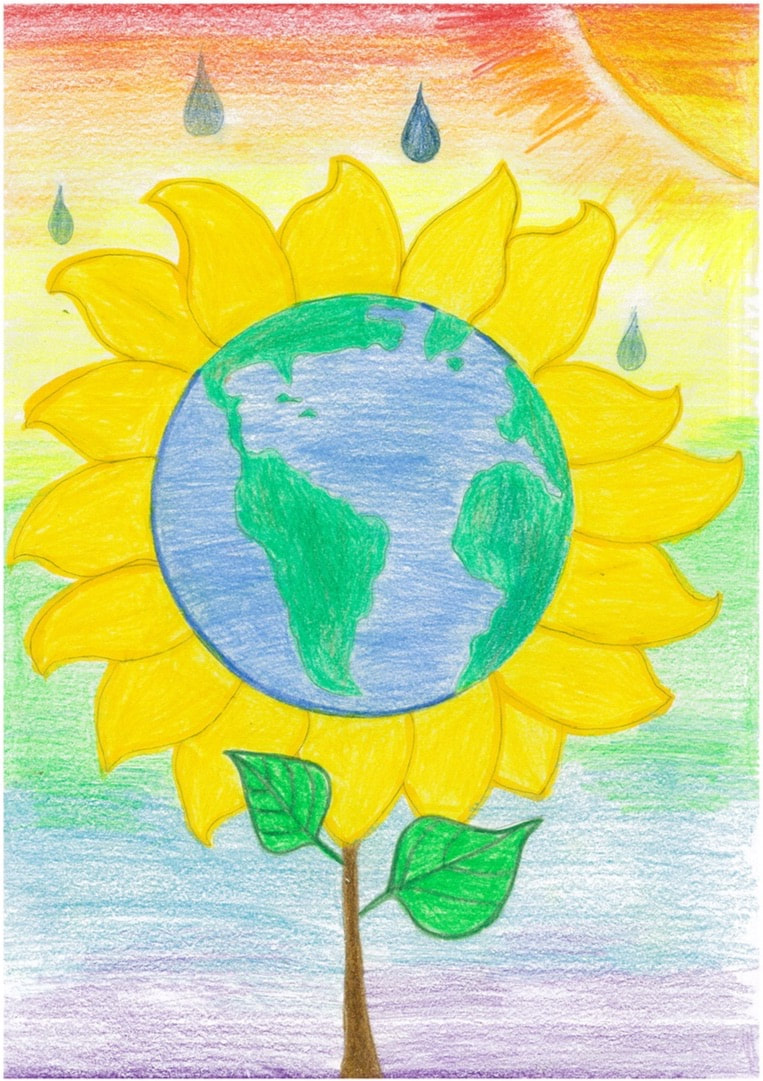
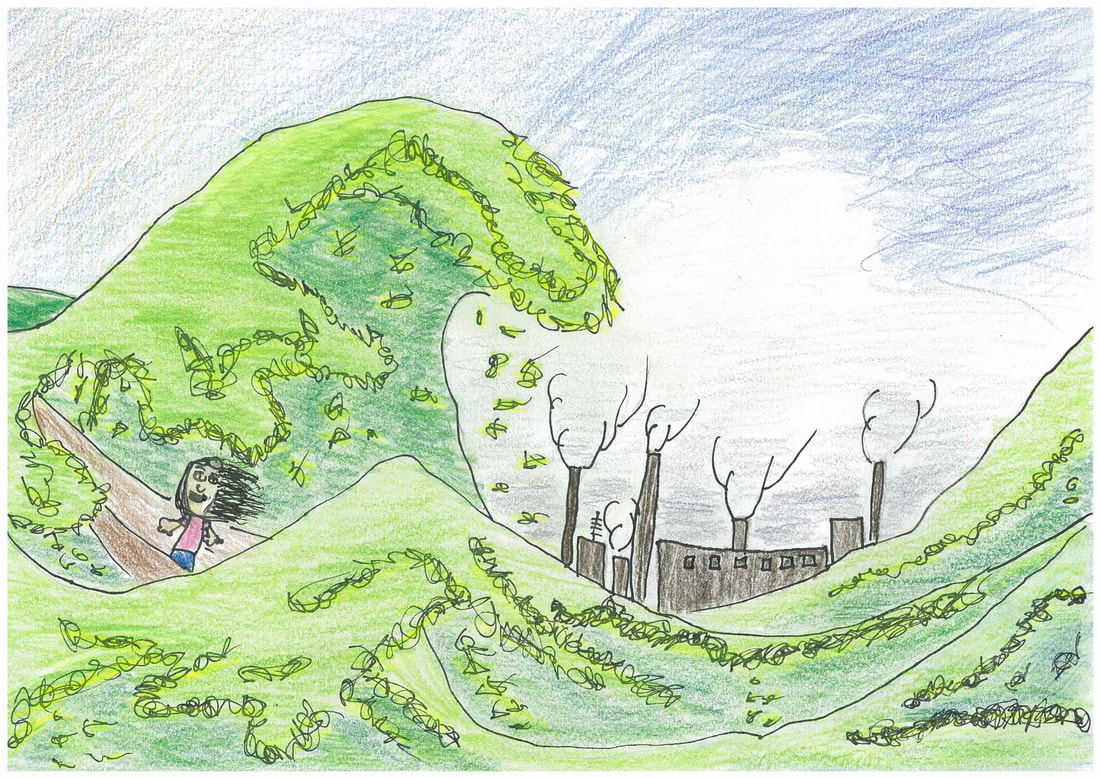
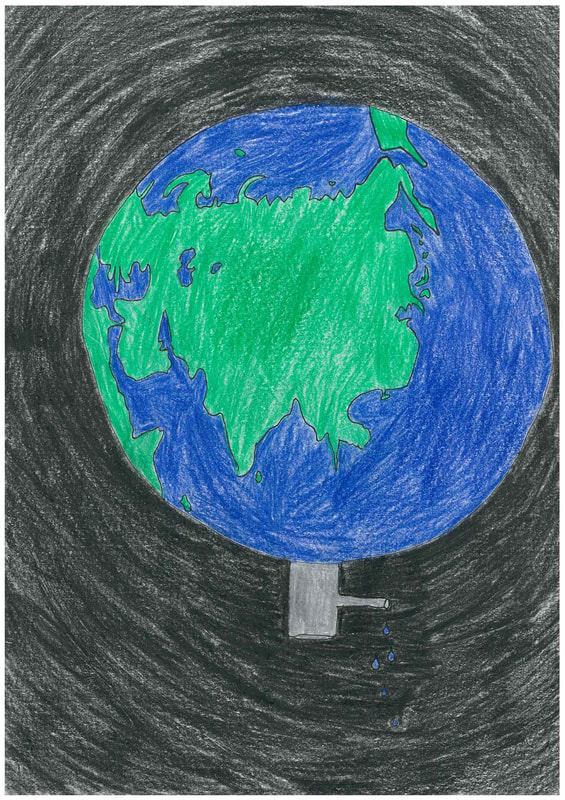
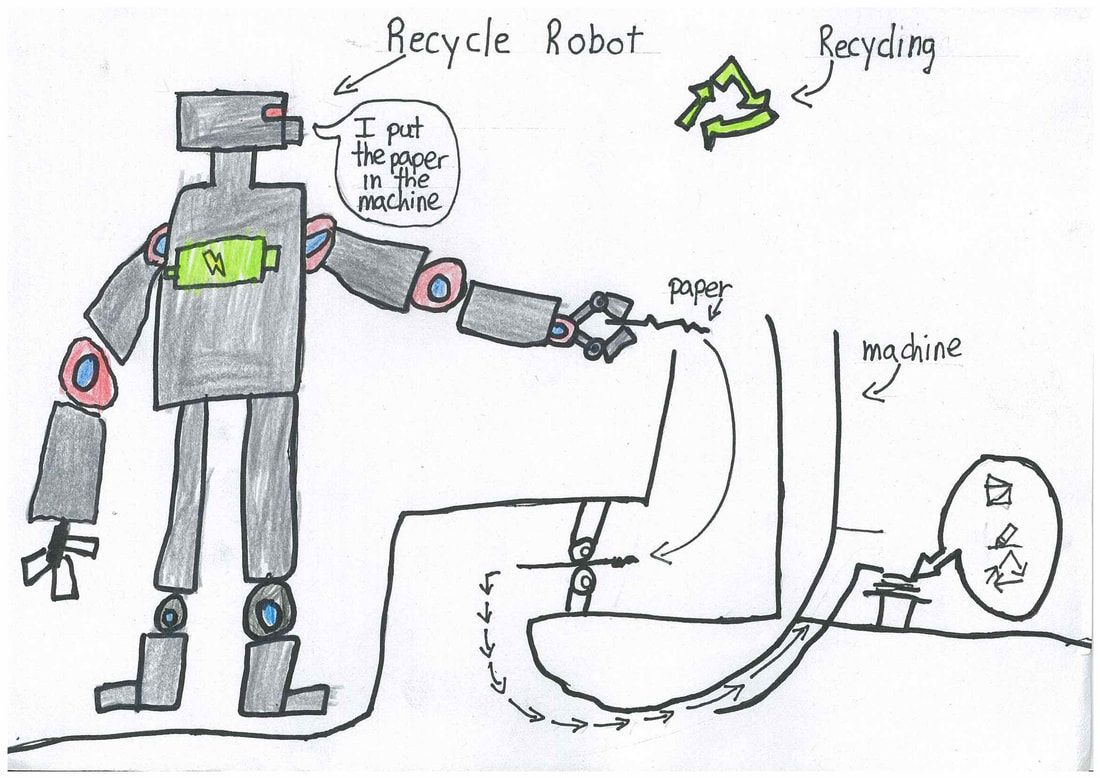
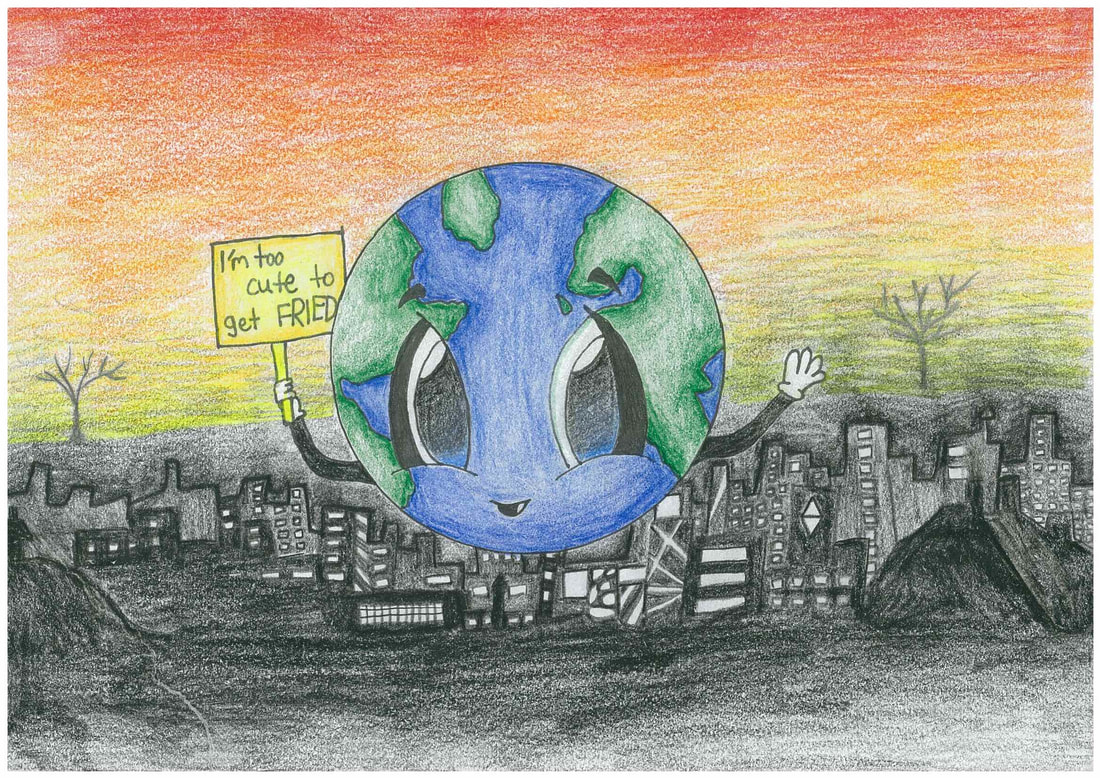
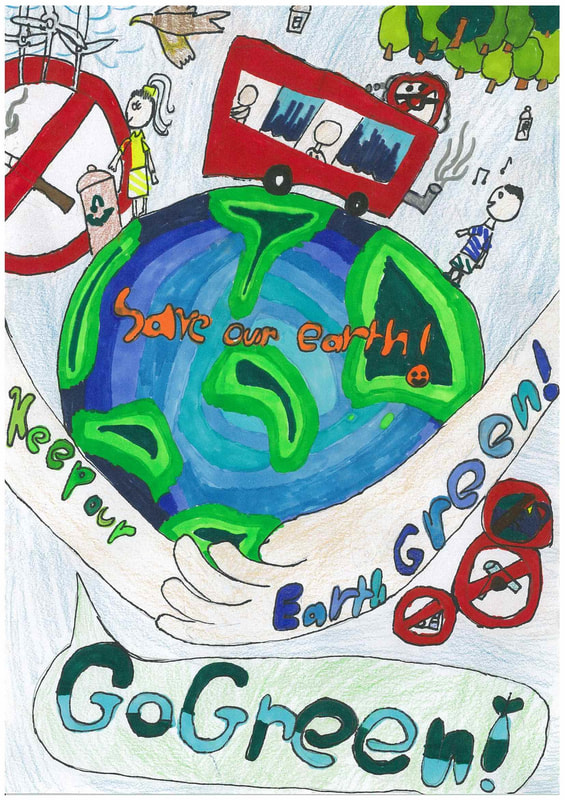
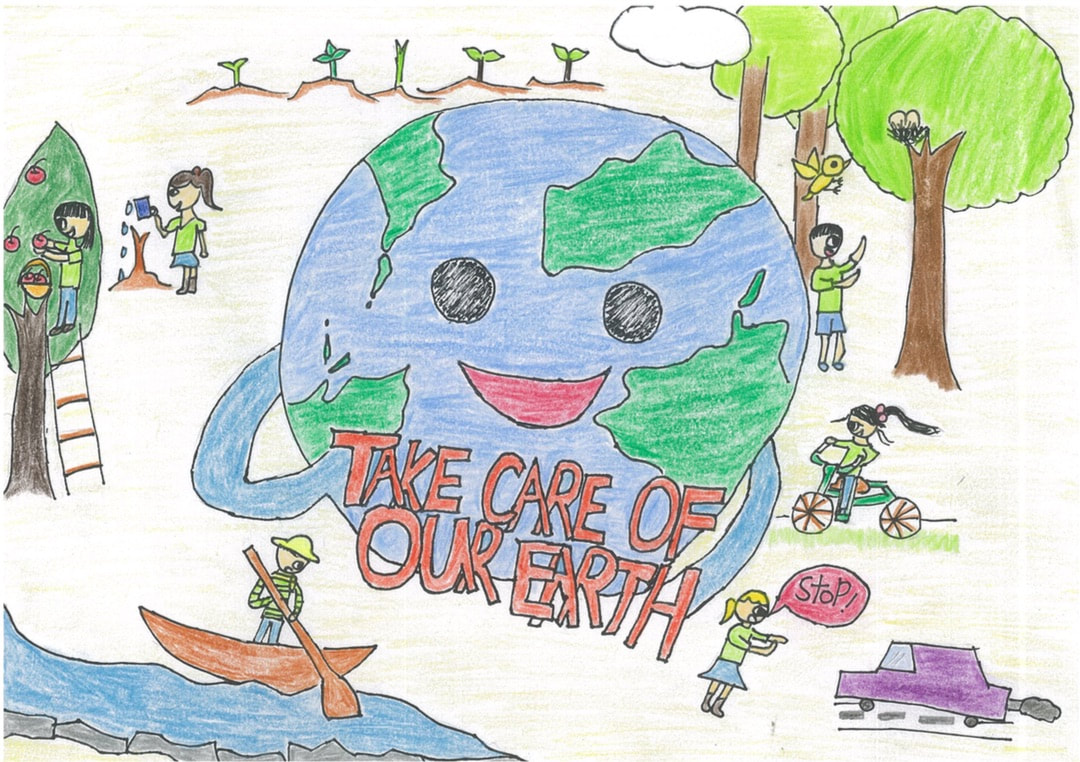
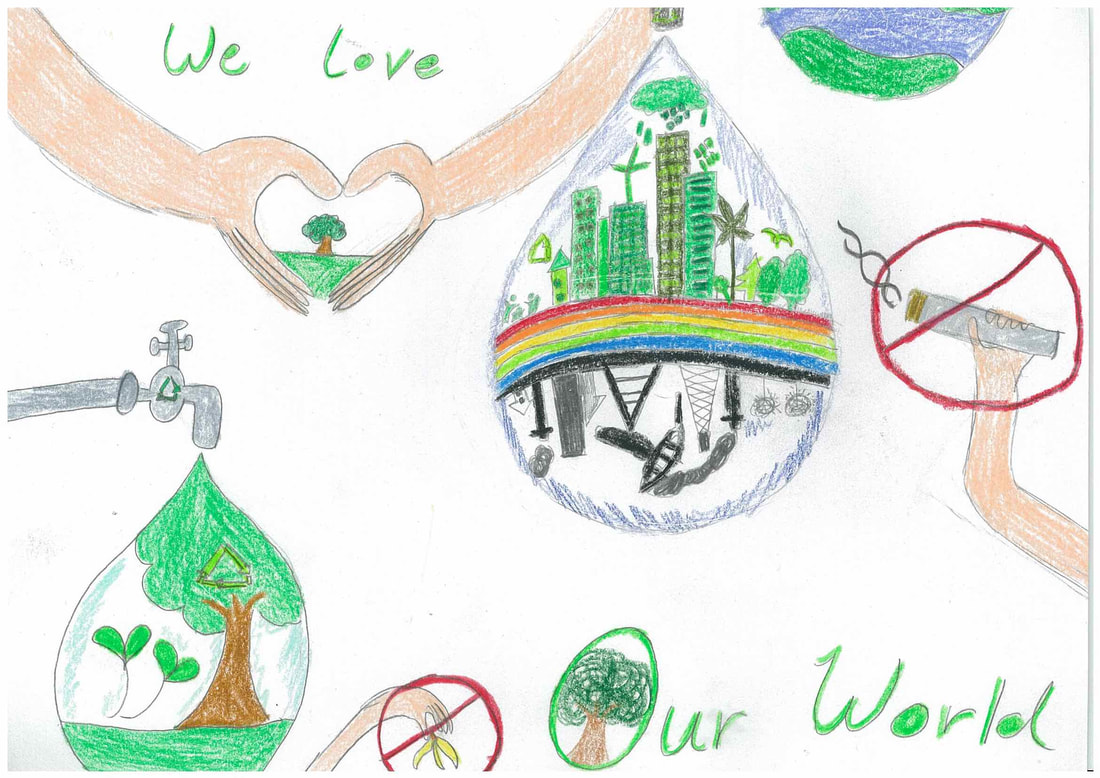
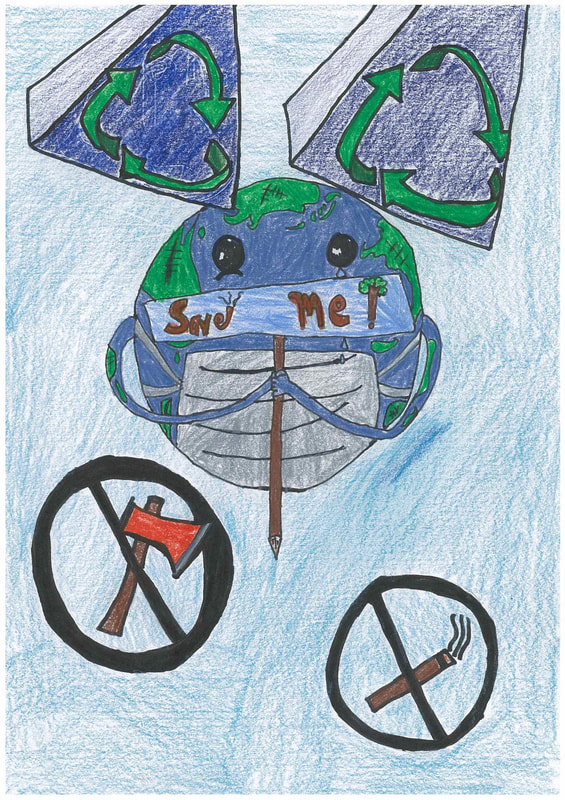
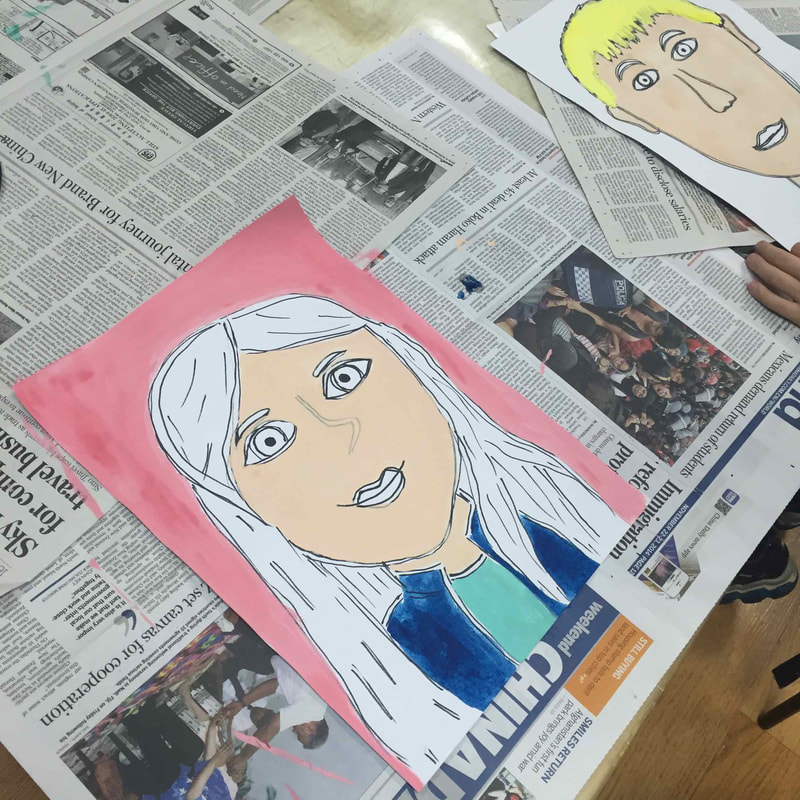
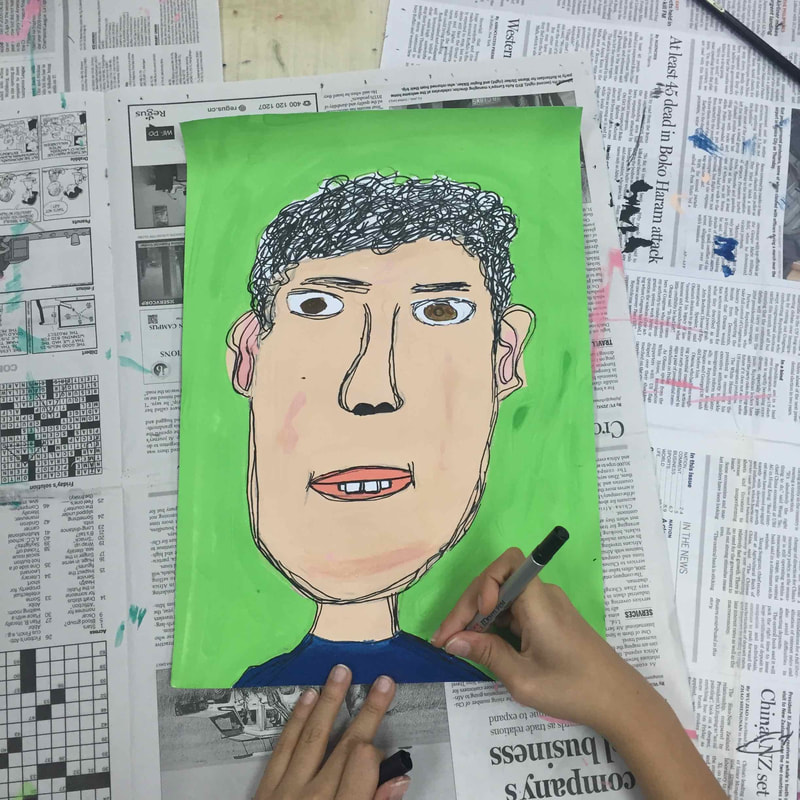
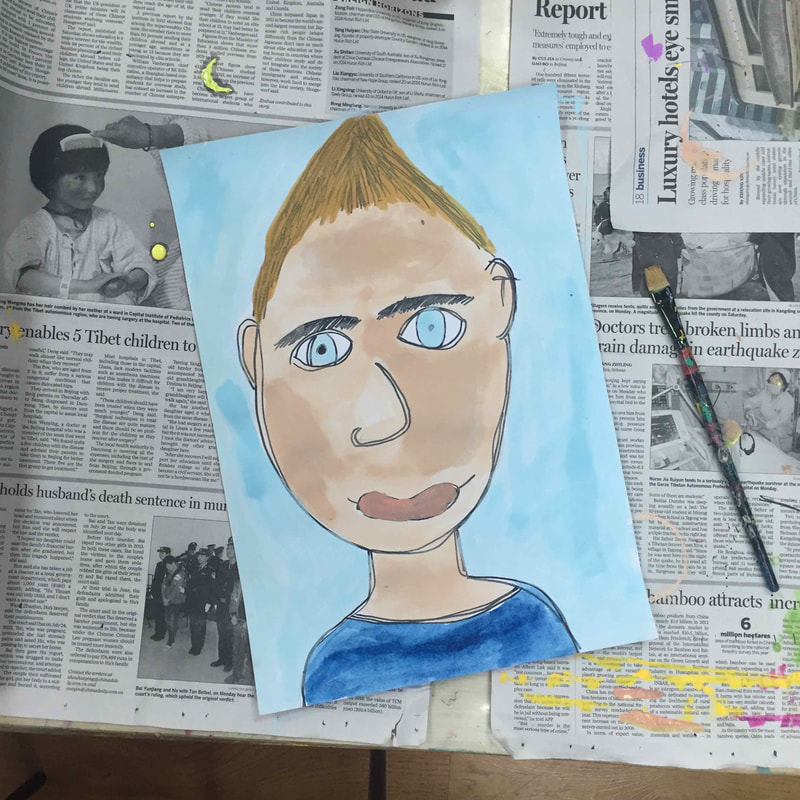
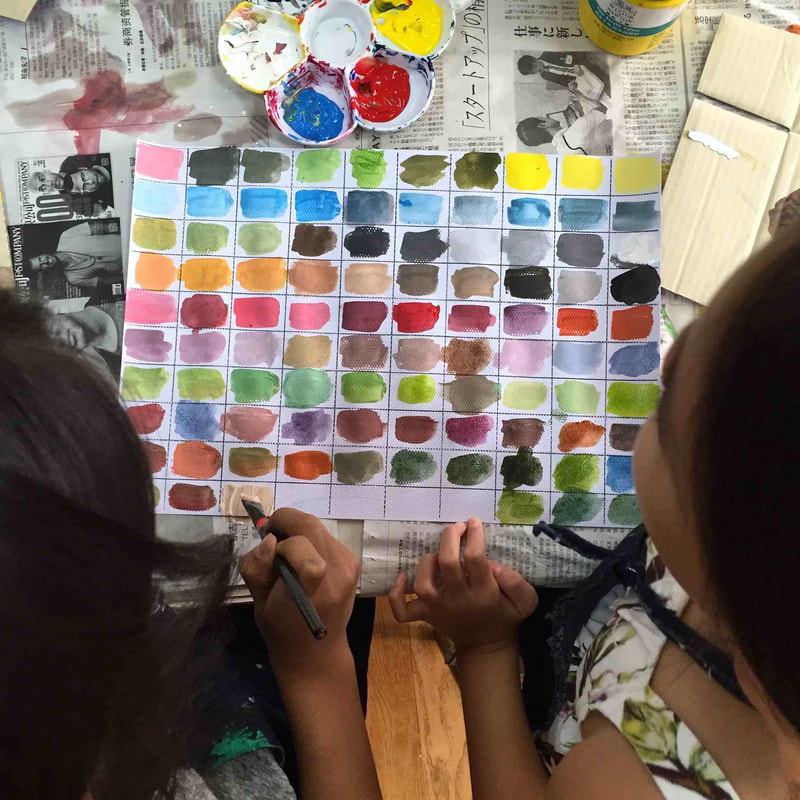
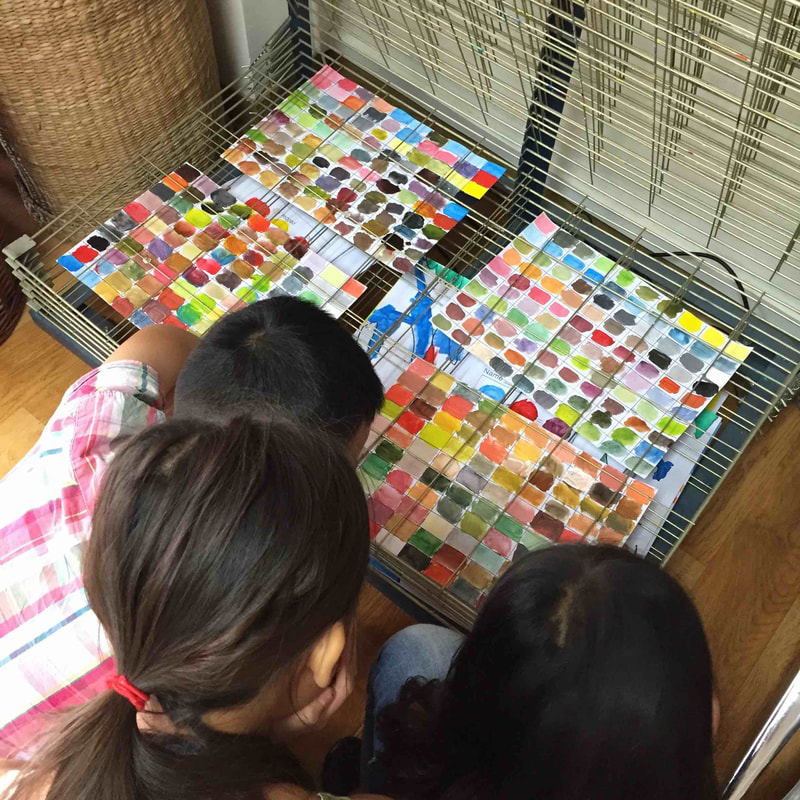
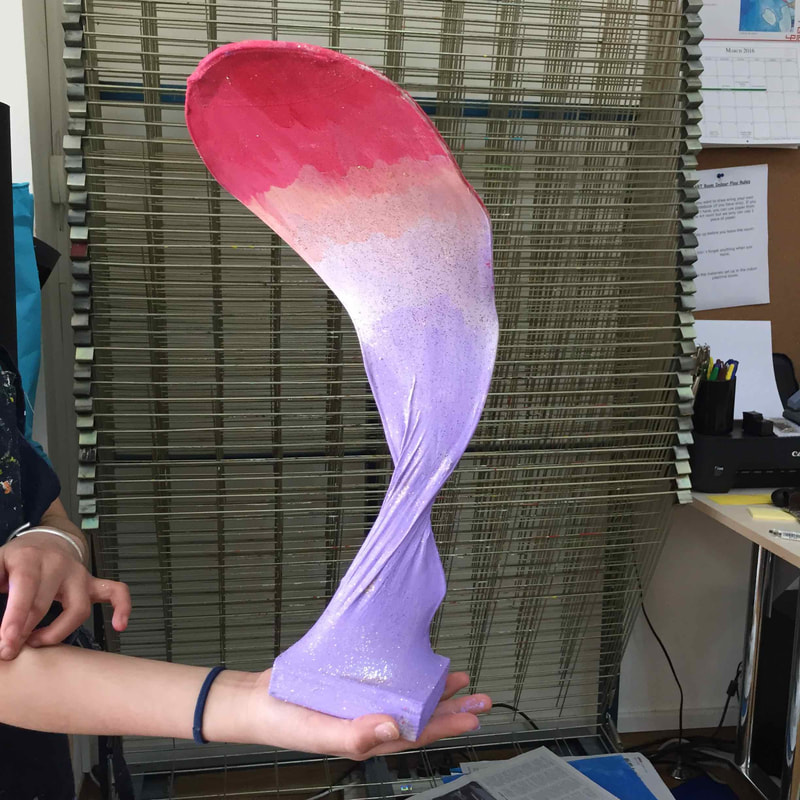
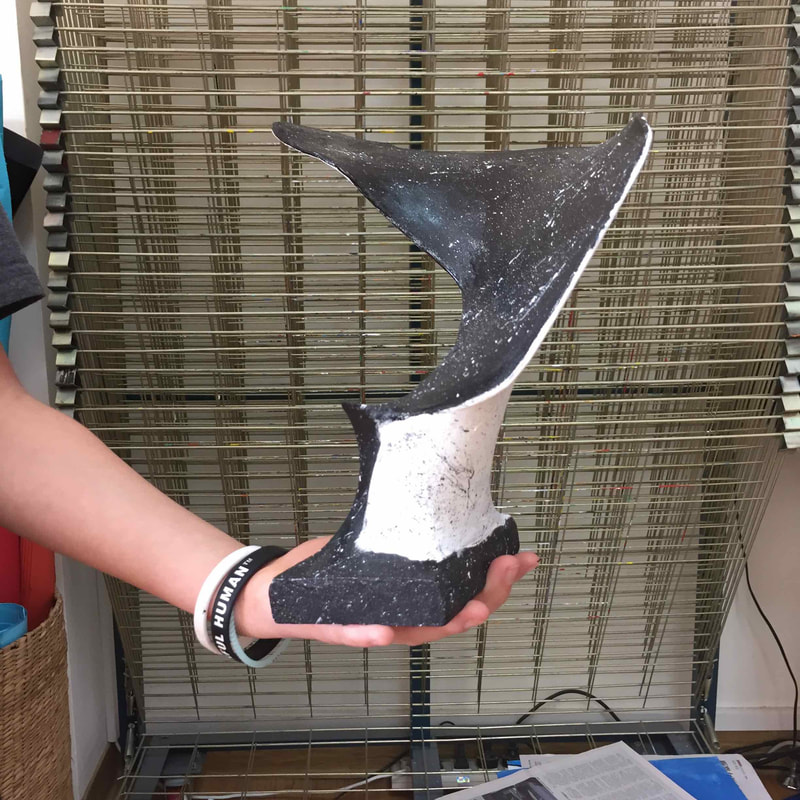
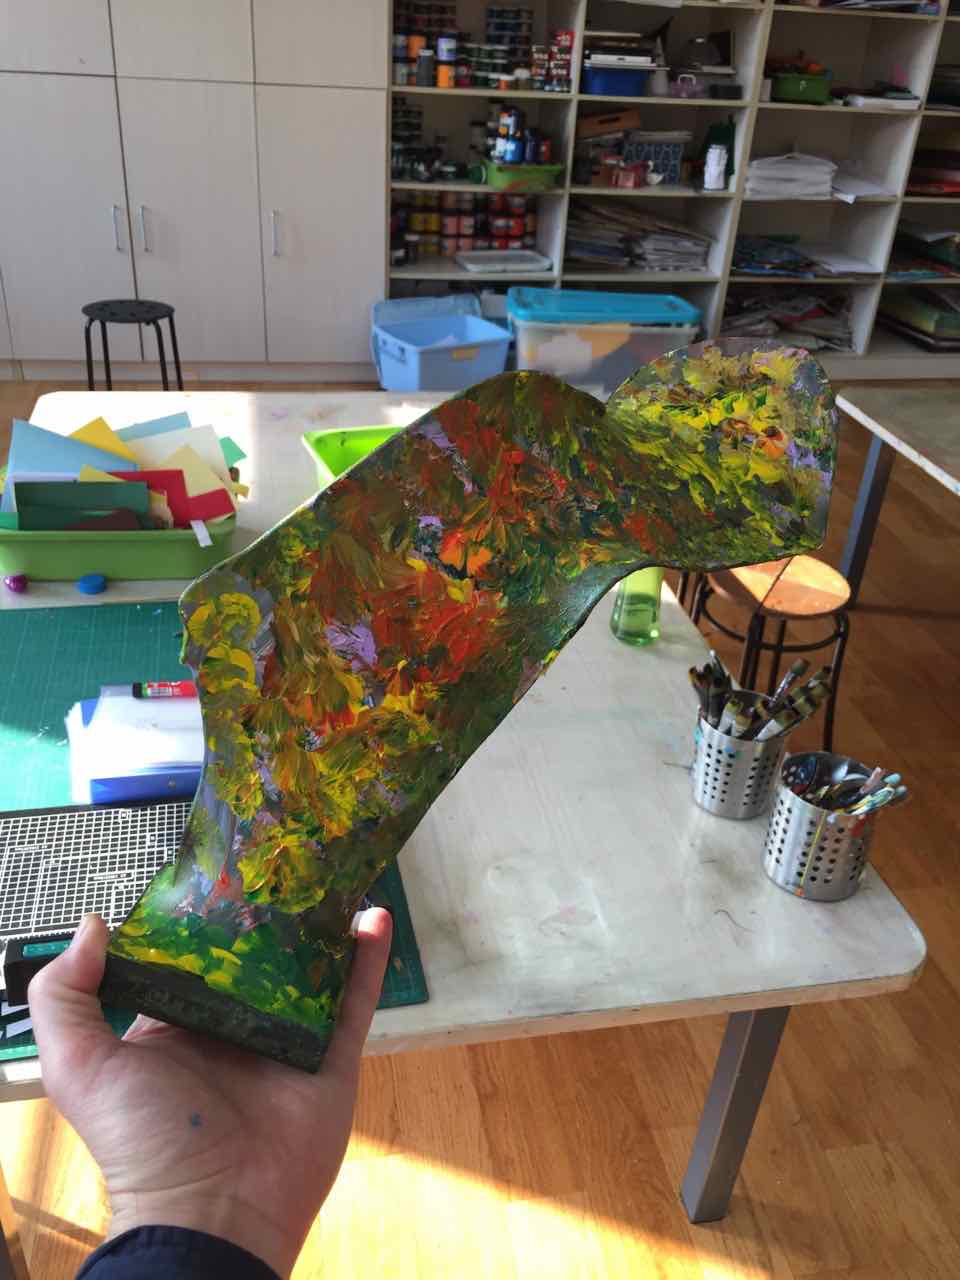
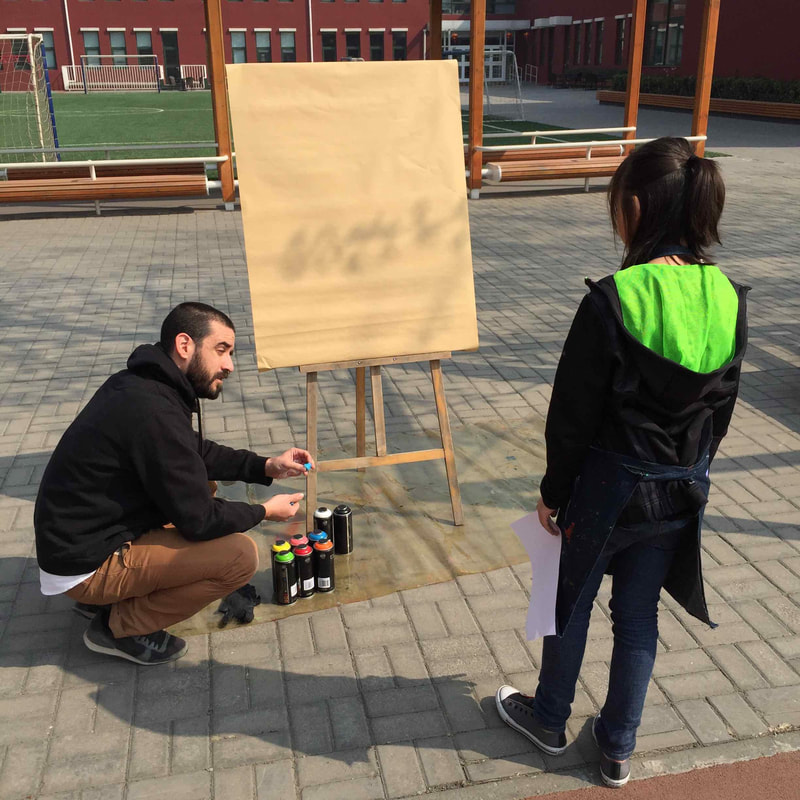
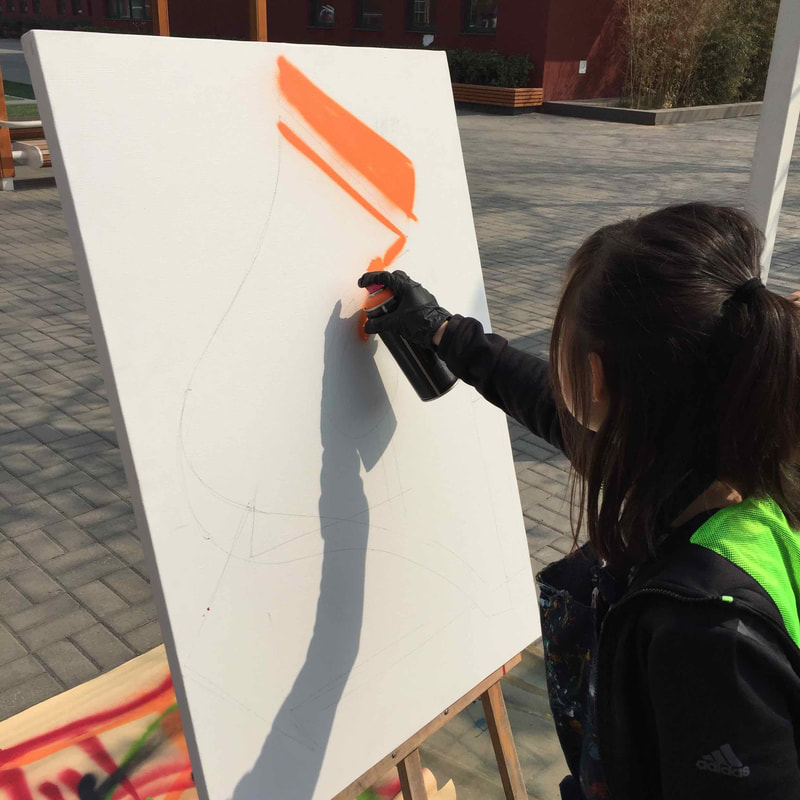
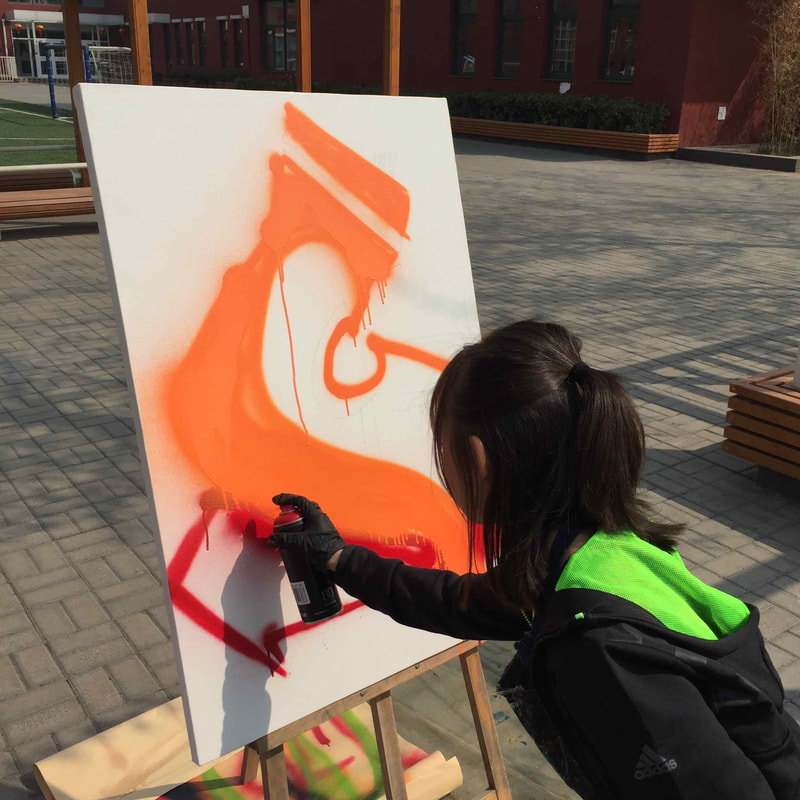
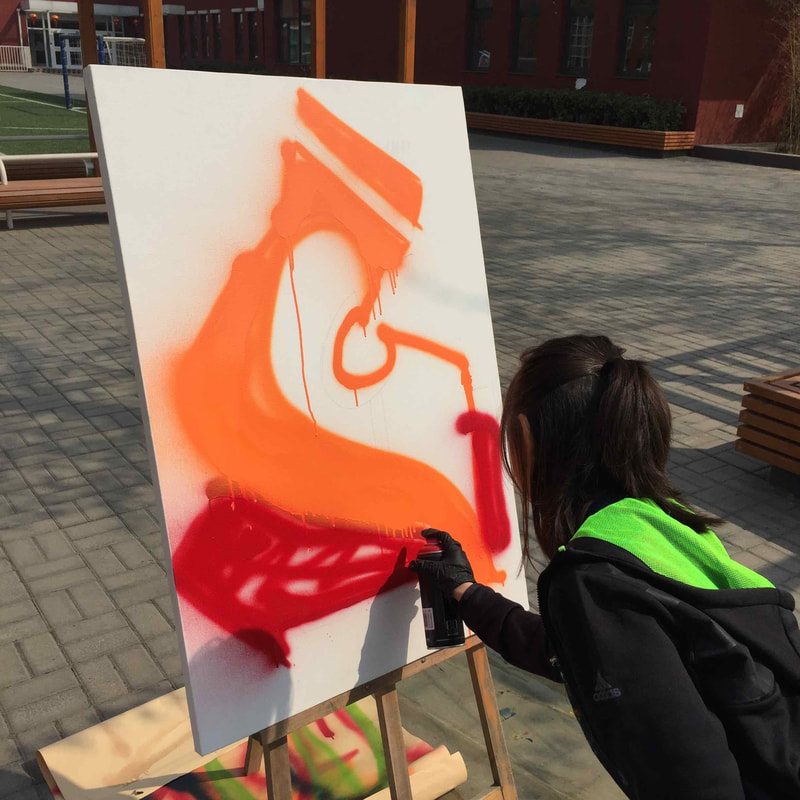
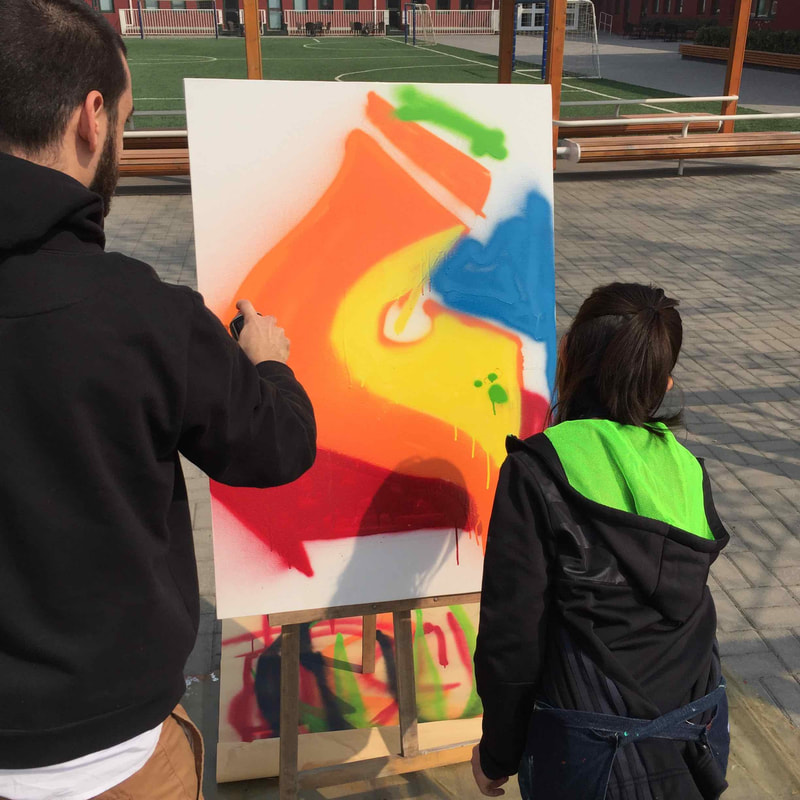
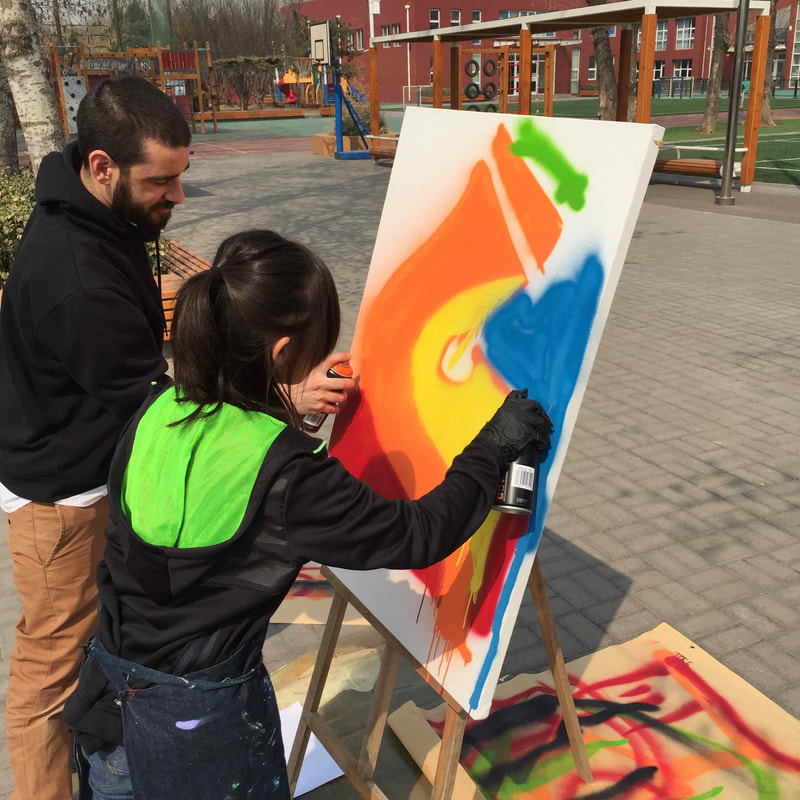
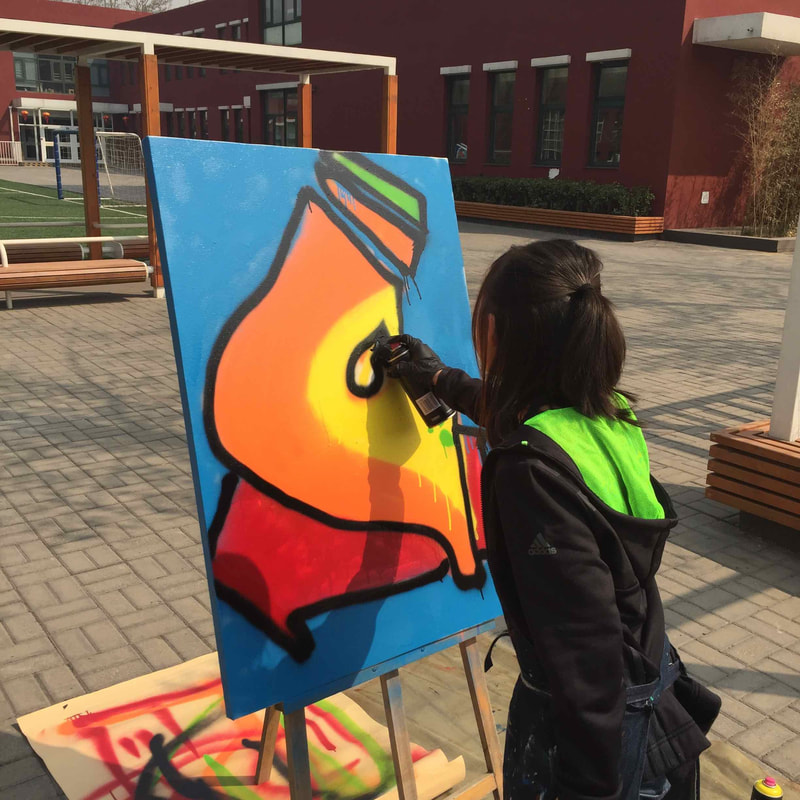
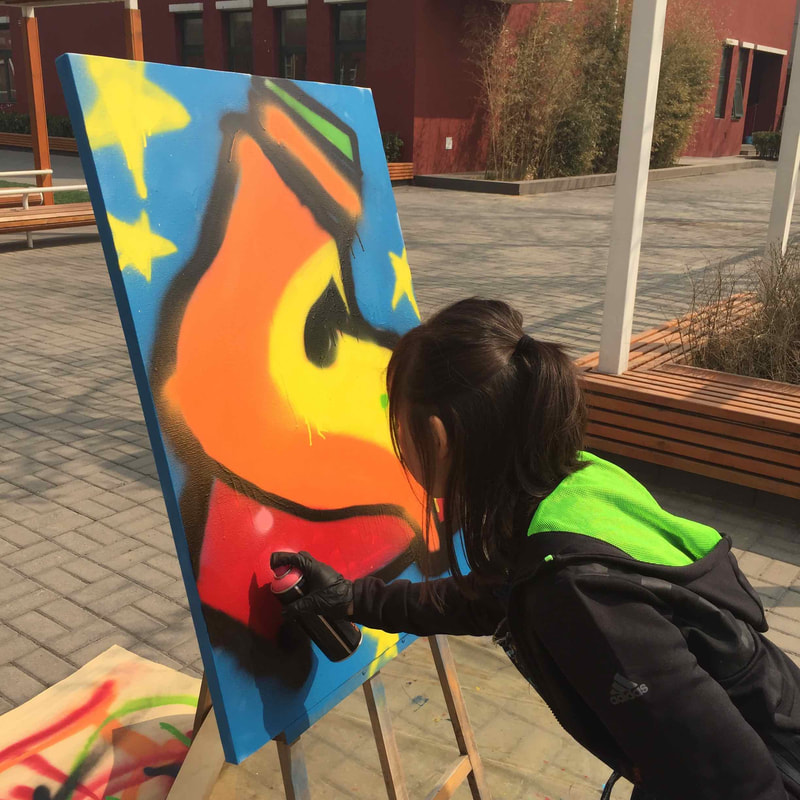
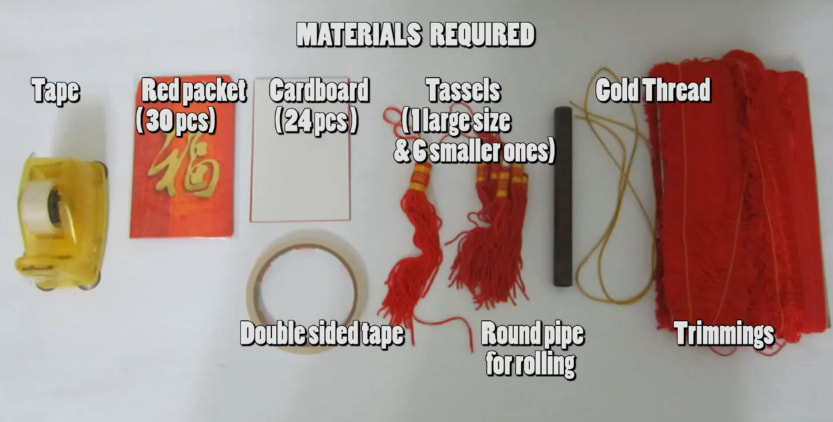
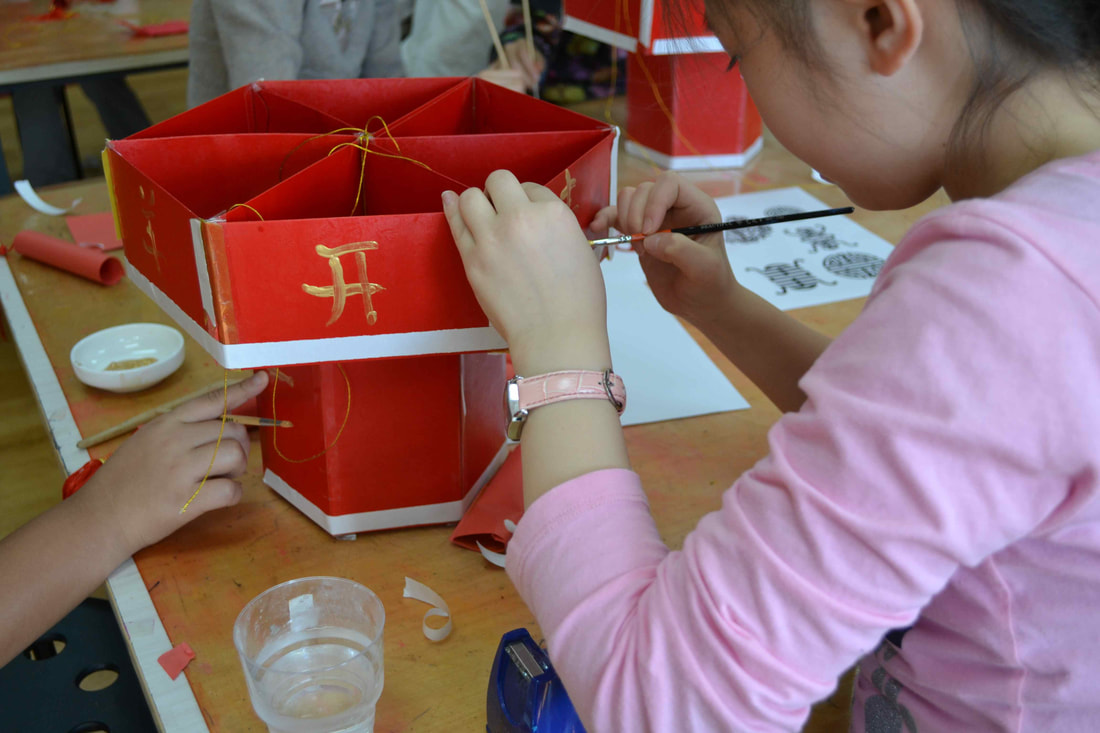
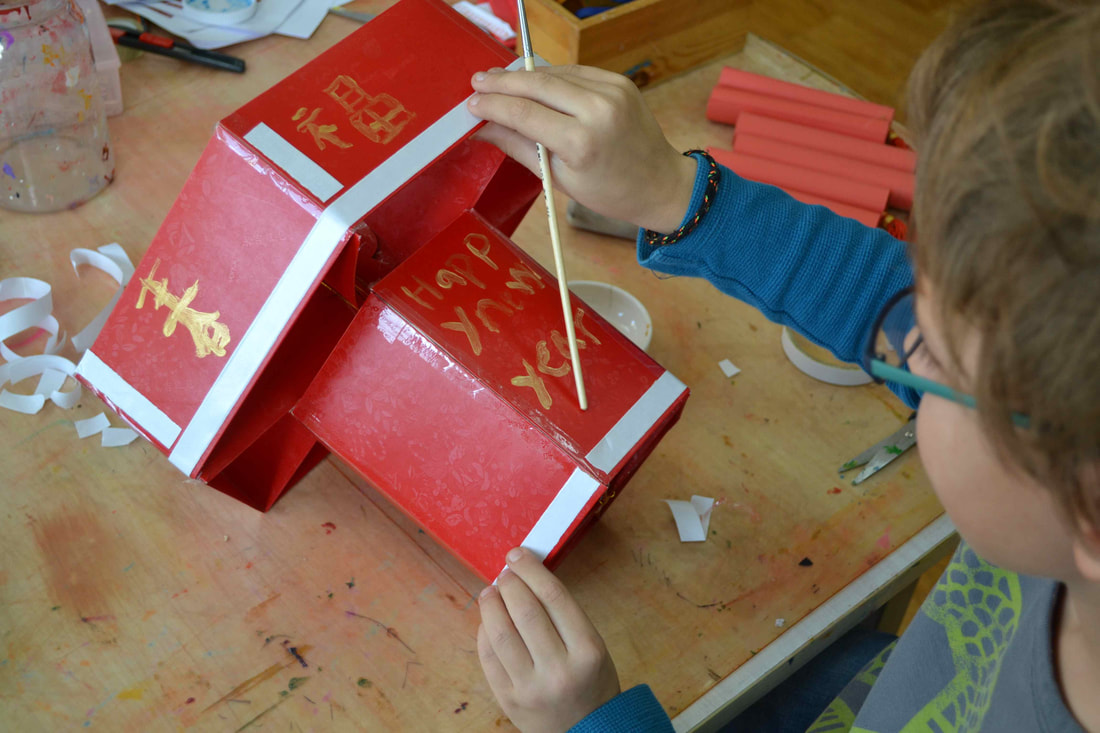
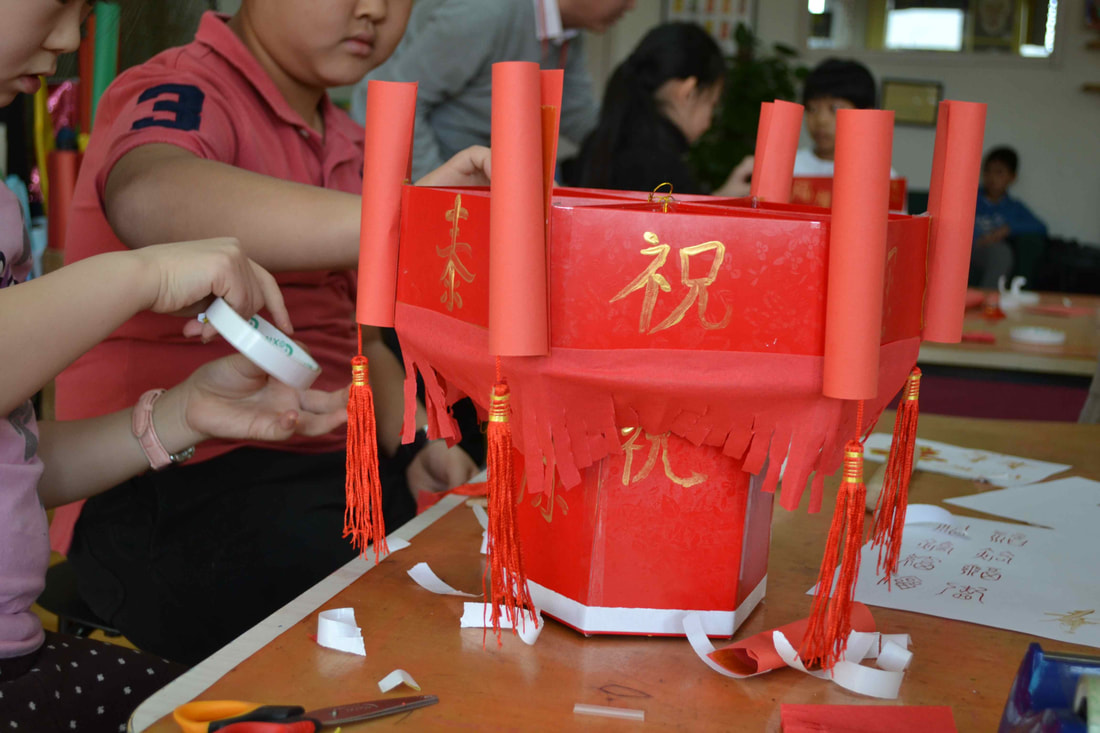
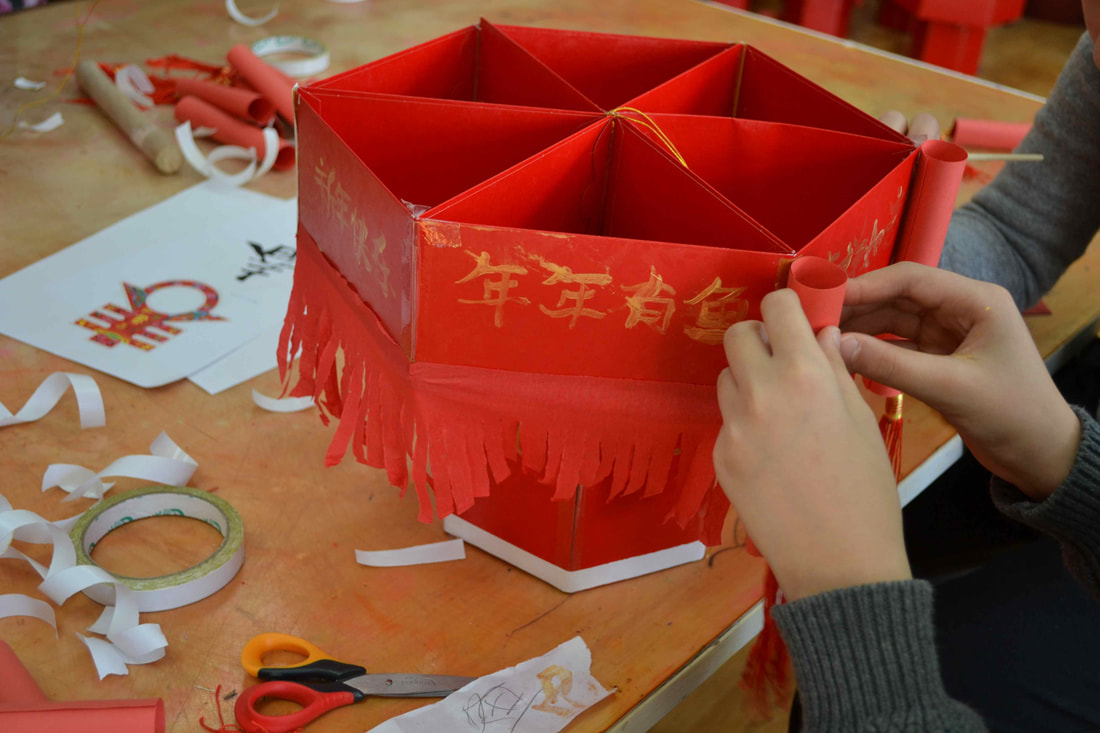
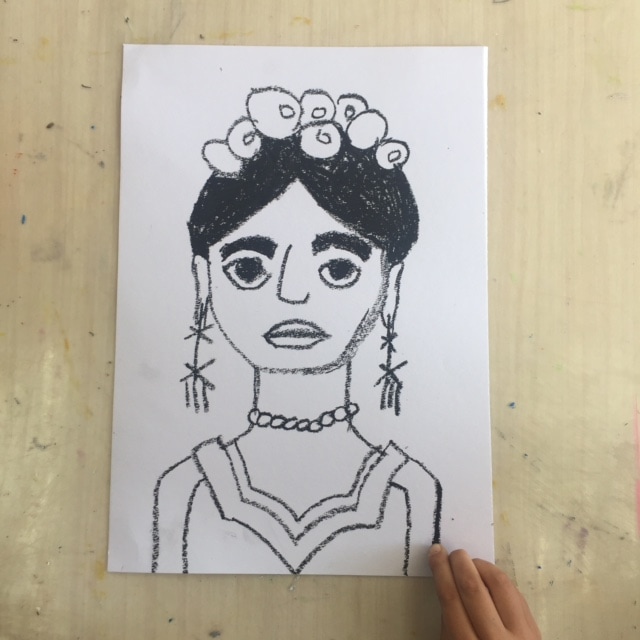
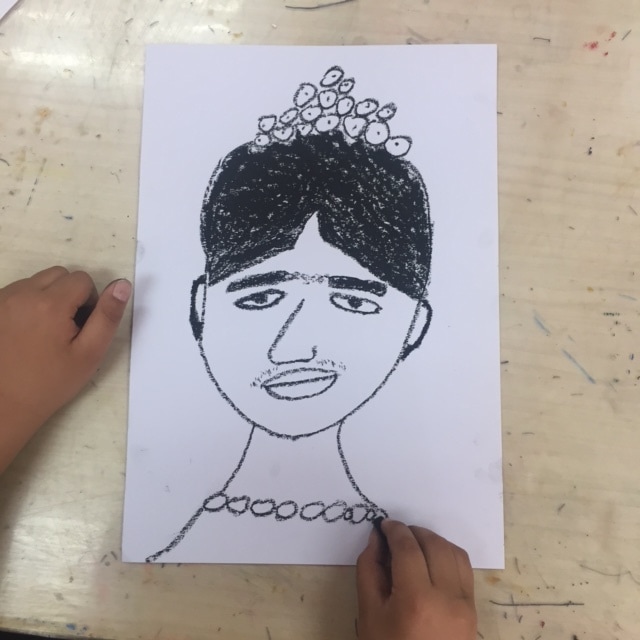
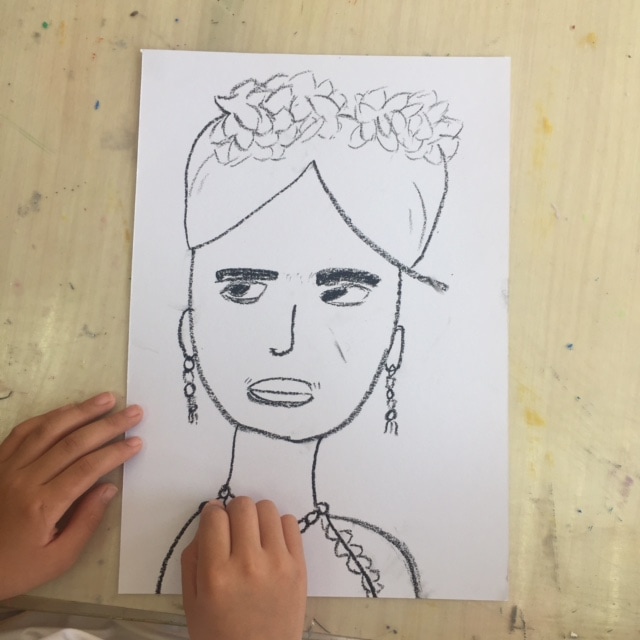
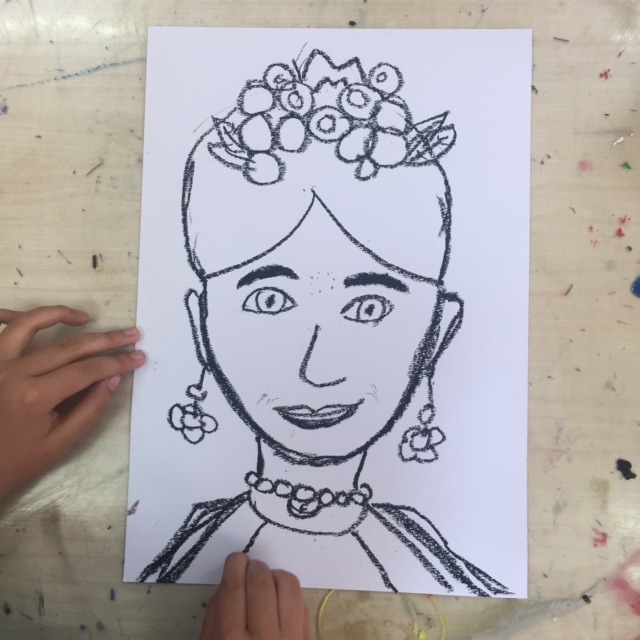
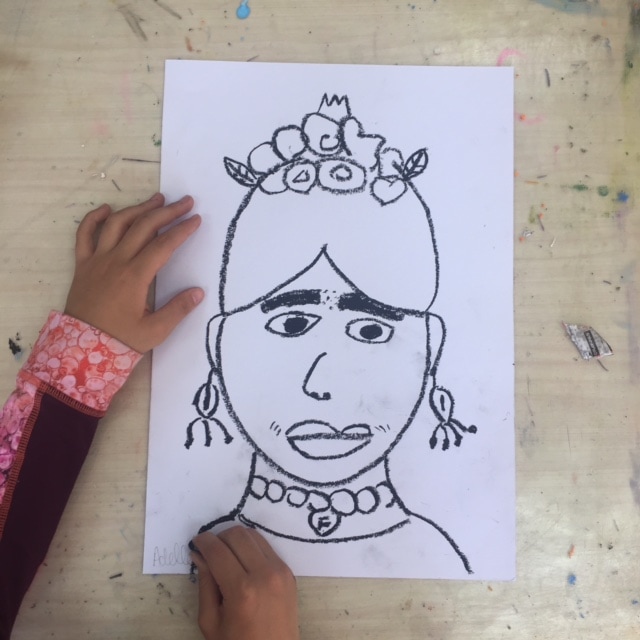
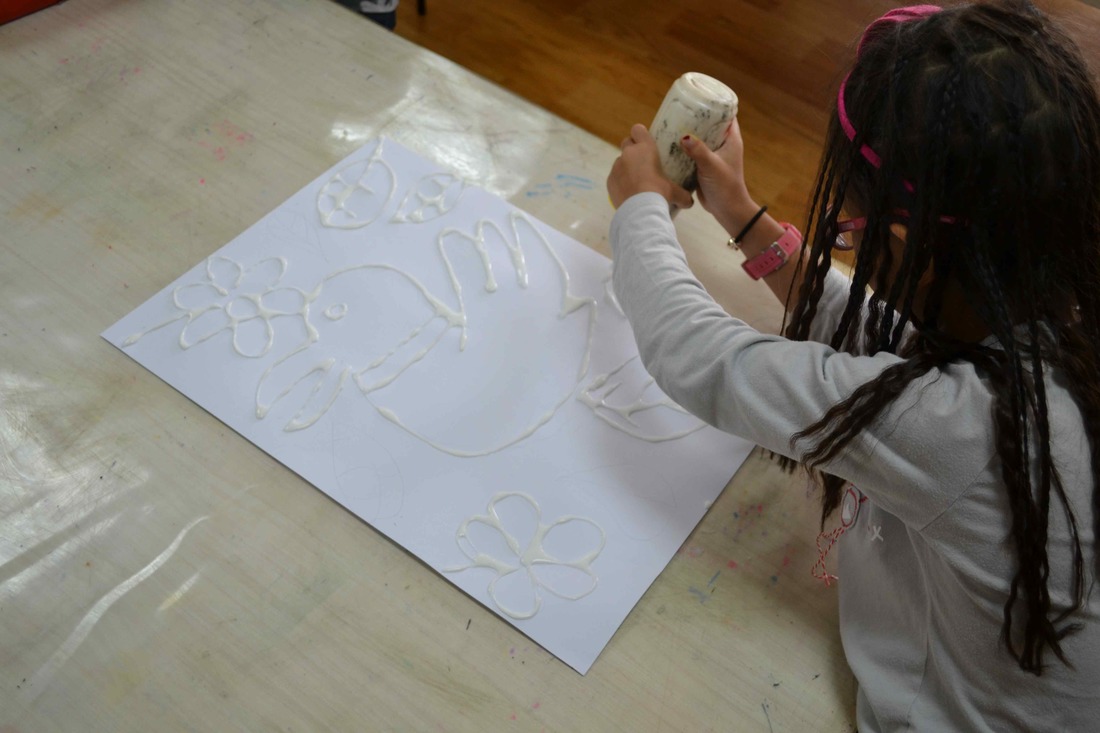
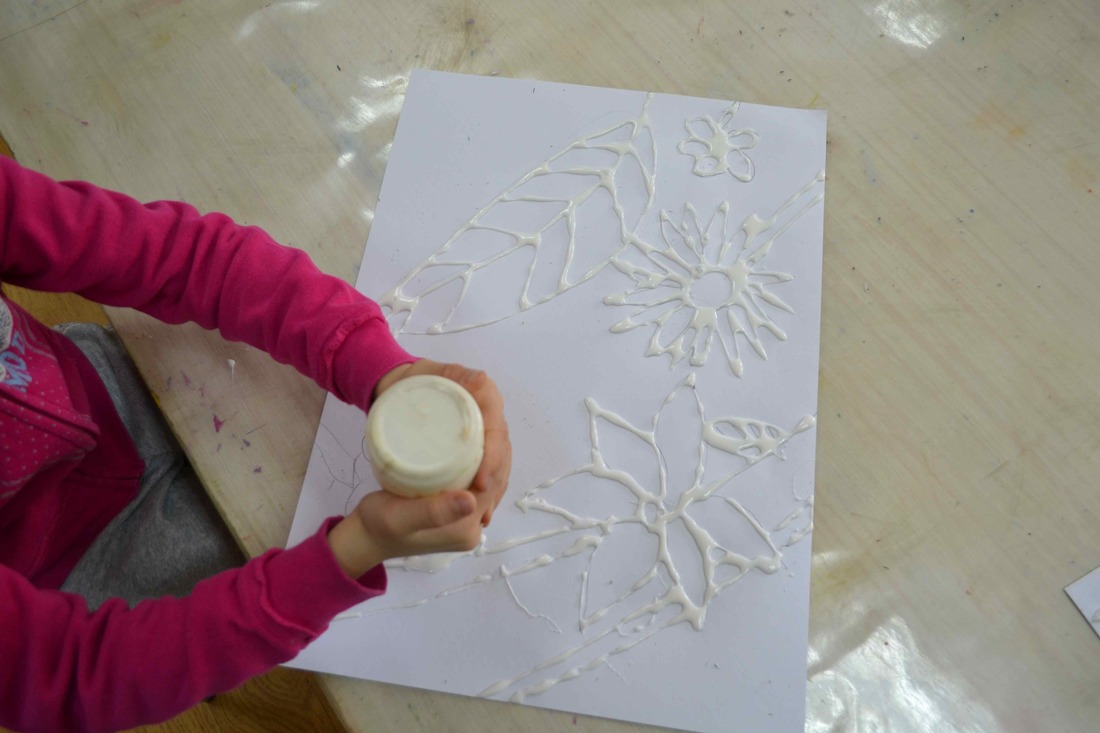
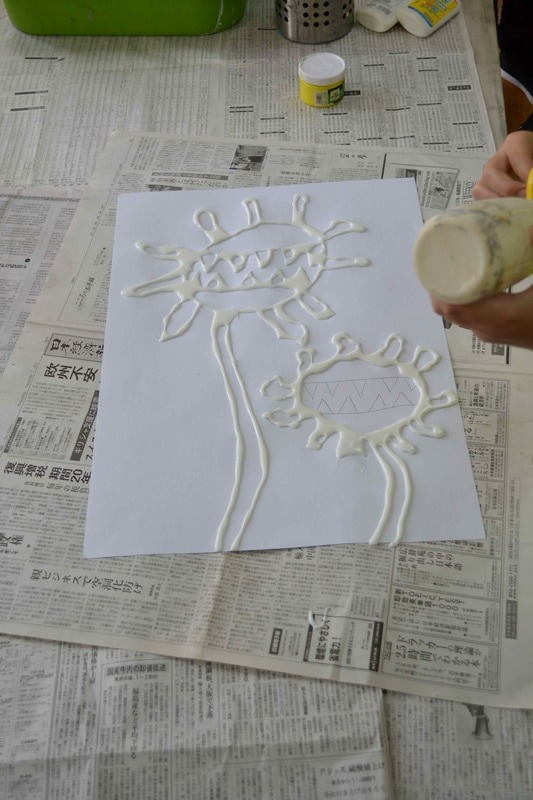
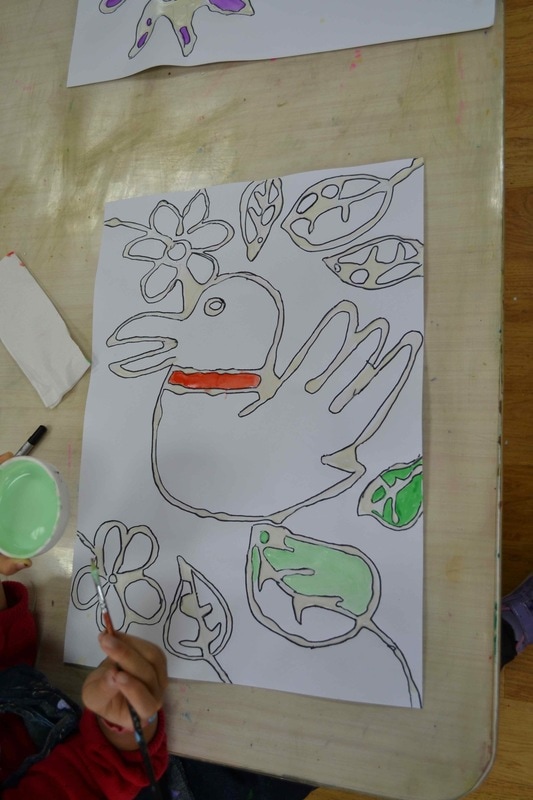
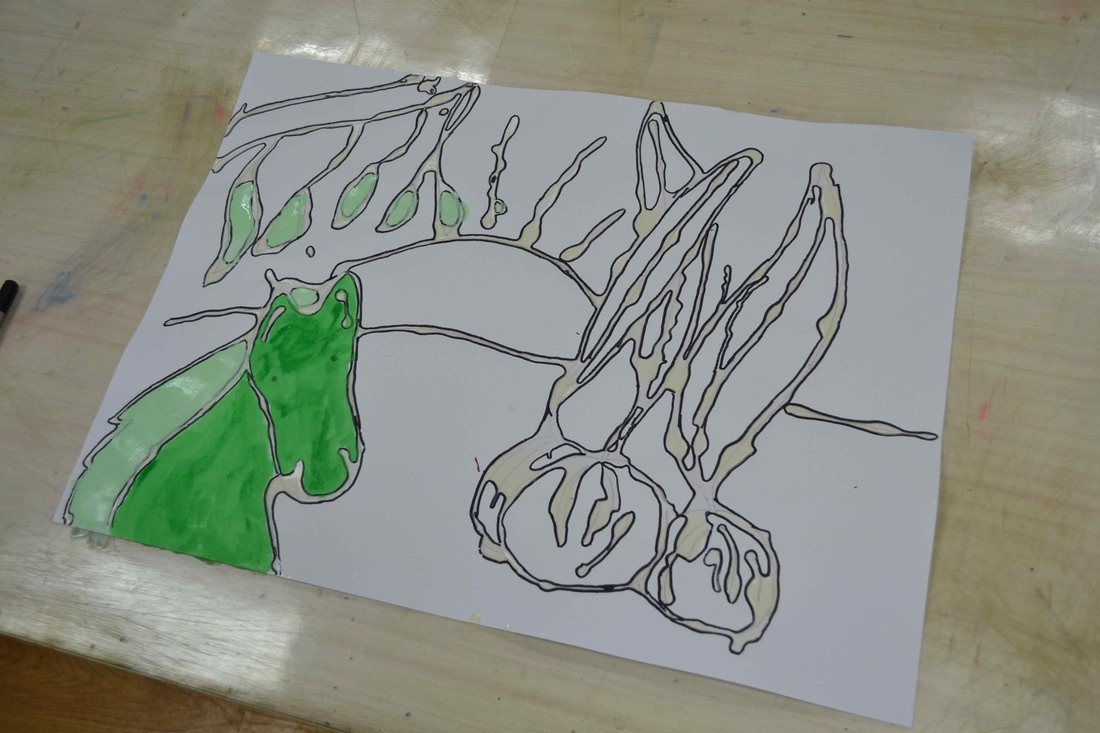
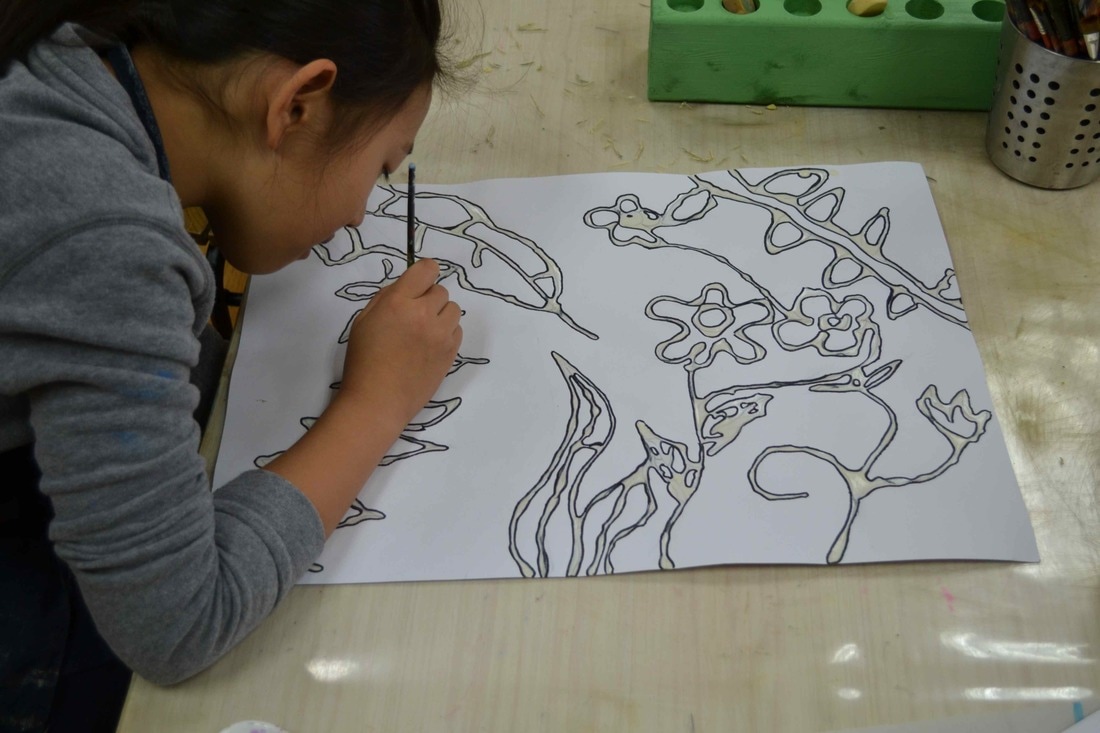
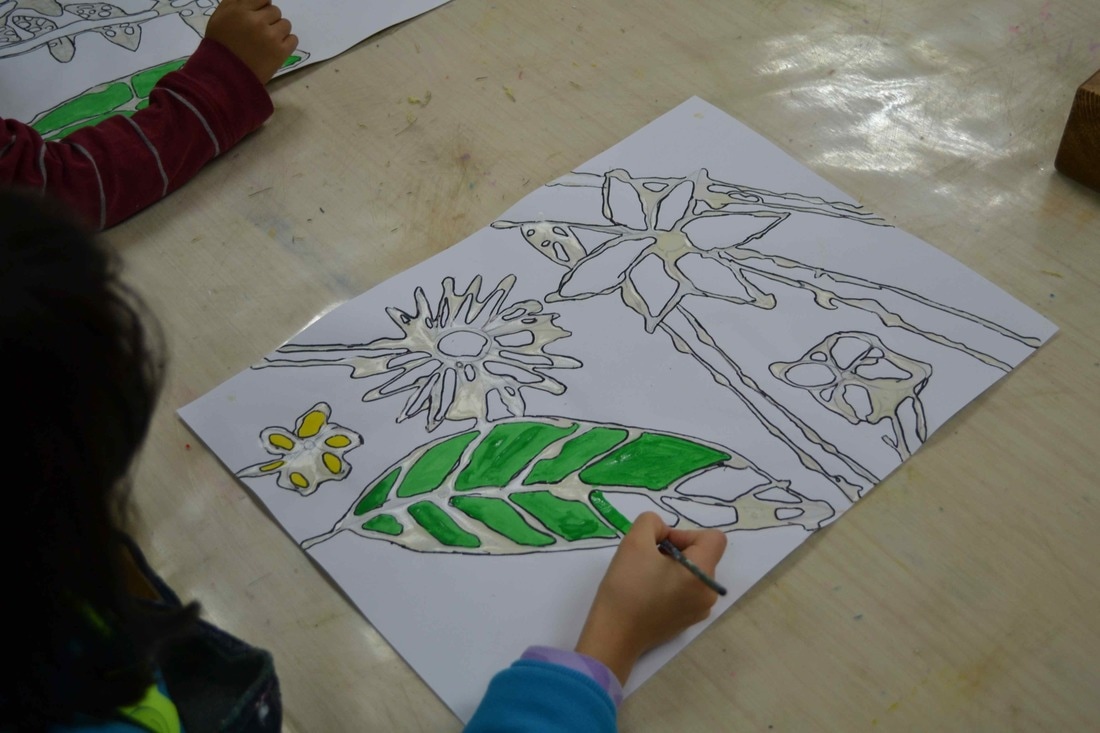
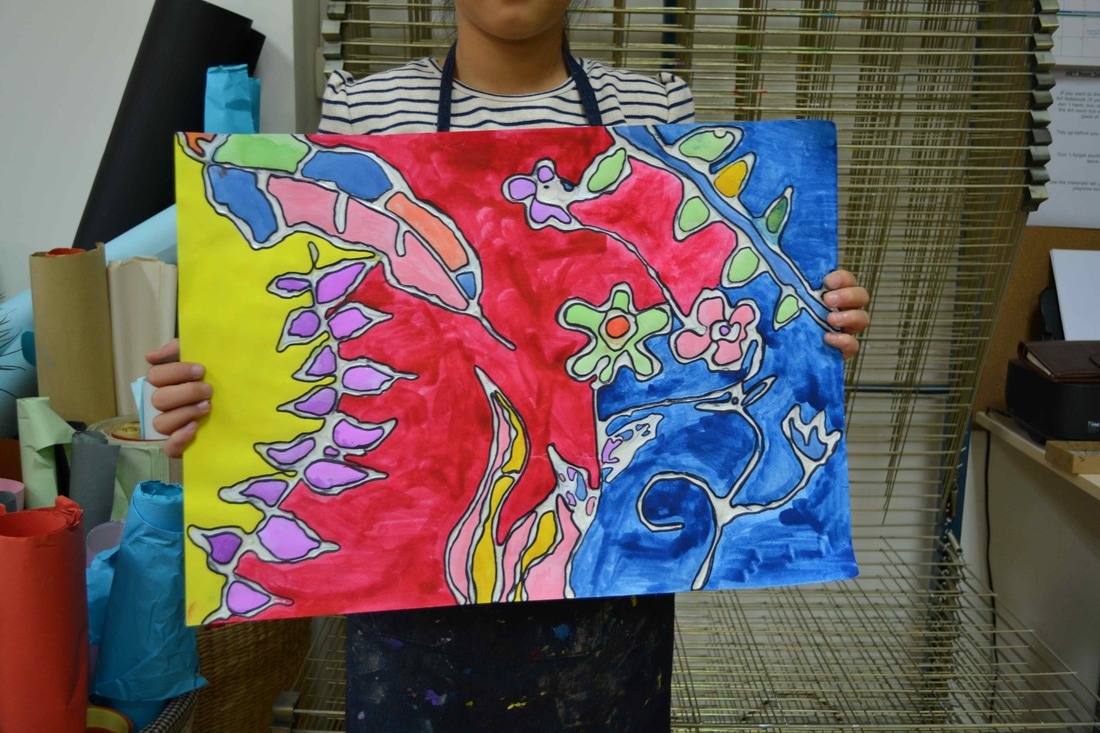
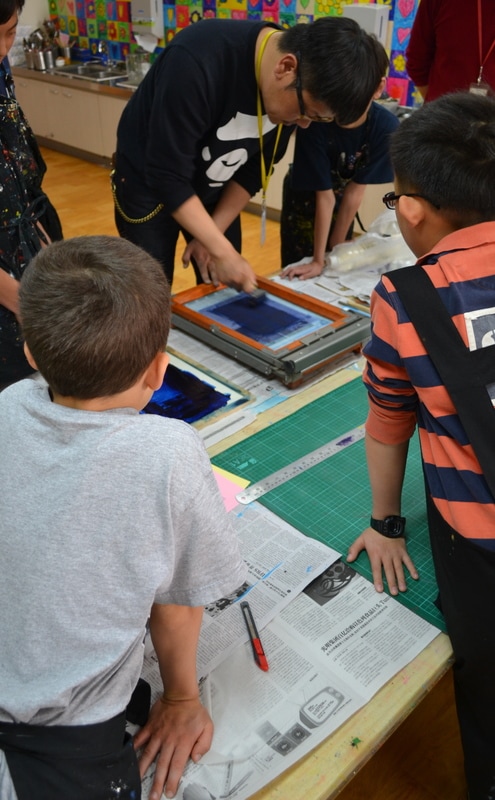
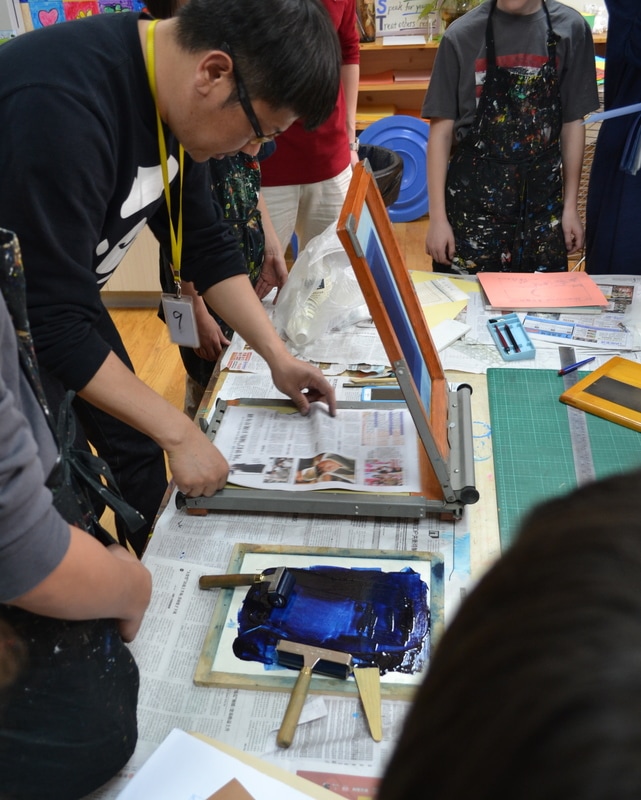
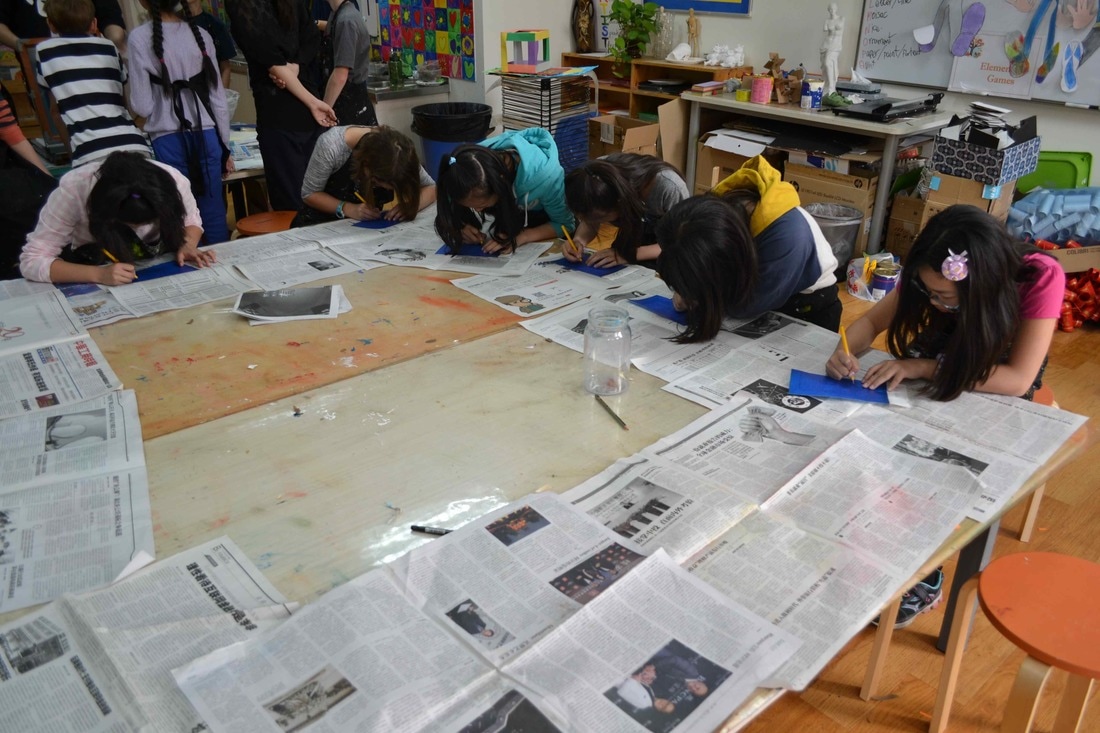
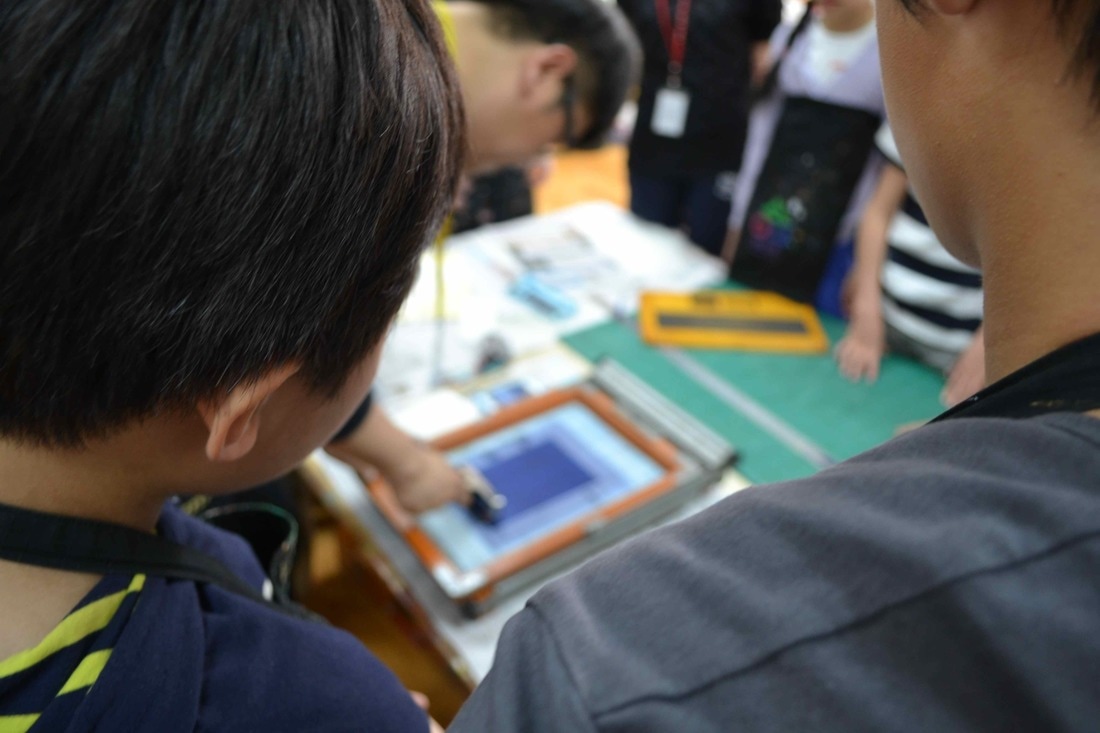
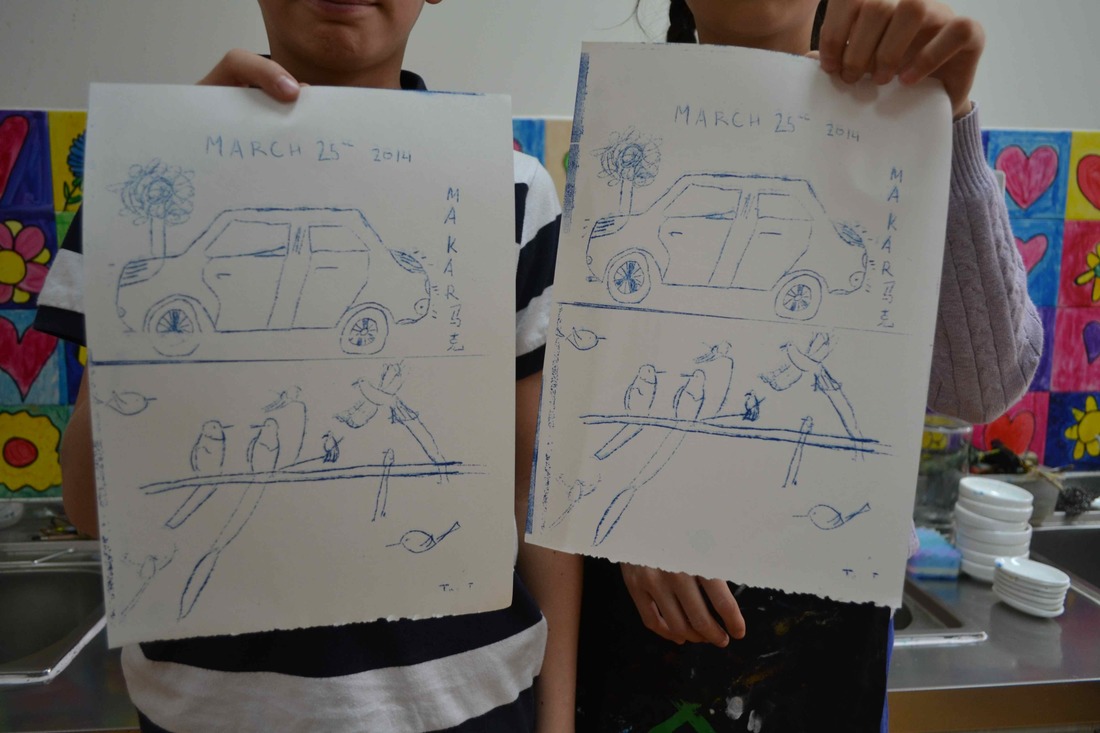
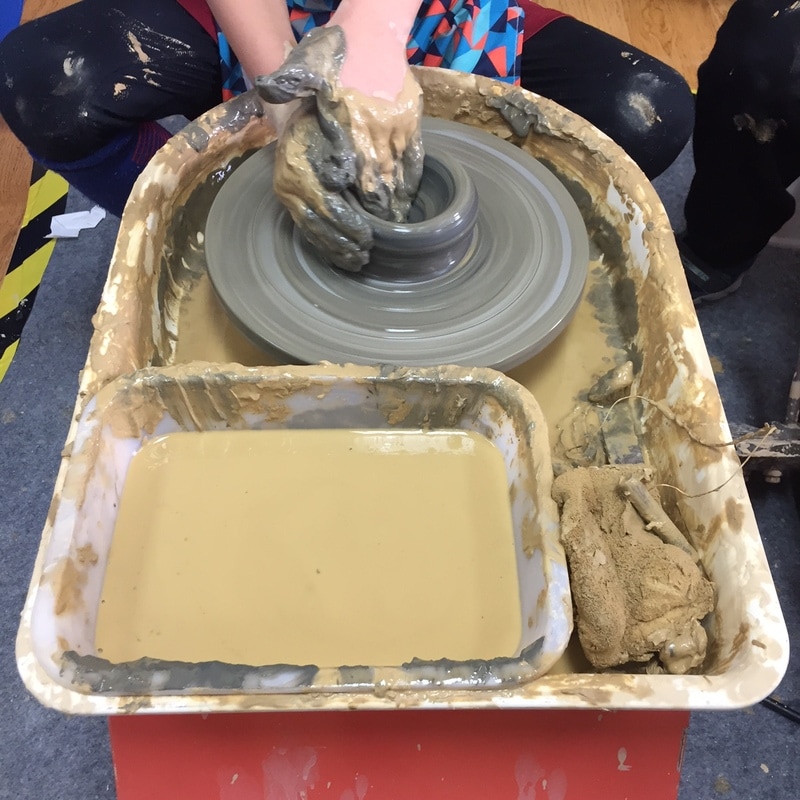
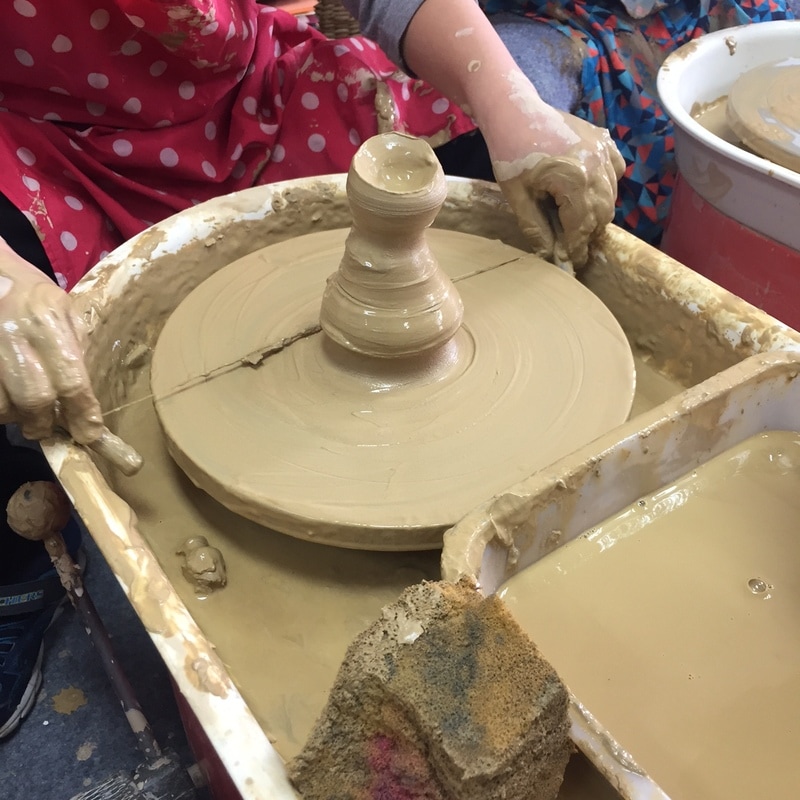
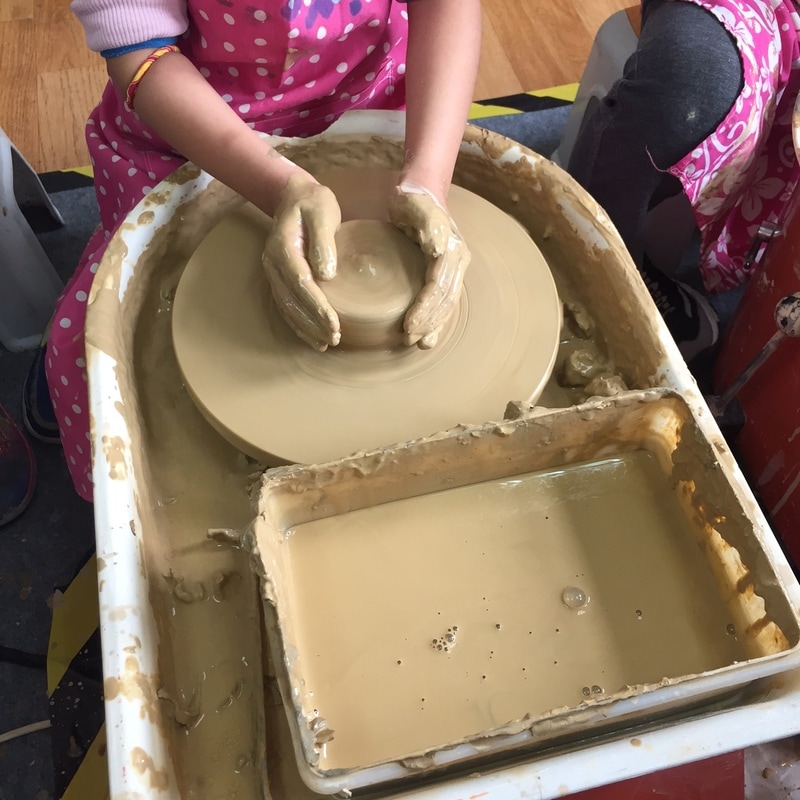
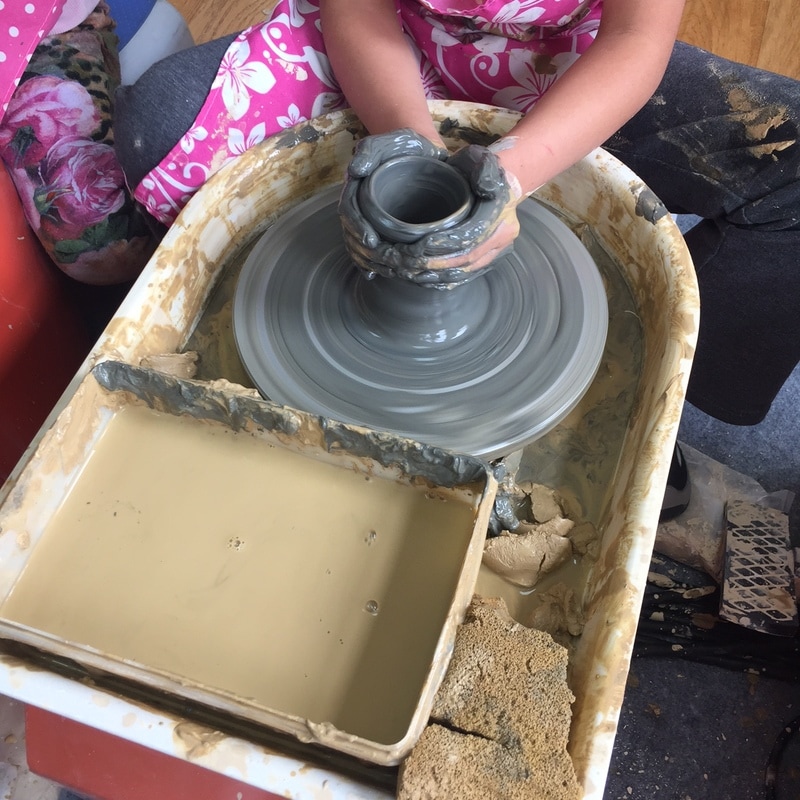
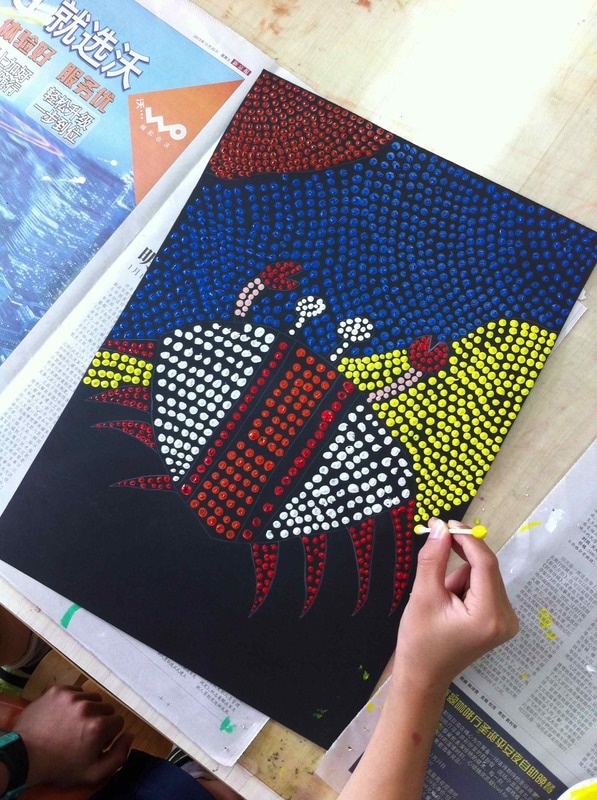
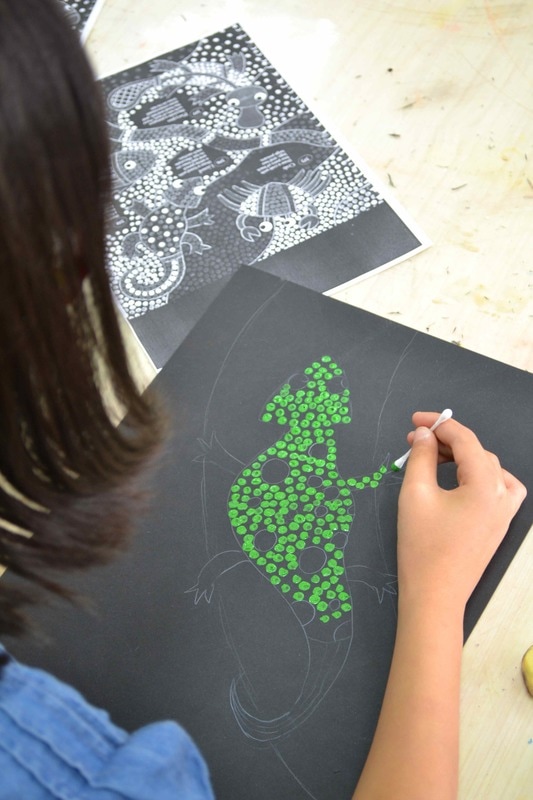
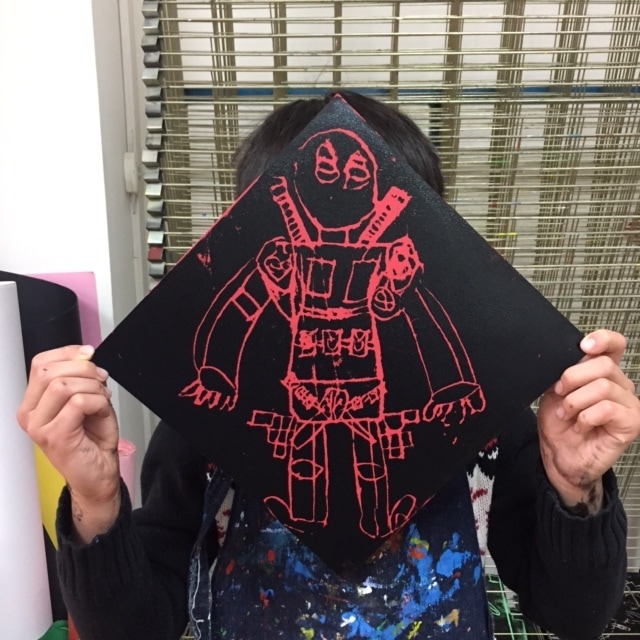
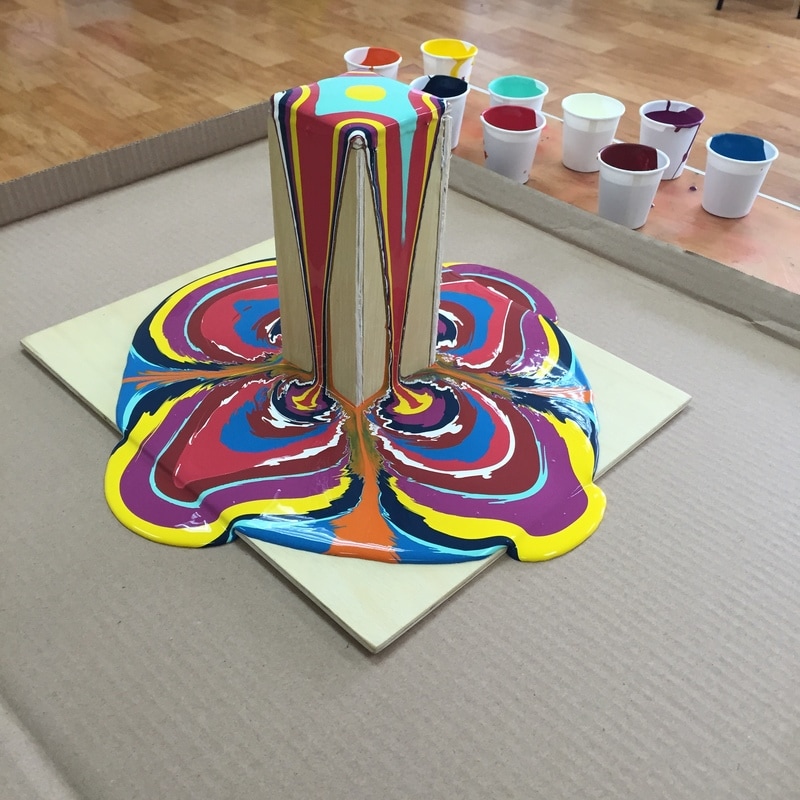
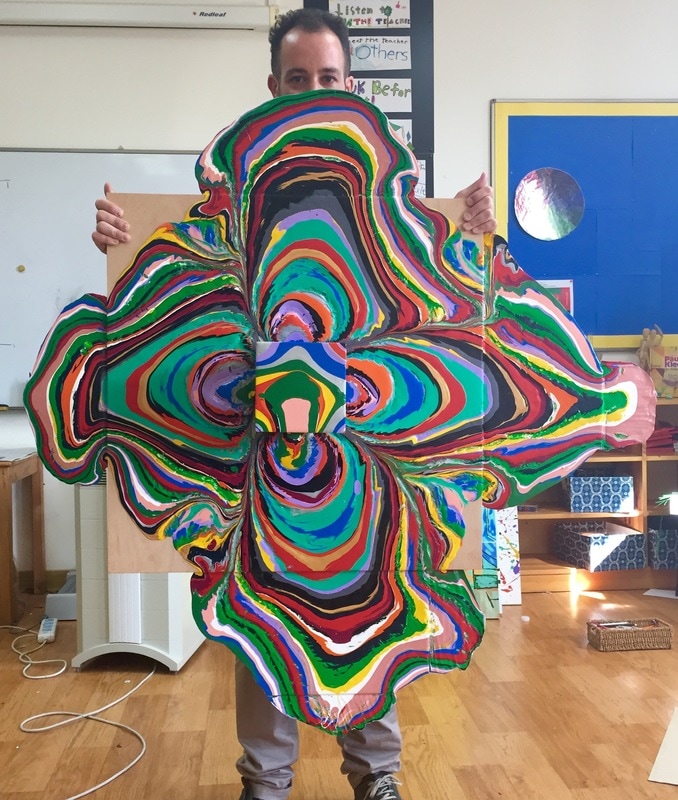
Grade 4 made these hot air balloons of paper mache. We first blew a balloon, they made the paper mache paste. Basically flour and water on the right proportion, we have a little advice for you to get the perfect paste, perfect stickness (if you wanna know just leave a comment below and I will reply happily). Then newspaper stripes, dip them well in the paste and then one by one paste it to the balloon. One problem you might find is how to store the wet balloons, so you have to be ready in advanced. I can also give you couple tips that worked really well with us. Once a year, our art classroom transforms into a pottery studio, complete with beautiful pottery wheels. For one exciting week, students from all grades get the chance to sit at these wheels and create their own pots. It's a time for them to explore the tactile pleasure of shaping clay, to learn the delicate balance of pressure and movement. This pottery week is definitely one of the highlights of the year. The students eagerly anticipate it, buzzing with ideas about what they want to create. It's a fantastic opportunity for them to not only learn a new skill but also to express their creativity in a different medium. The pottery wheels bring a unique energy to the classroom, encouraging students to experiment, to play, and to learn from the inevitable mishaps that come with the art of pottery. As they work on their pots, students discover the patience and persistence required to create something beautiful from scratch. They learn the importance of attention to detail and the value of seeing a project through from start to finish. And at the end of the week, they have their own handcrafted pot to keep—a tangible reminder of their creativity and hard work. We also learn something very important, to dont get too attached to something, just because chances that some pots break during the drying or the firing process are very real. It's truly amazing to witness the students' growth and to see the pride in their eyes as they hold their finished pots. The pottery week is much more than just a break from the regular curriculum—it's a cherished tradition that nurtures the artistic spirit of our students. We try as much as we can to use recycled materials for our art projects. This time we used some used KD board to make our prints. 4th graders have been working with colours during last lessons. We learned in-depth, among other things, the relation between the colours themselves in the colour wheel and also new vocabulary. This project was about tinting and shading. Our MSB students have been invited to a contest about how to save the environment. The contest is organized by LittleStar Magazine and will be by the end of October. We will keep you updated with more info coming soon, in the meantime enjoy some of the designs of our MSB artists. We have 46 students involved in the contest!!! Isabella and Oil. Isabella is a 5th grader that absolutely loves art and loves to try new things and get challenged. Here one of her latest masterpieces. What she doesn't like the most? to wash up brushes after lessons (especially the oily ones). 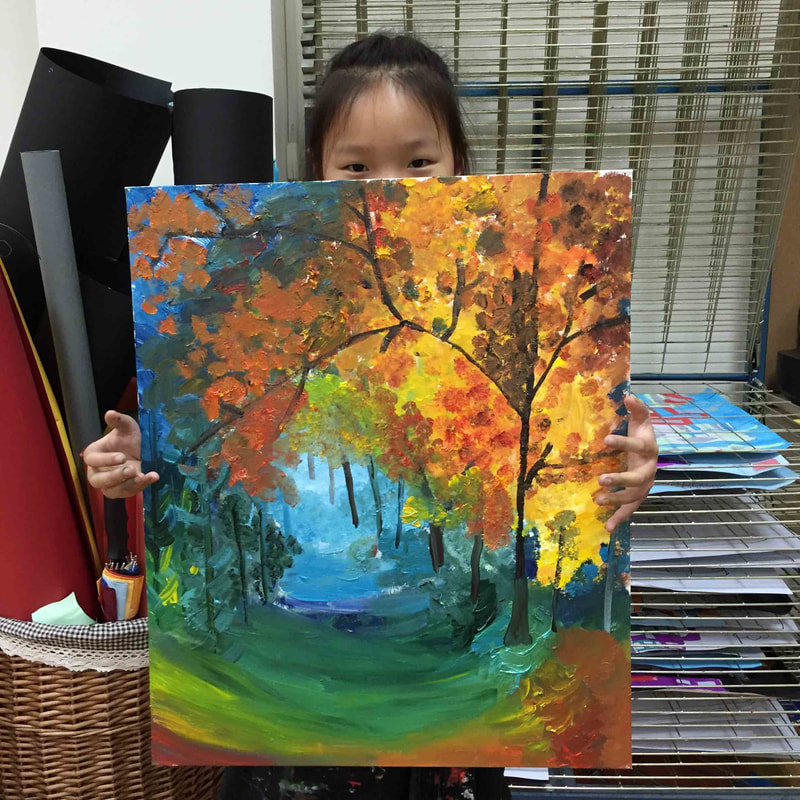 Every grade make a selfportrait unit, using different medias such as oil crayons, watercolour pencil, colour pencil, pencils, watercolours... On grade 4 we first talk about Cubism and they do their own cubist selfportrait. Right after, we talk about real proportions and they make a proper selfportrait, in this case was using watercolour. I love how much some of them they look alike. We sometimes show it to other classrooms and they guess who is who like 95% of the times, fun. Grades 4 were challenge to make 100 colours using only the 3 primary colours, black and white. To make this sculpture we just need, one metal hanger, one pair (in this case just one leg of the pair) of tights, a small wood block for the base and acrylic paint. Final result is always really cool. We recently had a special guest, Emerico, and it was a real treat. Claire had this awesome idea to do a project about graffiti for her interest fair, and Emerico came to mind. After a few weeks of digging deep into graffiti history, exploring various styles, techniques, and picking up all the lingo, Claire was all set for Emerico's visit. And let me tell you, after a quick chat, they didn't waste any time and got straight to work. Chinese New Year always happening around February. So if we want to have it ready by then we have to get to work on its project right after Christmas time. Last year we made this amazing Lanterns. The final result was stunning. We got around 30 lanterns so you can get an idea how was the main lobby of the school. Here you got some pictures, materials and instructions. Recently we have been discussing the Great Frida Kahlo and her unique artwork with the Grade 4 students. She inspired us to make these portraits of her. Frida is well known, among other things, for her incredible self-portraits. She had a very tough life, and her exploration of her life through her art has made her an inspiration for artists all over the world. We explored her creativity and biography in depth, and I was really impressed by how deeply the children immersed themselves in her Universe. Paper, pencil, white glue, black marker and watercolour that´s all we needed. We first worked on an A4 paper our design. Although some of the students drew also on the big paper we realized that was not a very good idea because once the glue is dry you can see the pencil through the dry glue, but even like that all the artwork looked amazing!! We were so lucky to receive the visit of a mimeograph artist. For those who doesn´t know what is mimeograph, it is a printing art. We first got to listen to the very interesting history of the art of mimeograph. Then we had a live demonstration, it was pretty impressive! After we made our very own designs and after that we passed directly to the action. One of the most expected weeks of the year! All the grades have the chance to experience to work with clay in a clay wheel. Depending on the grade, the difficulty level is higher or lower. All the students from reception until Grade 6 get to work with the wheel. Fourth Graders were looking into Aboriginals in their classroom. So we took this oportunity to expand the lesson and create our very own Aboriginal art piece. We talked about what materials they used, techniques, etc... So they designed their artwork and ready to go! We used a black colour paper, so the acrylic stands out much more, and we chose an A4 size paper so the proccess won´t take too long. The results were stunning! Our Upper Elementary children made this beautiful mural with artists El Tono. The process was very intricate, and allowed the children to work together as a team to create this striking piece of art. To start us off, Tono held a presentation in which they explained his amazing art work and the methods they used. The children were given the opportunity here to ask questions, and discuss this unique form of modern art in a group setting. It was wonderful to hear them express their insights! After a lively discussion amongst peers, they were ready rolled up their sleeves and get to work! First, a grid was drawn on the wall with wipe-away chalk. The horizontal lines were then marked with numbers, and the horizontal lines were marked with letters. Next, four jars were displayed, containing cards marked with letters, numbers, direction-indicating arrows, and colours. Each child was instructed to take one card from each jar. The drawn number and a letter gave us a coordinate; a starting point for their line. The direction card indicated what direction their line would go into from that point onwards, and the colour card indicated the colour of their line. Discovering each distinctive combination was a thrilling experience for the children. With their formula in hand, the children were able to make their personal contribution to this work of art. They used masking tape to ensure their lines were clean and straight. After they filled in their section, the children ripped the lines of masking tape off one by one. This proved to be the most enjoyable part of the activity. Seeing their individual work become a part of a greater image was exhilarating! This structured and calculated method provided the children with an endless number of random lines, created a stunning and exceptional image, full of coincidental collisions. Here we have displayed a soft copy of the broken-down data that forms each individual line, can you find yours? Check Tono´s website, there you will find all his artwork, they are really interesting! https://www.eltono.com/es/ 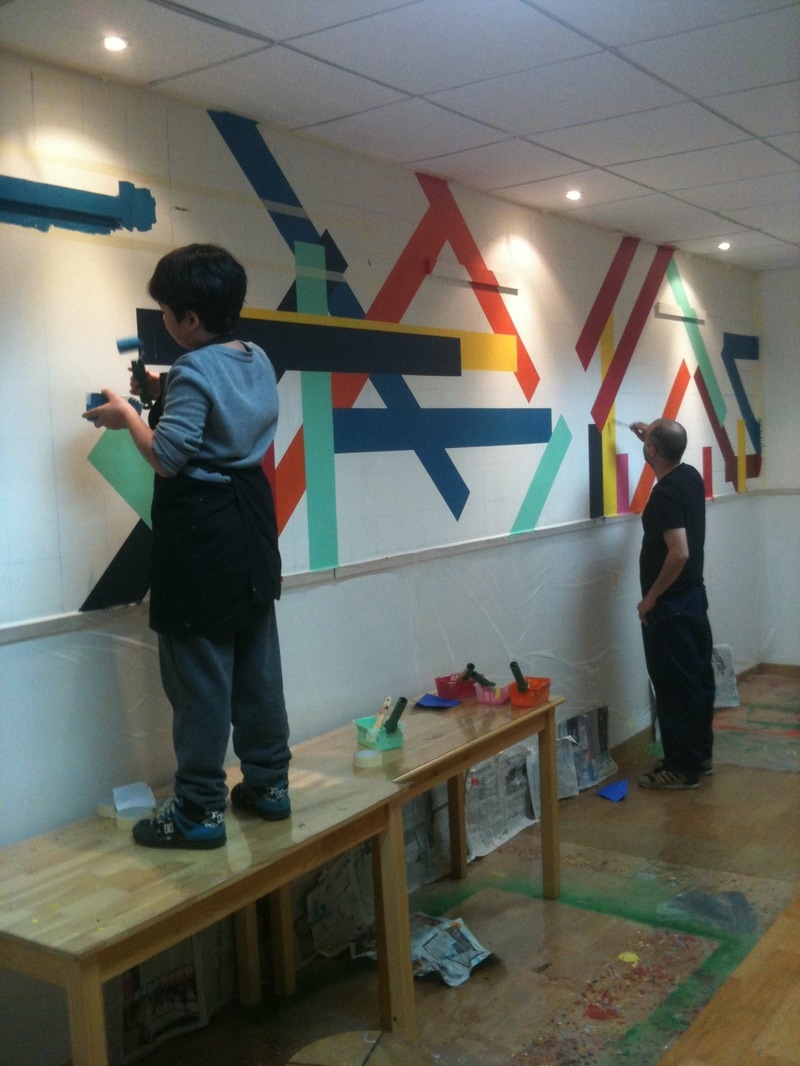 Fourth graders learned about rotational simmetry. They made their own designed, so once it was done we passed to the action. A full table with ink and rolls was waiting for them. Each student made 4 printings. Intense lesson but great reward at the end. Holton Rower inspired us to make this fantastic group project. At the end of every year we host a great annual Art Show. We make one group project with every grade. Grade 4 got the chance to get to know Holton's artwork and create this wonderful piece. Project inspired by the great Eric Carle. Duration: 2 lessons 1 hour each We found the book “The artist who painted a blue horse”, beautiful book by the way (as all the Eric Carle´s books). I am a big fan of Eric Carle´s, I love all his stories and his way of making art. We came up with the idea to make a stencil of the different parts of the horse, what made the lesson goes way smoother. That was an important part of the success of the lesson. |
Positive, Creative Space.
Archives
December 2023
|


 RSS Feed
